You’ve just packed for a trip, realized the hotel room has no stove, and all you’ve got is a little electric kettle and a pack of ramen. Sound familiar? The question “Can You Cook Noodles in an Electric Kettle” gets asked millions of times every year by students, travelers, and office workers staring down a sad, lukewarm lunch.
The honest answer is: yes, but with some serious conditions attached.
Most standard electric kettles run between 1000W and 1500W and are designed to boil water, not simmer food. That single limitation changes everything about how you approach this hack. In our research, we’ve found that while a basic kettle can absolutely turn dry noodles into something edible, the process requires understanding your specific kettle’s safety features, the type of noodle you’re using, and the cleanup commitment you’re willing to make.
Let’s break down exactly what works, what fails, and how to escape without ruining your appliance.
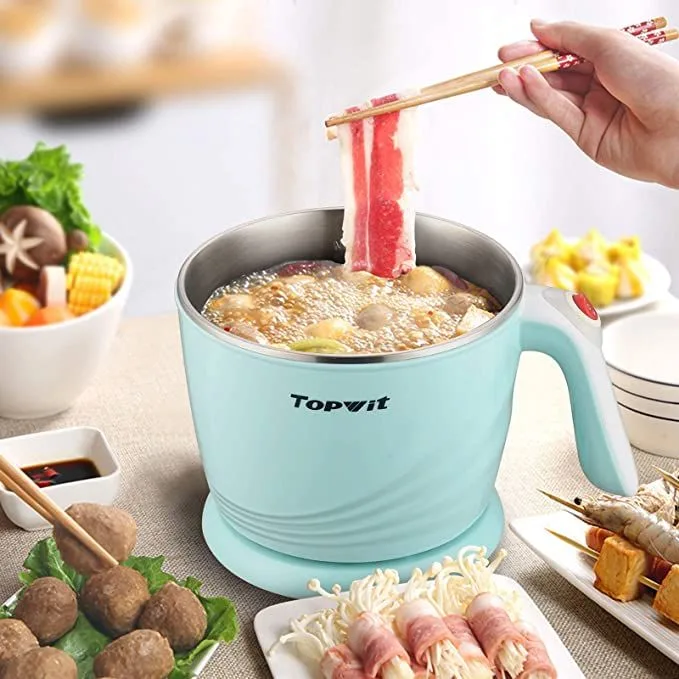
Image source: Web (Bing) / qaqooking.wiki
Quick Answer: Can You Cook Noodles in an Electric Kettle?
Yes, you can cook noodles in an electric kettle. It works best with instant ramen, thin rice vermicelli, or angel hair pasta. You must use the cold-start method: add noodles and water together before turning it on.
Never add seasonings or oil. Expect multiple boil cycles. Clean immediately after cooking to avoid starch buildup damaging the heating element.
The 3 Questions That Decide Your Outcome
Before you even fill the kettle, answer these three questions. They determine whether your attempt ends in a warm, satisfying bowl or a scorched appliance that smells like a burnt rice cake for a month.
Question 1: What kind of noodles are you using?
If they’re instant ramen blocks, thin rice vermicelli, or angel hair pasta, you have a decent chance of success. These cook quickly and evenly in boiling water. If they’re thick spaghetti, udon, or anything that takes more than eight minutes to cook on a stove, you’re going to struggle.
Thick noodles need sustained rolling boil, which a kettle simply cannot maintain while constantly triggering its boil-dry sensor.
Question 2: What type of kettle do you own?
This is where most people get blindsided. Kettles with exposed heating coils at the bottom are the worst for noodle cooking. Starch settles onto the coil and scorches.
Kettles with concealed heating elements and a smooth stainless steel base are much more forgiving. Additionally, if your kettle has a minimum fill line (most do), you’re forced to use more water than you need, which dilutes your noodle flavor and takes longer to boil.
Question 3: Are you willing to commit to immediate cleanup?
This is the question everyone skips. Noodles release starch into the water as they cook. That starchy water leaves a film inside your kettle that, if left to dry, becomes a cement-like crust.
If you don’t wash your kettle within a few minutes of finishing your noodles, you’re looking at a serious scrubbing session. And if you have an exposed coil, that dried starch becomes almost impossible to remove without damaging the element.
Is It Safe to Cook Noodles in an Electric Kettle?
Cooking noodles in an electric kettle can work, but it isn’t safe for every kettle. Before trying it, check your kettle’s instructions to see whether the manufacturer allows anything besides water inside. If the kettle is designed only for boiling water, don’t use it for noodles.
A concealed heating element and smooth base are much better suited than an exposed coil, which can trap starch and scorch. Keep the water above the minimum fill line, but never exceed the maximum line. Watch the kettle while it heats, especially if the noodles foam or absorb a lot of water.
If the kettle repeatedly triggers boil-dry protection, stop the process rather than forcing it to continue. With the kettle checked and suitable, the next question is which noodles actually cook well.
Noodle Types: What Cooks Well vs. What Turns to Glue
Not all noodles are created equal when it comes to electric kettle cooking. Let’s break it down by category so you know what’s actually worth trying.
The Good (Cook perfectly in 3, 8 minutes):
| Noodle Type | Cook Time in Kettle | Notes |
|---|---|---|
| Instant ramen blocks | 3–5 minutes | The classic choice. Cooks fast, absorbs well. |
| Rice vermicelli | 3–4 minutes | Thin, delicate, and quick. Perfect for cold-start method. |
| Angel hair pasta | 5–7 minutes | Thin enough to cook in the residual heat after boil-off. |
| Soba noodles | 5–6 minutes | Buckwheat noodles cook quickly and don’t clump badly. |
| Udon (thin variety) | 6–8 minutes | Works, but needs a serious water volume to avoid sticking. |
The Bad (Struggle to cook properly):
| Noodle Type | Why It Fails |
|---|---|
| Spaghetti (regular) | Needs 9–11 minutes of sustainable boiling. Kettle keeps shutting off. |
| Fettuccine | Too thick, center stays chalky raw while outside turns mushy. |
| Macaroni | Small pieces settle at the bottom, burn onto the coil. |
| Penne | Same issue as macaroni but worse because they’re larger. |
| Fresh egg noodles | Clump together instantly without stirring, which you can’t do in a kettle. |
Avoid noodles that require constant stirring because the kettle’s narrow opening makes proper agitation difficult.
Kettle Features That Make or Break the Attempt
This is where the detail work happens. Not every electric kettle is built for the abuse of cooking noodles. In our research, we found that the deciding features come down to just a few key design choices that matter more than brand name or price.
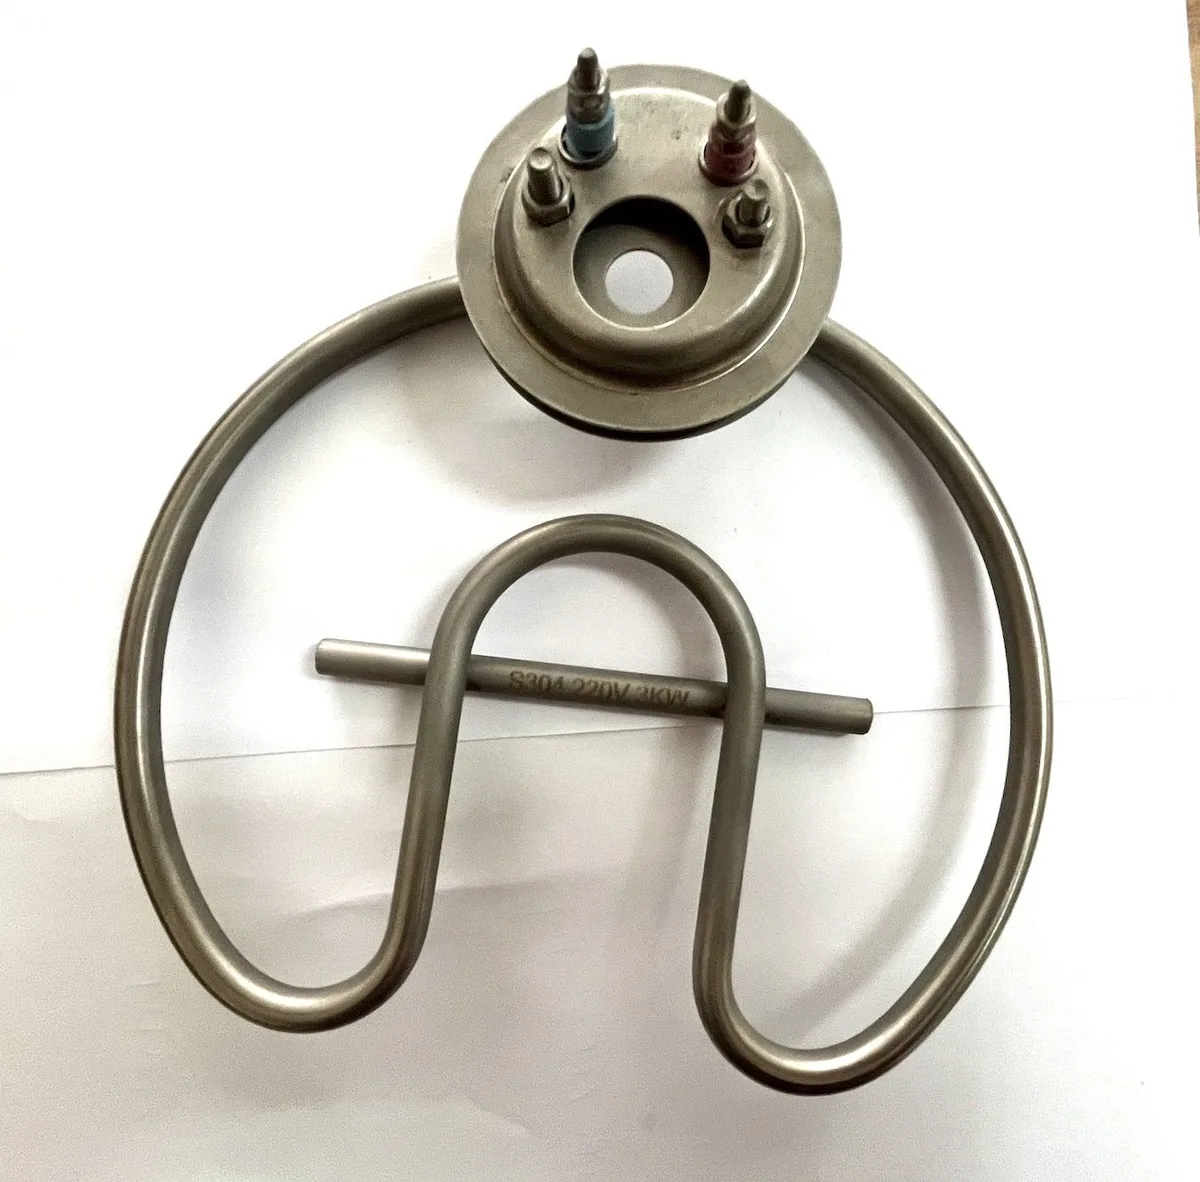
Image source: Web (Bing) / storage.googleapis.com
Exposed Coil vs. Concealed Heating Element
This is the single biggest factor. Kettles with an exposed coil sitting at the bottom of the water chamber are the absolute worst for cooking anything but water. Noodles settle directly onto that hot metal surface.
The starch caramelizes and burns. Your noodles instantly stick to the coil, and you’ll be picking off burnt noodle bits with tweezers for the next week.
Concealed heating elements are smooth, flat, and covered by a stainless steel plate. They don’t trap food as easily, and cleanup is dramatically easier. If you’re planning to cook noodles in your kettle, you absolutely need a concealed element model.
Auto Shut-off and Boil-Dry Sensor
Most modern kettles have a built-in mechanism that shuts the unit off once the water reaches a rolling boil. When you’re cooking noodles, this becomes a problem. The water boils, the kettle shuts off, and your noodles stop cooking.
You’ll have to turn it back on manually. Repeatedly.
Worse, when the noodles absorb water, the liquid level drops. Once it falls below the sensor threshold, the kettle thinks it’s dry and refuses to heat. This triggers the boil-dry protection, which is a safety feature designed to prevent fires.
It’s good that it exists, but it means you need to add extra water to compensate for absorption.
Minimum Fill Line
Most kettles have a visible minimum water level marking, usually around 250ml to 500ml. That’s a lot of water for one serving of noodles. Combine that with the absorption rate of the noodles, and you’ll be producing a fairly diluted broth unless you plan ahead.
Wide Mouth Opening
This one sounds trivial until you try to shove a ramen block into a narrow-spouted travel kettle. The wider the mouth opening, the easier it is to get noodles in and, crucially, to get noodles out. A 1.7L standard kettle with a flip-lid opening is much more practical than a 0.5L travel model with a tiny spout.
Material of the Interior
Stainless steel is the gold standard. It’s non-porous, doesn’t retain odors, and is easy to scrub. Food-grade plastic interiors can absorb noodle odors permanently.
Glass interiors look nice but are fragile and can crack with rapid temperature changes. Avoid plastic interiors if you plan to make this a regular habit.
You might find this helpful: Best Electric Kettle for Boiling Water
The Right Way to Do It: Step-by-Step Process
Now that you know which kettles and noodles are compatible, here’s the exact workflow. This process is based on aggregate user experiences and manufacturer guidelines, not guesswork. The cold-start method is the only reliable way to prevent noodles from fusing to the heating element.
Image source: Bing (Web (fair-use with source credit))
Step 1: Rinse Your Noodles First (Optional but Helpful)
If you’re using instant ramen, give the block a quick rinse under cold water. This removes excess surface starch that would otherwise foam up and boil over the spout. For rice vermicelli, skip the rinse, they’re delicate enough already.
Step 2: Add Noodles and Water Together
This is the critical move. Do not boil water first and then add noodles. That creates instant sticking.
Instead, place the dry noodles in the empty kettle, then pour in cold water. The water volume should be at least 100ml above the minimum fill line to account for absorption. The noodles should be fully submerged.
Step 3: Turn On the Kettle and Watch It
The moment the water hits a rolling boil, the kettle will shut off automatically. That’s completely normal. Don’t panic.
You’re now entering the “soak and repeat” phase.
Step 4: Stir Gently, Then Let It Sit
Open the lid and give the noodles a gentle stir with a long fork or chopsticks. You’re trying to separate clumps. Close the lid and let everything sit for one minute.
The residual heat will continue cooking the noodles.
Step 5: Re-boil and Repeat
Turn the kettle back on. It will boil again, then shut off again. Repeat this cycle until the noodles reach your desired texture.
For instant ramen, this usually takes two to three cycles. For angel hair pasta, you might need four to five cycles.
Step 6: Drain Immediately
As soon as the noodles are done, drain the hot water immediately. Leaving them sitting in the hot water means they’ll keep cooking and turn mushy. Use a strainer or careful pouring through the spout into the sink.
Step 7: Rinse With Cold Water
Give the cooked noodles a quick cold-water rinse to stop the cooking process. This also washes off excess starch that would turn your sauce into a gluey mess.
Step 8: Clean the Kettle Right Now
Clean the kettle as soon as you’re finished to prevent starch buildup. Empty and rinse it thoroughly, then follow the manufacturer’s cleaning instructions. Never submerge the electrical base in water.