If you’ve noticed your morning coffee tasting off or taking longer to brew, limescale is probably the culprit. Learning how to remove limescale from coffee maker isn’t complicated, but it does depend on your machine type and how much buildup you’re dealing with. The wrong approach can damage seals, void your warranty, or leave a nasty aftertaste.
According to manufacturer specifications from brands like Keurig and De’Longhi, scale buildup of just 1/16 of an inch on the heating element reduces heat transfer efficiency by up to 40%. That means your machine works harder, uses more electricity, and brews at lower temperatures. As of 2026, most major coffee maker manuals recommend descaling every 3 to 6 months depending on your water hardness.
Let’s walk through exactly how to do it safely.
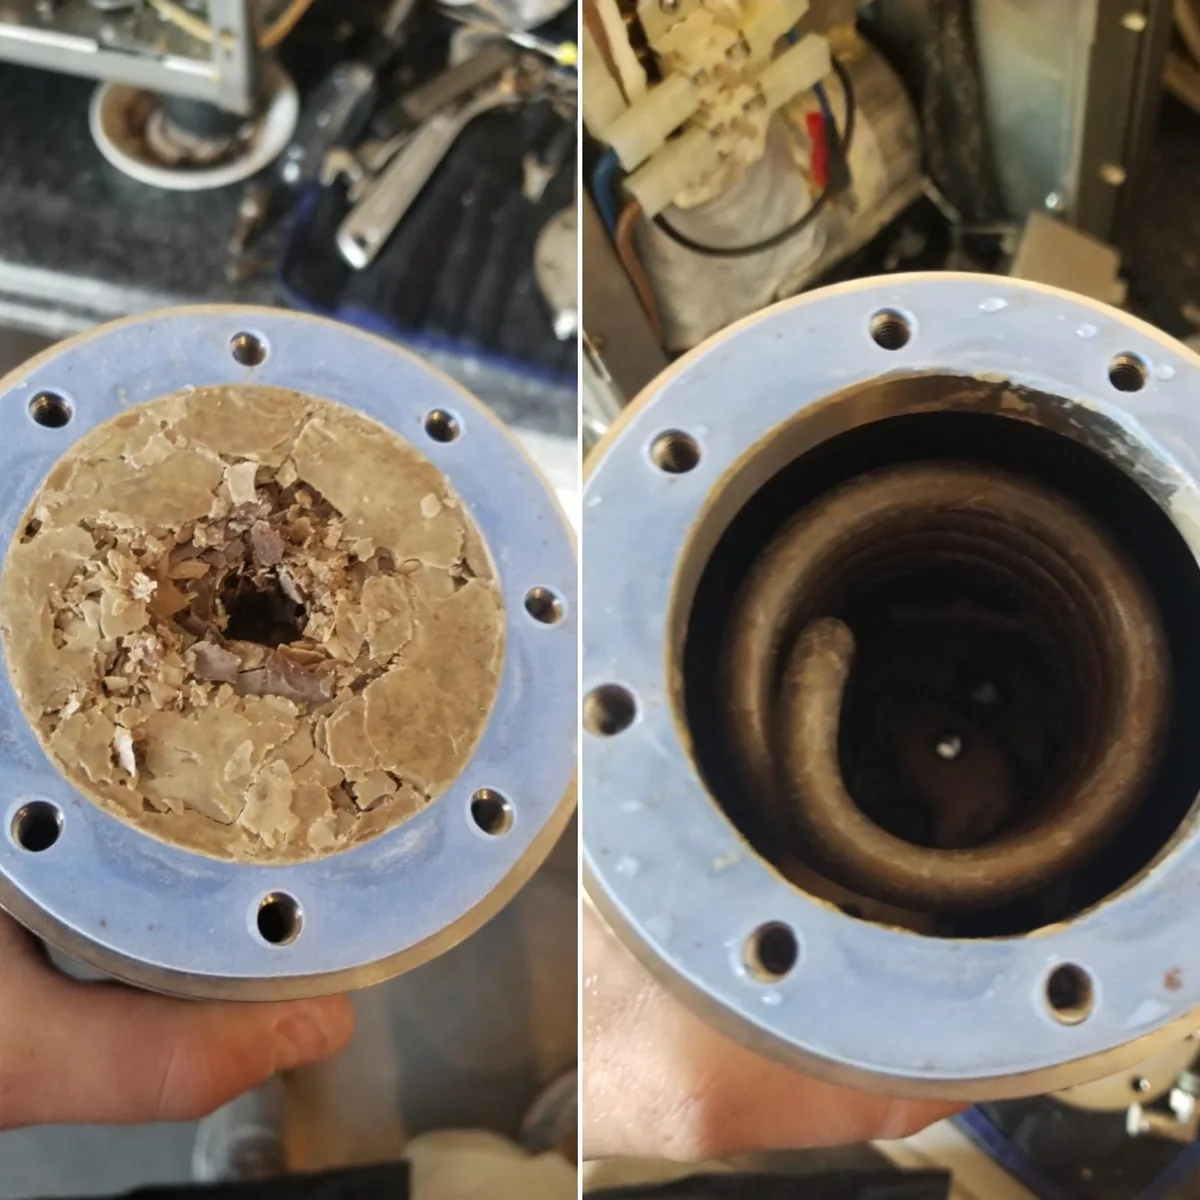
Image source: Web (Bing) / storage.googleapis.com
Quick Answer
Mix a descaling solution of equal parts white vinegar and water. Pour it into the water reservoir. Run a full brew cycle.
Let the machine sit for 30 minutes. Finish the cycle and run two more cycles with fresh water. For pod or espresso machines, use the machine’s descaling mode if it has one.
Always check your manual first.
First, What Kind of Coffee Maker Do You Have?
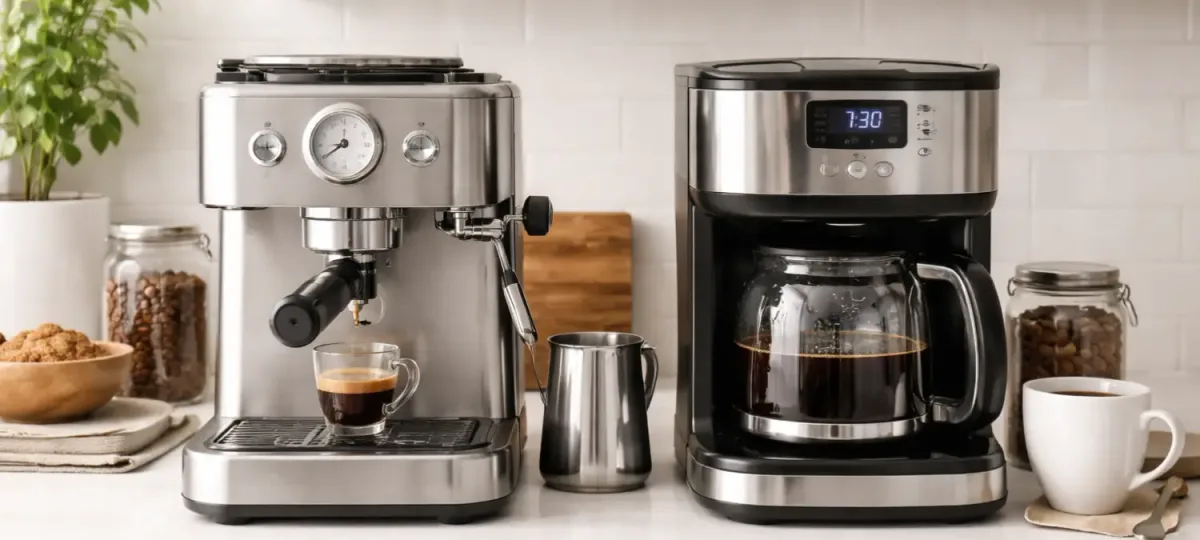
Your descaling method depends entirely on the machine sitting on your counter. The same vinegar mix that works fine in a basic drip brewer can wreck the seals on a pod machine or a high-end espresso model. Let’s break down the three main categories.
Standard drip machines are the most forgiving. They have a simple heating tube, a glass carafe, and minimal plastic in the water path. These can handle vinegar, citric acid, or commercial descalers without much risk.
The process is straightforward: pour the solution in, run it, let it sit, rinse.
Pod machines like Keurig and Nespresso are a different story. They have a needle that pierces the pod, a small pump, and internal O-rings that can swell or crack when exposed to high acidity. Most pod machines have a dedicated descaling mode that controls water flow and temperature.
Keurig explicitly warns against using vinegar in its newer models. For these, stick with the manufacturer’s descaling solution or a citric acid powder mixed to their recommended ratio.
Espresso machines are the most complex. They have dual heating circuits, a steam wand, and brass or aluminum components. Descaling an espresso machine requires separate steps for the brew group and the steam wand.
Many espresso machines also have a water softener filter that needs to be removed before descaling. If you ignore that, you’ll be descaling the filter, not the machine.
If you’re not sure which type you have, look at how you load the coffee. If you pour water into a tank and scoop grounds into a basket, it’s a drip machine. If you drop in a plastic pod or capsule, it’s a pod machine.
If there’s a portafilter and a steam wand, it’s an espresso machine. Each one needs a slightly different approach, and we’ll cover all three in the steps ahead.
For reference, a basic drip machine holds around 40 to 60 ounces of water. A pod machine holds 40 to 80 ounces. Espresso machine reservoirs vary wildly from 20 ounces to over 100.
That matters because you need enough solution to fill the whole internal water path.
Why Limescale Is Actually a Problem (Not Just an Eyesore)
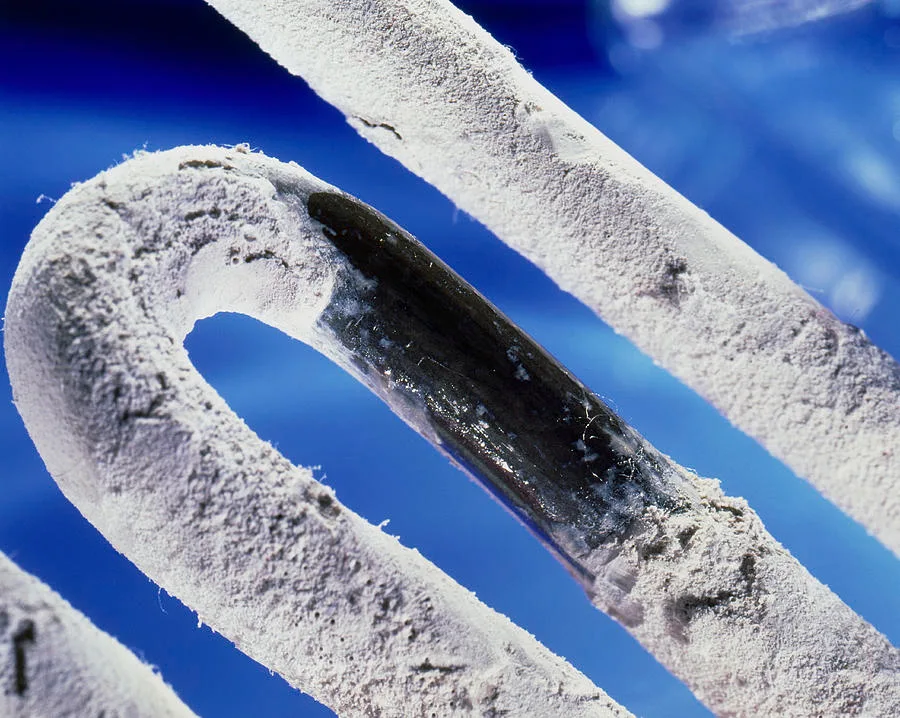
Limescale isn’t just a white crust you wipe off the drip tray. It’s a buildup of calcium carbonate and magnesium deposits that clogs the narrow passages inside your coffee maker. Over time, it acts like cholesterol in arteries.
First, it ruins the taste of your coffee. Scale particles can break off and end up in your cup, giving it a chalky or metallic flavor. The hotter the water gets, the more minerals dissolve back into the brew. Your carefully measured beans and grounds can’t compensate for water that’s been contaminated by mineral residue.
Second, it slows down the brew cycle. Scale builds up inside the heating tube and restricts water flow. You’ll notice your coffee maker taking longer to finish a cycle. Sometimes it won’t even reach the target brew temperature of 195°F to 205°F.
The Specialty Coffee Association recommends that range for optimal extraction. Descaling restores proper flow and temperature.
Third, it shortens the life of the machine. The heating element has to work harder to transfer heat through the scale layer. That extra stress can cause the element to burn out or the thermal fuse to blow. A machine that would last five to seven years can die in three if you never descale.
Replacing a coffee maker costs anywhere from $50 to over $1000 depending on the model. Descaling costs pennies in comparison.
Fourth, it triggers annoying error messages. Many modern machines, especially Keurig and Breville models, have sensors that detect restricted flow. When the scale gets thick enough, the machine flashes a “Descale” light or error code. If you ignore it, the machine may lock itself until you run a descaling cycle.
That’s not a defect, it’s a built-in protection against damage.
According to aggregate user reviews on platforms like Amazon and Best Buy, the number one complaint for coffee makers under $100 is “stopped brewing after six months.” Nine times out of ten, the cause is limescale, not a mechanical failure.
The Main Methods: Quick Comparison Table
You have three common options for removing limescale. Each has strengths and weaknesses. Here’s how they stack up.
| Method | Cost per Descaling | Time Needed | Smell / Residue | Best For |
|---|---|---|---|---|
| White vinegar | ~$0.10 | 45 minutes | Strong vinegar smell, may linger | Basic drip machines (check manual first) |
| Citric acid powder | ~$0.30 | 45 minutes | Mild, no strong odor | Most machines including pods and espresso |
| Commercial descaler | $1 to $3 | 30 to 60 minutes | Mild to none, machine-specific | Pod machines under warranty, high-end espresso |
White vinegar is the cheapest and most accessible. It’s about 5% acetic acid, which dissolves calcium carbonate effectively. The downside is the smell.
Even after several rinse cycles, you might taste vinegar in your next cup. Some machines have rubber seals that degrade when exposed to repeated vinegar descaling. If your manual says “do not use vinegar,” listen to it.
Citric acid powder is our research team’s preferred method for most machines. It’s food-grade, odorless, and rinses clean. You mix about one tablespoon per liter of water.
Citric acid is slightly less aggressive than vinegar, which makes it safer for older machines with plastic parts. It’s also the active ingredient in many commercial descalers.
Commercial descalers are pre-mixed or concentrated solutions sold by coffee maker brands. They’re formulated specifically for each machine’s materials. If your machine is still under warranty, using a commercial descaler is the safest bet.
Brands like Keurig, Nespresso, and De’Longhi sell their own descaling kits. They cost more, but they eliminate the guesswork.
Which one you choose depends on your machine type, budget, and how much you care about residual smell. For most people, citric acid powder hits the sweet spot of cost, effectiveness, and safety.
Step 1: Check Your Machine’s Rules First
Before you pour anything into the reservoir, grab the manual. I know, nobody reads manuals. But this is the one time it matters.
Manufacturers design their machines around specific descaling instructions. Ignoring them can cause damage that isn’t covered under warranty.
Where to find the manual. If you tossed the paper copy, every major brand has a support page with PDF manuals. Search online for your model number. It’s usually printed on a sticker on the bottom or back of the machine.
Look for the section titled “Descaling” or “Cleaning.” That page tells you the recommended solution, the ratio, and whether you should use the machine’s descaling mode.
Which brands explicitly warn against vinegar. Keurig, Breville, and De’Longhi all state in their manuals that vinegar can damage internal components. Keurig’s official stance is that vinegar is too acidic and can cause the needle to clog, the O-rings to swell, and the water pump to fail. Nespresso also recommends using their proprietary descaling liquid or a citric acid solution.
For these brands, your best bet is citric acid or a commercial descaler.
When the “approved descaler only” rule is real. If your machine is still under warranty, using anything other than the manufacturer’s recommended product can void that warranty. Some brands are strict about this, others are not. Our research shows that Keurig and Nespresso enforce it most often.
For a $100 drip machine that’s two years old, the risk is low. For a $500 espresso machine that’s six months old, play it safe and buy the official kit.
What about machines without a descaling mode? Some cheap drip machines don’t have a special cycle. That’s fine. You just run the solution through a normal brew cycle and let it sit.
The machine doesn’t know the difference. Just make sure you don’t let the machine run dry, the solution needs to be in the reservoir before you start.
If you can’t find the manual and the brand doesn’t have clear online instructions, take the cautious route. Use citric acid or a universal commercial descaler. That’s the closest thing to a one-size-fits-all solution.
How to Remove Limescale From a Standard Drip Coffee Maker
For a standard drip coffee maker, the process is fairly simple once you’ve checked the manual. Choose the approved descaling solution, then empty and rinse the carafe before starting.
Fill the water reservoir with the recommended solution. If your manual allows vinegar, mix equal parts white vinegar and water. Run the brew cycle and stop it halfway if your machine allows. Let the solution sit for about 30 minutes so it can work on stubborn buildup.
Finish the cycle and empty the carafe. Then run at least two complete brew cycles with fresh water to flush out any remaining solution or taste.
If you still see flakes or the machine is brewing slowly, repeat the process. Once the water runs clear and there is no lingering smell, your coffee maker is ready to use. This gives you a clean starting point before choosing a more specific method for heavier buildup.
Step 2: Pick Your Method Based on Your Situation
Now that you know your machine type and what the manual says, it’s time to choose.
Branch A: Heavy Scale on a Basic Drip Machine
If your drip machine hasn’t been cleaned in a year and you see white flakes inside the carafe, go with white vinegar. It’s cheap, strong, and effective. Mix equal parts vinegar and water.
Fill the reservoir. Run a full brew cycle but stop it halfway through the pot. Let it sit for 30 to 45 minutes.
Then finish the cycle. Empty the carafe and run two more cycles with fresh water. If the buildup is extreme, you may need to repeat the process.
Branch B: Pod Machine With a Descaling Mode
For Keurig, Nespresso, or similar pod machines, use the manufacturer’s descaling solution or a citric acid mix. Fill the reservoir with the solution. Enter descaling mode by holding a specific button combination (check your manual).
The machine will pump the solution in intervals. After the cycle, rinse by running two full reservoirs of fresh water through the brew cycle (without a pod). Never run a pod during descaling, the acid can damage the needle.
Branch C: Espresso Machine
This branch is more involved. First, remove the water filter if you have one. Fill the reservoir with descaling solution.
Run the brew cycle with the portafilter in place but no coffee. Then activate the steam wand for 30 seconds to flush the steam circuit. Let the machine sit for 20 minutes.
Run another brew cycle. Flush the steam wand again. Finally, run two full reservoirs of clean water through the brew group and steam wand.
For detailed instructions, see our guide on keeping it running smoothly.
Branch D: Coffee Maker Still Under Warranty
Use exactly what the manual says, usually a commercial descaler from that brand. Don’t risk it. If something goes wrong and the warranty inspector sees vinegar residue, you’re out of luck.
It’s worth the extra $2 to $3 for the branded solution.
What About the Water Hardness Test?
If you don’t know how hard your water is, buy a test strip from any hardware store. They cost about $5 and give you an instant reading. If your hardness is above 7 grains per gallon, descale every 3 months.
If it’s below 3, you can stretch to 6 or 8 months. For the best long-term results, consider using filtered or distilled water. Using distilled water can dramatically reduce new scale buildup, but don’t use it exclusively, some machines need trace minerals for proper taste.