Skip to content
Few things wreck a morning faster than a Keurig that refuses to brew. Before you call support or start shopping for a replacement, try a reset. Most Keurig problems are not mechanical failures — they are error states caused by a loose water tank, trapped air, a blocked needle, or mineral scale.
These four fixes are ordered from least to most involved, so you only do as much as your machine actually needs. They work on the current Keurig lineup and older models, from K-Classic and K-Elite to K-Supreme and K-Mini. If your model has an iced-coffee mode, the reset logic is exactly the same; you can get back to using the machine’s cold mode once it is brewing normally again. You can also read our guide on keurig brew over ice setting.
What a Keurig Reset Actually Does (and Doesn’t Do)
Despite what the phrase suggests, most Keurig brewers have no factory reset code and no hidden reset button. The machine does not store personal settings that need to be wiped. What people call a reset is really a full power cycle that clears a stuck error state.
When you unplug a Keurig, the small electrical charge held in the control board drains completely. Plugging it back in forces the machine to start a clean brew cycle from the beginning. That is why the most effective reset means unplugging — not just pressing the power button. You can also read our guide on best portable electric kettle for traveler.
A reset will not fix a crushed K-Cup, a cracked reservoir seal, a blocked needle, or heavy scale inside the water path. Those are physical problems. The four fixes below are arranged to handle both kinds of trouble: first reset the electronics, then clear clogs, then fix water delivery, and finally descale the internal lines.
Before You Start: Tools and Models
You do not need a tool kit for any of these fixes. Gather:
- A paperclip
- A soft, lint-free cloth
- A large mug (12 oz or bigger)
- Fresh filtered water
- Descaler or white vinegar for Fix 4
These steps apply to most single-serve Keurig models, including the K-Classic, K-Elite, K-Supreme, K-Mini, K-Slim, and K-Duo. The outer design differs, but the brew path and reset logic are similar enough that the same troubleshooting order works. You can also read our guide on how to use a moka pot.
The 4 Fixes at a Glance
| Fix | Symptoms It Solves | Time Needed |
|---|---|---|
| Fix 1: Power Reset | Machine won’t turn on, blinking lights, stuck after brewing | 2–5 minutes |
| Fix 2: Clean the Needles | Slow brewing, weak coffee, grounds in the mug | 5–10 minutes |
| Fix 3: Reseat the Reservoir | “Add Water” light with a full tank, gurgling, leaks | 2–5 minutes |
| Fix 4: Descale | Long brew times, low output, odd taste, loud machine | 30–60 minutes |
Work through them in order. Most failed Keurigs are fixed by Fix 1 or Fix 2, but Fix 3 and Fix 4 solve the frustrating problems that restart themselves every few days.
Fix 1: Do a Full Power Reset
Start here because it solves the largest share of “dead” Keurig problems. A full power reset clears the machine’s internal error state, not just turns off the display. You can also read our guide on best beverage dispenser for parties.
Step-by-Step Power Reset
- Turn the Keurig off and unplug it from the wall.
- Remove the water reservoir.
- Wait at least 30 seconds. For stubborn errors, wait 5 full minutes.
- While it is unplugged, press and hold the power button for 5 seconds to discharge any remaining power.
- Refill the reservoir with fresh water and snap it firmly back into place.
- Plug the machine back in.
- Lift and lower the handle, press the power button, and run a water-only brew cycle without a K-Cup.

A true power reset starts with the machine fully disconnected from the wall.
Image source: www.wikihow.com
Test the Outlet Without Guessing
A Keurig that looks completely dead is often plugged into a dead outlet. Plug a lamp or phone charger into the same outlet. If the other device does not work, try a different outlet or reset the GFCI breaker.
Avoid sharing the outlet with a toaster, microwave, or other high-wattage appliance. Keurig brewers draw the most power while heating, and another appliance on the same circuit can starve the machine just when it needs power most. You can also read our guide on blog.
If the machine still will not turn on after this test, skip ahead to Fix 2 only if the display lights up. If there is no power at all, the issue may be a damaged power cord or an internal fuse — a sign you may need service.
Fix 2: Clear the Brew Needles
If the machine powers on but the coffee trickles out, the needles are likely clogged. Every K-Cup is pierced by two needles: one that punches through the lid and one that drains the brewed coffee. In practice, the bottom needle is where most clogs hide. A common mistake is cleaning only the top needle and leaving the one that actually drains the mug blocked.
How to Clean Both Needles Safely
- Unplug the Keurig before reaching inside.
- Open the brew head and remove the K-Cup holder.
- Rinse the K-Cup holder under hot water. If it is oily or stained, soak it in warm, soapy water for a few minutes.
- Straighten a paperclip and insert it gently into each needle hole inside the brew head.
- Move the paperclip in a small circular motion to loosen coffee grounds.
- Repeat the same process on the bottom needle in the K-Cup holder assembly.
- Wipe the brew head area with a damp cloth to remove loose grounds.
- Reassemble and run two water-only brew cycles to flush the system.
Never use a wooden toothpick for this. If it snaps off inside the needle, you will have a much bigger blockage. If the paperclip bends, you are pushing too hard — stop and soak the parts instead.
If you still see specks of coffee in your mug on the next brew, the bottom needle was blocked again or the K-Cup holder is cracked. In that case, inspect the holder carefully and order a replacement part from the manufacturer.
Fix 3: Reseat the Reservoir and Inspect the Seal
The “Add Water” light can stay on even when the reservoir is completely full. This usually means the tank is not seated correctly, or the rubber seal at the bottom is not making a proper connection with the machine.
Check the Reservoir Valve
- Remove the water reservoir and turn it over.
- Find the rubber gasket or valve around the center opening.
- Wipe away dirt, coffee dust, or mineral film with a soft cloth.
- Inspect the gasket for cracks, warping, or a loose fit.
- Refill the reservoir, align it over its base, and press down firmly until it clicks into place.
If water sputters or air bubbles appear during the first brew, there may be an air pocket in the water line. Remove the reservoir, tap the sides gently to release trapped air, then reseat it and run a water-only brew.

A damaged or dirty reservoir seal can make a full tank look empty.
Image source: lifeboostcoffee.com
Why Water Quality Matters Here
Mineral scale around the reservoir valve can also prevent the sensor from reading the tank correctly. If your tap water is hard, filtered water is a better everyday choice than distilled. Distilled water has been boiled into steam and condensed, which removes minerals and impurities — but it also tastes flat and does not eliminate the need for regular descaling. Understanding distilled vs. filtered water helps you pick the right water for your brewer without assuming the machine is broken.
Fix 4: Descale and Reset After Descaling
Descaling is the most thorough reset you can do. It removes the mineral buildup that restricts water flow, slows brewing, and changes the taste of your coffee. A Keurig with heavy scale will brew slower, produce less coffee, and run louder than it should.
How Often to Descale
Every 3 to 6 months is a reasonable schedule for most households. If your water is very hard, or if you brew more than five cups a day, move closer to once a month. If you cannot remember the last time you descaled, do it before deciding the machine is broken.
Use Descaler or Vinegar
Keurig’s official descaling solution is the safest choice, especially while the machine is under warranty. A 50/50 mix of white vinegar and water also works well, but you have to rinse thoroughly afterward so your coffee does not taste like vinegar. Never mix vinegar and descaling solution together.
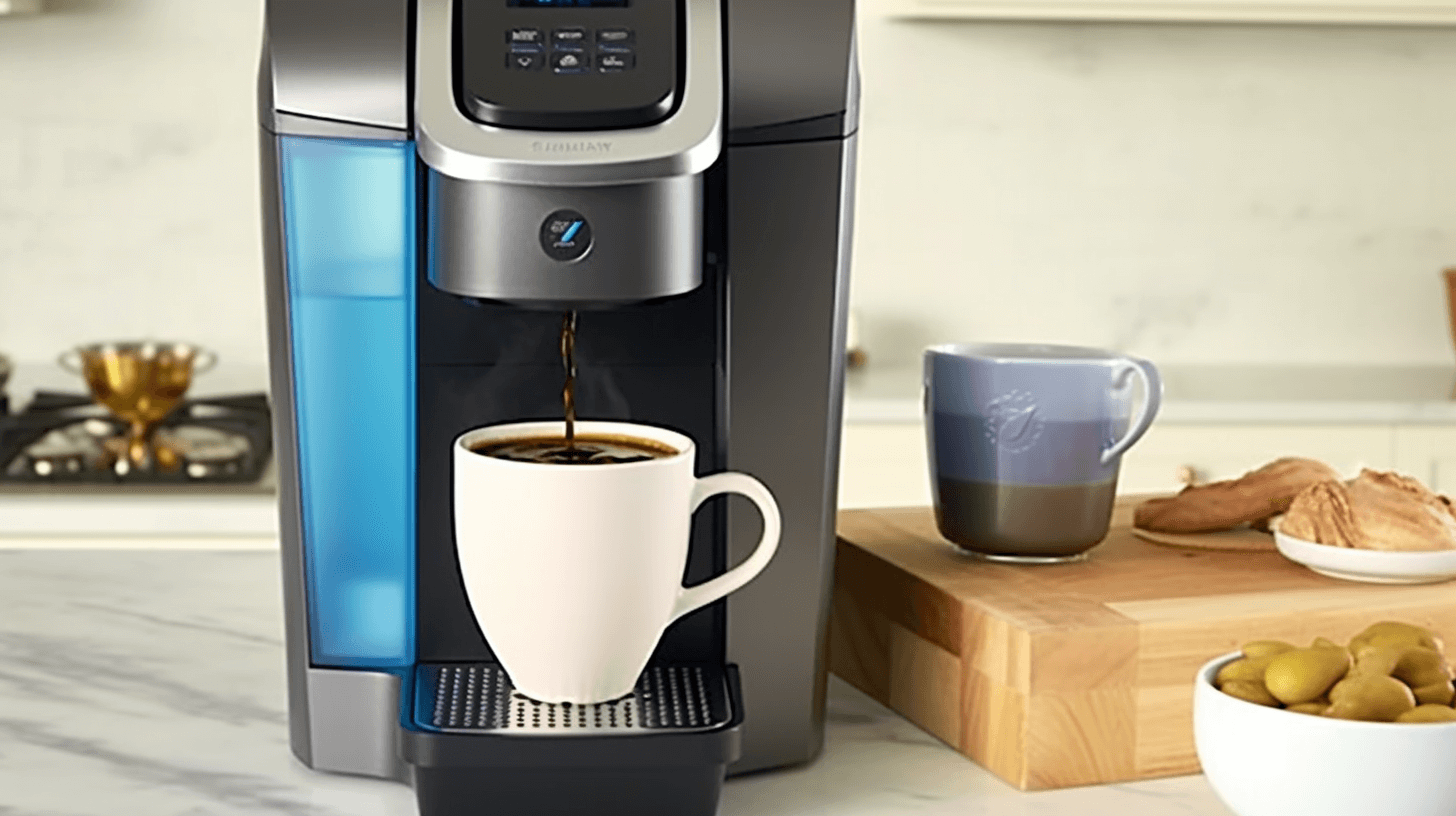
The descaling cycle cleans the internal water path a simple reset cannot reach.
Image source: angelinos.com
Step-by-Step Descaling and Reset
- Remove the K-Cup holder and take out any water filter cartridge from the reservoir.
- Fill the reservoir with descaling solution, or with the 50/50 vinegar-water mixture.
- Place a large mug on the drip tray and run a brew cycle without inserting a K-Cup.
- Let the machine sit for 30 minutes with the solution in the brew path.
- Run the remaining solution through the machine in additional water-only brew cycles, emptying the mug as needed.
- Fill the reservoir with fresh water and run 3 to 5 rinse cycles until the vinegar smell is gone.
After a descaling cycle, some machines stay in a “descaling mode” until they are reset. Unplug the Keurig for one minute, plug it back in, and run one final water-only brew. The “Add Water” light should clear once fresh water reaches the internal sensor.
What to Do If Your Keurig Still Won’t Reset
If you have done a full power reset, cleaned both needles, reseated the reservoir, and descaled, the problem is likely hardware, not an error state.
- Confirm the outlet is working with another device.
- Inspect the power cord for chew marks or damage, especially where it meets the base.
- Check the model and serial number on the label under the brewer.
- Look up your model’s troubleshooting guide on the official Keurig support portal.
- Contact Keurig support before opening the machine or taking it to a repair shop.
If the pump no longer draws water, the machine may need service. If the brewer is out of warranty and the repair quote approaches the cost of a replacement, upgrading may make more sense. Just do not disassemble a machine that is still under warranty — that can void coverage.
Preventing Future Keurig Problems
A reset fixes this week’s problem. A few small habits stop it from coming back.
- Use fresh, filtered water instead of hard tap water.
- Never run the reservoir completely dry; air bubbles can get into the pump.
- Clean the needles once a month or after heavy use.
- Descale on schedule, not only when the machine starts acting up.
- Wipe the reservoir seal every time you refill.
- Empty the reservoir if the machine will sit unused for more than two weeks.
If you are not sure how hard your water is, check your local water utility’s annual quality report and compare it with the EPA’s drinking water guidance. Hard water is the root cause of most scale-related Keurig failures.
| Frequency | Maintenance Task |
|---|---|
| Every refill | Wipe the reservoir seal and use fresh water |
| Monthly | Clean the brew needles and rinse the K-Cup holder |
| Every 3–6 months | Descale the internal water path |
When you are away from home and need hot water without a full brewer, a compact travel kettle is a convenient backup. At home, a simple stovetop brewer makes excellent coffee with no plastic pods and no pump to fail. And when you are hosting a crowd, skip the chain-brewing and make one large batch in a large-batch drink dispenser so the Keurig is not running hot for an hour straight.
Keurig Reset FAQs
How do I force my Keurig to reset?
Unplug the machine, remove the water reservoir, and wait at least 30 seconds. While it is unplugged, press and hold the power button for 5 seconds. Refill and reseat the reservoir, plug the machine back in, and run a water-only brew cycle.
Why did my Keurig stop working suddenly?
Sudden failures are usually caused by a bad outlet, a loose reservoir, a blocked needle, or an air pocket in the water line. Try the power reset first, then inspect the needles and reservoir seal. If the machine still will not heat or brew, descale the machine before calling support.
How do I reset my Keurig after descaling?
After a descale cycle, unplug the machine for one minute, then plug it back in. Fill the reservoir with fresh water and run a water-only brew cycle. On most models this clears the descale message and resets the machine.
Why won’t my Keurig brew with a K-Cup in place?
This usually means the needles cannot pierce the K-Cup, the needles are clogged, or the reservoir is not seated properly. Clean both needles with a paperclip, rinse the K-Cup holder, and reseat the water reservoir before trying again.
Can I reset a Keurig without unplugging it?
You can clear minor errors by lifting the handle and running a water-only cycle, but a true reset requires unplugging. Removing power is the only reliable way to clear the machine’s internal error state completely.
Final Thoughts: Don’t Skip the Simple Fix
Most Keurig failures do not require a service call. The sequence is simple: power-cycle the machine, clear the needles, reseat the reservoir, and descale. Work through the four fixes in order and stop as soon as the machine brews a full, hot cup.
Bookmark this guide for the next time the “Add Water” light lies to you. A few minutes of troubleshooting can save you the cost of a new brewer — and a very disappointing first cup of the day. For more no-nonsense kitchen problem solving, browse our other kitchen troubleshooting guides and keep your appliances running longer.