Replacing a kitchen sink might sound like a big job, but with the right guidance, it becomes a practical home improvement anyone can tackle. Whether you want to upgrade your old, stained basin or install a more modern design, learning how to replace a kitchen sink will help you save money and customize your kitchen to fit your style.
This guide breaks down the process step by step, from choosing the right sink to making the final connection. Along the way, you’ll discover useful tips, common mistakes to avoid, and insights that even some experienced DIYers miss.
Why Replace A Kitchen Sink?
Changing your kitchen sink isn’t just about looks. Over time, sinks can develop leaks, stains, or scratches. Older sinks may not fit new appliances, or you might want a deeper bowl or different material. A new sink can also improve your kitchen’s cleanliness and make daily tasks easier.
For example, a larger basin helps when washing big pots, and a new faucet can save water. Making this change is an effective way to refresh your kitchen without a full remodel.
Choosing The Right Kitchen Sink
Before starting, you need to pick the best sink for your needs and kitchen layout. Here are the main factors to consider:
Sink Types
- Top-mount (drop-in) sinks are easy to install because they rest on the countertop.
- Undermount sinks attach from below for a seamless look and easier cleaning.
- Farmhouse (apron-front) sinks have a visible front and usually need cabinet modifications.
- Double or single bowl styles offer different functions—double bowls are great for multitasking, while single bowls are roomier.
Material Matters
- Stainless steel is durable and affordable but can scratch.
- Porcelain looks classic but can chip.
- Composite granite resists stains and scratches but is heavier.
- Cast iron is strong and stylish but requires sturdy cabinets.
Size And Fit
Measure your current sink and countertop opening. Most kitchen sinks are 22 by 33 inches, but sizes vary. The new sink should fit the cutout, or you may need to adjust the countertop. Check cabinet depth and under-sink space, especially if adding accessories like water filters.
Faucet Compatibility
Choose a sink that matches your faucet’s mounting holes. Some sinks have multiple predrilled holes for soap dispensers or sprayers.
Practical Insights
- Don’t forget about sink depth. Deeper sinks hold more but can make under-sink storage tighter.
- Pay attention to drain location. Center drains are common, but off-set drains can free up space below.
Tools And Materials You’ll Need
Gather everything before starting. Having the right tools speeds up the process and prevents frustration.
Basic Tools
- Adjustable wrench
- Channel-lock pliers
- Screwdriver set (flathead and Phillips)
- Utility knife
- Plumber’s putty
- Silicone sealant
- Bucket and rags
Additional Supplies
- Pipe wrench or basin wrench (for hard-to-reach nuts)
- Putty knife
- Hacksaw (if you need to cut pipes)
- Plumber’s tape (Teflon tape)
- Replacement sink and faucet (if needed)
- New supply lines or drain assembly (optional but recommended)
Safety Gear
- Safety glasses
- Work gloves
Pro tip: Take a few photos of your current setup before removing anything. This will help you remember how everything fits together when installing the new sink.
Preparing For Sink Replacement
Turn Off Water Supply
Locate the shutoff valves under the sink. Turn them off by turning the handles clockwise. If your home doesn’t have local shutoffs, turn off the main water supply. Open the faucet to let any remaining water drain.
Clear The Area
Remove everything from under the sink. Place a bucket and rags below the plumbing to catch water. Clean the area to avoid slipping or dropping tools.
Disconnect Plumbing
- Unscrew the water supply lines from the faucet using a wrench. Expect a few drips.
- Detach the drain pipe (P-trap) by loosening the slip nuts. Keep the bucket handy.
- Disconnect the dishwasher drain hose if it connects to the sink.
Disconnect The Sink
If your sink has clips or brackets under the counter, loosen them. For undermount sinks, you may need to cut through adhesive with a utility knife. Carefully cut any caulk around the sink edge.
Non-obvious insight: Sometimes, old sinks are stuck due to years of grime or sealant. Gently wiggle the sink or tap from below with a rubber mallet to loosen it. Avoid using sharp force to prevent damaging your countertop.

Credit: www.youtube.com
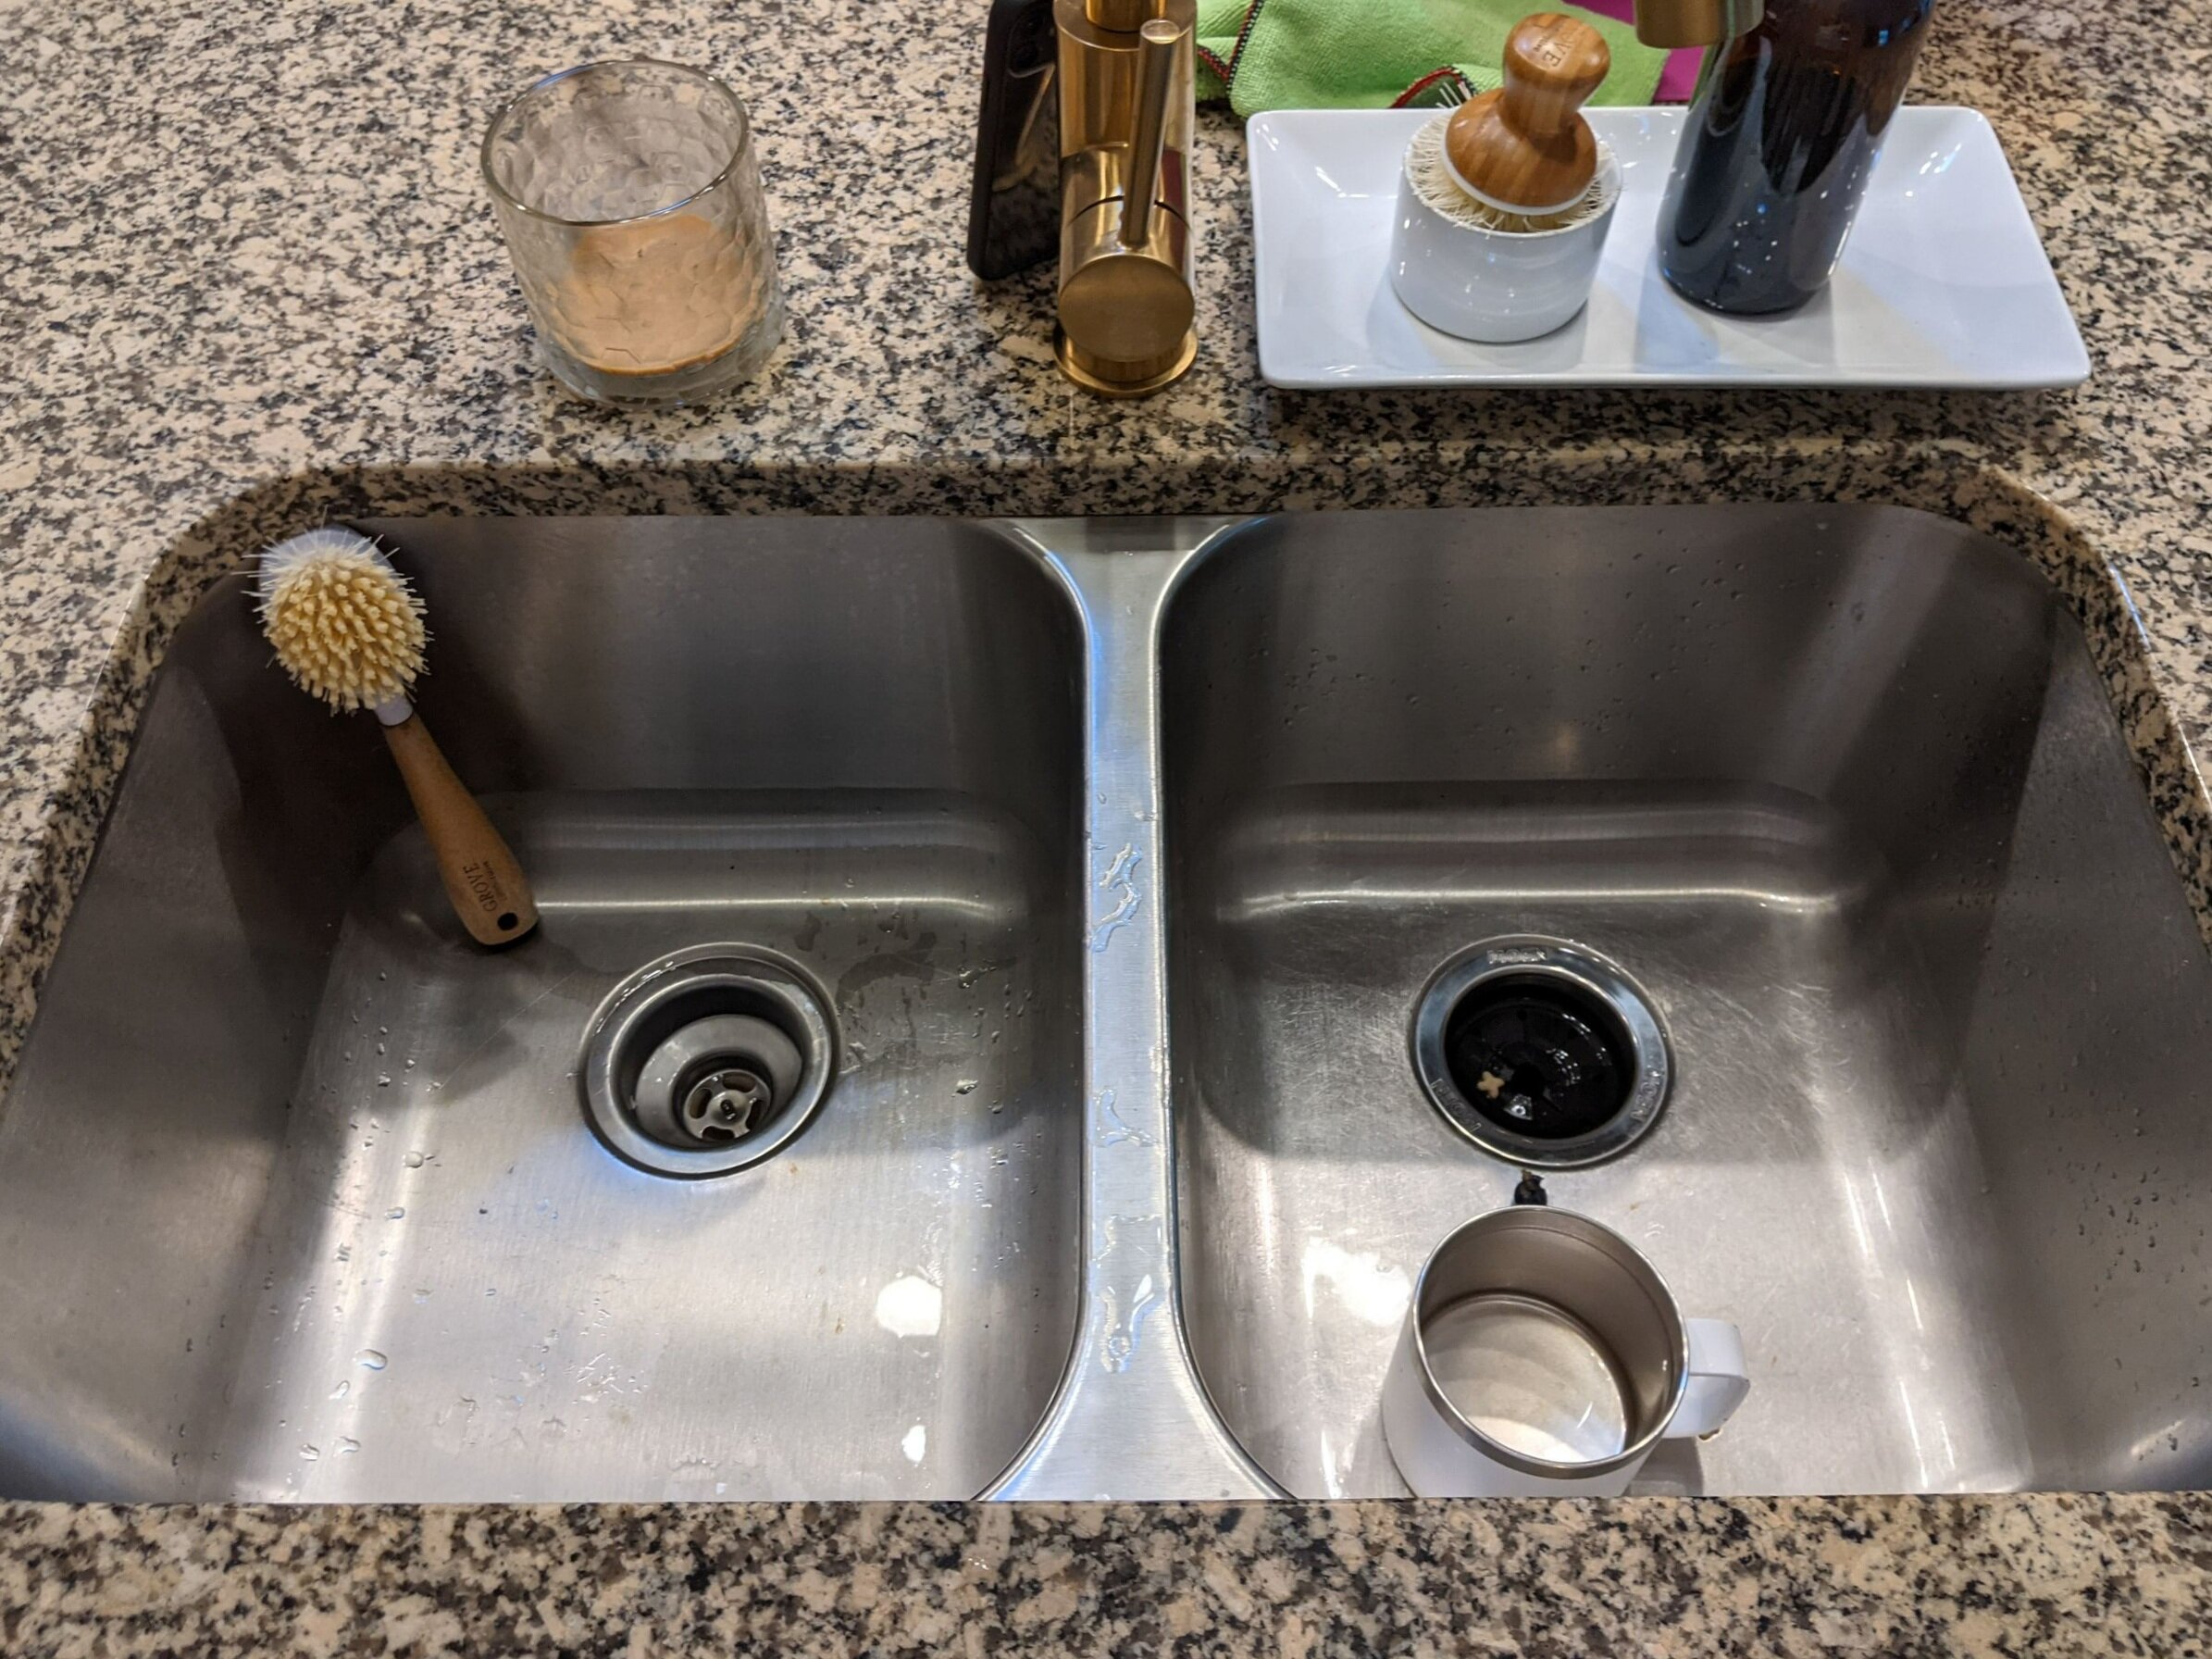
Removing The Old Sink
Once all connections are loose, carefully lift the sink out. You may need a helper if it’s heavy or awkward. Set the old sink aside.
Clean The Opening
Scrape away old caulk or putty with a putty knife. Remove any debris, and wipe the area clean. A clean surface helps the new sink seal properly.
Check For Damage
Inspect the countertop and cabinet for water damage or rot. Fix any issues before installing the new sink. A solid base prevents leaks and keeps the new sink secure.
Fitting The New Sink
Dry Fit
Place the new sink into the opening to check the fit. It should sit level and flush. If it doesn’t fit, check if you need to trim the countertop or adjust the hole.
Attach Faucet And Accessories
It’s easier to install the faucet, soap dispenser, or sprayer before putting the sink in place. Follow the manufacturer’s instructions for each accessory. Use plumber’s putty or the supplied gasket under the faucet to prevent leaks.
Connect The Drain Assembly
Assemble the drain and strainer on the new sink. Apply plumber’s putty under the drain flange, press it into the hole, and tighten the nut from below. Wipe away extra putty.
Practical tip: For sinks with multiple bowls, make sure both drains align with your plumbing. Using flexible tailpieces can help if the holes don’t match perfectly.
Installing The New Sink
Apply Sealant
For top-mount sinks, run a bead of silicone sealant around the edge of the countertop opening. This creates a watertight seal.
Lower The Sink Into Place
Carefully lower the new sink into the hole. Press down gently so the sealant spreads evenly. Wipe away excess sealant immediately.
Secure The Sink
Attach the mounting clips or brackets under the countertop if your sink has them. Tighten evenly to hold the sink in place, but don’t overtighten—this can damage the sink or counter.
For undermount sinks, support the sink from below while the adhesive sets. Some people use wood braces or jacks. Check the sink is level before the adhesive cures.
Reconnect Plumbing
- Attach the drain pipes and P-trap. Wrap threads with Teflon tape for a better seal.
- Connect the water supply lines to the faucet. Tighten firmly but avoid overtightening.
- Reconnect the dishwasher drain hose if necessary.
Test For Leaks
Turn on the water slowly and check all connections. Run water in the sink and inspect under the cabinet for drips. Tighten fittings as needed.
Non-obvious insight: Fill the basin, then release all the water at once. This puts extra pressure on the drain and shows if there are any hidden leaks.
Common Mistakes And How To Avoid Them
Skipping Measurements
Many people skip carefully measuring the countertop cutout or cabinet space. This can lead to buying a sink that doesn’t fit. Always double-check measurements before purchasing.
Over-tightening Connections
Tightening plumbing connections too much can crack pipes, strip threads, or damage seals. Tighten until snug, then give a small extra turn.
Ignoring Sink Support
Heavy sinks like cast iron or stone require extra support. Make sure your cabinet can handle the weight, or add reinforcing braces.
Not Sealing Properly
Insufficient caulk or putty can lead to leaks. Use high-quality sealant and apply evenly around all edges and connections.
Neglecting Plumbing Alignment
If drain holes don’t line up, don’t force pipes to fit. Use flexible or adjustable plumbing parts to make safe connections.
Comparing Sink Materials
Here’s a quick comparison of popular kitchen sink materials:
| Material | Durability | Maintenance | Cost | Appearance |
|---|---|---|---|---|
| Stainless Steel | High | Easy | Low – Medium | Modern |
| Porcelain | Medium | Moderate | Medium | Classic |
| Composite Granite | High | Easy | Medium – High | Contemporary |
| Cast Iron | Very High | Moderate | High | Traditional |
Cost Breakdown: Diy Vs. Professional Installation
Replacing a sink yourself can save money, but it’s important to know the potential costs.
| Expense | DIY Cost | Professional Cost |
|---|---|---|
| Sink (basic model) | $100 – $300 | $100 – $300 |
| Faucet | $50 – $200 | $50 – $200 |
| Plumbing Supplies | $20 – $50 | Included |
| Labor | Free (your time) | $150 – $500 |
| Total | $170 – $550 | $320 – $1,050 |
Extra tip: If your sink replacement requires countertop modifications (like cutting stone or quartz), hiring a professional is safer and prevents costly mistakes.
Step-by-step Recap
Let’s review the full process to replace a kitchen sink:
- Turn off water and disconnect plumbing.
- Remove old sink after loosening mounting hardware and cutting caulk.
- Clean the opening and check for cabinet damage.
- Dry fit new sink to ensure proper size and alignment.
- Install faucet and drain assembly on the new sink.
- Apply sealant, then lower and secure the new sink.
- Reconnect all plumbing and check for leaks.
- Test the sink by running water and checking every connection.
Following these steps helps you avoid surprises and ensures a smooth installation.
Tips For A Professional-looking Finish
- Use masking tape around the sink cutout before applying caulk to keep lines clean.
- Choose a faucet and accessories that match your sink for a coordinated look.
- If your countertop is uneven, use small shims under the sink rim to keep it level.
- Clean up excess plumber’s putty or sealant right away to avoid stains.
- Allow all adhesives and sealants to cure as recommended—usually at least 24 hours—before heavy use.
When To Call A Professional
While many homeowners can replace a kitchen sink themselves, some situations call for expert help:
- Installing an undermount sink on stone or quartz countertops
- Replacing old or damaged plumbing
- Making major changes to cabinet structure
- If you’re not comfortable with tools or plumbing
Hiring a professional can protect your investment and prevent water damage.
Environmental Considerations
When replacing your sink, think about how to dispose of the old sink responsibly. Many recycling centers accept stainless steel or cast iron sinks. For porcelain, check with your local waste management service. Donating a still-usable sink to a salvage shop is another eco-friendly option.
Also, consider faucets with water-saving features to reduce your kitchen’s water usage over time. Modern designs often include aerators and sensors.
Real-world Example
Jessica, a homeowner in Austin, Texas, decided to replace her old double-bowl stainless steel sink with a single-bowl composite granite model. She measured her countertop opening three times and found the new sink would fit perfectly. Jessica watched a few online tutorials, gathered her tools, and finished the job in an afternoon.
She only ran into trouble when the old P-trap didn’t line up with the new drain. Using a flexible pipe solved the problem. Jessica says the hardest part was lifting the heavy granite sink, but the new look and extra workspace made the effort worthwhile.
Safety And Maintenance Tips
- Always wear gloves and safety glasses when working with tools or removing old sinks.
- Don’t rush—taking your time prevents accidents and mistakes.
- After installation, check under the sink for leaks once a week for the first month.
- Clean your new sink with non-abrasive cleaners to protect the surface.
Credit: housebythepreserve.com
Kitchen Sink Styles Comparison
Here’s a quick view of how popular sink styles compare for kitchen use:
| Sink Style | Installation Difficulty | Best For | Drawbacks |
|---|---|---|---|
| Top-mount | Easy | DIY projects, budget updates | Lip can collect dirt |
| Undermount | Moderate – Hard | Modern kitchens, easy cleaning | Needs solid countertop |
| Farmhouse | Hard | Large pots, rustic style | Cabinet modifications required |
| Double bowl | Medium | Washing and rinsing separately | Less space for big items |
| Single bowl | Easy | Large pans, open look | Less separation for tasks |
Frequently Asked Questions
How Long Does It Take To Replace A Kitchen Sink?
Most DIYers can finish the job in 3–5 hours, depending on experience and if there are any complications like stubborn plumbing or heavy sinks. If it’s your first time, plan for a full day.
Do I Need Special Tools To Replace A Kitchen Sink?
No, most of the required tools are standard: wrenches, screwdrivers, and pliers. For tight spaces, a basin wrench helps. For undermount sinks or stone countertops, you may need special adhesive or cutting tools.
Can I Reuse My Old Faucet With A New Sink?
Yes, if the mounting holes match and the faucet is in good condition. However, installing a new faucet at the same time is often easier and gives your kitchen a fresher look.
What Should I Do If The New Sink Doesn’t Fit?
Stop and measure again. Sometimes the countertop cutout is too small or large. You may need to trim the opening or buy a different-sized sink. For stone or solid surfaces, get professional help to avoid damage.
Where Can I Learn More About Kitchen Sink Installation?
For further reading and detailed diagrams, the Family Handyman offers excellent guides: Family Handyman.
Replacing a kitchen sink is a rewarding project that adds value and comfort to your home. With the right preparation, careful measurements, and patience, you can achieve a professional finish and enjoy your new kitchen centerpiece for years to come.

Credit: www.homedepot.com