Skip to content

Have you ever wondered if it’s safe to put ice in your blender? If you enjoy making smoothies, frozen cocktails, or slushies, you’ve likely faced this question.
I used to think the same. I love smoothies, slushies, and iced drinks—especially on a hot Texas day. But after cracking an old blender years ago, I learned the hard way.
If you’re like me and enjoy cold drinks, it’s super important to know what your blender can handle. Some are built for crushing ice. Others? Not so much.
You don’t want to ruin a good machine—or end up with chunks instead of a smooth drink.
In this guide, I’ll walk you through what works, what doesn’t, and how I blend ice safely now. Stick with me, and you’ll know exactly how to chill your drinks without hurting your blender.
Blender Safety Basics (From My Own Kitchen!)
Blenders are super handy. I use mine almost every day—for smoothies, soups, and sometimes even pancake batter. But no matter how often you blend, safety always comes first. Trust me, learning the basics can save your blender—and your fingers.
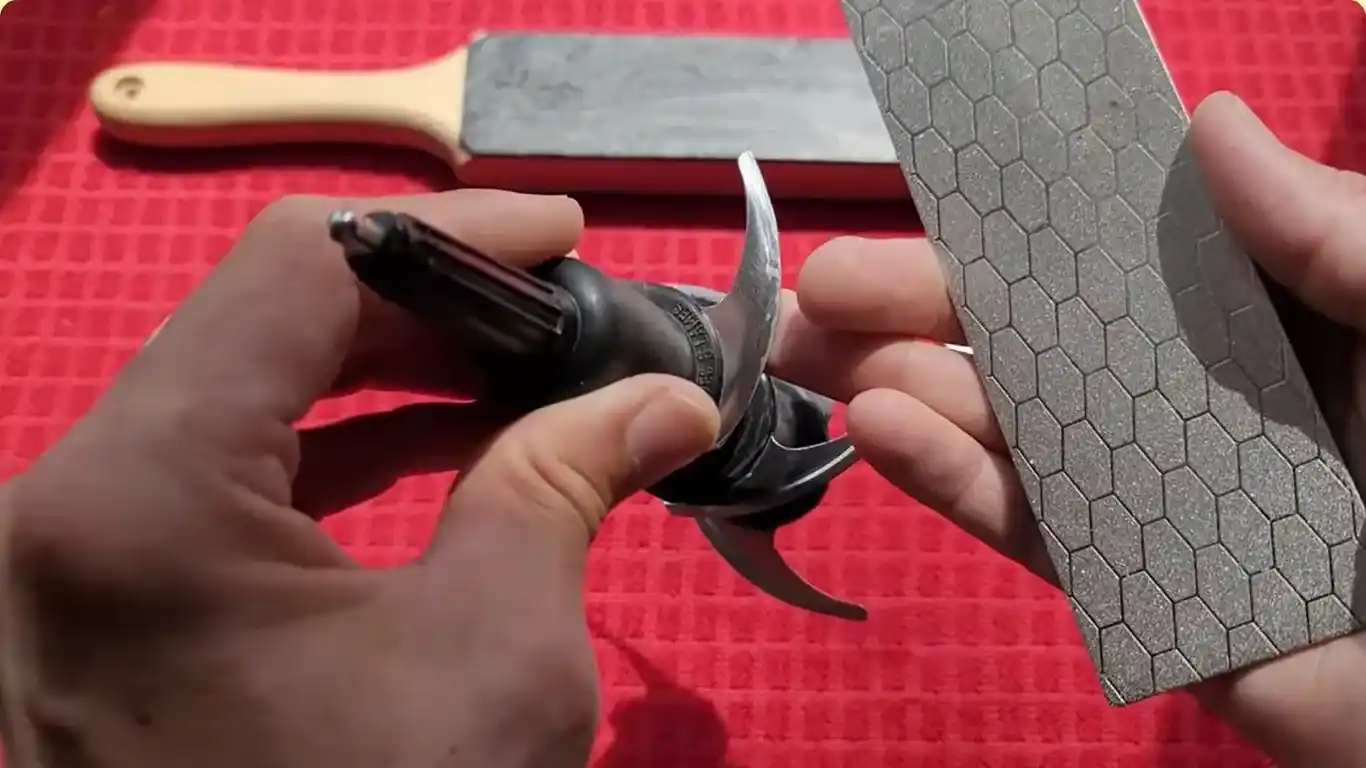
Blender Blades and Power Settings
Blender blades are very sharp. They’re strong enough to handle ice, frozen fruits, and other tough ingredients. Always keep your hands away when the blender is still plugged in. I always make sure it’s off and unplugged before cleaning or moving the parts.
When blending, I start at a low speed. Then I slowly turn it up if needed. This keeps the motor safe and makes smoother drinks.
Don’t Forget the Lid
Always lock the lid in place before starting. I made the mistake once—it wasn’t fun cleaning smoothie off the ceiling! A snug lid helps prevent messes and holds everything in place.
Make sure the lid fits well. Most good blenders have seals to keep things secure. Give it a quick check every time.
Watch Your Fill Line
Don’t overfill your blender. I leave about an inch or two of space at the top. This gives your ingredients room to move. It also stops the motor from working too hard.
Each blender has a max fill line—follow it. It’s there for a reason.
Crushing Ice the Right Way
If you’re blending ice like I do, don’t dump in big blocks. I break them up first. I also use the “pulse” button. It gives short bursts of power to protect the motor from overheating.
Even strong blenders need some care. Taking this step helps your blades last longer.
Blender Cleaning and Maintenance Tips for Longer Life
I always rinse and clean my blender right after use. This keeps food moist and stops it from sticking. I also check the blades, seals, and lid once a week.
If something looks worn out, I replace it fast. A small fix now can save you from buying a new blender later.
Best Types of Blenders for Ice: My Tested Recommendations
Picking the right blender matters. I’ve tried several of these myself in my own kitchen. Some crush ice like a champ. Others? Not so much. If you love cold drinks like I do, this part is important.
Standard Blenders
These are the most common blenders. You’ll find them in many homes. I started with one of these when I was new to blending.
They’re great for soft things—like fruits, soups, and sauces. But when it comes to ice? They can struggle.
The motor isn’t super strong. The blades may jam or wear out fast. I’ve had one stop working after just a few months of blending ice.
Quick tip: Always check the box or manual. If it says “not for ice,” skip it for frozen drinks.
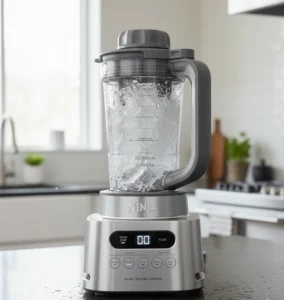
High-Powered Blenders
This is the blender I use for ice: the Ninja BN751. It’s a high-powered model with a 1400-watt motor. I’ve used it for over a year, and it still works like new.
I toss in full-size ice cubes, hit the pulse button, and that’s it—smooth, crushed ice in seconds. No jams. No burning smell. Just fast, clean blending.
The BN751 costs a bit more than basic blenders. But for me, it’s worth every dollar. The blades are thick. The jar is strong. And it’s made to last.
I used to burn through low-cost blenders every few months. Now, I don’t have to worry. If you blend ice a lot—like for smoothies or frozen drinks—I highly recommend the Ninja BN751. The Vitamix 5200 is also great, but it’s more expensive.
Want smooth results and less stress on your blender? Go for a high-powered one like this. It makes a real difference.
Does Ice Damage Blender Blades? What I Learned Firsthand
Blending ice sounds easy, right? But if you do it often—like I do for smoothies and frozen drinks—you need to think about your blender’s blades.
Ice Can Wear Down Blades
Ice is hard. After a while, it can wear down the blades in your blender. I’ve seen it happen with one of my older blenders. The blades went from sharp to dull in just a few months.
Most blades are made from stainless steel. That makes them strong. But even strong blades can wear out if you push them too hard.
That’s why I now use smaller ice cubes. Sometimes I even pre-crush them. It puts less stress on the blades and helps them last longer.
Check Blade Condition Often
If you use your blender for ice a lot, take a quick look at the blades now and then. Are they still sharp? Do they look bent or dull?
I do this once a week—just a quick check while cleaning. It helps me spot any issues before they turn into problems.
Don’t Overload the Blender
Big ice cubes can be a problem—especially if your blender isn’t high-powered. I learned this when I heard that awful grinding noise mid-blend. That sound? Not good. It means your motor and blades are working too hard.
You could even crack the jar or burn out the motor. I’ve seen it happen.
Now, I stick to small cubes or crushed ice. I also use the pulse setting. It gives better control and keeps things safe.
Think Before You Blend Ice
Ask yourself: Is your blender made to crush ice? Are the blades in good shape?
If your answer is yes, then it’s a green light. If not, take it slow or prep the ice first.
These small steps have saved me money—and kept my drinks smooth and cold.
How to Choose the Best Blender for Crushing Ice
Not all blenders can crush ice. I’ve tested a few, and trust me—some do great, while others burn out fast. For smooth frozen drinks, you’ll need a blender made to handle the job.
These are the things I check when choosing the right one.
Key Blender Features for Safe Ice Crushing
- Power is key: Go for a motor with at least 600 watts. I personally use a blender with 1000+ watts—it blends ice in seconds.
- Blades should be strong: Stainless steel blades are best. They stay sharp and don’t rust. I’ve used plastic ones before—they wore out fast.
- Jar type makes a difference: I prefer glass jars. They don’t scratch as easily as plastic when you blend ice. My Oster blender has a glass jar, and it still looks brand new.
- Speed settings help: A blender with multiple speeds and a pulse button gives better control. I always pulse the ice first—then blend.
Blenders I Recommend
Here are a few I’ve either used myself or seen deliver great results:
Nutribullet SmartSense Blender Combo – 1400W
If you want a smart blender that knows how to handle ice, this is the one I reach for.
- The 1400-watt motor powers through full-size cubes with no stress.
- It auto-adjusts speed based on what’s inside—very helpful for ice.
- Comes with a large 64oz pitcher and two smaller cups for quick blends.
- The pulse and auto cycle give full control, so the motor stays cool.
- Most parts are dishwasher safe. I’ve run mine many times—no issues.
Why I trust it for ice: It’s smart, strong, and doesn’t overwork the motor. I get smooth results without damage.
Nutribullet Full-Size Blender Combo – 1200W
This one’s a step down in power but still safe for regular ice blending.
- 1200 watts with 3 speed levels and a pulse button.
- The blades are stainless steel and strong enough for small ice cubes.
- The pitcher and to-go cups are easy to use and clean.
- I always use the pulse first, then blend. It keeps the motor safe.
Why it works: It’s simple, budget-friendly, and gets the job done—if you stick to smaller cubes and use smart blending steps.
Ninja Mega Kitchen System – 1500W
This blender is built for power. If you blend ice a lot like I do, this one holds up.
- 1500 watts easily turns ice into snow in seconds.
- Comes with a large pitcher, food processor bowl, and two single-serve cups.
- I use it to make dough, frozen drinks, even salsa—and it never stalls.
- The pulse button helps break ice safely without overheating.
Why I rely on it: It handles ice daily and keeps going. I’ve used it for years, and the blades are still sharp. Each of these blenders works great with ice. You just need to follow the tips and care steps I shared earlier.
Step-by-Step: How to Blend Ice Smoothly at Home
Blending ice sounds easy—but doing it wrong can hurt your blender. I’ve learned a few tricks that keep things smooth, safe, and stress-free. If you blend frozen drinks like I do, these tips will help.
Ice Preparation Tips for Easier Blending
Start with fresh, hard ice cubes. Old or soft ice doesn’t blend well and can make a mess.
Use small cubes. Big chunks can jam the blades. I often break larger cubes with a mallet before tossing them in.
Here’s another tip: Let the ice sit out for a minute or two. Just enough to soften the edges. Not melting—but less rock hard.
I usually dry the ice cubes off with a towel first. Too much water slows the blend and makes it slushy instead of smooth.
Pro Tips for Blending Ice Like a Smoothie Expert
Always use a blender built to crush ice. I use a high-power model with sharp stainless steel blades. It makes the job fast and smooth.
Here’s how I do it:
- Add a little liquid first. Adding water, milk, or juice makes it easier for the blades to turn.
- Use the pulse button. I hit pulse a few times to break the ice slowly.
- Then I switch to a medium or high speed—only after the ice is crushed down.
Don’t pack the blender full. I fill mine just halfway with ice. This gives room for movement and helps the blend go smoother.
Also, don’t run it too long. I use quick pulses to prevent the motor from overheating.
And yes, I stop and check often. It helps me get the perfect texture every time—smooth, not chunky.
Maintenance and Care
Even the best blender won’t last long without care. I use mine often for smoothies and iced drinks, so I’ve learned a few easy ways to keep it running like new.
How to Clean Your Blender After Blending Ice
Ice may seem clean, but it can still leave behind tiny bits of food or cloudy spots. After I blend ice, I clean my blender right away.
Here’s what I do:
- Fill it halfway with warm water.
- Add one drop of dish soap.
- Run it on high for 30 seconds.
- Rinse it well with clean water.
If anything’s stuck, I use a soft brush. It gets into the corners without scratching the jar. Don’t scrub with steel wool or harsh pads—they can scratch the surface.
This quick clean keeps my blender fresh and helps it last longer.
How to Prevent Blender Damage When Crushing Ice
- Read the manual first: Some blenders just aren’t made for ice. I always read the packaging or manual before making a purchase.
- Use small cubes: Big ice chunks can strain the motor. I break them up with a kitchen mallet or wrap them in a towel and give a few hits.
- Check the blades often: If they look dull, I either sharpen them (some stores offer this) or get a new blade set. Sharp blades slice better and keep the motor safe.
- Let the motor rest: If I’m making a few batches, I give the blender a short break. This helps avoid overheating.
These small steps have helped my blender last for years—even with daily use.
Common Mistakes to Avoid When Blending Ice
Blending ice sounds easy. But one wrong move, and you could damage your blender fast. I’ve learned a lot from trial and error. Here are the biggest mistakes to avoid—so you don’t end up with a broken blade or burnt-out motor.
1. Using the Wrong Type of Ice
Big, hard cubes can hurt your blender. I used to toss in tray-sized ice without thinking. Now, I either crush the cubes first or use smaller ones.
Tip: Store-bought bagged ice or mini cubes work better. These ingredients blend more easily and are gentler on your blades.
2. Overloading the Blender
It’s tempting to fill the jar to the top—I’ve done it too. But too much ice can jam the blades and overheat the motor.
Now, I fill the jar only halfway with ice. Then I blend and add more if needed.
3. Starting on High Speed
I used to hit “high” right away. Bad idea. It shocks the motor and makes loud grinding noises.
Instead, I start with low or pulse, then slowly move up to high speed. It works better and keeps the blender safe.
4. Skipping Regular Cleaning
Leftover ice or sticky juice can cause problems later. I always rinse and clean my blender right after each use.
A quick warm water and soap blend keeps it fresh. I also check the blades once a week to make sure they’re still sharp.
5. Forgetting the Liquid
Trying to crush ice without any liquid? I’ve made that mistake. It makes the motor strain and stops the blades from moving.
Even a splash of water, milk, or juice helps a lot. It keeps things flowing and makes the blend smoother.
FAQ’s: Is It Safe to Put Ice in Blender?
Can all blenders crush ice safely?
No, not all blenders can. Some can break if you try. I always check the user guide first. If it says it can crush ice, then you’re good to go. If not, don’t risk it.
What happens if you put ice in the wrong blender?
It might dull the blades or strain the motor. I once tried it and my blender stopped working. Always make sure your blender is made for ice before using it.
How do I blend ice the right way?
Use a strong blender. Add a little water or juice first. Break big cubes into smaller ones. Hit the pulse button a few times. Then blend in short bursts. This helps the blender work better and last longer.
Why does my blender have a hard time with ice?
It may not be strong enough. Low-power motors can’t handle hard ice. I had to upgrade to a 1000-watt blender. It crushes ice fast with no trouble.
How can I make it easier to blend ice?
Use smaller cubes. Don’t fill the jar too full. Add some liquid to help the blades spin. Start slow, then speed up. These steps never fail me—they work every time.
Final Thoughts: The Smart Way to Blend Ice Safely
Blending ice can be easy and safe—if you use the right blender. I always check the manual first. Some blenders are made to crush ice. Others are not. If you use the wrong one, you could damage the blades or motor.
I stick to small ice cubes. They’re easier to crush and don’t strain the machine. I also add a bit of liquid—water, juice, or milk. It helps the ice move better and gives a smoother blend.
After each use, I clean my blender right away. I check the blades weekly to make sure they’re still sharp. These simple steps help my blender last longer.
I’ve made mistakes before, but now I know what works. If you follow these tips, you can enjoy icy drinks without worry. It’s all about using the right tools and taking care of them.
Stay cool—and blend smart!