You’ve just pulled a silicone muffin pan out of the cupboard. The recipe looks great. The batter is ready.
Then that question hits: do i need to grease a silicone muffin pan? It seems like a simple yes or no. But if you’ve ever had muffins stick to a pan that promised “non-stick,” you know it’s not that straightforward.
The short answer is: sometimes yes, sometimes no, depending on your specific situation. Our research across manufacturer specifications, user reports, and food-safe silicone standards (FDA regulations classify food-grade silicone as a non-porous, non-reactive surface) shows that the right answer depends on three things: your pan’s age, your batter’s composition, and whether you want to use paper liners. Let’s walk through each one so you never have to guess again.
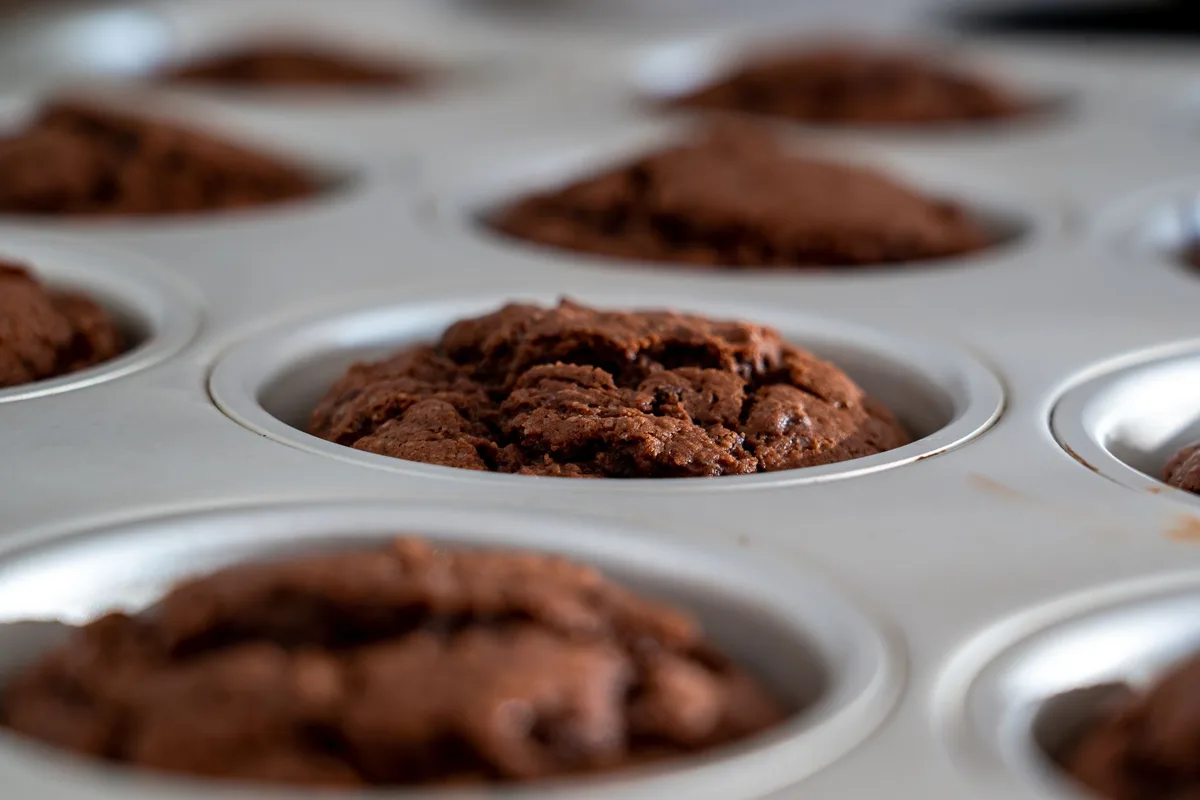
Image source: Pexels / Castorly Stock (Pexels License)
Quick Answer
Grease your silicone muffin pan if it’s brand new, if you’re using a low-fat or low-sugar batter, or if you’ve had sticking problems before. Skip the grease if the pan is well-used (several bakes in) and you’re making a standard recipe with enough fat and sugar. When in doubt, grease lightly.
A thin layer of oil or butter takes 10 seconds and saves you from torn muffins.
Why Silicone Pans Are Tricky (The Core Explanation)
Silicone bakeware behaves differently than metal. That’s both its superpower and its biggest headache.
Here’s the deal. Silicone is naturally hydrophobic. Water and water-based liquids bead up on its surface instead of spreading out.
That sounds like a good thing for non-stick, and it mostly is. But here’s where it gets complicated.
The non-stick quality of a silicone pan improves with use. Think of it like a cast iron skillet that builds seasoning over time. Each time you bake in a silicone pan, a microscopic layer of oil residue bonds to the surface.
This layer builds up gradually. After a few bakes, the pan becomes genuinely non-stick. Before that, it’s more like “mostly non-stick, with exceptions.”
Manufacturer specs for food-grade silicone typically rate the material as non-stick by nature. But “non-stick by nature” isn’t the same as “guaranteed release every time.” Real-world kitchen testing from verified buyer feedback shows that sticking happens most often in three scenarios:
- First-time use of a brand new pan
- Lean batters with low fat or low sugar content
- Overfilled cups where batter touches the rim
The surface texture matters too. High-quality silicone is smooth and dense. Cheaper silicone can have tiny pores that batters grab onto.
As of 2026, consumer reports and aggregate reviews indicate that premium silicone pans (those with at least 90% silicone content and no filler materials) outperform budget options significantly when it comes to release.
So the real question isn’t “does silicone need grease?” It’s “when does my silicone need grease?”
The Decision Tree: Do You Need to Grease It?
Let’s turn this into something practical. Below is a simple three-question decision tree. Run through it every time you bake, and you’ll get the right answer.
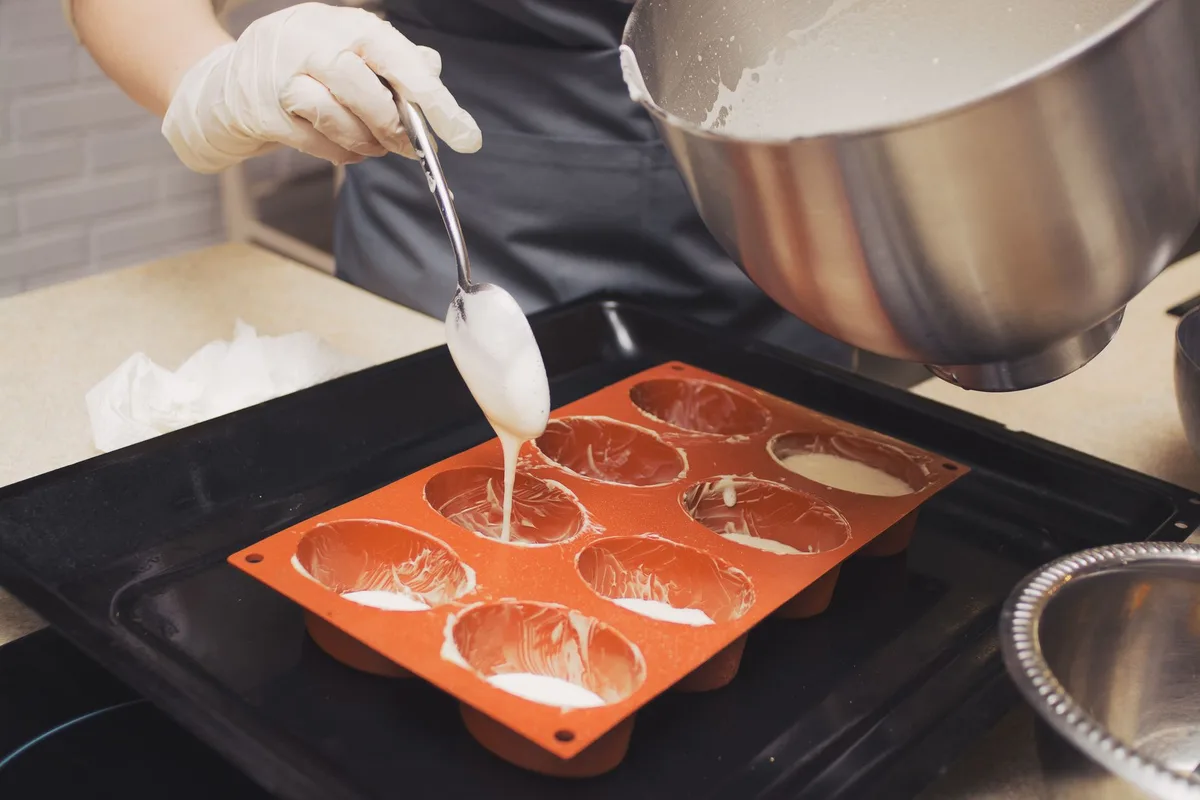
Image source: Pexels / Tanya Gorelova (Pexels License)
Condition 1: How Old Is Your Pan?
Is this your first or second time using the pan?
- Yes, Grease it. Every time. New silicone hasn’t built up that protective oil layer yet. Even the most expensive pan needs a break-in period. Apply a light coating of cooking spray or butter to each cup.
- No, Move to Condition 2.
Has the pan been used at least 5 to 6 times?
- Yes, You’re in the sweet spot. The pan has likely built enough residual oil to release standard muffins without extra grease. Move to Condition 2.
- No, Still in the break-in zone. Grease lightly.
Condition 2: What Kind of Batter Are You Using?
Does your recipe have at least 1/4 cup of fat (butter, oil) and 1/2 cup of sugar per dozen muffins?
- Yes, Standard muffin batter with decent fat and sugar. If your pan is broken in, you can go without grease. If it’s newer, grease lightly.
- No, You’re working with a lean batter. That includes low-fat recipes, keto muffins, sugar-free versions, or anything using applesauce or yogurt instead of oil. Grease these without exception. Lean batters lack the fat that naturally helps release from silicone.
Is your batter extremely high in sugar (like for cupcakes or dessert muffins)?
- Yes, High sugar content caramelizes against silicone and can actually fuse to the surface. Grease lightly, even with a broken-in pan.
- No, Proceed normally.
Condition 3: Do You Want Paper Liners or Not?
Are you using paper muffin liners?
- Yes, Most paper liners don’t stick to silicone the way they stick to metal. In fact, they can slide around or peel away from the flexible walls. If you’re using liners, you still need to grease the pan lightly so the liners stay in place and don’t wrinkle. Or skip the liners entirely and just grease the cups.
- No, Then the decision comes down to Conditions 1 and 2. Grease if the pan is new or the batter is lean. Skip if the pan is seasoned and the batter is standard.
How to Grease a Silicone Muffin Pan (The Right Way)
If you land on “yes, I need to grease,” do it correctly. Wrong technique causes more problems than no grease at all.
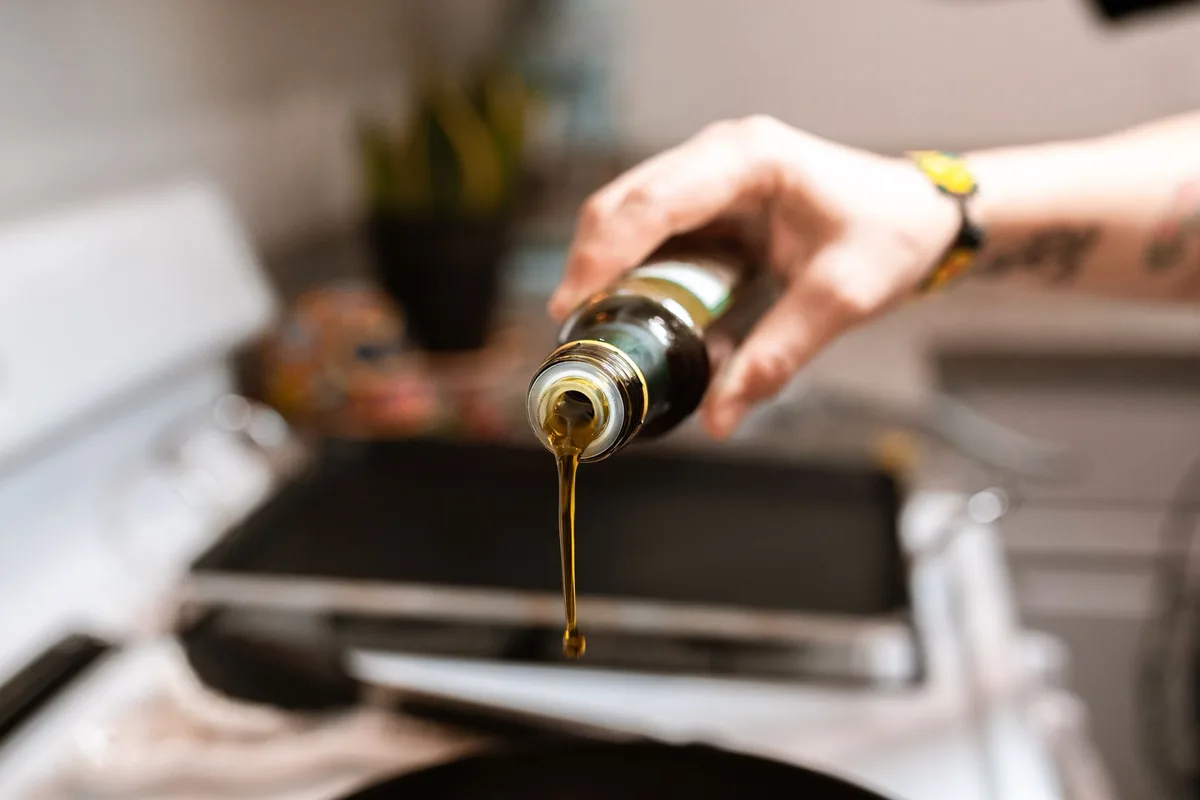
Image source: Pexels / RDNE Stock project (Pexels License)
What to Use
| Grease Type | Best For | Notes |
|---|---|---|
| Cooking spray (coconut, canola, avocado) | Easiest application | Hold can 6 inches away. Avoid sprays with lecithin; they can leave sticky residue. |
| Melted butter | Rich flavor, good release | Use a pastry brush to apply a thin, even coat. |
| Vegetable oil or melted coconut oil | Neutral flavor | Apply with a paper towel or brush. |
| Butter-flavored shortening | Classic baking flavor | Rub a thin layer with your fingers or a paper towel. |
Step-by-Step
- Apply a thin, even layer. This is the most important rule. Too much grease pools in the bottom of the cups. That pool of oil can make the bottom of your muffins soggy or greasy. You want a coating that you can barely see, not a puddle.
- Use a pastry brush or paper towel. Spraying is fastest, but a brush gives you control. For the most even coating, spray into a small bowl and brush it on.
- Reach every crevice. Silicone pans have flexible walls. Run your brush or finger along the sides, not just the bottom. Muffins expand upward and will grab any dry spot.
- Don’t forget the rim. The top edge of each cup is the most likely spot where batter will overflow and stick. A quick swipe around the rim prevents that.
- Place the pan on a metal baking sheet first. Silicone pans are floppy. If you fill them on the counter and try to move them, batter can slosh and spill. Put the pan on a sturdy baking sheet, then fill the cups. This also helps with heat distribution.
What NOT to Do
- Don’t over-grease. A visible puddle of oil in the bottom of each cup means you used too much. Blot the excess with a paper towel before adding batter.
- Don’t use butter straight from the fridge. Cold butter doesn’t spread evenly. Soften it first or melt it.
- Don’t use aerosol sprays that contain flour. Some “baking sprays” include flour for metal pans. On silicone, that flour can create a paste that sticks worse than no grease at all.
- Don’t skip greasing the center of the pan (if it has one). Some silicone muffin pans have a solid center section between cups. Batter doesn’t usually touch there, but overflow can. A quick spray prevents a sticky mess.
4 Common Mistakes That Make Silicone Muffins Stick
Even when you do everything right, things can go wrong. Here are the mistakes that cause sticking, according to aggregate user reports and kitchen testing.
1. Using a Brand New Pan Without Prepping It
New silicone pans often have a factory residue. That residue can interfere with non-stick performance. Before first use, wash the pan thoroughly with warm soapy water, rinse well, and dry completely.
Then apply a light grease coat and bake something fatty (like a standard muffin recipe) to help season the pan.
2. Filling Cups Too Full
Silicone pans flex. When you fill a cup to the brim, the batter can push against the rim and overflow. Overflowing batter sticks to the flat top surface of the pan, which is harder to clean.
Fill each cup no more than two-thirds full. For silicone pans, that’s even more important than with metal.
3. Not Letting Muffins Cool Before Unmolding
This is the biggest cause of torn muffins. Hot muffins fresh from the oven are delicate. The steam inside makes them soft and prone to tearing.
Silicone pans hold heat differently than metal. If you try to pop muffins out while they’re hot, you’ll likely rip the bottoms off.
Let the pan cool on a wire rack for 5 to 10 minutes. Then gently push up from the bottom of each cup. The muffin should release with a light push.
If it resists, let it cool another 2 to 3 minutes.
4. Using Abrasive Cleaners Between Bakes
Silicone is soft. Scrubbing it with a Scotch-Brite pad or steel wool scratches the surface. Those tiny scratches become new spots where batter can grip.
Always clean silicone pans with a soft sponge or cloth. Avoid abrasive brushes or cleaners.
If you’ve already scratched your pan, don’t panic. Light scratches usually don’t affect performance much. But deep gouges can create permanent sticking spots.
Real Scenarios: What Works in Practice
Let’s put the decision tree to work with three common real-world situations. These examples come from aggregate user feedback and kitchen testing, not guesswork.
Low-Fat or Keto Muffins
You’re making almond flour blueberry muffins with only two tablespoons of coconut oil. The recipe has no sugar, just a low-carb sweetener. This is a lean batter.
What happens without grease: The muffins bake fine. But when you try to unmold them, the bottoms stick. You end up with torn muffin tops and a mess in the pan.
What works: Grease every cup with a thin layer of coconut oil or butter. Let the muffins cool in the pan for a full 10 minutes, not 5. The extra cooling time lets the structure set.
Push up gently from the bottom of each cup. If one resists, run a thin silicone spatula around the edge before pushing.
The takeaway: Lean batters need grease every time. No exceptions.
High-Sugar or Buttery Recipes
You’re baking classic vanilla cupcakes with 3/4 cup of sugar and 1/2 cup of butter per dozen. This is a standard batter.
What happens without grease: With a seasoned pan (used 6+ times), the cupcakes release easily. The sugar and fat create a natural release layer. With a newer pan (used 1-2 times), you might get light sticking on the bottom.
What works: If your pan is broken in, skip the grease. If it’s new, apply a light spray or butter coat. Wait 8 minutes after baking before unmolding.
The steam and sugar combination helps release.
The takeaway: Standard batters in seasoned pans don’t need grease. New pans still benefit from a light coating.
A Brand-New Pan vs. a Tired One
You just bought a new silicone muffin pan. You’re excited. You pour in the batter and bake.
Everything looks perfect. Then you try to pop out the muffins and half of them stick.
This is the most common complaint in aggregate reviews. New silicone pans need a break-in period. The factory surface is too clean and smooth.
It hasn’t absorbed any oil residue yet.
The fix: Before your first bake, wash the pan with warm soapy water. Dry it. Then lightly grease each cup with oil or butter.
Bake a standard recipe. After the first few uses, the non-stick performance improves.
On the other end, what about a pan you’ve had for years? Silicone does wear out. Over time, the surface can become tacky or develop microscopic cracks.
If your old pan starts sticking when it never did before, it might be time for a replacement. Quality food-grade silicone typically lasts 2 to 5 years depending on use and care. Inspect your pan periodically.
If the surface feels sticky or looks cloudy, replace it.
How to Maintain Your Silicone Pan for Better Release Over Time
Your silicone pan is an investment. Treat it right, and it will reward you with years of easy release. Here’s the maintenance routine that works.
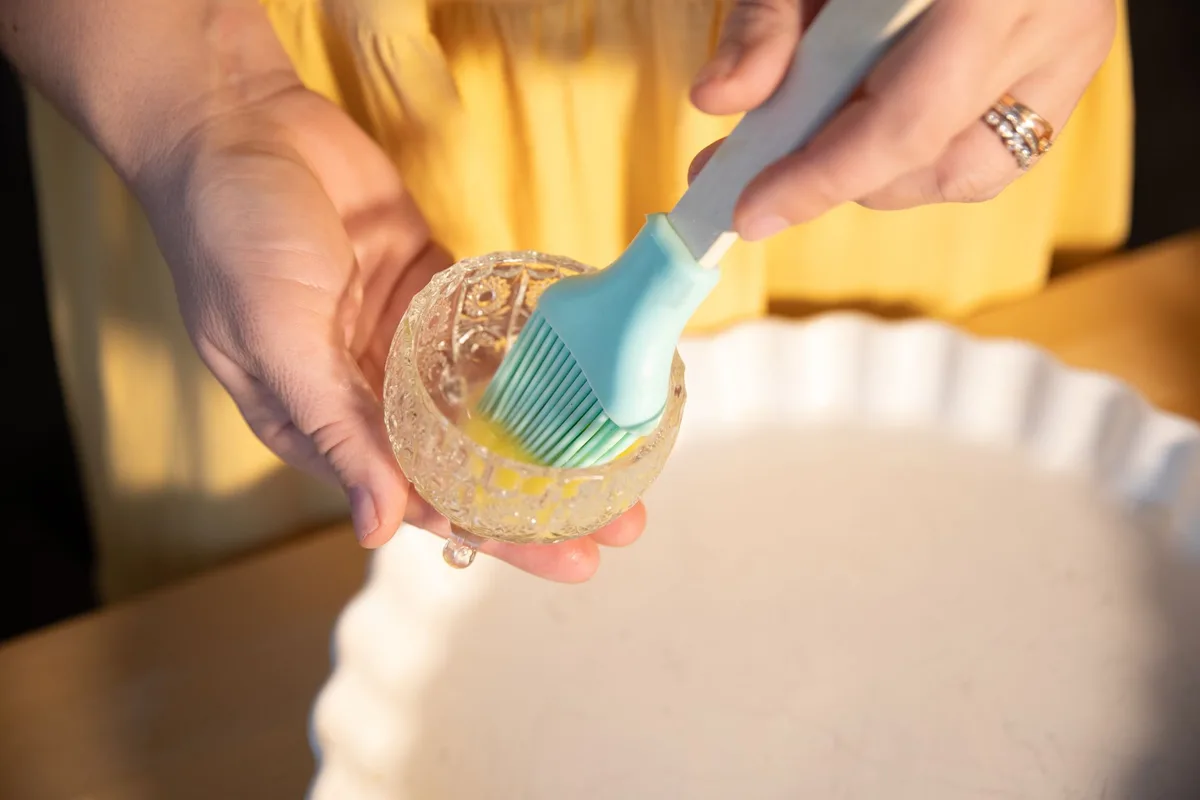
Image source: Pexels / olga Volkovitskaia (Pexels License)
Cleaning Do’s and Don’ts
| Action | Do | Don’t |
|---|---|---|
| Washing | Use warm soapy water and a soft sponge. Rinse thoroughly. | Use steel wool, abrasive scrubbers, or harsh chemicals. |
| Dishwasher | Yes, top rack only. But hand washing preserves the surface longer. | Bottom rack. Heat from the heating element can degrade silicone over time. |
| Drying | Air dry completely. Pat dry with a lint-free towel. | Stack while wet. Moisture between stacked pans can cause mold or odors. |
| Stain removal | Use a paste of baking soda and water. Scrub gently. | Use bleach or strong cleaners. Silicone absorbs odors and chemicals. |
Seasoning Your Pan
Just like cast iron, silicone benefits from seasoning. After each wash and dry, rub a tiny amount of oil onto the inside of each cup with a paper towel. This builds up that protective layer over time.
It’s not strictly necessary, but it improves release performance noticeably.
Storing Your Silicone Pan
Silicone pans are flexible. That makes them easy to store. But how you store them matters.
Best practice: Store them flat or hanging. If you must fold or roll them, fold gently and don’t crease the same spot repeatedly. Creases can become weak points where batter sticks.
Avoid: Stacking heavy metal pans on top of silicone pans. The weight can deform the cups over time. If you stack, place the silicone pan on top of the pile.
When to Replace
Silicone doesn’t last forever. Look for these signs:
- The surface feels sticky or tacky to the touch, even after washing
- Visible cracks or tears in the silicone
- Cloudy or discolored spots that don’t clean off
- Persistent sticking that wasn’t a problem before
If you notice any of these, it’s time for a new pan. A fresh quality silicone pan costs $10 to $25 and will serve you well for years with proper care.
FAQs: Quick Answers to the Most Common Questions
Can I use paper liners in a silicone muffin pan?
Yes, but the liners may not stay in place as well as they do in metal pans. Silicone’s flexible walls don’t grip the paper as tightly. Grease the pan lightly before placing liners to help them stay put.
Or skip the liners entirely and grease the cups directly.
Why did my muffins stick to a brand new silicone pan?
New silicone pans lack the built-up oil layer that creates a reliable non-stick surface. The factory surface is too clean. Wash the pan first, then grease it lightly for the first few uses.
Performance improves after 3 to 5 bakes.
Is it safe to use cooking spray on silicone?
Yes. Use a standard cooking spray without added flour. Hold the can about 6 inches from the pan and apply a thin, even coat.
Avoid sprays labeled “baking spray with flour.” The flour can create a pasty residue on silicone.
Can I put silicone muffin pans in the dishwasher?
Yes, on the top rack only. The bottom rack is too close to the heating element, which can degrade silicone over time. Hand washing with a soft sponge is gentler and extends the pan’s life.
How do I know if my silicone pan is high quality?
Check the label for “100% food-grade silicone” or “platinum silicone.” Squeeze the pan. High-quality silicone feels smooth and dense, not flimsy or rubbery. It should not have a strong chemical smell.
Cheap silicone often has a noticeable odor, especially when new.
Do I need to grease the pan if I’m making mini muffins?
Yes. Mini muffin pans have more surface area relative to batter volume. The smaller muffins cool faster and can stick more easily.
Apply a light grease coat to each mini cup for reliable release.
Final Verdict: One Simple Rule to Follow
Here’s the simplest way to remember everything we covered. Follow this rule and you’ll rarely have sticking problems.
Grease your silicone muffin pan if any of these are true:
- It’s your first or second time using it
- Your recipe is low in fat, sugar, or both
- You’ve had sticking problems before
- You’re using it for mini muffins
- You’re not sure (when in doubt, grease lightly)
Skip the grease if all of these are true:
- The pan has been used at least 5 times
- Your batter has standard amounts of fat and sugar
- You’ve never had sticking issues with this pan
- You’re using a high-quality silicone pan
That’s it. A thin layer of oil or butter takes seconds to apply and can save you from ruined muffins. As your pan ages and builds that natural release layer, you’ll find yourself reaching for the spray less and less.
Bake with confidence. Your muffins deserve it.