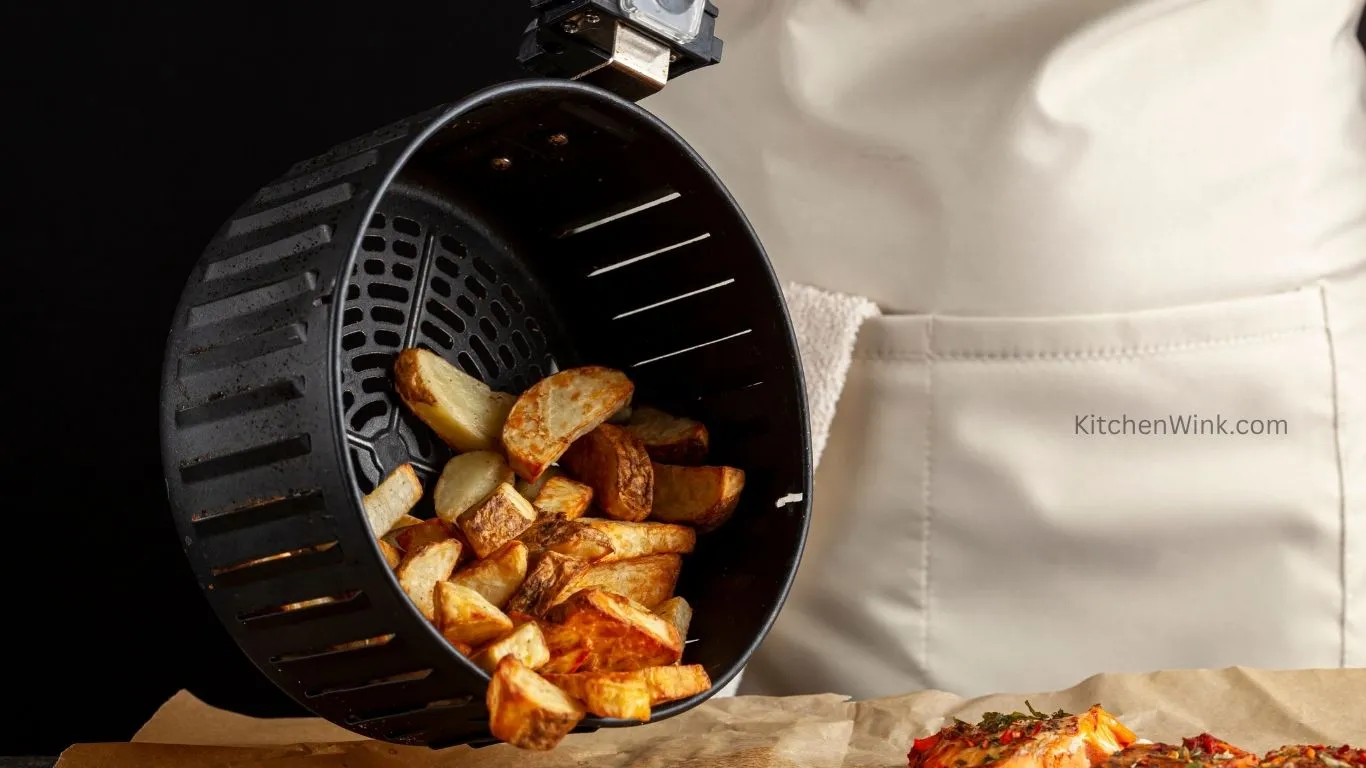
Air fryers make crispy food without the need for deep frying. But over time, grease can still collect inside—even without adding oil. Foods like wings or bacon release fat as they cook. That grease sticks to the basket and walls. In this guide, I’ll show you a quick and easy way to clean it. This helps your air fryer stay in good shape and work better.
Why Cleaning Grease from Your Air Fryer Matters
Air fryers are a great way to make crispy fries and wings. They cook without the mess that comes with deep frying. But even if you don’t add oil, grease can still build up. Foods like bacon, chicken, and frozen snacks drip fat as they cook. That fat sticks to the basket, tray, and inside walls.
If you don’t clean it, grease turns into trouble. I once forgot to wipe mine after making wings. The next time I used it, it smoked like a campfire. The smell was awful. My food tasted weird. That’s when I learned what happens when grease builds up—nothing good!
Old grease can make your food taste bad and may not be safe to eat. It can trap dirt and grow bacteria. That includes harmful germs like Salmonella and E. coli. These can cause foodborne illness.
The CDC (Centers for Disease Control and Prevention) warns people about this. They say poor cleaning raises your risk. Grease left inside your air fryer can carry dangerous germs.
I’ll be honest—I didn’t always clean mine after use. At first, I wiped it once a week. But grease built up fast. Soon, it smelled bad even when it was off. That was my big mistake. Now I clean it after every use. It makes a big difference.
What You’ll Need to Clean a Greasy Air Fryer
Cleaning your air fryer can be simple and quick. With the right tools, it gets easier—and trust me, it’s worth the effort. I used to think a fast wipe was all it needed. But after dealing with sticky grease and bad smells, I’ve learned what really works.
Here’s what you need to clean it the right way:
- Dish Soap: Dish soap is your best tool to break down grease. A mild, grease-cutting dish soap breaks down oily buildup without harming your air fryer’s finish. I like to soak the basket in warm, soapy water for 10–15 minutes when things get extra messy. It makes scrubbing way easier.
- Baking Soda: Baking soda works well on grease that’s hard to remove. Just sprinkle a little on tough spots, add a few drops of water, and let it sit. It acts like a gentle scrub without using harsh chemicals. I’ve used this trick many times when soap alone wasn’t enough.
- Soft Sponge: Always use a non-scratch sponge or cloth. Air fryer baskets usually have a non-stick coating that can wear off if scrubbed too hard. I once used a rough sponge and ended up scratching the surface—lesson learned! A soft sponge gets the job done without damage.
- Warm Water: Warm water helps loosen grease and food bits. It’s the base for most cleaning steps, so don’t skip it. I usually fill the sink with warm water and let the basket and tray soak before I clean them. It saves time and effort.
Optional Tools for a Deeper Clean:
- Soft Brush: A soft-bristle brush helps get into tight spots. I use it to clean around the edges and inside corners of the basket and tray. It’s also great for scrubbing the mesh without bending it. Be gentle and let the bristles handle the scrubbing.
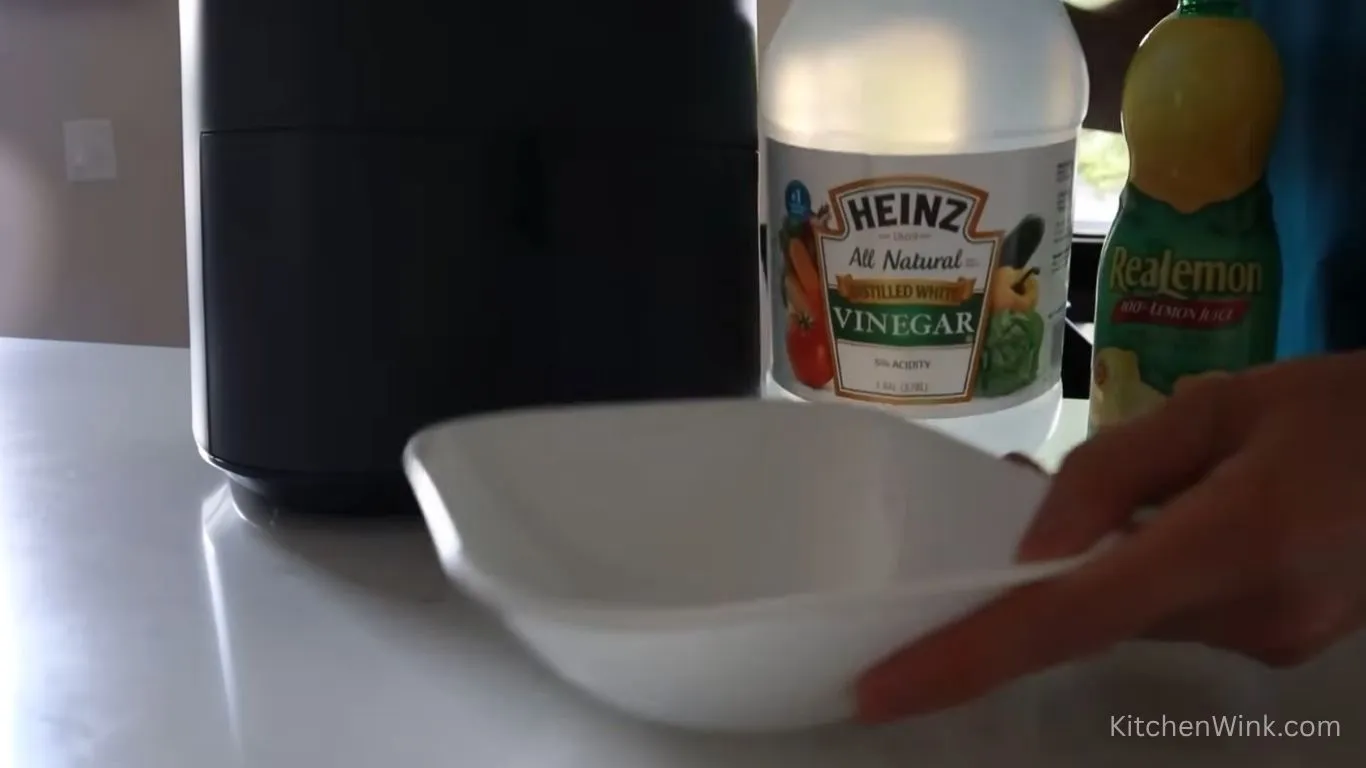
- Vinegar (for tough grease): White vinegar mixed with water can break down heavy grease. I use a 1:1 mix and spray it on the greasy parts. Let it rest for a few minutes, then wipe it clean. Test a small spot first to be sure it’s safe.
- Microfiber Cloth: These cloths are perfect for drying and wiping the outside of your air fryer. They leave no lint, and they’re great for making the control panel look new again. I always keep one nearby to give the air fryer a quick wipe after each use. It helps your air fryer stay clean and shiny.
Quick Tip:
Avoid metal tools or rough scrubbers. They can scratch the non-stick surface and shorten the life of your air fryer. I once used a metal sponge during a rush cleanup—big mistake! The surface got damaged, and I had to replace the basket.
You don’t need a lot to keep your air fryer clean—just a few simple tools and a good routine. From my own experience, having the right supplies on hand saves time, keeps your food tasting great, and makes your air fryer last longer.
Step-by-Step: How to Clean Grease from Air Fryer
Cleaning your air fryer might seem like a hassle, but it’s actually pretty easy. It’s way easier than dealing with smoke or burnt grease. I found the best way to clean it by trying different things. Here’s the routine I now use every time.
1. Unplug and Cool Down
Always unplug the air fryer before you clean anything. Then let it sit for 15 to 20 minutes. I once cleaned mine while it was still warm—never again. I nearly burned myself and worried I’d break it. Letting it cool protects both you and the machine.
2. Remove Baskets and Trays
Once it’s cool, take out the basket and tray. These parts collect most of the grease. I used to scrub everything in place, but that just made a mess. Taking them out helps yo scrub gently. For tough grease, I use baking soda and water. Just make a paste and rub lightly. It works like magic and won’t harm the coating. Don’t scrub too hard—you might damage the non-stick surface.After soaking, gently scrub with a soft sponge.
3. Clean the Heating Element (Often Overlooked!)
If your air fryer smells odd or cooks unevenly, check the top section. Grease on the heating element is often the problem. I use a soft brush or microfiber cloth for this step. Be very gentle and avoid pulling on wires. Light brushing is enough to get rid of grease without causing damage.
4. Wipe the Exterior and Control Panel
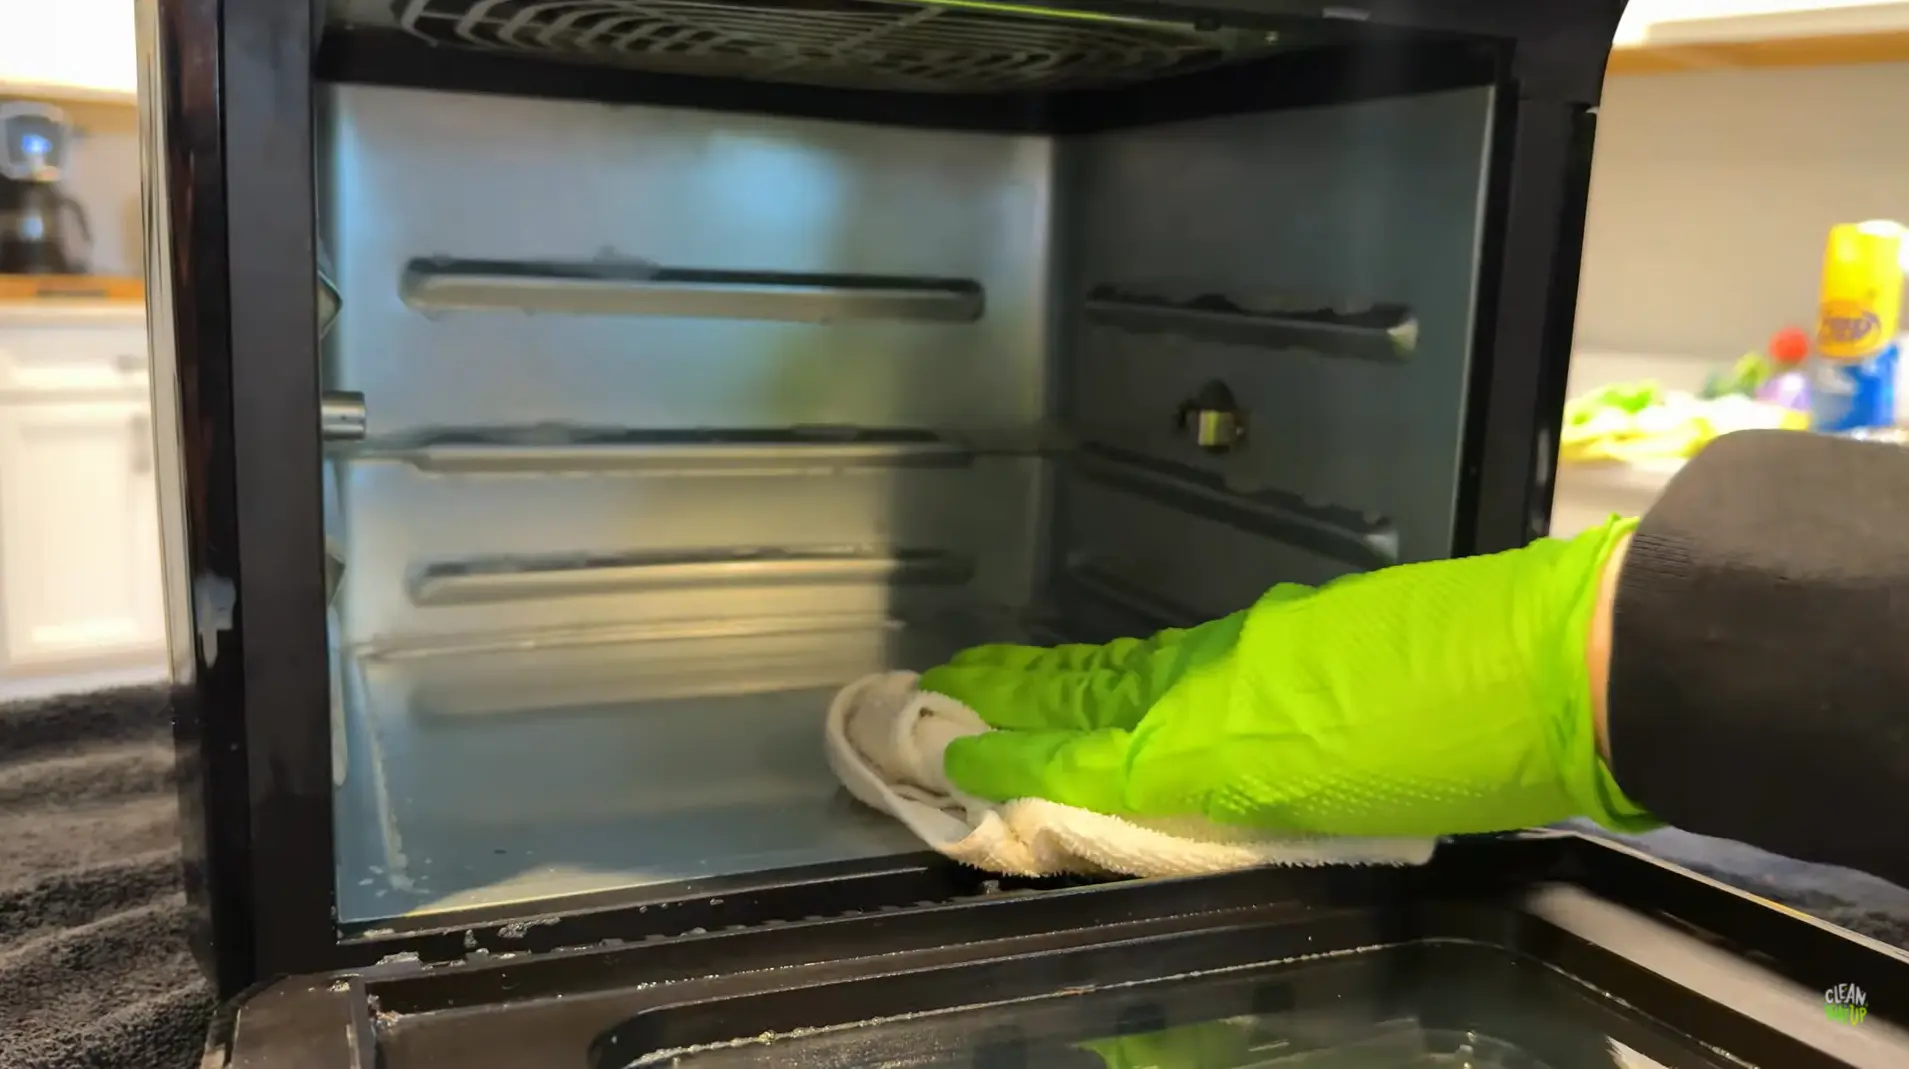
While the basket and tray dry, clean the outside too. I use a soft cloth to gently wipe the outside. I clean the outside using a mild mix of water and vinegar. It works well and won’t harm the finish. Avoid strong cleaners on the control panel. Stick with something safe so you don’t ruin the buttons.
5. Let It Dry Completely Before Use
Once you’re done cleaning, let your air fryer dry completely. I always wait at least 30 minutes before putting it back together. Rushing this step can trap moisture inside. If you don’t, it could lead to mold or even damage. Give it time to air dry fully. It’s a simple habit that keeps your fryer running like new.
This method of soaking and gentle scrubbing works great every time. You don’t need to scrub hard—just let the grease soften first. A little cleaning now can stop big problems later.
By the end, your air fryer will be fresh, clean, and safe to use. Believe me, those extra minutes are really worth it.
Air Fryer Cleaning Mistakes to Avoid
Cleaning your air fryer keeps it working well and your food tasting great. But, believe me, there are some common air fryer cleaning mistakes that can lead to a lot of frustration—and even damage your appliance. Here are the ones I’ve learned the hard way so you don’t have to.
1. Using Abrasive Cleaners or Metal Tools
I once used a metal scrubber to clean off stuck-on grease. It worked fast, but it ruined the non-stick coating. That made cleaning even harder next time—and affected how the food cooked. Now I only clean it using a soft sponge or a microfiber cloth. The non-stick surface is fragile, so gentle tools make a big difference. It might take a minute more, but it helps keep your fryer safe.
2. Putting Parts in the Dishwasher When They’re Not Dishwasher-Safe
Not every piece of your air fryer is safe for the dishwasher. I’ve tossed in trays before checking and later noticed they warped slightly. That small change made them harder to fit and clean. Always read the manual first—some baskets can go in the dishwasher, but others can’t. The heating element and control panel should never go in. A quick look can help avoid long-term damage.
3. Ignoring the Heating Element
It’s easy to forget about the heating element when cleaning your air fryer. I used to forget it, too, until my food started cooking unevenly. Grease can build up around the coil over time. That grease buildup can mess with heat and how well your food cooks. Now I clean it with a soft brush, using light pressure so nothing gets bent or broken. Cleaning the element helps your fryer work better and last longer.
4. Reassembling Before It’s Fully Dry
I’ve rushed this step more times than I can count. After cleaning, I’d reassemble everything before it was fully dry. That leftover moisture led to smells and even mold once. These days, I always let my air fryer air dry for at least 30 minutes. Every part needs to be completely dry before going back in. Spending a bit more time now can save you from trouble later.
Personal Story: The Time I Nearly Ruined My Air Fryer
I remember one time I rushed while cleaning my air fryer. I used a metal scrubber and didn’t clean the heating element. I put it back together before it was fully dry. The next time I used it, my food tasted strange. One time, smoke even started coming out of the machine! I didn’t realize what I did wrong. Later, I realized I’d broken some basic cleaning rules. Since then, I changed my routine and followed safer steps. Now, my air fryer works like new every single time.
How Often Should You Clean Your Air Fryer?
How often you clean your air fryer depends on how much you use it. I use mine almost every day for quick snacks and meals. So, I give it a quick clean after each use. I wipe the basket, remove stuck food, and dry it well. This simple habit keeps things running smoothly. Cleaning right after cooking helps stop grease from building up.
If you use your air fryer every day, a quick wipe is a must. You’ll avoid smells, mess, and uneven cooking.
Based on Usage Frequency
If you use your air fryer daily, like I do for quick snacks or meals, then you should do a quick clean after every use. It’s simple—just wipe down the basket and tray, remove any food residue, and you’re good to go. It’s amazing how much better it works when you clean it right after each use. You’ll avoid the build-up that can happen when grease gets left behind.
Quick-Clean vs. Deep-Clean Schedules
A quick clean is helpful, but deep cleaning still matters. I usually give mine a deep clean once every week. It only takes a bit more time and pays off big. I let the basket and tray soak in warm, soapy water before scrubbing. Then I scrub gently with a soft sponge. I make sure to clean the heating element gently too.
Deep cleaning clears out grease and sticky gunk. If you cook fatty foods, do it more often. This extra step helps your fryer last longer and cook better. A little care goes a long way.
What I Do After Every Use vs. Once a Week
After every use, I wipe down the basket and tray. I also wipe down the inside of the air fryer. That way, no food or grease has time to sit. It only takes a minute and makes the next use easier. A quick wipe after each use prevents sticky build-ups and weird smells.
Once a week, I go a bit deeper. I soak the parts in warm soapy water, scrub gently, and wipe down the whole unit. This weekly routine helps keep everything in top shape.
Cleaning your air fryer doesn’t have to be a big job. It’s really about staying consistent. If you clean as you go, you’ll get better meals and avoid greasy messes.
My Favorite Tips for Keeping Grease Away Longer
If you want to avoid deep cleaning all the time, try these habits. These steps have made cleaning my air fryer a lot easier. Once you get into the routine, maintenance becomes way less of a chore.
1. Use Parchment Paper or Air Fryer Liners
One of the best tricks I’ve found is using liners. Parchment paper or air fryer liners help stop grease from reaching the basket. These parts help keep grease and food from reaching the fryer. This simple step has saved me tons of cleanup time. I really wish I had known this tip sooner. These liners help reduce grease and make cleanup quicker—especially when cooking fatty foods like bacon or fries.
2. Wipe Down After Every Use
As soon as I’m done cooking, I wipe the inside of the air fryer. It takes less than a minute, but it really helps. A soft cloth works great for catching crumbs and grease. Wiping down right after use stops food bits from hardening. That means less scrubbing later and a much cleaner machine.
3. Don’t Overload with Greasy Foods

Overloading it with greasy food can lead to a big mess. I made this mistake with bacon once, and it was a nightmare to clean. Now I always leave space for air to flow. This helps food cook better and keeps the inside cleaner. Don’t cram your fryer full—give your food some space to cook evenly and reduce grease buildup.
With these tips, cleaning your air fryer gets a whole lot easier. Small habits like these save time and help your machine last longer. I’ve found they also keep your food tasting better—and your air fryer working like new.
Final Thoughts: Don’t Let Grease Ruin Your Air Fryer
Keeping your air fryer clean is always a smart habit. It helps it work better, last longer, and cook tastier food. I’ve seen this myself. When I started cleaning mine more often, I had fewer problems. No more smoke, weird smells, or uneven cooking.
Since I began cleaning it weekly, it’s been a game changer. No more grease buildup. It works great every time. Trust me, a little effort now saves big trouble later. Cleaning helps your air fryer stay in good shape. It also makes cooking easier and safer.
The key takeaway? Clean it often. That’s what keeps your meals tasting great. Whether it’s a quick wipe or a full clean once a week, it’s worth it. Clean it often, and you’ll be glad you did.
Final Tip: Keeping your air fryer clean helps it work well and last longer. Clean it once a week to keep grease from building up. It only takes a few minutes and prevents smoke or bad smells. A little effort goes a long way—your food and fryer will thank you.
FAQ’s About How to Clean Grease from Air Fryer
What dissolves grease in an air fryer?
Use warm water mixed with dish soap to cut grease. For stuck grease, I make a thick paste using baking soda. Let it sit for 10 minutes. Then I scrub gently with a soft sponge.
How do you degrease the inside of an air fryer?
Place the basket and tray in warm soapy water and let them soak. Wait 10 to 15 minutes. Then scrub the greasy spots gently using a soft sponge.
How do you drain grease from a fryer?
Let the fryer cool first. Then pour grease into a safe container. For air fryers, just wipe the basket and tray after you cook.
Can I use vinegar to clean my air fryer?
Yes, vinegar is safe for cleaning. Mix baking soda with water to help cut grease and remove odors. Always test a small area first to make sure it’s safe.
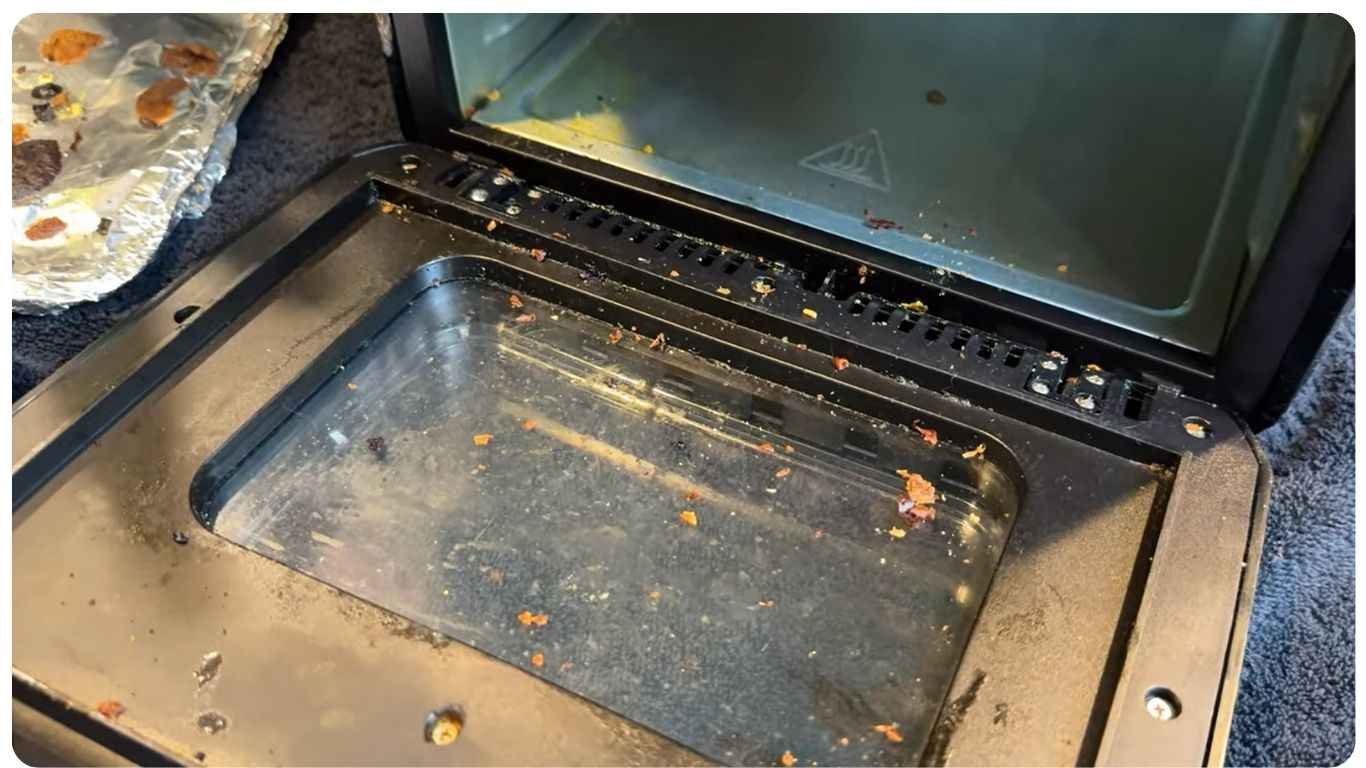
What happens if I don’t clean the grease from my air fryer?
If you don’t clean it, grease can cause bad smells and make it smoke. It may also lead to uneven cooking or even fire risk. Cleaning helps keep it safe and working well.