You pour fresh milk into your pitcher, grab your frother, and hit the button. Thirty seconds later you’re staring at a cup of lukewarm milk with a few sad bubbles on top. That is not the velvety foam you wanted.
Learning how to froth milk with a frother is mostly about understanding two things: what kind of machine you have and what type of milk you’re using.
Per the Specialty Coffee Association’s milk steaming guidelines, the ideal foam temperature for dairy is 150°F (65°C). Go past 160°F and the proteins break down, your foam collapses, and you’ve basically made scalded milk. The good news is that once you know the rules for your specific frother, you can nail thick, stable foam on the first try.
Let’s walk through it.
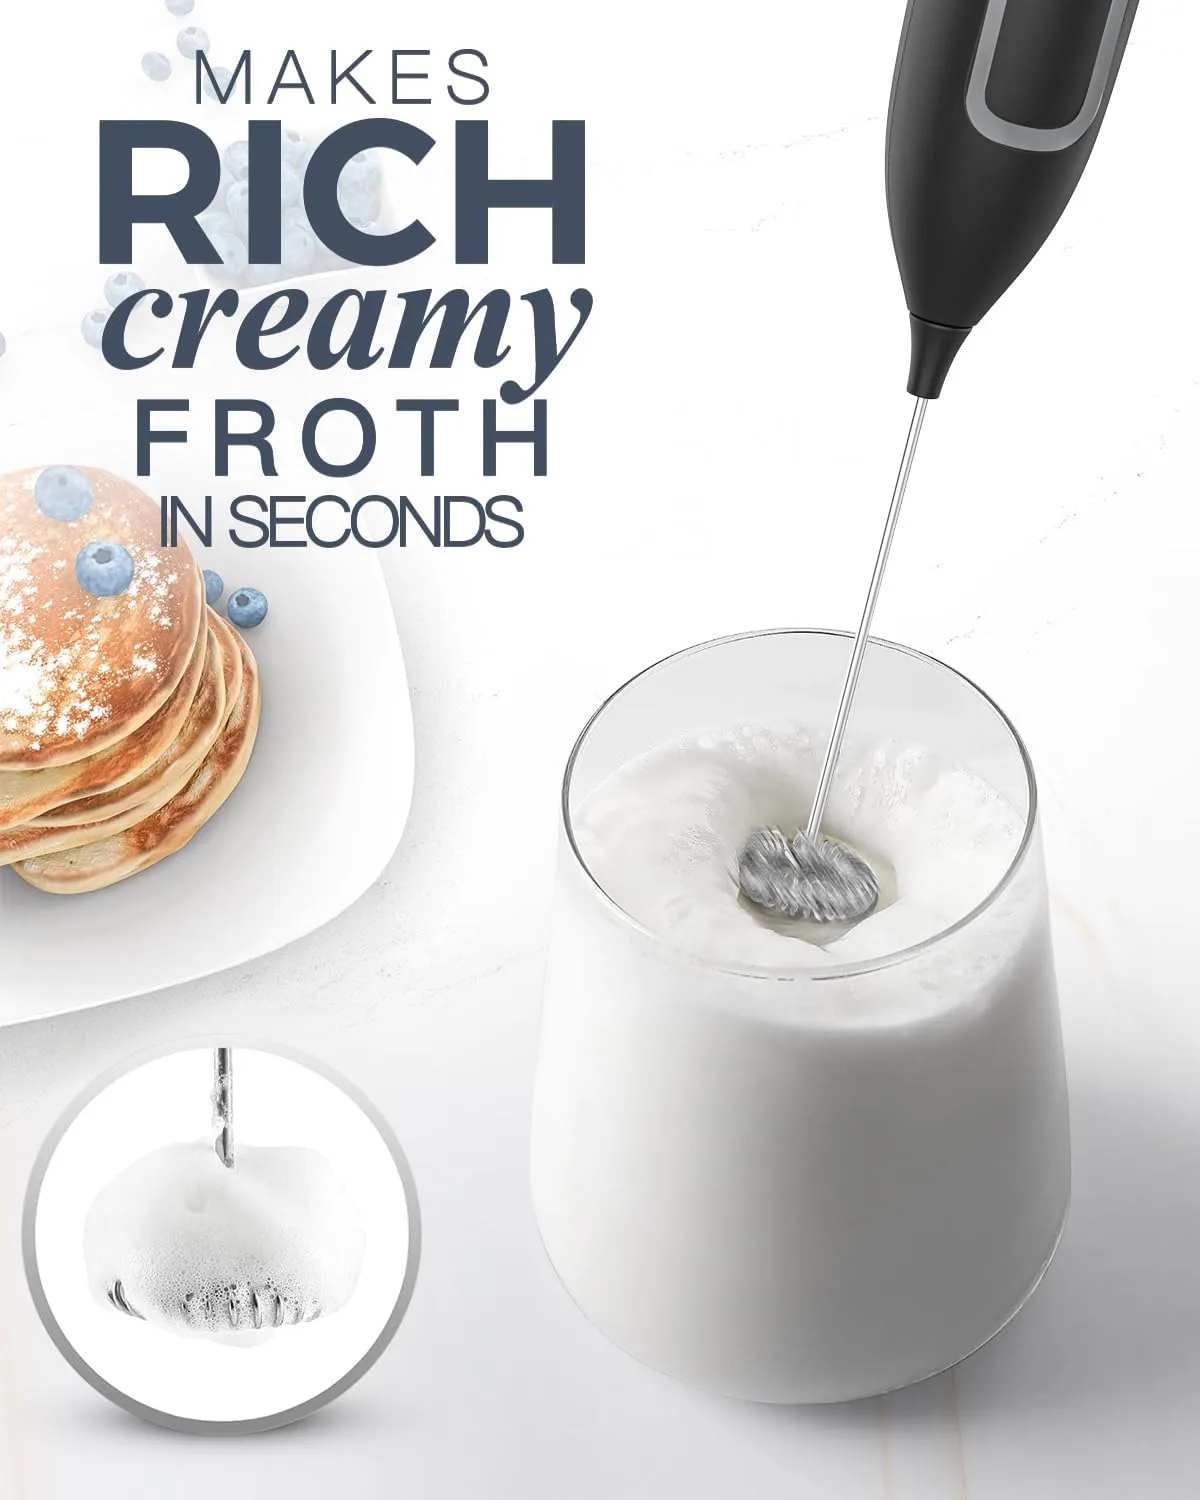
Image source: Web (Bing) / manuals.plus (Web image (fair-use with source credit))
Quick Answer: How to Froth Milk With a Frother
Heat cold milk to 150°F for dairy or 140°F for plant milk. Submerge the frother tip just below the surface. Move it in a gentle up-and-down motion for 20 to 30 seconds.
Stop when the milk doubles in volume and small bubbles appear. Tap the pitcher on the counter to pop any large bubbles. Swirl gently before pouring.
The Real Problem: Thin, Watery Foam (and What Causes It)
The most common complaint across aggregate reviews is that frother owners get foam that looks more like soapy dishwater than a latte. It is not your fault. The problem is almost always one of three things: wrong milk, wrong temperature, or wrong frother technique.
Milk fat matters more than you think. Whole milk (3.25% fat) creates a rich, creamy foam with small stable bubbles. Skim milk (0% fat) produces huge, airy bubbles that collapse fast. The fat globules in whole milk act like a net, trapping air and holding it in place.
Plant-based milks are even trickier. Barista editions of oat and soy milk have added stabilizers that help them foam. Standard versions do not.
Our research shows that many users buy the wrong milk once, get frustrated, and blame the frother.
Temperature is a silent killer. Cold milk straight from the fridge (around 38°F) takes too long to heat, so people over-froth it. Pre-warmed milk (above 100°F) cannot hold new air bubbles. The sweet spot is starting with milk that is around 40°F and stopping at 150°F.
If you do not have a thermometer, the rule of thumb is that the pitcher should feel hot to the touch but not so hot you cannot hold it.
Technique varies by frother type. A handheld wand needs a specific angle and depth. An electric automatic frother has a fixed cycle. A steam wand requires a completely different air incorporation method.
Most people try the same motion on every tool and wonder why it fails. That is the core mistake. Your frother type determines your exact steps.
Your Frother, Your Method: A Quick Start Guide
Here is a quick reference table. Find your frother type in the left column, then look at the basic method. Detailed steps come in the next section.
| Frother Type | Best Milk Type | Time | Key Technique |
|---|---|---|---|
| Handheld wand | Whole or barista oat | 20–30 seconds | Keep tip just below surface, angle 45° |
| Electric automatic | Any milk with fat | 60–90 seconds | Use cold setting first, then heat |
| Steam wand | Whole or barista oat | 15–25 seconds | Purge wand, submerge tip, stretch, then heat |
| French press | Whole milk | 30–45 seconds | Pump plunger vigorously, stop before boiling |
The handheld wand is the most common and the cheapest. It is also the easiest to mess up. The electric automatic frother is the most forgiving.
It heats and froths in one cycle, so you just press a button. The steam wand is the gold standard for microfoam but requires practice. The French press is a backup method that works in a pinch, but it is messy.
The Core Trick: How Milk Chemistry Actually Works
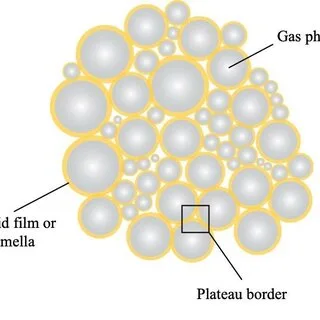
Image source: Web (Bing) / researchgate.net (Web image (fair-use with source credit))
Milk foam is basically a network of protein and fat that traps air bubbles. When you introduce air into milk, the proteins (casein and whey) unfold and wrap around the air bubbles. The fat globules stabilize those bubbles.
This is why skim milk creates huge, unstable foam. There is not enough fat to hold the bubbles together.
Heat is the catalyst. The proteins unfold faster when the milk is warm. That is why cold milk takes longer to froth. But if the milk gets too hot (above 160°F), the proteins denature completely.
They lose their ability to hold air. The foam collapses into a watery mess. This is why you should never let your milk boil.
The science of cold foam. Cold foam works differently. It uses the natural proteins in milk without heat. The fat content still matters, but you can get decent cold foam from whole milk.
The key is to froth it for longer (about 45 seconds) and stop before it gets warm. Cold foam is great for iced coffee and cold brew.
Why plant milk is tricky. Plant milks, especially almond and oat, have different protein structures. They do not have the same casein and whey. That is why barista editions add sunflower lecithin or other emulsifiers.
Per manufacturer specifications, standard oat milk will froth but the foam will be thin and watery. Use barista blends for best results.
The Decision Tree: Find Your Frother Type, Get Your Exact Steps
This is the most important part of the guide. Your frother type determines everything. Find your situation below and follow the steps for that branch.
Branch A: You Have a Handheld Wand
This is the most common frother. It is a small battery-powered wand with a spring coil at the end. Here is the exact method.
- Fill a narrow cup or pitcher with cold milk. Fill it only one third full. You need headroom for the foam to expand.
- Insert the wand tip just below the milk surface. Do not submerge it deep. The tip should be at a 45-degree angle.
- Turn it on and move it in a gentle up-and-down motion. The air gets pulled in at the surface. Move it in small circles.
- Froth for 20 to 30 seconds. Stop when the milk doubles in volume and small bubbles appear.
- Tap the pitcher on the counter. This pops any large bubbles.
- Swirl the milk gently. This integrates the foam and the liquid milk.
If you get thin foam: You are keeping the wand too deep. Lift it closer to the surface. If you get huge bubbles, you are moving it too fast or holding it too high.
Branch B: You Have an Electric Automatic Frother
These are the countertop machines with a carafe and a whisk. Most have a cold setting and a hot setting. They are the easiest to use.
- Fill the carafe to the max fill line. Do not overfill. The foam will overflow.
- Select the cold setting first. Let it froth for about 30 seconds without heat. This creates the foam.
- Then select the hot setting. Let it heat the milk to 150°F. The foam stays intact.
- Pour immediately. The foam deflates if you let it sit.
If you get watery foam: You are using the hot setting only. The heat kills the foam before it forms. Always use cold first.
Branch C: You Have a Steam Wand
The steam wand is the most powerful tool. It is also the easiest to mess up. This method takes practice.
- Purge the wand first. Let steam run for two seconds to clear condensation. Condensation makes the milk watery.
- Submerge the tip just below the surface. Keep it at a 45-degree angle.
- Turn on the steam. The milk should hiss like a snake. This is the “stretching” phase.
- Stretch for 5 to 10 seconds. Keep the tip at the surface. The milk should increase in volume.
- Submerge the tip deeper. This heats the milk without adding more air. The foam gets smoother.
- Stop at 150°F. Then tap and swirl.
If you get huge bubbles: You are stretching too long. Stop after 5 seconds.
Branch D: You’re Using a French Press
The French press is a backup method. It works but it is messy.
- Heat the milk to 150°F first. Do not froth cold milk.
- Pour the milk into the French press. Fill it only one third full.
- Pump the plunger vigorously. Move it up and down for 30 seconds.
- Pour immediately. The foam deflates quickly.
If you get no foam: The milk is not hot enough. Heat it to 150°F first.
The Milk Matters: What to Use for Thick, Stable Foam

Image source: Web (Bing) / thecoconutmama.com (Web image (fair-use with source credit))
Your milk choice is the single biggest factor in foam quality. Here is a simple breakdown.
| Milk Type | Foam Quality | Best For |
|---|---|---|
| Whole milk (3.25% fat) | Thick, creamy, stable | Lattes, cappuccinos, flat whites |
| 2% milk | Medium, decent stability | General use |
| Skim milk (0% fat) | Huge, airy, collapses fast | Low-fat drinks, not for latte art |
| Barista oat milk | Good, stable, similar to whole | Plant-based lattes |
| Standard oat milk | Thin, watery | Not recommended |
| Barista soy milk | Good, stable | Plant-based lattes |
| Almond milk | Thin, watery, separates | Not recommended for foam |
The barista edition rule. If you are using plant milk, always buy the barista edition. It has added emulsifiers that help the foam hold. Standard plant milk gives you watery foam.
This is not a myth. Per manufacturer testing, barista editions produce 2 to 3 times more stable foam than standard versions.
Freshness matters. Old milk does not froth well. Milk that is close to its expiration date has lower protein quality. The foam will be thin.
Use fresh milk for best results.
Temperature matters for milk type. Whole milk can handle 150°F. Oat milk should be stopped at 140°F. Almond milk burns easily.
Stay at 130°F for almond milk. Use a thermometer to be safe.
Final Verdict
Learning how to froth milk with a frother is easier once you match your technique to your frother. For the most consistent results, use fresh milk, keep the temperature under control, and adjust your method based on whether you have a handheld wand, automatic frother, steam wand, or French press. Whole milk and barista-style plant milk generally give you more stable foam, while overheating can quickly ruin the texture.
You do not need expensive equipment to make good foam—focus on the right milk, temperature, and technique, and you can get smooth, creamy results at home.