A cold drink on a hot day is one of life’s simple pleasures, but running out of ice can ruin the moment. That’s where a countertop ice maker comes in. These small machines are popular because they are easy to use, fast, and can fit in almost any kitchen. Still, many people feel unsure about how to set up their new ice maker. If you’re wondering how to install a countertop ice maker, you are not alone. This guide will walk you through every step, from choosing the right spot to making your first batch of ice. By the end, you’ll have ice ready any time you want.
Understanding Countertop Ice Makers
Before starting the installation, it’s important to know how countertop ice makers work. These devices are different from built-in ice makers. They don’t connect to your home’s water line or freezer. Instead, you pour water into a reservoir, plug them in, and they create ice quickly—often in under 10 minutes.
Most models can make between 20 and 35 pounds of ice in 24 hours. They’re perfect for parties, offices, or families who need more ice than a freezer can make. Installation is usually simple, but a few key steps will help you avoid problems later.
Choosing The Best Location
The first step is finding the right spot for your ice maker. Placement makes a big difference in how well the machine works and how easy it is to use.
- Flat, stable surface: The ice maker must sit on a level surface. This prevents water spills and keeps the machine running smoothly.
- Near a power outlet: Most ice makers need a standard 110-120V outlet. The cord is usually short, so pick a spot close to an outlet.
- Good ventilation: Leave at least 4-6 inches of space around the sides and back for air flow. The machine needs to release heat as it makes ice.
- Away from direct sunlight: Sunlight can make the machine work harder, slowing down ice production.
- Not near heat sources: Avoid placing it next to ovens, stoves, or dishwashers.
Some people put their ice maker in the garage, RV, or even outside for parties. That’s possible, but always check the manufacturer’s recommendations for temperature limits.

Credit: kinderfaculty.de
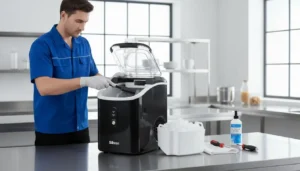
Unboxing And Preparing The Ice Maker
When you receive your new ice maker, unpack it carefully. Remove all tape, plastic, and packaging materials. Check that you have all the parts, including the ice basket and scoop.
Inspect the machine for any damage from shipping. If you see cracks or dents, contact the seller before using it.
Before using your ice maker for the first time:
- Read the manual: Each model is different. The manual includes important safety tips and cleaning steps.
- Clean the inside: Wipe the water reservoir and ice basket with a damp cloth. Some people run one cycle with water only (no ice consumption) to remove any plastic smell.
- Let it sit upright: If the machine was tilted during shipping, let it stand upright for 2-4 hours. This helps the coolant settle, which protects the compressor.
Setting Up Your Countertop Ice Maker
Once you have the right spot, it’s time for setup.
Step 1: Place The Ice Maker
Set the machine in your chosen spot. Make sure it’s stable and not wobbling. If your countertop is uneven, use a small wedge to balance the machine.
Step 2: Fill The Water Reservoir
Open the lid and remove the ice basket. Pour clean, cold water into the reservoir. Most machines have a “MAX” fill line—do not go above this line.
- Use filtered or bottled water for better-tasting ice.
- Avoid using distilled water. Some ice makers use sensors that need minerals to work properly.
Step 3: Plug In The Machine
Connect the power cord to the outlet. If you need an extension cord, use one with a rating equal to or higher than the ice maker’s wattage.
Step 4: Start The Ice Maker
Replace the ice basket and close the lid. Press the power button. Most ice makers have a simple control panel, with buttons for power, ice size, and sometimes a timer.
You may hear the compressor start and water flowing. The first batch of ice is usually ready in 7-15 minutes.
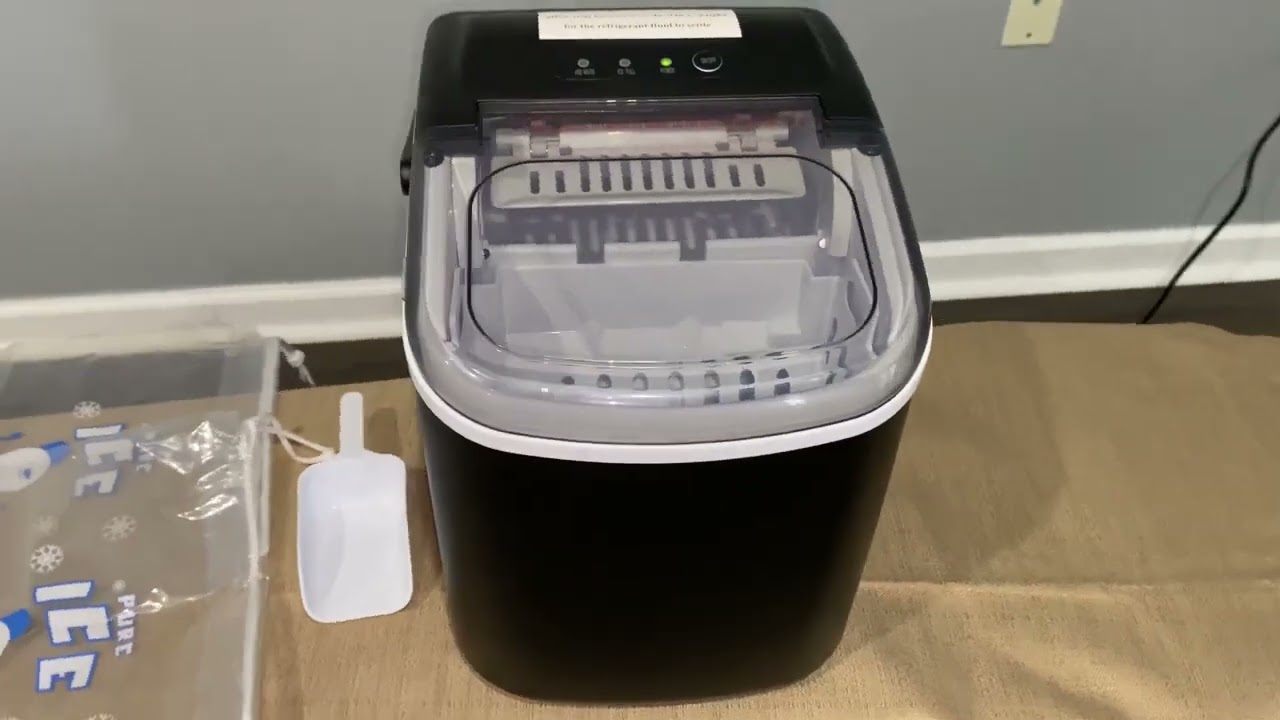
Credit: www.youtube.com
Making The First Batch Of Ice
The first batch of ice may be small or slightly cloudy. This is normal. The machine needs time to reach the right temperature.
- Discard the first batch. It might have dust or residue from manufacturing.
- For the best results, let the machine run through two cycles before keeping the ice.
Most countertop ice makers allow you to choose the size of the ice cubes. Smaller cubes freeze faster, while larger cubes melt slower.
How To Use Your Countertop Ice Maker Daily
Using your ice maker is simple, but following a few tips will help you get the most from your machine.
- Check the water level: If the reservoir is empty, the machine will stop making ice. Some models have a warning light.
- Empty the ice basket: When the basket is full, the machine stops. Move ice to your freezer if you need more.
- Clean regularly: Clean the reservoir and basket every few days to prevent mold and bad smells.
- Keep it running: For continuous ice, keep the machine plugged in and filled with water. If you turn it off, remove leftover ice or it will melt and refreeze.
Credit: cleanzen.com
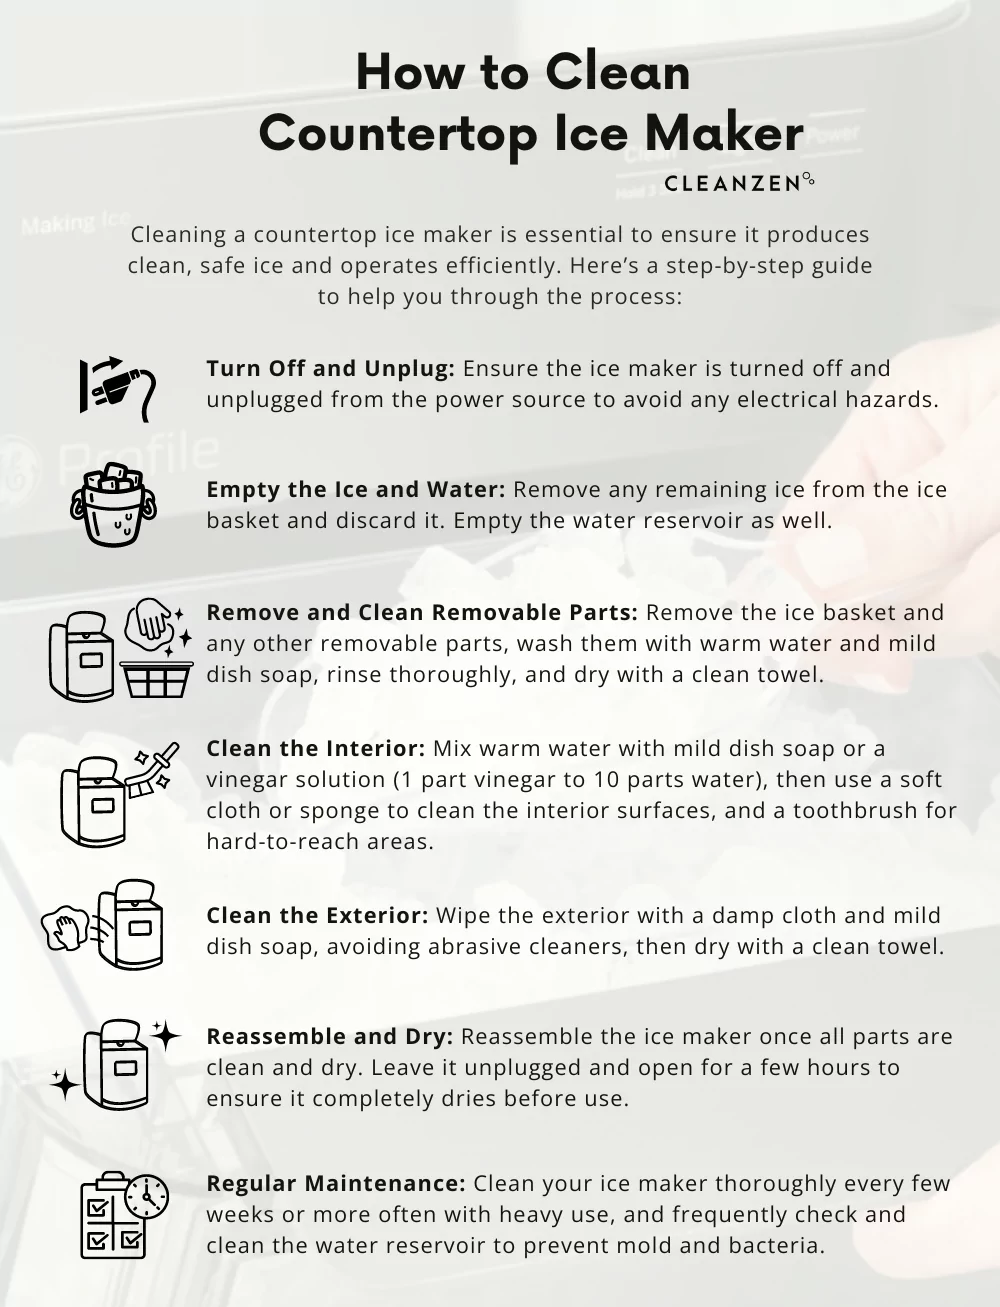
Cleaning And Maintenance
A clean ice maker makes better-tasting ice and lasts longer. Regular cleaning is essential, especially if you notice a change in ice taste or machine performance.
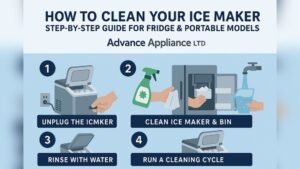
How To Clean Your Ice Maker
- Unplug the machine. Safety first.
- Remove all ice and water. Take out the ice basket and drain any leftover water. Some models have a drain plug on the bottom.
- Wipe surfaces. Use a soft cloth and mild soap to clean the inside. Avoid harsh chemicals—they can damage the machine.
- Clean the water reservoir. You can use a mix of water and vinegar (1: 1) for a deeper clean. Run a cycle with this mix, then rinse with clean water.
- Dry completely. Leave the lid open to air-dry before using it again.
Maintenance Tips
- Replace filters (if your model has one) every 3-6 months.
- Check for scale buildup. If you have hard water, minerals can collect inside. Descale the machine as needed using vinegar or a descaling solution.
- Inspect the ice scoop and basket for cracks or buildup.
Troubleshooting Common Problems
Even the best ice makers can have issues. Here are some common problems and how to fix them.
The Ice Maker Isn’t Making Ice
- Check that the water reservoir is full.
- Make sure the machine is plugged in and turned on.
- If it’s too hot in the room, ice production may slow down. Move the machine to a cooler spot.
- Clean the sensors and check for mineral buildup.
The Ice Cubes Are Small Or Hollow
- Low water level can cause this.
- Try using colder water.
- Clean the machine to remove blockages.
The Machine Is Noisy
- Some noise is normal, but loud rattling may mean the machine isn’t level.
- Check for loose parts or debris inside.
The Ice Tastes Bad
- Clean the machine more often.
- Use filtered or bottled water.
- Change the filter if your model has one.
Comparing Countertop Ice Makers
If you haven’t bought an ice maker yet, it’s helpful to compare a few models. Here’s a look at three popular options:
| Model | Ice Production (24h) | Ice Cube Sizes | Reservoir Capacity | Average Price |
|---|---|---|---|---|
| GE Profile Opal | 24 lbs | 1 (nugget ice) | 2.5 L | $500 |
| Igloo ICEB26 | 26 lbs | 2 (small/large) | 2 L | $130 |
| Frigidaire EFIC108 | 26 lbs | 2 (small/large) | 2.2 L | $120 |
Energy And Water Use
Countertop ice makers are designed for efficiency. Still, it helps to know what to expect for energy and water use.
| Ice Maker Type | Average Power Use | Water Use per 24h |
|---|---|---|
| Countertop | 120-160W | 2.5-3.0 gallons |
| Built-in/Under-counter | 200-400W | 4-6 gallons |
| Freezer Ice Maker | 90-120W | 1-2 gallons |
Safety Tips For Countertop Ice Makers
- Keep dry: Never touch the power cord with wet hands.
- Child safety: Keep the machine out of reach of small children. The moving parts inside can be dangerous.
- Don’t use outdoors in rain: Most models are not waterproof.
- Regular checks: Inspect the power cord for any damage.
Two Insights Most Beginners Miss
- Letting the ice sit in the basket melts and refreezes it: If you leave ice in the basket for hours, it starts to melt and drip back into the reservoir. This water is reused, but over time, it can make cloudy or less tasty ice. Always transfer ice to your freezer if you want to store it for later.
- Mineral buildup affects sensors: Many users are surprised when their machine stops making ice even though the reservoir is full. Mineral deposits from hard water can block sensors or freeze cycles. Regular cleaning with vinegar helps prevent this problem.
When To Consider A Different Ice Maker
A countertop model is perfect for most homes, but not for everyone.
- Large families or parties: If you need more than 30 pounds of ice per day, a built-in or under-counter model may be better.
- Outdoor use: Choose a model rated for outdoor temperatures if you want ice by the pool or at a campsite.
- Special ice types: Some people prefer nugget or “Sonic” style ice, which only some models make.
If you’re interested in more details about ice types or commercial machines, you can find trustworthy information at Wikipedia.
Frequently Asked Questions
How Long Does A Countertop Ice Maker Take To Make Ice?
Most models produce the first batch in 7 to 15 minutes. After that, they continue making ice as long as there is water in the reservoir.
Can I Leave My Countertop Ice Maker On All The Time?
Yes, these machines are designed for continuous use. Just make sure to keep the reservoir filled and clean the machine regularly.
Why Does My Ice Taste Strange?
Bad-tasting ice usually comes from dirty reservoirs or old water. Clean your machine every few days and use filtered water for better taste.
What Should I Do If My Ice Maker Stops Working?
First, check the power supply and water level. If those are fine, clean the machine and check the sensors for mineral buildup. If it still doesn’t work, consult the manual or contact customer service.
Is A Countertop Ice Maker Expensive To Run?
No. Most use about 120-160 watts while running, which is similar to a small appliance like a blender. If you use it for a few hours a day, the electricity cost is low.
Installing a countertop ice maker is simple and can improve your daily life. With the right setup and care, you’ll always have fresh ice at your fingertips—no more running to the store or waiting for slow freezer trays. Whether you’re hosting friends, making iced coffee, or just want cold drinks fast, your countertop ice maker will become a kitchen favorite.