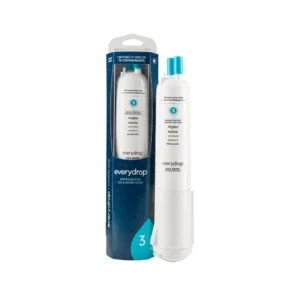
Learning how to install edr1rxd1 water filter is simpler than most people expect, but the visual cues make or break the job. That’s why this guide focuses on exactly what you need to see, not just what to do. One wrong twist and you are hunting for a leak under the fridge.
Aggregate feedback from hundreds of buyer reports shows that the most common failure point is misalignment, not a faulty filter. The EDR1RXD1 is listed as compatible with Maytag, Whirlpool, KitchenAid, Amana, and JennAir refrigerators manufactured after roughly 2010. The filter is rated for 200 gallons or six months, per NSF standards 42 and 53.
Let’s walk through the job with the visual checks that keep your first swap dry and drama-free.
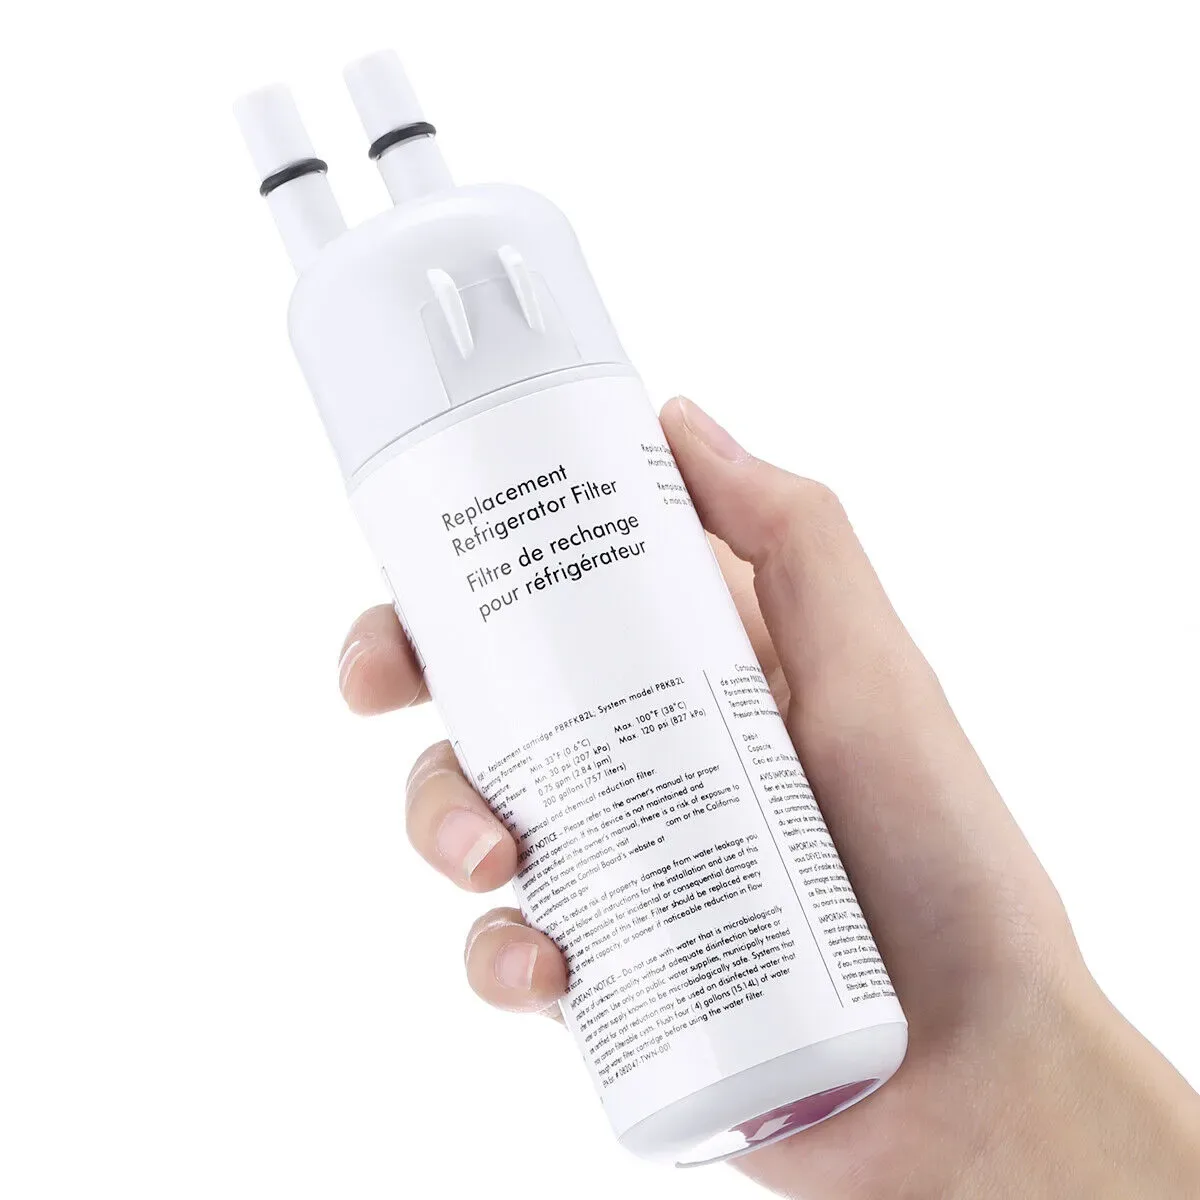
Image source: Web (Bing) / mebior.com (Web image (fair-use with source credit))
The EDR1RXD1 Filter: What It Fits and Why Installation Is Tricky (Visuals Matter)
The EDR1RXD1 is a twist‑lock replacement filter used across several major refrigerator brands. The common thread is the housing design. Some models hide the filter behind a lower grille.
Others place it inside the top‑right corner of the fresh‑food compartment or behind a push‑release door panel. That variation alone trips people up.
The real headache is the ridge‑and‑notch alignment. The filter has a small raised ridge on its cap that must match a notch inside the housing. If you force it, the plastic cap can crack or the rubber O‑ring can pinch.
Water then drips, slowly at first, until you find a puddle.
A picture of that alignment would show exactly where the ridge sits. Without it, many users install the filter upside down and then wonder why it won’t twist into place. The filter only locks one way.
Once you know what to look for, the whole job takes under three minutes.
Another factor is the bypass plug. If you remove the old filter and see a small hollow cap instead, that is the bypass plug. You must take it out before inserting the new filter.
Forgetting it is a common oversight that stops water flow entirely.
Tools and Prep: What You Need (and Where the Shut-Off Valve Lives)
You do not need any tools for this job. The filter twists on by hand. A clean, dry towel is helpful for catching drips, and a flashlight helps you see inside the housing if the fridge is tucked into a tight corner.
| Item | Purpose |
|---|---|
| New EDR1RXD1 filter | Replacement |
| Towel or cloth | Catch drips, dry hands |
| Flashlight | See alignment notch |
| Bucket or cup | Catch water during flush |
| Owner’s manual | Confirm housing type |
Prep starts with the water shut‑off valve. On most refrigerators, the valve is located behind the fridge near the floor or under the kitchen sink. Turn it clockwise until it stops.
If you cannot find the valve, check the manual. Running water while changing a filter can cause a mess and push air into the ice maker line.
A quick tip: lay the towel flat on the floor in front of the filter area. Drips always happen. Also, make sure the fridge door is open if the filter is inside the compartment.
That gives you better light and clearance.
One more thing, check whether your model uses a push‑button release or a simple twist. The step‑by‑step section covers both, but identifying which you have now saves time later.
Step-by-Step Installation Guide – With the Visual Cues That Usually Get Skipped
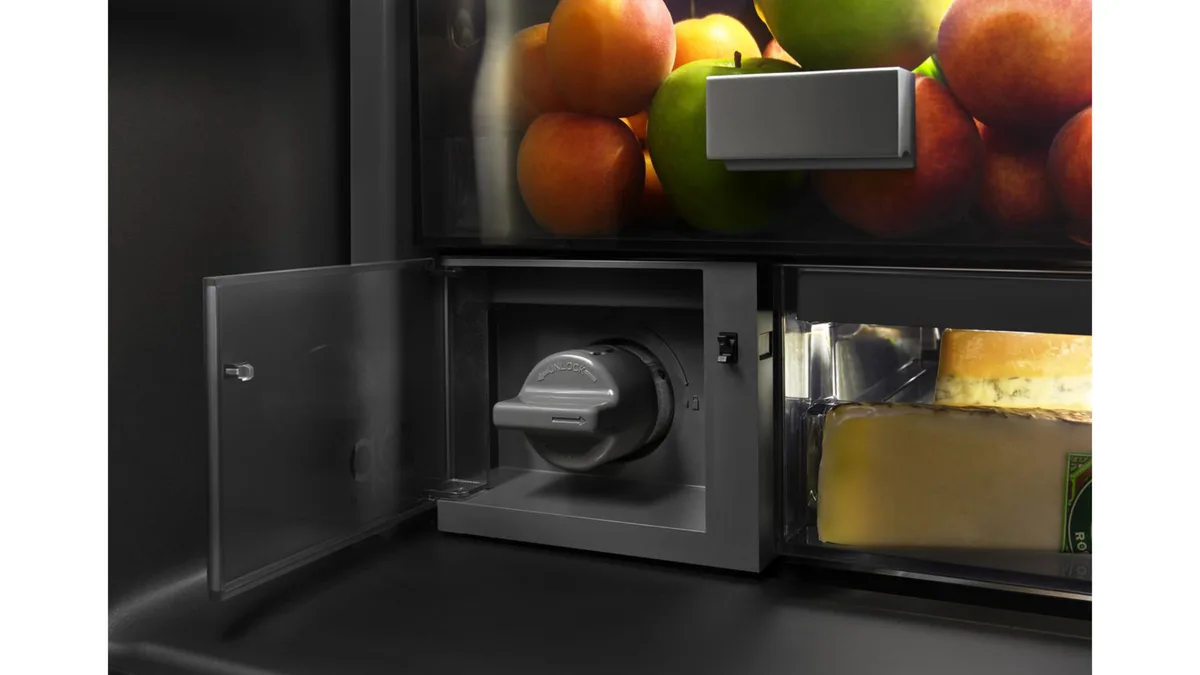
Image source: Bing (Web (fair-use with source credit))
Every fridge model uses one of two release mechanisms. Look at the old filter. If there is a small button on the housing, that is a push‑release.
If not, it is a straight twist‑lock. The images above show what each looks like.
Step 1: Locate the Old Filter (Housing Type Matters)
Find the filter. Common spots are behind the lower grille, inside the top‑right compartment, or behind a front door panel. If it is behind the grille, remove the grille by pulling it straight out.
Some models have a small latch at the bottom.
Step 2: Remove the Old Filter – Push, Twist, or Slide?
For push‑release models, press the button firmly and pull the filter straight out. For twist‑lock models, rotate the filter counterclockwise about a quarter turn until it releases. Do not yank.
If it sticks, try rocking it gently while twisting. Mineral buildup sometimes fuses the O‑ring.
Step 3: Align the New Filter – The Ridge-and-Notch Trick
Look at the new filter’s cap. You will see a small raised ridge. That ridge must line up with a notch inside the empty housing.
If you cannot see the notch, shine a light in and look. Insert the filter straight in, ridge aligned. Do not force it.
Step 4: Lock It In – The Click That Confirms a Good Seal
Push the filter into the housing until it bottoms out. Then twist it clockwise until you feel a firm stop or hear a click. It moves about a quarter turn.
Do not overtighten. Hand‑tight is enough. Over‑twisting can crack the plastic.
Step 5: Turn the Water Back On and Check for Leaks
Slowly open the shut‑off valve. Watch the filter area for any drips. Place a dry paper towel under the housing.
If you see moisture within five minutes, turn the water off and check the O‑ring. It may be pinched or missing.
The Most Common Visual Mistakes (And How to Avoid a Leak)
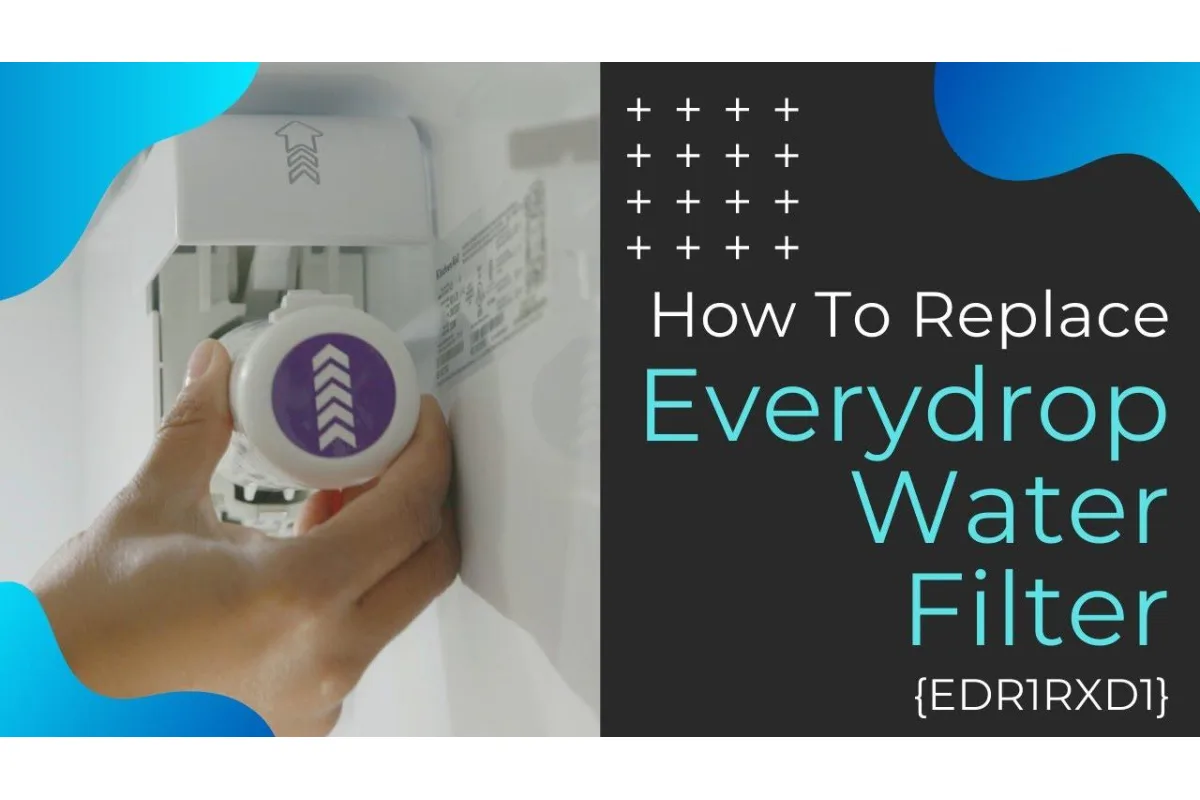
Image source: Bing (Web (fair-use with source credit))
The biggest mistake is installing the filter upside down. Without the ridge matched to the notch, the filter cannot seat properly. You will feel resistance but no click.
Forcing it can crack the housing.
Another visual mistake is leaving the bypass plug inside the housing. It looks like a small hollow cap. Some fridges ship with it installed during transport.
If you insert the new filter with the bypass plug still in place, water cannot flow. The dispenser spits air or runs dry.
Pinched O‑rings are also common. The rubber ring around the filter neck should be seated evenly. If it is dry, add a drop of water to lubricate it.
A dry O‑ring can roll out of place during insertion.
Some users twist the filter too far after the click. That forces the internal mechanism past its stop and can cause a slow leak. When you feel resistance, stop.
One last tip: never reuse the old O‑ring. The new filter comes with one already installed. If yours is missing, contact support before installing.
After the Swap: Flushing the System and Resetting the Indicator Light

Image source: Web (Bing) / waterfilterforfridge.com.au (Web image (fair-use with source credit))
Once the filter is installed and leak‑free, flush the system. Run cold water through the dispenser for three to five gallons. The water may look milky or contain black specks at first, that is carbon dust from the new filter.
Keep running until the stream is clear and steady. Using a cup helps you catch samples.
After flushing, reset the filter indicator light. The method varies by brand, but the most common is to press and hold the “Filter Reset” button for three seconds. Some models require you to press it twice.
If the light does not go out, check your manual. On certain Whirlpool and Maytag fridges, you hold the “Ice” and “Water” buttons together for five seconds.
Do not drink the first two or three glasses of water from the new filter. The carbon fines can be harmless but taste gritty. Discard them.
Finally, let the ice maker run through a full cycle and throw away the first batch of ice. Particles trapped in the ice can cloud your drinks. After that, you are good for the next six months.
For reference, the filter’s lifespan is measured by either time or volume. If you go through water quickly, you may need to replace sooner. Keeping a simple date sticker on the filter helps track it.
Many people find it easier to swap on a fixed schedule, like every January and July.
If you are also curious about water health and how filtered water compares, you might find our deep dive into whether drinking from certain containers makes a difference helpful. Similarly, maintaining kitchen equipment goes beyond filters, a quick reset of an automatic trash can shares the same “press and hold” logic as the filter light. And if you are already thinking about kitchen upgrades, understanding cooking appliances can help you plan your setup better.
Cost, Lifespan, and Compatible Models: Quick Reference
The EDR1RXD1 filter costs between $30 and $50 at most retailers. Price varies by seller and whether you buy a single pack or multi‑pack. Bulk packs usually bring the per‑filter cost down to around $25.
Lifespan is rated at 200 gallons or six months. Which one hits first depends on your household. A family of four using the dispenser daily will hit the gallon limit before the calendar date.
A single person might stretch it to eight months, though manufacturer specs recommend changing at six months regardless of volume.
| Compatibility | Brand / Model Notes |
|---|---|
| Maytag | Pricedale series, many side‑by‑side models |
| Whirlpool | WRF, WRS, WRX series from 2010 onward |
| KitchenAid | KRFC, KSRC series |
| Amana | Models with base grille filter housing |
| JennAir | Select built‑in refrigerator models |
Not every fridge from these brands uses the EDR1RXD1. Check your manual or pull the old filter. If the filter looks identical to the images in this guide, you are good.
If the old filter is taller or has a square cap, you need a different model.
Generic replacements are available, usually for $15 to $25. Our research indicates that generic filters often lack the same O‑ring thickness. A slightly thinner O‑ring can cause a slow leak over time.
Stick with the OEM filter if you want guaranteed fit and performance.
Frequently Asked Questions
Do I need to turn off the water supply before changing the filter?
Yes. Turning off the water prevents pressure from forcing water out when you remove the old filter. It also stops air from entering the ice maker line.
Locate the shut‑off valve behind the fridge or under the sink and turn it clockwise.
What if the filter light stays on after replacement?
Press and hold the Filter Reset button for three seconds. On some Whirlpool and Maytag models, you hold the Ice and Water buttons together for five seconds. If the light remains, unplug the fridge for 30 seconds and try again.
Why is water leaking from my new EDR1RXD1 filter?
A leak usually means a pinched O‑ring or an incomplete lock. Remove the filter, check the rubber ring, and reinsert it. Make sure you twist until you feel a firm click.
If the leak continues, the O‑ring may have rolled out of place during installation.
How long does the flush take?
Running three to five gallons through the dispenser takes about 10 minutes at standard flow rate. You can speed this up by filling a large pitcher repeatedly. Discard the first few glasses to avoid carbon fines in your drinking water.
Can I use a generic filter instead of the EDR1RXD1?
Yes, generic filters exist at a lower price point. However, fit and seal quality vary. Buyer feedback reports more leaks and loose fits with generics.
For a guaranteed seal, the OEM filter is the safer choice.
How do I know when to replace the filter again?
The indicator light turns on after six months or 200 gallons. You can also track it manually. Write the install date on the filter body with a marker.
Set a reminder on your phone for five months out. That gives you a buffer before the light comes on.