
Many people wonder how to make almond flour in blender because store-bought almond flour can be pricey. Getting it just right at home can seem a little tricky at first, especially if you’re new to homemade baking ingredients. But don’t worry!
It’s actually quite simple with a few easy steps. We’ll show you exactly how to do it so you can enjoy fresh almond flour anytime. Get ready to discover how easy it is to create this baking staple right in your own kitchen.
Key Takeaways
- You can easily make almond flour at home with just a blender.
- Using blanched almonds is best for a finer flour texture.
- It is important to process almonds in short bursts to avoid making almond butter.
- You can adjust the coarseness of the flour to suit your recipes.
- Homemade almond flour is often fresher and more cost-effective.
- Proper storage keeps your homemade almond flour fresh for longer.
Why Make Almond Flour At Home
Making almond flour at home is a great idea for many reasons. It saves you money compared to buying it at the store. Plus, you know exactly what’s in it—just almonds!
No fillers or preservatives. It’s perfect for gluten-free baking, paleo diets, and low-carb recipes. When you learn how to make almond flour in blender, you get fresh flour whenever you need it.
Choosing The Right Almonds
The type of almonds you use really matters for the best almond flour. For a smooth, fine flour, like you’d find in a bakery, use blanched almonds. These are almonds that have had their brown skins removed.
You can buy them this way. If you don’t mind a slightly coarser texture and a more rustic flavor, you can use almonds with their skins on. However, the skins can make the flour a bit darker and add a slightly different taste.
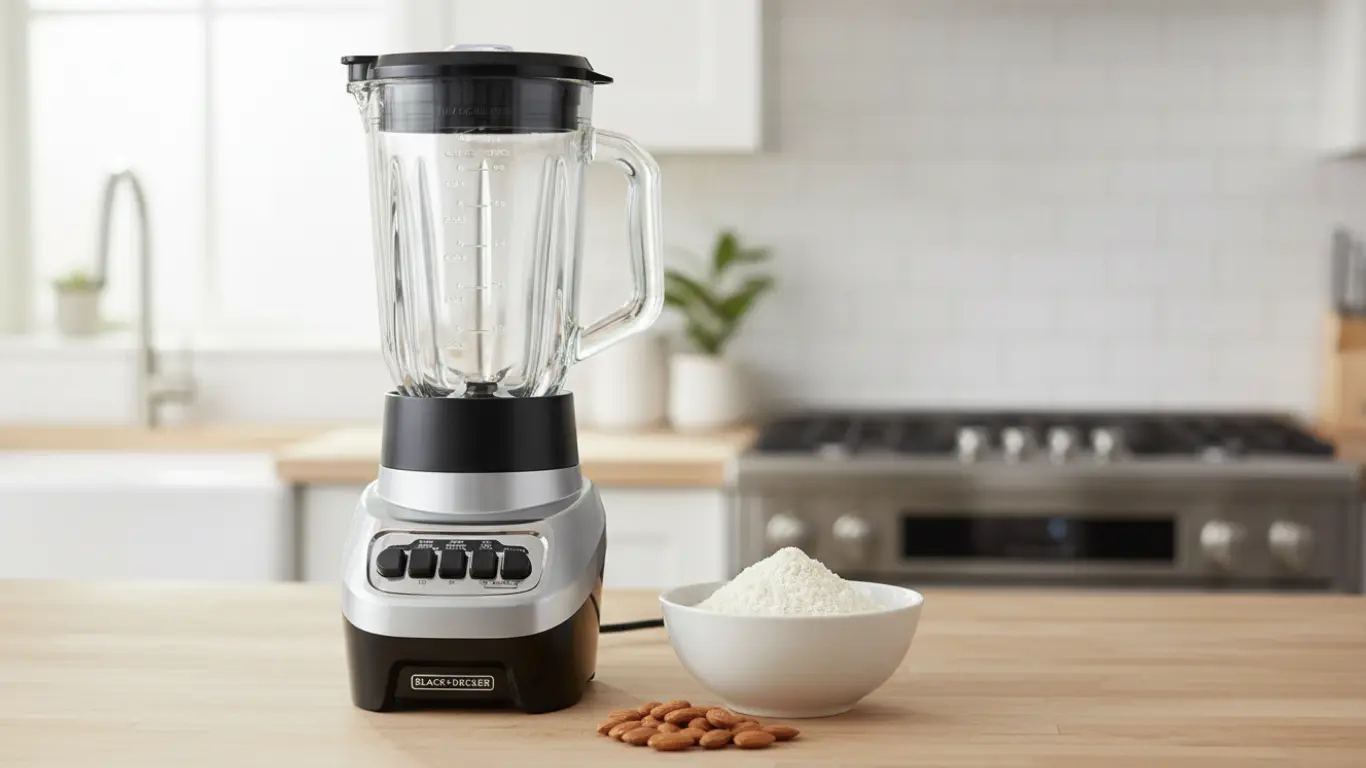
What You Will Need
To learn how to make almond flour in blender, you only need a few things. The star ingredient is, of course, raw almonds. You can use slivered almonds, whole almonds, or even almond meal as a starting point if you want a slightly different texture.
Make sure your almonds are raw, not roasted, as roasting can change the oil content and affect the texture.
You will also need a good quality blender or food processor. A high-powered blender works best because it can break down the almonds quickly. If you have a less powerful blender, you might need to do it in smaller batches or pulse more carefully.
Measuring cups are handy for portioning your almonds and for knowing how much flour you have made.
The Step-By-Step Process
Step 1 Toasting The Almonds (Optional)
Toasting your almonds before grinding can add a lovely depth of flavor to your almond flour. It’s not required, but many bakers prefer it. To toast, spread a single layer of raw almonds on a baking sheet.
Bake them in a preheated oven at around 300°F (150°C) for about 8-12 minutes. Keep a close eye on them, as they can burn quickly. You want them to be lightly golden and fragrant.
Let them cool completely before moving to the next step. If you skip this, your flour will have a milder taste.
Step 2 Blending The Almonds
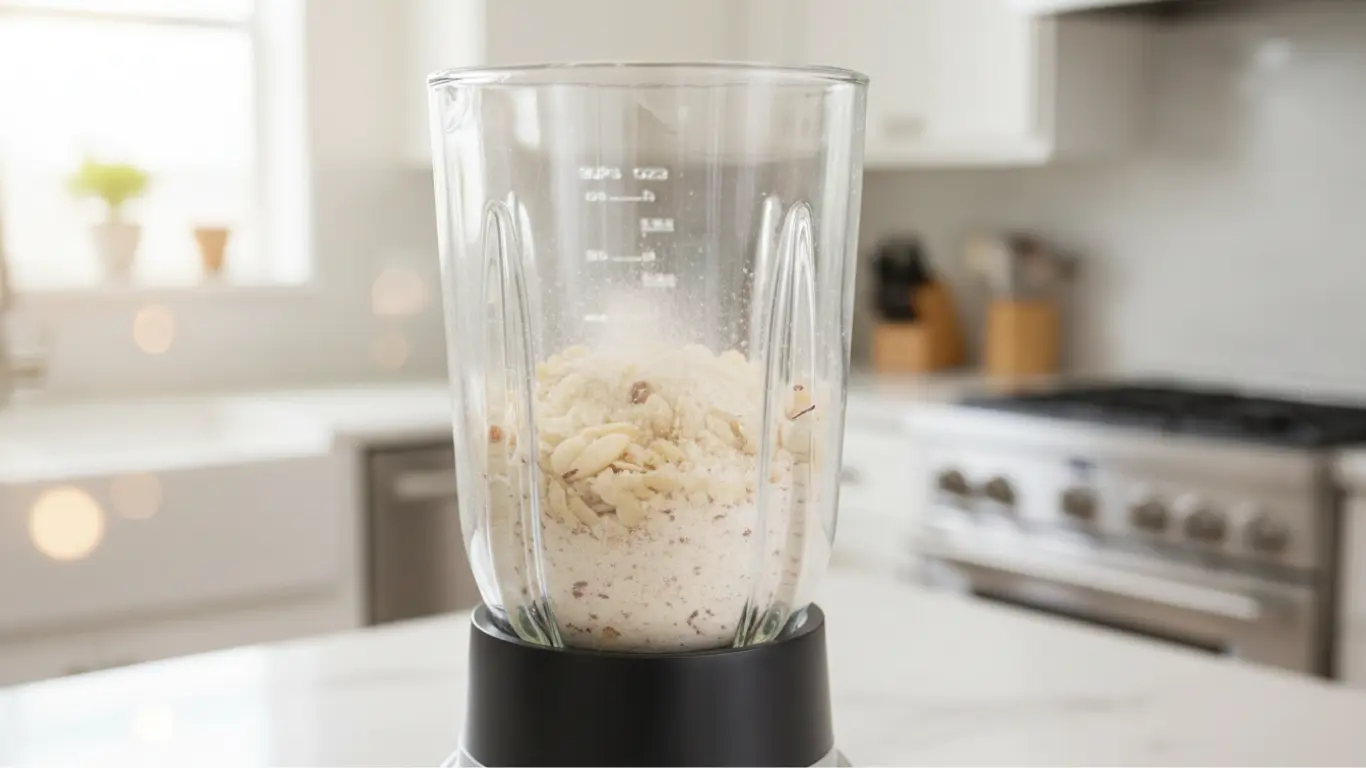
Now, let’s get to the main event: how to make almond flour in blender. Place your cooled, raw or toasted almonds into the blender. Do not overfill it.
It’s better to work in smaller batches. If you have a large blender, you can probably fit about 1 to 2 cups of almonds at a time. If you use a food processor, you can usually process a larger amount.
Secure the lid on your blender. Start blending on a low speed. You want to pulse the almonds first.
This means turning the blender on and off quickly. Do this a few times. You will see the almonds start to break into smaller pieces.
This is a crucial step to avoid turning your almonds into almond butter.
Step 3 Achieving The Right Consistency
After pulsing, switch to a steady, low-speed blend. Watch the almonds carefully. They will go from whole nuts to coarse crumbs, then to a finer flour-like consistency.
This whole process usually takes only 30 seconds to 1 minute, depending on your blender’s power. You’re looking for a texture similar to regular flour, but it might be a little coarser or finer depending on how long you blend.
The key is to stop blending before the mixture starts to clump together and look oily. If you blend for too long, the natural oils in the almonds will be released, and you’ll end up with almond butter instead of flour. If this happens, you can still use the almond butter, but it’s not what we want for flour.
So, keep a close eye on it and stop as soon as you reach your desired fineness.
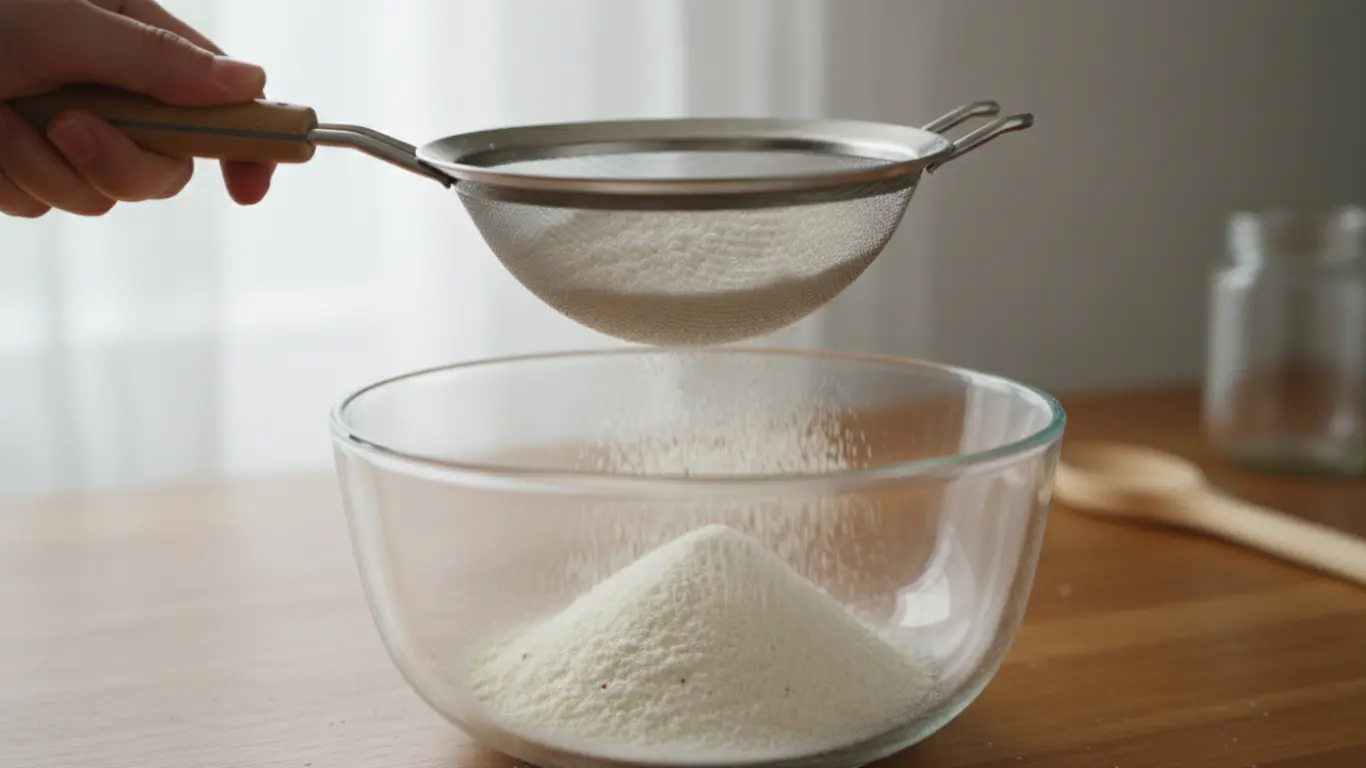
Step 4 Sifting For Finer Flour (Optional)
If you want a very fine almond flour, like you might find in store-bought versions, you can sift it. Pour your freshly blended almond flour through a fine-mesh sieve. The finer flour will fall through.
Any larger pieces that remain in the sieve can be put back into the blender and processed for a bit longer. This ensures you have a uniform texture for your baking projects. This step is especially helpful for delicate baked goods like macarons.
Troubleshooting Common Issues
Issue Almond Butter Instead Of Flour
This is the most common problem when learning how to make almond flour in blender. It happens when you blend the almonds for too long. The friction from the blades heats the almonds and releases their oils.
Solution: Blend in very short bursts. Pulse your blender more than you think you need to. Stop and shake the blender or scrape down the sides if necessary.
Always blend on the lowest speed setting. If you accidentally make almond butter, don’t worry! You can still use it in recipes that call for it, like dips or sauces.
Issue Gritty Or Uneven Texture
Sometimes, the almond flour might come out a bit gritty or have pieces of almonds that are too large. This can happen if your blender isn’t powerful enough or if you didn’t blend long enough.
Solution: For a smoother texture, sift the flour as described in Step 4. Any larger pieces can be re-ground. Ensure you are working in small batches so the blender can process the almonds evenly.
For very powerful blenders, you might need to be extra careful not to over-process.
Issue Too Much Dust Or Powder
If you blend for too long, you can get a very fine, dusty powder. While this is technically almond flour, it might not behave the same way in recipes as slightly coarser flour.
Solution: This is simply a sign of over-processing. For future batches, stop blending sooner. If you have a batch that’s too fine, you can mix it with a little bit of coarser homemade almond flour to achieve a better balance for certain recipes.
Storing Your Homemade Almond Flour
Once you know how to make almond flour in blender, you’ll want to store it properly to keep it fresh. Almond flour can go rancid because of its natural oils. The best way to store it is in an airtight container.
You can keep it in the refrigerator for a few months, or in the freezer for even longer, up to a year. Make sure the container is truly airtight to prevent moisture and odors from getting in.
When you take it out of the freezer, let it come to room temperature before using it in recipes. This prevents condensation from forming, which can affect the texture of your baked goods. Proper storage ensures your homemade almond flour stays delicious and usable for all your cooking and baking needs.
Ways To Use Your Homemade Almond Flour
Now that you’ve mastered how to make almond flour in blender, you can use it in so many recipes! It’s a fantastic substitute for wheat flour in many dishes. Almond flour is wonderful for making gluten-free pancakes and waffles.
It’s a key ingredient in many low-carb bread and muffin recipes. You can also use it to create delicious cookies, cakes, and even pie crusts.
For a crispy coating on chicken or fish, almond flour works beautifully. It adds a nice flavor and texture without the gluten. It’s also great for thickening sauces or soups.
Experiment with it! You might find it becomes a staple in your kitchen, just like it is for many home bakers.
Frequently Asked Questions
Can I use roasted almonds to make almond flour?
Answer: Yes, you can use roasted almonds, but they will give your flour a different flavor profile. Blanched raw almonds are generally preferred for a neutral taste and finer texture, but roasted almonds can add a nice nutty depth.
How fine should my almond flour be?
Answer: The fineness depends on your recipe. For most baking, aim for a texture similar to regular flour, but it can be slightly coarser. Some recipes, like macarons, benefit from a very fine flour, which you can achieve by sifting.
My blender made almond butter. What did I do wrong?
Answer: You likely blended for too long. The friction releases the natural oils. Try pulsing your blender more and blending in shorter bursts.
Always use the lowest speed setting.
How long does homemade almond flour last?
Answer: Stored in an airtight container in the refrigerator, it can last for a few months. For longer storage, keep it in the freezer for up to a year. Always check for freshness before using.
Can I make almond flour without a high-powered blender?
Answer: Yes, you can. You might need to work in smaller batches and be more patient. A food processor also works well.
The key is short pulses and careful observation to avoid over-processing.
Final Thoughts
Learning how to make almond flour in blender is a simple skill that opens up a world of baking possibilities. You’ve seen how easy it is to turn raw almonds into fine flour using just your kitchen blender. It’s a cost-effective way to have fresh, high-quality almond flour ready for your favorite recipes.
Enjoy your delicious, homemade almond flour!

I’m Joshua Miller, a U.S.-based food enthusiast and Co-Founder of KitchenWink.com. With a Bachelor’s degree in Food Science and over five years of hands-on experience testing blenders, coffee makers, and other kitchen tools, I focus on real-world results—not lab theories.
As a home cook, I personally test every product in real kitchens to give you honest, practical advice that makes everyday cooking easier.