If you’ve ever tried to clean or fix your blender, you know removing the blade can be tricky—and sometimes risky. But don’t worry, you’re about to learn a simple, safe way to take the blade out without damaging your blender or hurting yourself.
Knowing how to remove your blender blade properly will save you time, make cleaning easier, and keep your appliance working like new. Keep reading, and you’ll master this handy skill in no time.
Tools Needed
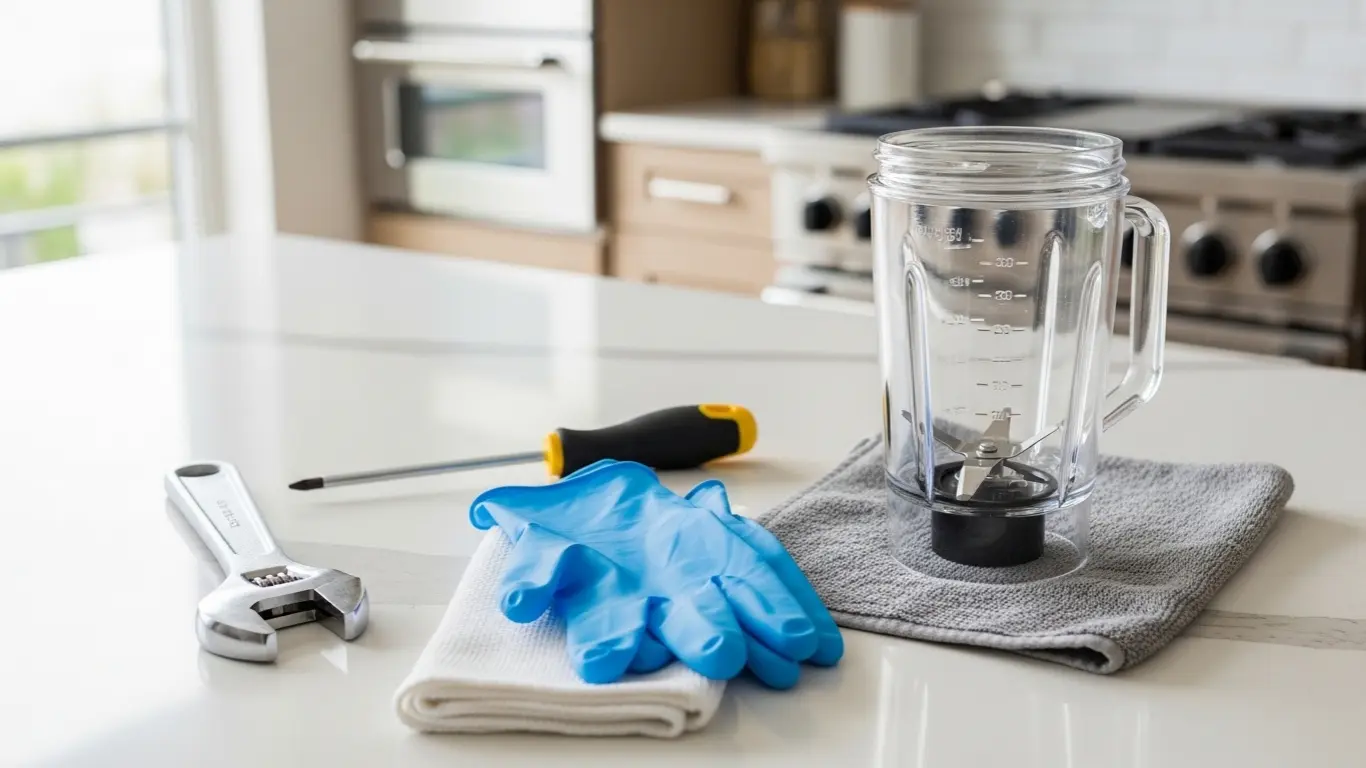
Removing blender blades requires some basic tools. Having the right tools makes the task easier and safer. Prepare these items before starting. Keep them close to avoid interruptions.
Wrench
A wrench helps loosen the blade assembly. Many blenders have a special nut holding the blades. Use an adjustable wrench to fit different sizes. Hold the base firmly to prevent slipping.
Screwdriver
A screwdriver may be needed for screws holding the blades. Most blenders use a Phillips or flathead screwdriver. Choose the right type to avoid damaging screws. Keep it handy for quick access.
Dishcloth Or Rubber Glove
Blades are sharp. Protect your hands using a dishcloth or rubber gloves. This prevents cuts and improves grip. Wrap the cloth around the blade before handling.
Container Or Towel
Place the blender parts in a container or on a towel. It keeps parts from rolling away or breaking. A towel also protects surfaces from scratches. Organize parts to avoid losing small pieces.
Preparing The Blender
Preparing the blender is the first step before removing the blade. It ensures safety and makes the process easier. Taking a few simple actions helps avoid accidents and damage to the blender parts.
Cleaning and unplugging the blender are key tasks. These prepare the device for safe handling. Follow these steps carefully to protect yourself and the blender.
Unplug The Blender
Always unplug the blender from the power outlet first. This stops electricity flow and prevents accidental starts. Never try to remove the blade while the blender is still plugged in.
Empty The Blender Jar
Remove any food or liquid from the blender jar. Leftover contents can spill and cause mess or injury. Clean the jar well before you start removing the blade.
Wash And Dry The Blender Jar
Rinse the jar with warm water and soap. Wash off all food particles stuck inside. Dry the jar completely with a clean cloth or let it air dry.
Prepare A Safe Workspace
Choose a flat, clean surface to work on. Use a towel or mat to keep the blender steady. This prevents slipping and helps protect your countertop.
Detaching The Blender Jar
Detaching the blender jar is the first step to remove the blender blade safely. The jar holds the blades and the ingredients you blend. Removing it carefully prevents damage to the parts and ensures your safety.
Most blenders have jars that twist or lift off the base. Knowing how to detach the jar correctly makes the whole process easier and faster.
Turn Off And Unplug The Blender
Before detaching the jar, always turn off the blender. Unplug it from the power source to avoid accidents. This step is important to keep you safe while handling sharp blades.
Remove The Jar From The Base
Hold the jar firmly and twist it counterclockwise. Some jars lift straight up without twisting. Check your blender model to know the correct way. Gently lift the jar off the base once it is loose.
Empty The Jar Completely
Pour out any leftover ingredients. Rinse the jar with water to remove residue. A clean jar makes it easier to see and handle the blade assembly.
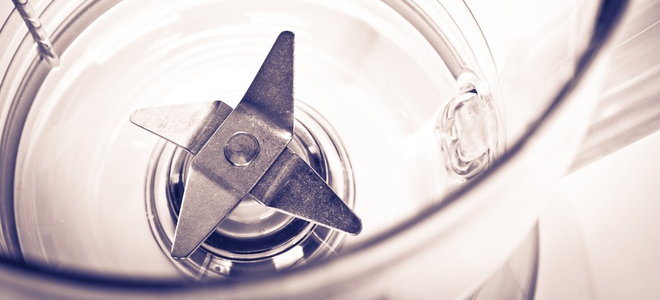
Credit: www.doityourself.com
Removing The Blade Assembly
Removing the blade assembly from a blender is a simple task. It helps with cleaning and maintenance. Doing it correctly keeps your blender working well and safe to use. Follow these easy methods to remove the blade assembly.
Twist-off Method
Most blender blades come off by twisting the base. Hold the jar firmly. Turn the blade assembly counterclockwise. It should loosen and come off. Use a cloth for a better grip. Avoid using too much force to prevent damage.
Screwdriver Assistance
Some blades are held by screws. Check if your blender has small screws at the base. Use a flathead or Phillips screwdriver to remove them. Turn the screws slowly. Keep them safe for reassembly. This method works well for fixed blades.
Handling Stuck Blades
Blades can get stuck due to food or rust. Soak the base in warm, soapy water for 10 minutes. Use a cloth or brush to clean around the blade. Tap gently with a rubber mallet if needed. Never use sharp tools to pry the blade.
Cleaning The Blade Safely
Cleaning the blender blade safely is important for a long-lasting device. The blade can collect food particles and oils that affect its performance. Proper cleaning removes dirt without causing damage. You need to be gentle but effective.
Using Warm Soapy Water
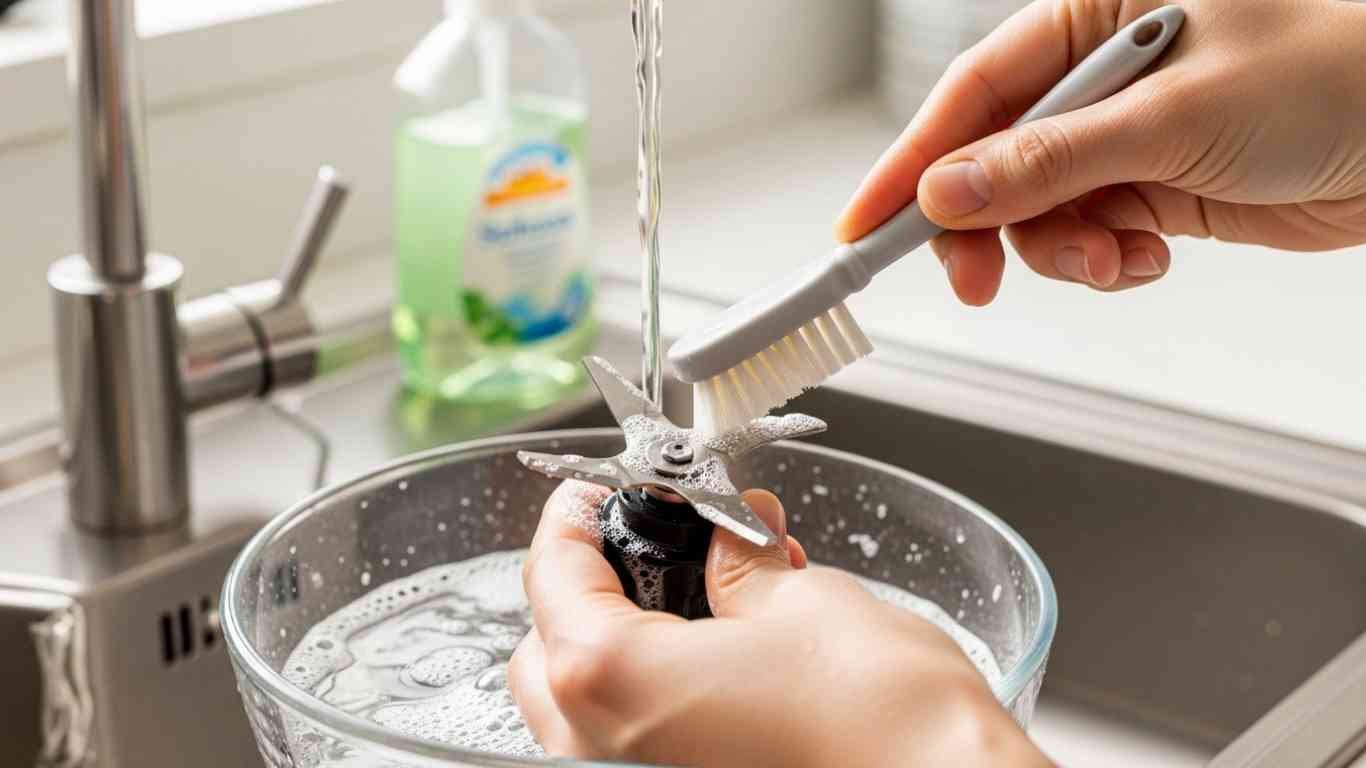
Fill a bowl with warm water and mild dish soap. Use a soft brush or cloth to clean the blade carefully. Avoid scrubbing too hard to protect the sharp edges. Clean both sides of the blade and the base. Rinse the blade well under running water to remove all soap.
Avoiding Damage
Do not use abrasive pads or steel wool on the blade. These can dull or scratch the surface. Avoid soaking the blade in water for too long to prevent rust. Handle the blade by its center, not the edges, to avoid cuts and damage. Use caution when removing or cleaning the blade.
Drying Techniques
Dry the blade immediately after washing to stop rust. Use a clean, soft towel to pat it dry. Allow the blade to air dry completely before reassembling the blender. Store the blade in a dry place to keep it sharp and rust-free.
Reassembling The Blender
Reassembling the blender is an important step after cleaning or replacing the blade. Proper assembly ensures the blender works safely and smoothly. Follow simple steps to put all parts back correctly.
Step 1: Place The Blade Assembly Correctly
Start by fitting the blade assembly into the blender jar. Make sure the blades sit flat and align with the base of the jar. Avoid forcing the blade to prevent damage.
Step 2: Secure The Gasket Seal
Next, place the rubber gasket or seal on top of the blade assembly. This part stops leaks during blending. Check that the gasket fits snugly and covers the blade base evenly.
Step 3: Attach The Blender Base
Twist or screw the blender base onto the jar. Tighten it firmly but do not over-tighten. A secure base holds the blade in place and protects your hands from sharp edges.
Step 4: Test For Proper Assembly
Before plugging in, turn the jar upside down. Check for any loose parts or leaks. If everything feels tight and secure, your blender is ready to use.
Safety Tips
Removing blender blades can be risky without the right care. Safety is important to avoid cuts and damage. Follow these safety tips to protect yourself and your blender.
Turn Off And Unplug The Blender
Always switch off the blender before removing the blade. Unplug it to stop any power flow. This prevents accidental starts that can cause injury.
Use A Cloth Or Gloves
Handle the blade with a cloth or gloves. Blades are sharp and can cut your fingers easily. A cloth adds grip and protects your hands.
Work On A Flat Surface
Place the blender on a flat, stable surface. This keeps it from moving while you work. A steady base helps you stay safe and in control.
Follow The Manufacturer’s Instructions
Check your blender’s manual for specific blade removal steps. Each model can be different. Following the guide reduces risk and avoids damage.
Keep Children Away
Blender blades are dangerous for children. Keep them out of reach during blade removal. Safety first for everyone in your home.
Frequently Asked Questions
How Do I Safely Remove Blender Blades?
Unplug the blender first. Hold the base firmly and twist the blade assembly counterclockwise to remove it.
What Tools Are Needed To Remove Blender Blades?
Usually, no tools are needed. Sometimes a wrench or pliers help if blades are tight or stuck.
Can I Remove Blender Blades For Cleaning?
Yes. Removing blades makes cleaning easier and safer. Always handle blades carefully to avoid cuts.
How Often Should Blender Blades Be Removed?
Remove blades when cleaning thoroughly or if blades are dull or damaged. Regular checks keep the blender working well.
What To Do If Blender Blades Won’t Come Off?
Try twisting firmly with a cloth for grip. Warm water can loosen stuck parts. Avoid forcing to prevent damage.
Conclusion: How to Remove Blender Blade
Removing a blender blade is easier than it seems. Follow the steps carefully and take your time. Always unplug the blender before starting. Use a cloth to protect your hands from sharp edges. Clean the blade and the jar well after removal.
Regular maintenance helps your blender last longer. Safety comes first in every task. Now, you can remove and clean your blender blade with confidence. Keep your kitchen tools in good shape for better cooking. Simple care makes a big difference.

I’m Joshua Miller, a U.S.-based food enthusiast and Co-Founder of KitchenWink.com. With a Bachelor’s degree in Food Science and over five years of hands-on experience testing blenders, coffee makers, and other kitchen tools, I focus on real-world results—not lab theories.
As a home cook, I personally test every product in real kitchens to give you honest, practical advice that makes everyday cooking easier.