If you have been staring at your Black & Decker coffee maker wondering how to set the timer so you wake up to a fresh pot, you are not alone. This guide covers exactly how to set timer on black and decker coffee maker, breaking down the process by model type so you stop second‑guessing every button press.
Manufacturer specifications indicate the programmable timer can be set up to 24 hours in advance, but the machine requires a specific final step, pressing “Auto”, before it will actually brew. Once you know where that button lives on your model, the whole thing clicks into place. We will start with the reason your timer might be ignoring you right now.
Quick Answer
Press the Program or Set Timer button until the clock flashes. Use Hour and Minute buttons to set your desired brew time. Press the Program button again to lock it in, then press the Auto button until its light comes on.
The timer is now active. Fill the reservoir, add grounds, and go to sleep.
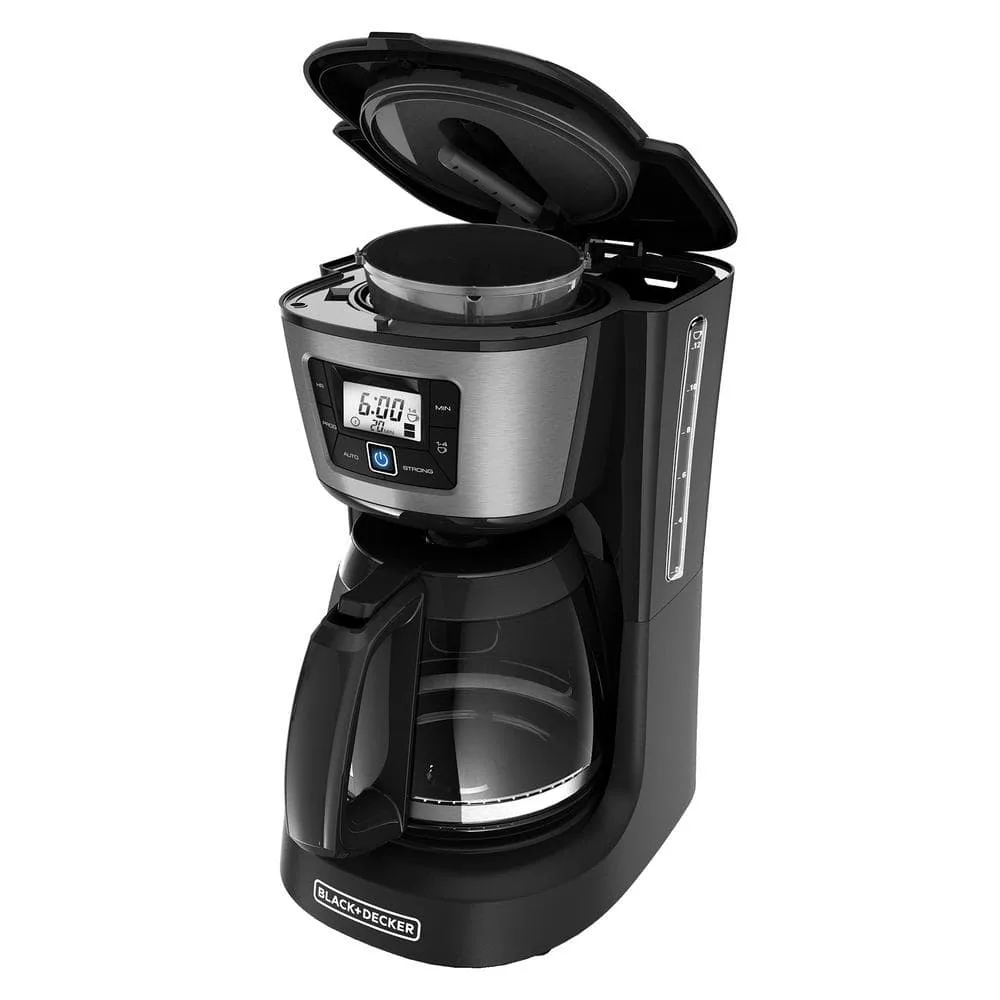
Image source: Bing (Web (fair-use with source credit))
Why Your Timer Isn’t Brewing Coffee (And What to Check First)
Most people assume they set the timer correctly and the machine will handle the rest. But Black & Decker builds two fundamentally different control panel layouts, and the biggest mistake is trying to force a procedure from one model onto another.
If your machine has distinct Hour and Minute buttons, you are working with a newer programmable series. The timer logic requires you to press Program, adjust the time, press Program again to confirm, then press Auto to arm it. Missing that last step is the number‑one cause of a timer that never fires.
If your machine has a single rotating dial or a Hold button, you have an older or budget model. These units often hide the timer behind the clock‑setting function. You must press and hold the button for three seconds to enter timer‑set mode, then release and press again quickly to lock the time.
Power outages are the second most common culprit. As of 2026, most Black & Decker machines do not include a battery backup. If your home lost power overnight or you unplugged the machine to clean it, the clock resets to 12:00. The timer memory clears with it.
You must set both the clock and the timer fresh after any interruption.
The third check is hand placement. Some models, especially the SpaceMaker under‑cabinet series, use a touch‑sensitive panel. Moisture on your fingers or a slightly wet countertop can cause the buttons to register incorrectly. Dry the surface and your hands, then try again.
The Timer Logic: One Button, Two Steps
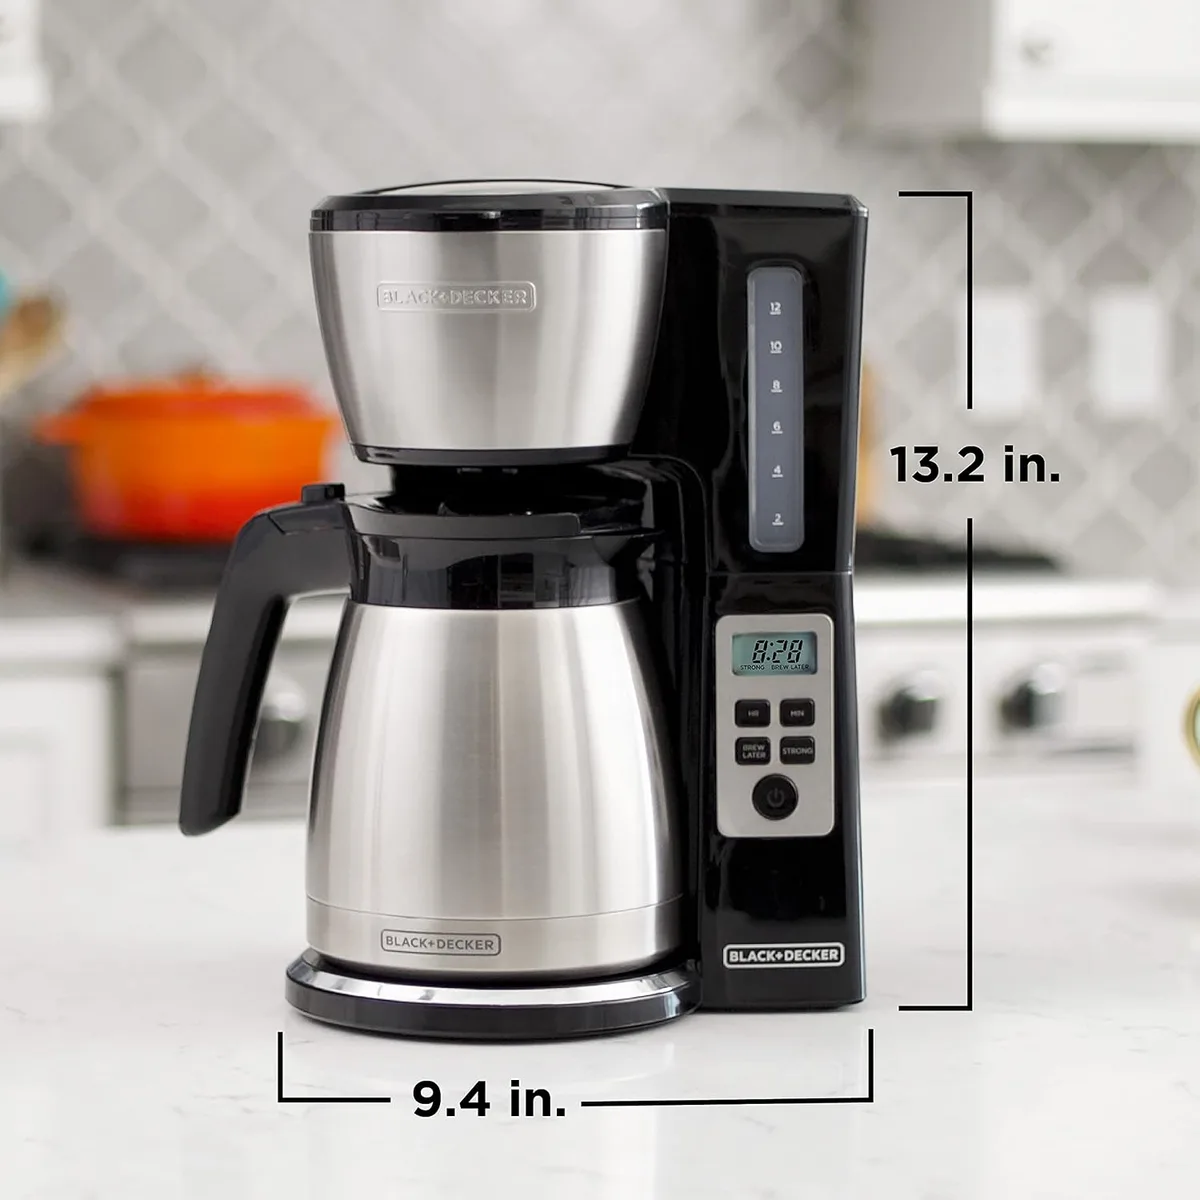
Image source: Web (Bing) / manuals.plus
Black & Decker separates the timer process into two distinct stages. Understanding this split makes everything else easy.
Stage one is programming the time. That means telling the machine when to start brewing. Whether your model calls it Program, Set Timer, or Delay Brew, this button puts the display into an adjustable mode. The colon on the clock will flash while the machine waits for your input.
Use the Hour and Minute controls, or the rotating dial, to enter your target brew time in 12‑hour format.
Stage two is activating the program. This is the part people forget. The machine needs a separate command to accept the programmed time and start watching the clock. On most models you press a button labeled Auto, Timer, or On/Off (held for two seconds) to arm the component.
A small light, usually red or green, will illuminate next to the word Timer or Auto. If that light is not on, the machine knows what time you want but will not brew.
The Keep Warm function engages automatically after the brew finishes. It expects the heating plate to run for two hours unless you manually shut it off. This is standard across nearly all programmable drip machines and does not affect the timer setup itself.
If you ever find yourself confused, check whether the red or green timer light is glowing. That is your single most reliable signal that stage two is complete.
Which Black & Decker Model Do You Own? (Find Your Button Layout)
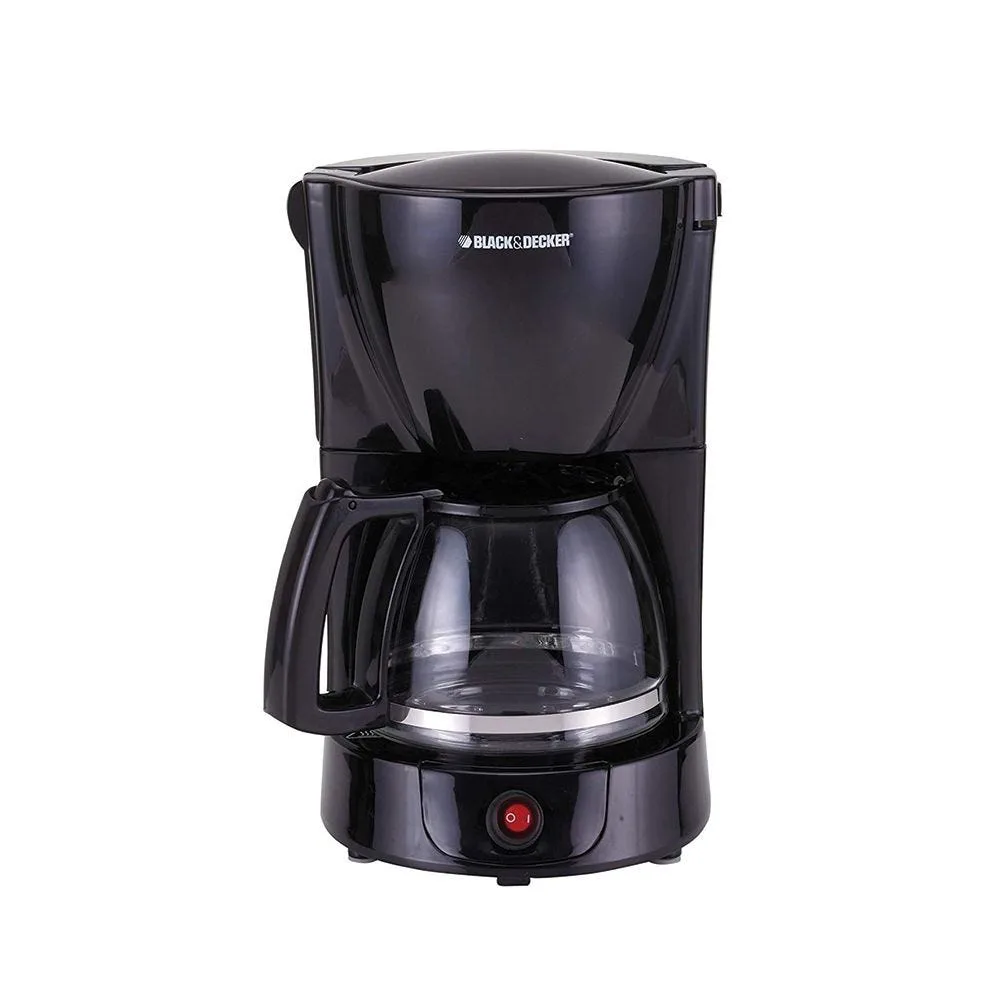
Image source: Web (Bing) / rayashop.com
Black & Decker makes several lines, and the timer procedure changes slightly depending on which one is on your counter. Here is a quick way to identify your control panel without digging out a manual that got thrown away months ago.
Programmable Standard (DCM600S, DCM900S, DCM2500B). These are the most common. You will see a digital clock, a Program button, hour and minute up/down arrows, and a separate Auto button. The Auto button has a small circle or dot next to it that lights up.
SpaceMaker Under‑Cabinet (SDC100, SDC200). The buttons are along the bottom edge of the machine. There is no dedicated Program button. Instead you press and hold the Timer/Clock button for three seconds.
The display will flash, and you adjust time with the plus/minus arrows. Press Timer/Clock again to save.
BrewStation (DCM900, DCM3000). These carafe‑free models have a larger button panel. Look for a button labeled Delay Brew or Timer. The process is: press Delay Brew, adjust the clock to your brew time, press Delay Brew again, then press the Brew Start button once to arm.
The Brew Start button acts as the Auto equivalent.
Classic Basic (DCM600, DCM700). These older machines have a simpler clock with a Set button. You press Set to enter time adjustment mode, then use the Up/Down buttons. To set the timer you must press Set a second time to toggle between Clock and Timer.
The display will show “T” for timer mode. Adjust, then press Set to lock.
If your buttons match none of these descriptions, take a photo of the control panel and compare it to images in the official support section. Black & Decker keeps product reference photos up for every model currently supported.
Step‑by‑Step Timer Setup for Each Model Type
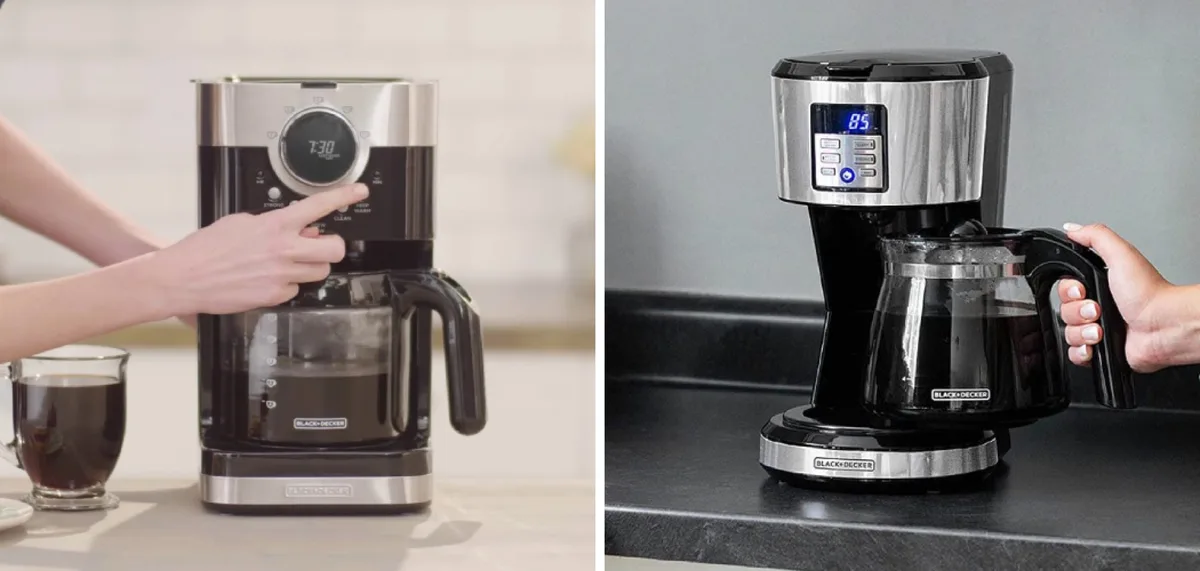
Image source: Web (Bing) / indoorense.com
Now the practical part. Follow the instructions for your specific control layout from the previous section.
For Programmable Standard models (DCM600S, DCM900S, DCM2500B):
- If the clock is not showing the correct current time, press the Program button once. The display will flash.
- Use the Hour and Minute buttons to adjust to the current local time.
- Press Program again to lock the clock.
- Press Program a second time until the display flashes again. This enters timer‑set mode.
- Use Hour and Minute to set your desired brew time. Remember AM and PM.
- Press Program one final time to lock the timer.
- Press the Auto button. A light will appear next to the word Auto.
- Fill the water reservoir and add ground coffee. The machine will brew at the set time.
For SpaceMaker Under‑Cabinet (SDC100, SDC200):
- Press and hold the Timer/Clock button for three seconds. The display will flash.
- Use the + and, arrows to set the brew time.
- Press the Timer/Clock button once to save.
- Press the Auto button until its light turns on.
- Add water and coffee. You are set.
For BrewStation (DCM900, DCM3000):
- Press the Delay Brew button. The clock display will begin flashing.
- Use the + and, buttons to enter the time you want the coffee to be ready.
- Press Delay Brew again to confirm.
- Press the Brew Start button once. The button will light up.
- Fill the machine and coffee grounds as usual.
For Classic Basic (DCM600, DCM700):
- Press the Set button. The display will flash.
- Use the Up/Down buttons to set the current clock time.
- Press Set again. The display will flash again.
- Use Up/Down to set the alarm, which acts as the brew timer.
- Press Set to lock both the clock and the timer.
- The machine will brew at the set time. No separate Auto button exists on these models.
If you are still unsure after these steps, use your phone to record a short video of the panel while you press each button. Watching it back often reveals a missed press.