Skip to content
A perfect latte or cappuccino at home isn't just about the espresso — it's about the milk. The difference between a thin, watery cup and a rich, café-style one comes down to how well you froth.
Whether you own an Aeroccino, a model with a built-in steam wand, or a separate electric frother, the process is easy to master once you understand the fundamentals. This guide covers everything: choosing the right milk, using each type of frother correctly, making specific drinks, and keeping your equipment in great shape. You can also read our guide on best iced espresso recipes.
Why Froth Milk in the First Place?
Frothed milk does more than make your drink look professional. It introduces tiny air bubbles that change the flavour and mouthfeel. Properly aerated milk tastes naturally sweeter because the trapped air breaks down fats and proteins, bringing out lactose. That means you often need less sugar in your coffee.
This is why milk frothers have become a staple in home kitchens. Market research from Global Market Insights values the U.S. milk frother market at $470 million as of 2024, with sales continuing to trend upward. The appetite for at-home barista drinks is real and growing. For more on this, see our guide on how to use a capsule coffee machine.
Understanding Your Nespresso Frothing Options
Not all Nespresso machines froth milk the same way. Before you start, it helps to know which system you're working with.
Built-In Steam Wand vs. Dedicated Frother
Nespresso machines use one of two approaches:
- Steam wand models (like the Creatista series) require you to steam and texture milk manually, exactly like a traditional espresso machine.
- Frother-based models (like the Vertuo Next with Aeroccino or the Lattissima range) do the whisking automatically at the press of a button.
Both approaches produce excellent results, but the skills are different. A steam wand gives you more control over texture; an automatic frother gives you consistency with zero practice.
Manual vs. Automatic Frothers
If your machine didn't come with a frother, you'll be choosing between manual and automatic options. Manual frothers — handheld battery whisks or pump-action pitchers — are inexpensive and compact, but they demand effort and produce less uniform foam. Automatic frothers heat and agitate the milk in a single cycle, giving reliable results in about 60–90 seconds.
Compatibility Checks Before You Buy
Most electric frothers are standalone appliances, so they'll work alongside any Nespresso model. What you need to check is physical fit: the frother's height must clear your machine's dispensing head, and you need nearby counter space and a power outlet.
How to Froth Milk with a Nespresso Aeroccino (Step by Step)
The Aeroccino is the most common frother paired with Nespresso machines. Follow these steps for consistent, café-quality foam every time.
Step 1: Choose the Right Milk
Cold, fresh milk is non-negotiable. Whole milk produces thick, creamy foam because of its higher fat content. Skim milk creates a lighter, cloud-like froth but sacrifices body and can taste thin. Semi-skimmed is a good middle ground.
Non-dairy milks vary. Oat and soy — particularly barista-style versions with added stabilisers — froth acceptably. Almond and rice milk produce a watery, unstable foam that flattens quickly.
Step 2: Fill the Pitcher to the Correct Line
Inside the Aeroccino pitcher you'll find two markings. The upper line is for hot froth; the lower line is for cold froth or when you want a smaller quantity. Overfilling is the number one cause of milk overflow — the lid pops off, and you get a sticky mess.
Step 3: Select the Right Setting
The Aeroccino uses two whisk attachments:
- The spring whisk creates dense, thick foam — ideal for cappuccinos.
- The perforated whisk produces fine, silky microfoam — perfect for lattes and flat whites.
- The cold setting whisks without heating, great for iced coffee or cold foam toppings.
Some models also offer a plain "heat only" mode that warms milk without whipping it.
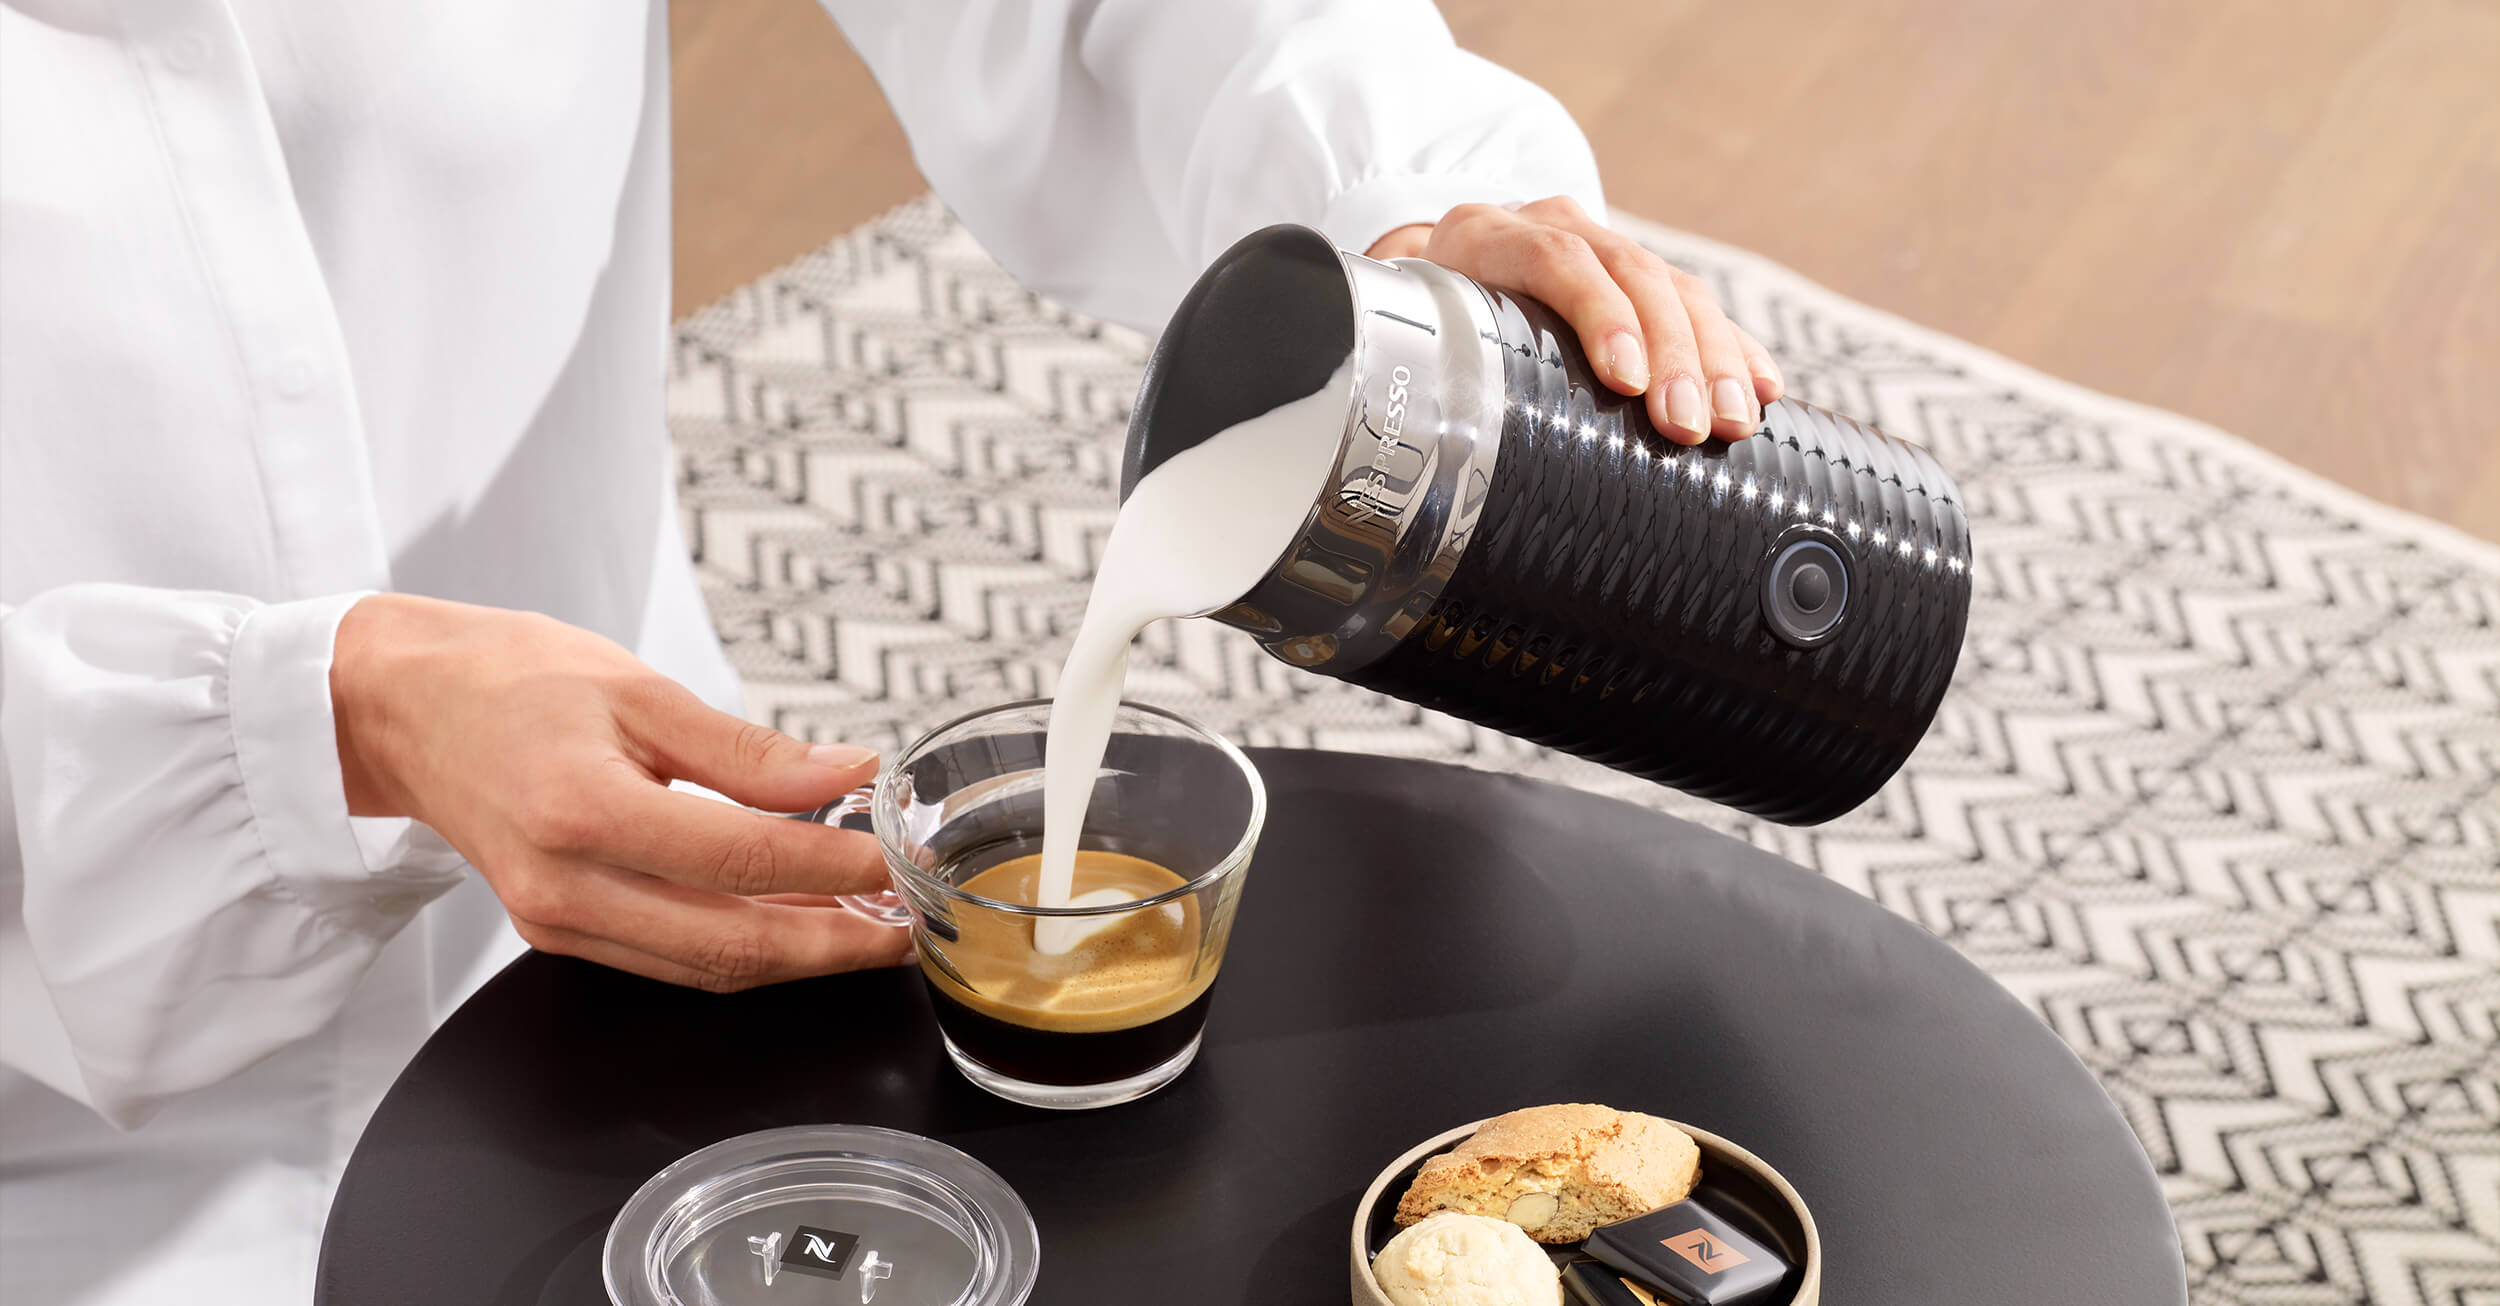
The Aeroccino produces dense microfoam in about a minute.
Credit: www.nespresso.com
Step 4: Let the Cycle Run
Secure the lid, press the button, and wait. A hot cycle typically runs 60–90 seconds and stops automatically when done. Don't open the lid mid-cycle — you'll lose heat and break the foam structure.
Step 5: Tap, Swirl, and Pour Immediately
When the cycle finishes, tap the pitcher gently on the counter to burst any large bubbles. Swirl the milk in a circular motion to recombine the foam and liquid. Then pour right away; frothed milk separates quickly as it sits.
Using a Steam Wand for Microfoam
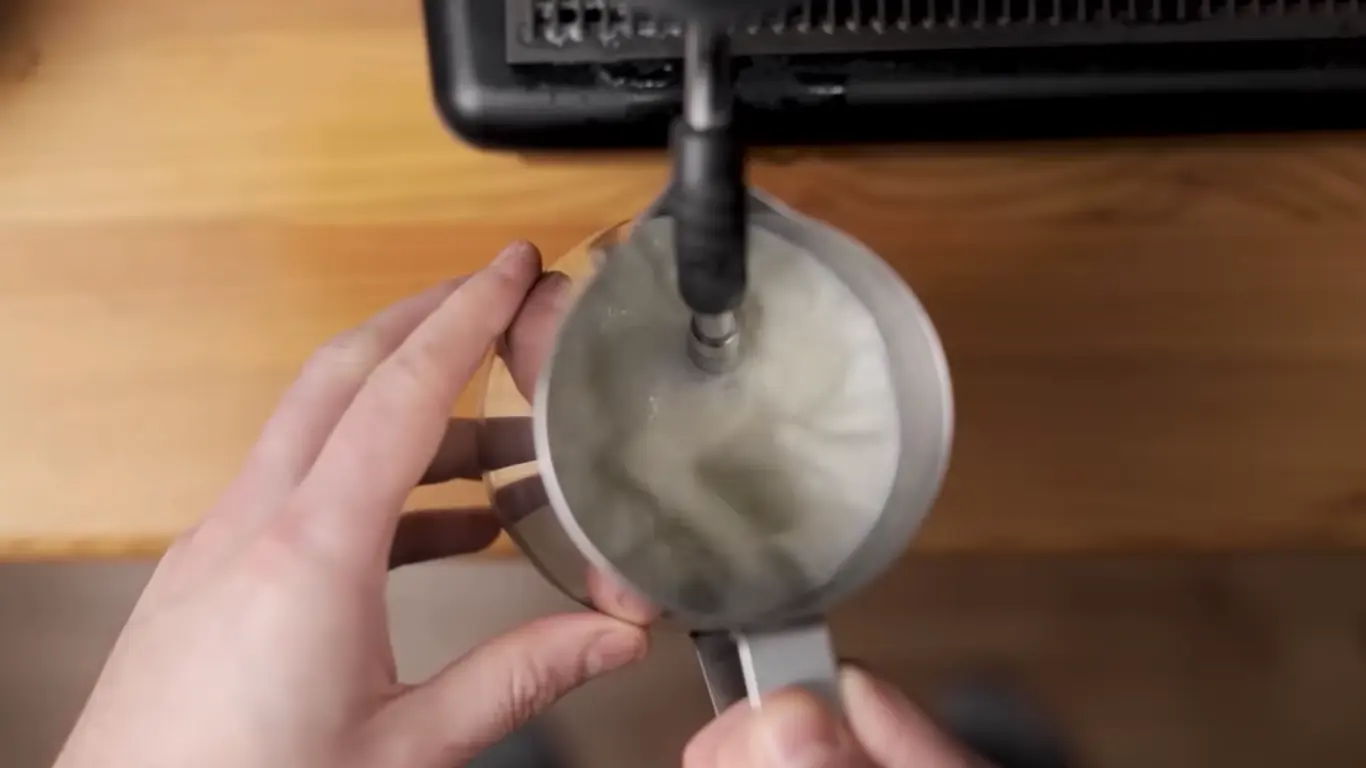
If your Nespresso has a steam wand, you have more creative control — but also a steeper learning curve. The goal is to stretch the milk during initial air introduction, then heat it while creating a whirlpool effect to break the foam down into fine microfoam.
Steam wand technique in short:
- Fill a stainless-steel pitcher one-third full with cold milk.
- Purge the wand briefly to clear condensed water.
- Submerge the tip just below the surface and open the steam valve.
- Keep the tip near the surface for the first 2–3 seconds to introduce air.
- Lower the pitcher to submerge the tip completely, creating a vortex.
- Stop heating at around 55–65°C (130–150°F) — the pitcher should feel hot but tolerable to hold.
- Wipe the wand immediately with a damp cloth.
This skill takes practice, but the payoff is glossy, velvety microfoam that's pourable into latte art.
Frothing Techniques for Common Drinks
Once you can produce good foam, adapting it to different drinks is straightforward.
Cappuccino
A true cappuccino uses equal parts espresso, steamed milk, and dense foam. Brew a double shot, add a layer of steamed milk, then spoon thick foam on top. The foam should hold its shape when the cup is tilted.
Latte and Latte Art
Lattes call for silky microfoam, not stiff foam. Pour the milk in a slow, controlled stream, keeping the pitcher close to the cup at first, then raising it to let the remaining milk flow through the surface layer. With practice, you can create hearts, tulips, and rosettas by varying pour speed and pitcher height.
Iced Coffee with Frothed Milk
Cold frothed milk adds a creamy, layered finish to iced drinks. Brew a double espresso and let it cool for a minute. Fill a glass with ice, pour the espresso over it, and top with cold-frothed milk from the Aeroccino's cold setting. The foam floats on top and slowly cascades down.

Pouring frothed milk over iced espresso keeps the layers gently distinct.
If you enjoy strong, traditional coffee flavours, consider brewing your espresso alternative with a stovetop Moka pot — the bold character holds up beautifully against rich milk foam.
Cleaning and Maintenance
A well-maintained frother is the difference between consistently silky foam and disappointing, uneven froth. Develop a quick cleaning habit early.
Clean After Every Use
Milk residue hardens quickly and become difficult to remove once dried. After each use:
- Rinse the pitcher and whisk under warm running water.
- Wash with mild dish soap and a soft sponge. Avoid abrasive scrubbers, which scratch the non-stick coating.
- Wipe the base with a damp cloth — never submerge it.
Dry all parts fully before reassembling. Trapped moisture encourages bacterial growth and affects frothing performance.
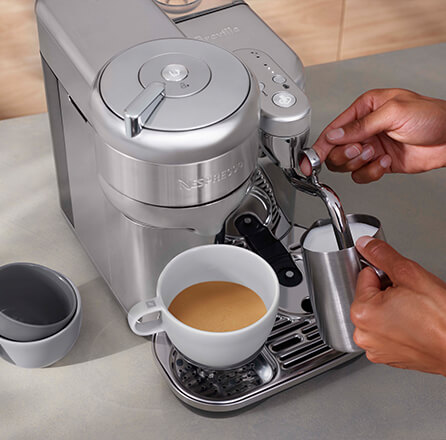
A steam wand requires more technique but gives you barista-level control.
Credit: www.nespresso.com
Descale Your Machine Regularly
Nespresso recommends descaling every three months or after approximately 300 capsules. Use the official Nespresso descaling solution and follow the instructions on the official Nespresso site. Regular descaling prevents limescale from clogging the heating element and keeps your espresso tasting clean.
Troubleshooting Common Frothing Issues
| Problem | Likely Cause | Fix |
|---|---|---|
| Weak or watery foam | Milk too warm or past its best | Use fresh, cold milk |
| No foam at all | Whisk not attached or wrong whisk fitted | Check and swap the attachment |
| Frother heats but doesn't whisk | Whisk blocked by dried residue | Clean the whisk thoroughly |
| Milk overflows the pitcher | Pitcher filled above the mark | Fill only to the correct line |
| Machine stops mid-cycle | Overheating | Let it cool for 10 minutes, then retry |
If problems persist after a full clean, contact Nespresso customer support.
For small kitchens or travel, a portable electric kettle gives you hot water for tea and pour-over without taking up extra counter space. And if you're hosting a gathering, a large beverage dispenser lets guests help themselves to iced coffee while you focus on frothing.
FAQ
How do I froth milk with a Nespresso machine?
Fill the frother with cold milk to the max line, attach the correct whisk, close the lid, and press the button. The frother heats and whisks automatically in 60–90 seconds.
Can I use non-dairy milk in the Nespresso frother?
Yes, but texture varies. Barista-style oat and soy milk froth well; almond and rice milk produce thinner, less stable foam.
How long does it take to froth milk on a Nespresso?
A hot froth cycle takes roughly 60–90 seconds. Cold froth is typically ready in about a minute.
How do I clean the milk frother on a Nespresso?
Rinse the pitcher and whisk with warm soapy water after every use, then wipe the base with a damp cloth. Never submerge the base.
What drinks can I make with frothed milk?
Cappuccinos, lattes, flat whites, macchiatos, mochas, iced coffee, and even hot chocolate and chai lattes all benefit from frothed milk.
Conclusion
Mastering milk frothing with your Nespresso machine is one of the fastest ways to elevate your daily coffee. The essentials are simple: start with cold, fresh milk; fill to the correct line; select the right whisk and setting; and pour promptly once the cycle finishes.
Once you've mastered the basics, experiment — try different milk types, attempt simple latte art, and explore iced drinks for warmer months. If you want more hands-on brewing inspiration, browse our brewing and kitchen tips for fresh ideas. Your coffee ritual will never taste the same.