If you’ve ever wondered how to use silicone muffin pan without ending up with a sticky, torn mess, you’re asking the right question. Silicone bakeware is flexible, lightweight, and easy to store, but it behaves completely differently than the metal pans you grew up with. Most people assume “non-stick” means you can skip the prep work.
That assumption is usually where things go wrong.
Manufacturer specifications indicate that food-grade silicone tolerates temperatures from -40°F to 450°F (-40°C to 232°C). That’s a wide range, but it doesn’t mean batter slides out on its own. The real trick lies in a few simple adjustments to your normal baking routine.
Once you understand those, you’ll never look at a silicone pan the same way.
Quick Answer
Grease every cup before filling. Place the pan on a baking sheet. Fill each cup two-thirds full.
Bake at the same temperature but add 2 to 5 minutes. Let muffins cool 5 to 10 minutes before peeling.
Why Silicone Pans Work Differently Than Metal
Silicone is a heat-stable polymer, not a heat conductor. Metal pans heat up fast and transfer that heat directly to the batter. That’s why metal gives you those golden-brown bottoms and crispy edges.
Silicone, on the other hand, acts more like an insulator. It heats up slowly and doesn’t brown the way metal does.
That slower heating affects two things. First, your muffins may need slightly longer in the oven. Second, the bottoms will stay pale unless you take extra steps.
Many bakers who switch to silicone for the first time pull out pale, undercooked-looking muffins and think the pan is broken. It’s not broken. It’s just doing what silicone does.
The flexibility of silicone is what makes it great for storage and removal. You can fold it flat, stuff it in a drawer, and pop muffins out by pushing up from the bottom. But that same flexibility means the pan can wobble and spill batter if you don’t support it properly.
That’s why the setup matters more than the pan itself.
If you’ve ever used different oven styles, you know that heat distribution varies. A convection oven, for example, circulates hot air differently than a standard oven. Understanding how different oven types affect baking can help you adjust your technique for silicone.
The Right Setup: What You Need Before You Start
Before you pour a single drop of batter, gather your tools. The right setup makes the difference between a smooth bake and a frustrating cleanup. Here’s what you need.
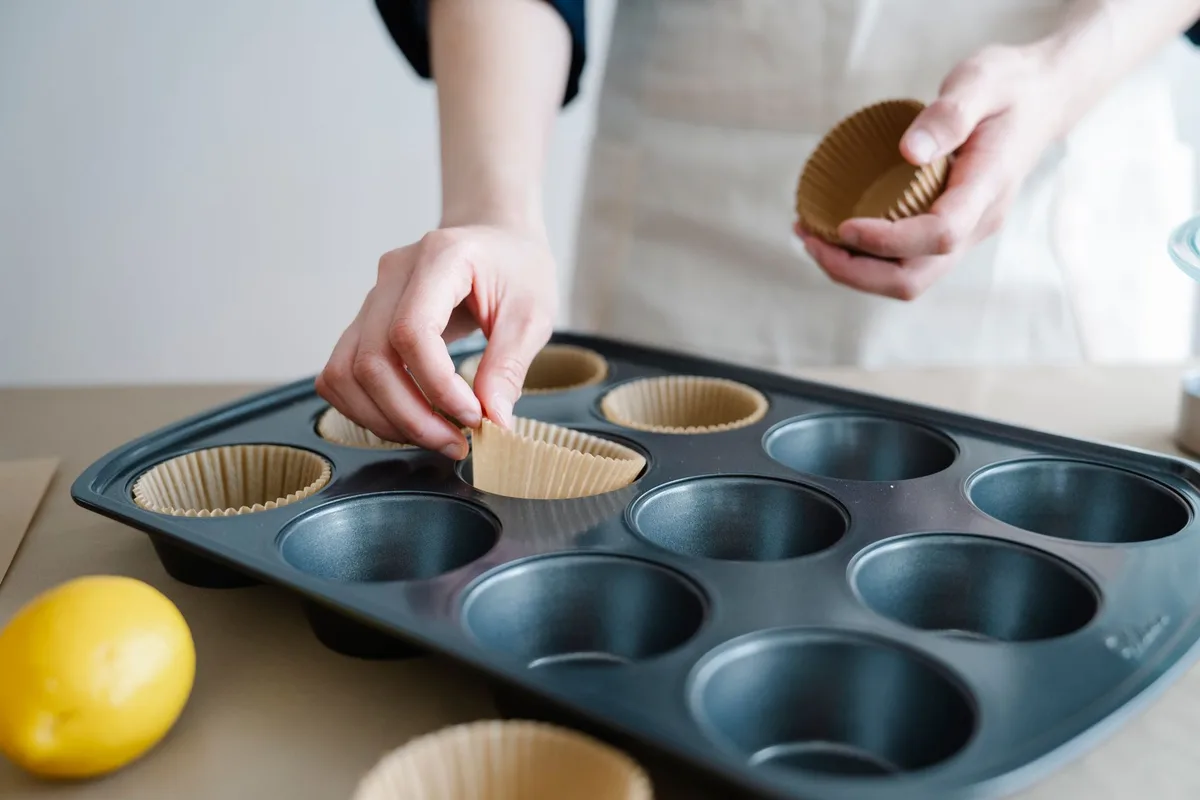
Image source: Pexels / Felicity Tai (Pexels License)
Your silicone muffin pan. Make sure it’s clean and dry. If it’s brand new, wash it with warm soapy water first. Silicone can hold onto manufacturing residue from the molding process.
A sturdy baking sheet. This is non-negotiable. A flexible silicone pan full of wet batter is a disaster waiting to happen. Set it on a metal baking sheet before you fill it.
The sheet supports the pan, keeps it stable, and makes it easier to slide into the oven without sloshing.
Grease of your choice. Butter, vegetable oil, non-stick spray, or shortening all work. Avoid using spray oils that contain lecithin, which can leave a sticky residue on silicone over time. Stick to plain oils or butter for best results.
A cooling rack. You need a place to rest the pan after baking. Silicone traps heat, and muffins need to cool in the pan before you attempt to remove them.
A thin spatula or offset knife. Not strictly required, but helpful for loosening stubborn edges. A good stainless steel spatula can help if you need to gently pry without damaging the muffin.
The baking sheet is the single most important item on this list. Aggregate reviews from home bakers consistently report that the most common mistake is skipping the sheet. Don’t be that person.
Step-by-Step Visual Guide to Using a Silicone Muffin Pan
Let’s walk through the entire process from start to finish. Follow these steps in order, and your muffins will come out cleanly every time.
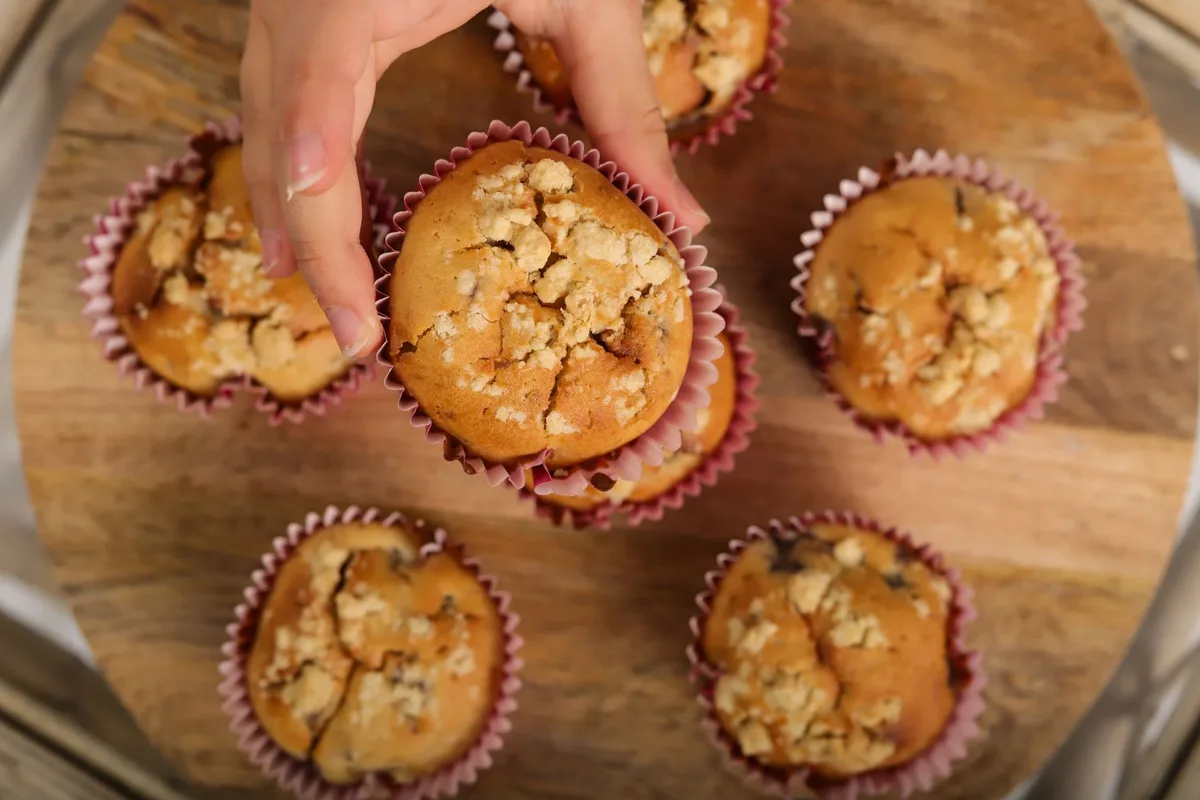
Image source: Pexels / Medine Dilek Kizmaz (Pexels License)
Step 1: Set It on a Baking Sheet
Place your empty silicone muffin pan on a baking sheet before you add any batter. The sheet provides stability and makes it easy to move the pan in and out of the oven. This step also prevents the cups from sagging or folding over when you fill them.
Step 2: Grease Every Cup Thoroughly
Use a pastry brush, paper towel, or your fingers to coat each cup with a thin layer of butter or oil. Don’t skip this step. Silicone is naturally non-stick, but it’s not magic.
Fat creates a barrier that helps the muffins release cleanly. Pay special attention to the bottom corners where batter tends to cling.
Step 3: Fill the Cups to Two-Thirds Full
Scoop or pipe batter into each cup. Fill to about two-thirds of the way up. Overfilling causes muffins to spill over the edges and bake into flat, mushroom-like tops.
Underfilling gives you small, sad muffins. Two-thirds is the sweet spot.
If you’re using a piping bag, fill the cups from the center and let the batter spread naturally. This reduces air pockets and gives you more uniform muffins.
Step 4: Adjust Baking Time
Bake at the same temperature your recipe calls for, but expect to add 2 to 5 minutes. Silicone doesn’t conduct heat as efficiently as metal, so the batter takes longer to reach the right internal temperature. Check for doneness with a toothpick.
If it comes out clean, they’re done. If not, give them another 2 minutes.
Step 5: Cool and Peel
Let the muffins rest in the pan on a cooling rack for 5 to 10 minutes. This allows the structure to set. Don’t try to remove them immediately.
They’ll be too fragile and may tear.
After cooling, gently press the bottom of each cup upward. The muffin should pop out easily. If it sticks, run a thin spatula around the edge and try again.
The silicone should peel away from the muffin rather than the muffin peeling away from the silicone.
How to Tell Your Muffins Are Done (Visual Cues)
Silicone makes it harder to judge doneness by sight alone. The pan doesn’t brown like metal, so the bottoms of your muffins will look pale even when they’re fully baked. That can trick you into thinking they need more time.
Here are the visual cues that actually work with silicone pans.
The tops are domed and golden. If the top of the muffin looks done, the inside is probably done too. The top is exposed to direct heat, so it browns normally even if the pan doesn’t.
The edges pull away from the cup. Baked muffins shrink slightly as they set. You’ll see a small gap between the muffin and the silicone wall. That’s a good sign.
A toothpick comes out clean. This is your most reliable test. Insert a toothpick into the center of the tallest muffin. If it comes out with wet batter, bake for another 2 minutes.
If it comes out with a few moist crumbs, you’re done.
The muffin springs back when touched. Lightly press the top of a muffin with your finger. If it springs back, it’s baked through. If it leaves a dent, it needs more time.
The internal temperature reaches 200°F to 205°F. If you have an instant-read thermometer, this is the gold standard. Stick the probe into the center of a muffin. When it reads between 200°F and 205°F (93°C to 96°C), the muffins are done.
This is consistent across most muffin and cupcake recipes.
Don’t rely on the color of the pan or the bottom of the muffin. Those are misleading with silicone. Use the toothpick test and the spring-back test instead.
They’re more reliable and don’t require any special equipment.
As of 2026, most food-grade silicone pans on the market meet FDA standards for heat tolerance and material safety. The FDA’s guidelines on food contact substances ensure that the silicone used in bakeware is safe for repeated use at typical baking temperatures. That gives you one less thing to worry about.
Common Visual Mistakes and How to Fix Them
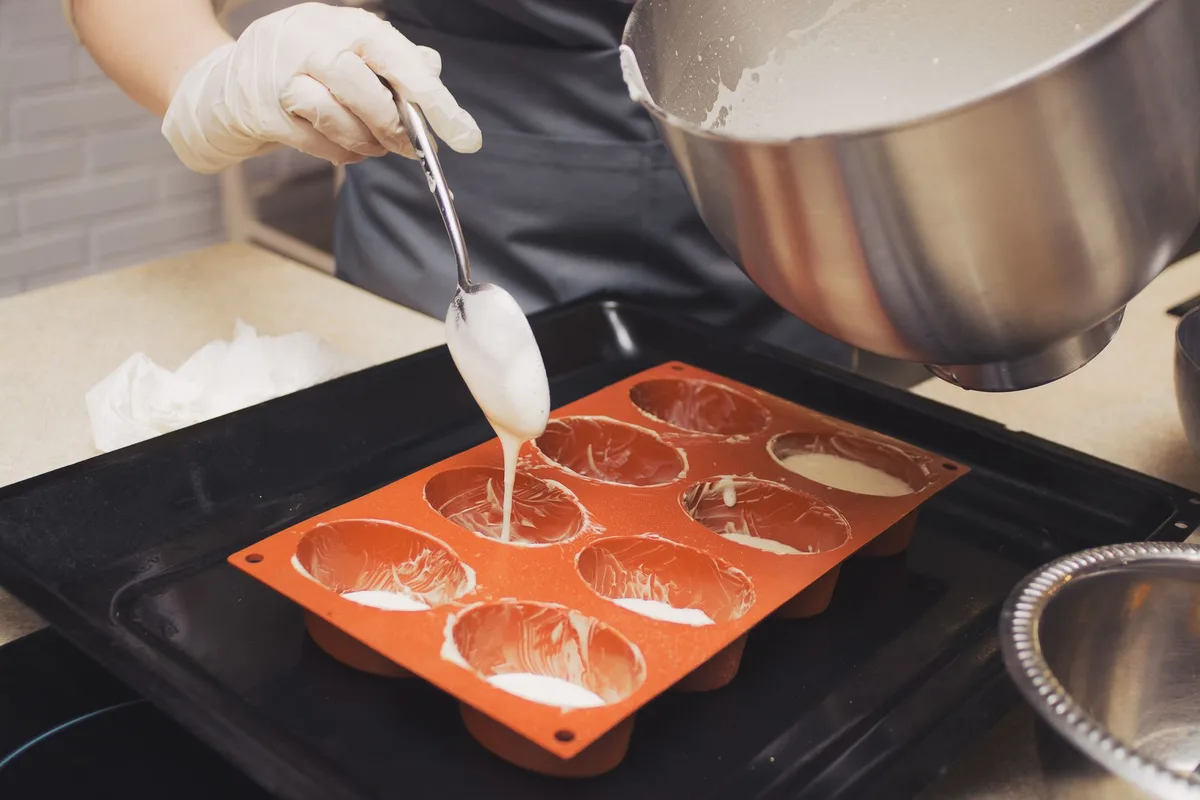
Image source: Pexels / Tanya Gorelova (Pexels License)
Mistake: The pan wobbles when you move it. This happens when you skip the baking sheet. A flexible pan full of batter is unstable. Fix it by placing the pan on a metal sheet before filling.
The sheet gives you a solid handle for moving the whole thing.
Mistake: Muffins stick to the bottom. This is the most common complaint about silicone pans. The fix is almost always insufficient greasing. You need to coat every surface, especially the bottom corners.
Use butter or oil, not just a quick spray. A pastry brush helps reach every crevice.
Mistake: The tops are pale. Silicone doesn’t conduct heat well, so the tops may look underdone even when the interior is fully baked. Move the pan to the top rack of your oven for the last 2 to 3 minutes if you want more color. Alternatively, switch on the broiler for 30 seconds.
Watch closely. Broilers work fast.
Mistake: Muffins tear when you remove them. This happens when you rush the cooling step. The muffins need time to set. Let them cool in the pan for at least 5 minutes.
If they still stick, run a thin spatula around the edge before pushing up from the bottom.
Mistake: The pan smells like leftover garlic or fish. Silicone absorbs odors. It’s not a defect, but it’s annoying. You can remove odors by soaking the pan in a mixture of warm water and baking soda for 15 minutes.
Then wash with mild soap. Some people also bake the empty pan at 300°F for 10 minutes to burn off smells.
Silicone vs. Metal Muffin Pans: What Changes in Your Baking
Choosing between silicone and metal changes how you bake. It’s not about one being better. It’s about knowing what each does well and adjusting your technique accordingly.
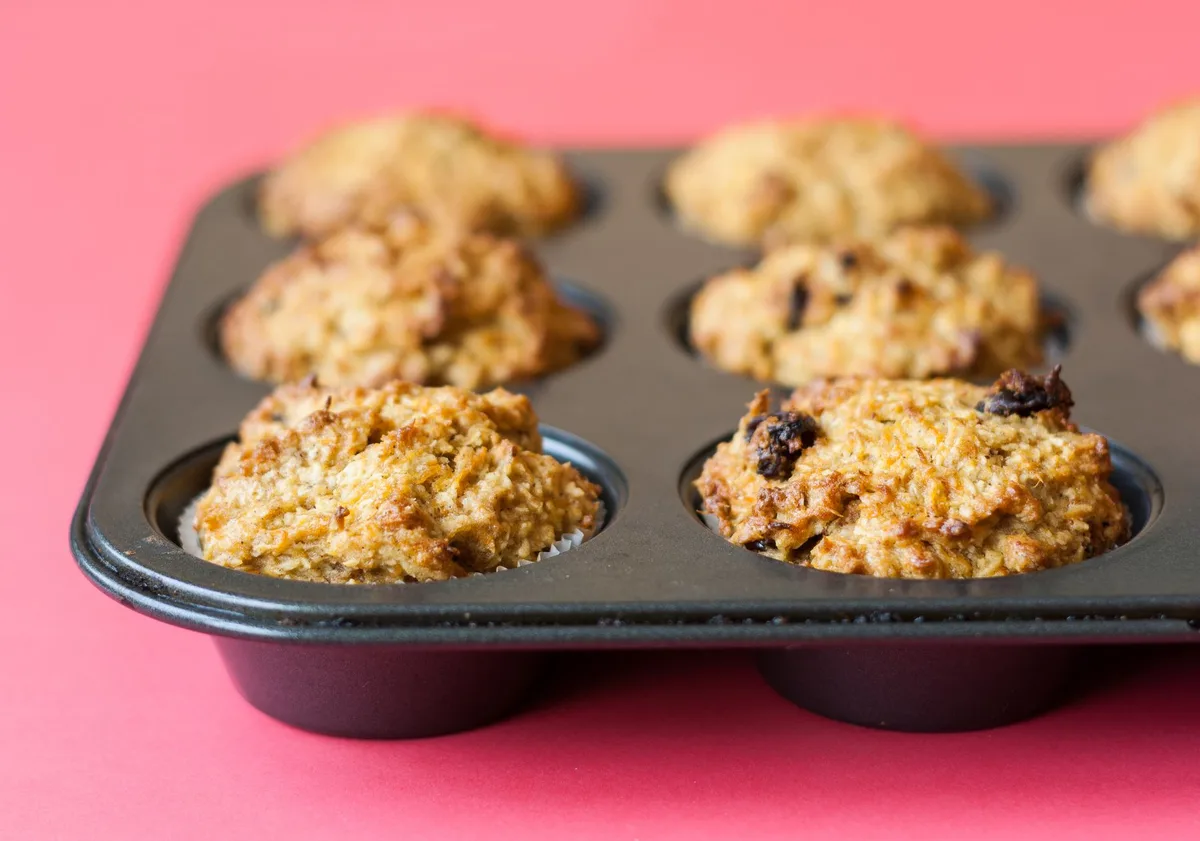
Image source: Pexels / Zdenek Rosenthaler (Pexels License)
| Factor | Silicone | Metal |
|---|---|---|
| Heat conduction | Slow, insulates | Fast, conducts |
| Browning | Pale bottoms | Golden brown |
| Stickiness | Needs greasing | Usually non-stick |
| Storage | Folds flat | Rigid, takes space |
| Cleaning | Easy, flexible | May need scrubbing |
| Durability | Can tear if cut | Dents but lasts |
| Price | $8 to $25 | $10 to $30 |
Heat conduction is the biggest difference. Metal pans get hot fast and transfer heat directly to the batter. That creates a crispy, golden-brown crust on the bottom and sides. Silicone heats slowly and evenly, but it never gets as hot as metal.
The result is a softer, paler muffin.
Baking time changes. Because silicone heats slower, you typically need to add 2 to 5 minutes to your recipe’s bake time. Check early and often. Use a toothpick to test for doneness.
Cleaning is easier with silicone. Muffins pop out cleanly, and the pan bends to release any stuck bits. Metal pans, especially non-stick ones, can scratch and require gentle scrubbing. Silicone is dishwasher safe, but hand washing extends its life.
Storage is a clear win for silicone. You can fold it flat, roll it up, or stuff it in a drawer. Metal pans are rigid and stack awkwardly. If you have limited cabinet space, silicone is a practical choice.
Durability is mixed. Silicone won’t rust or dent, but it can tear if you use sharp utensils or twist it aggressively. Metal pans last for decades if you treat them well. Both are good choices.
It comes down to your priorities.
Cleaning and Storing Your Silicone Pan
Cleaning a silicone muffin pan is simple. Rinse it immediately after use to remove crumbs. Then wash with warm, soapy water and a soft sponge.
Avoid abrasive scrubbers. They can scratch the surface and create spots where batter sticks later.
For stubborn residue. If batter baked onto the pan, soak it in warm water for 10 minutes. The baked-on bits will soften and wash away easily. A gentle scrub with a paste of baking soda and water works for tough spots.
Dishwasher use. Most silicone pans are dishwasher safe. Place them on the top rack. The high heat and detergent can cause slight discoloration over time, but it doesn’t affect performance.
If you prefer a pristine look, hand wash instead.
Drying is important. Silicone is porous at a microscopic level. Water can get trapped in the material. After washing, dry the pan thoroughly with a towel.
Then let it air dry completely before storing. Trapped moisture can lead to mold or mildew over time.
Storage tips. Silicone pans are flexible, so you can fold them or roll them. Store them in a dry drawer or on a shelf. Keep them away from sharp objects that could puncture the material.
A simple cloth bag or plastic container protects them from dust.
Odor removal. If your pan smells like garlic or fish, soak it in a solution of baking soda and water. You can also bake it empty at 300°F for 10 minutes. That burns off odors without damaging the silicone.
Silicone Pan Care: What Shortens Its Life
Silicone is durable, but it’s not indestructible. A few habits can cut its lifespan short.
Using sharp utensils. Never use knives, metal forks, or sharp spatulas in a silicone pan. A single cut can grow into a tear. Use silicone, wood, or plastic utensils instead.
High heat exposure. Most silicone pans are rated to 450°F (232°C). Exceeding that temperature can melt or warp the material. Avoid broiler use unless the manufacturer specifically states it’s safe.
Keep the pan away from direct flame.
Abrasive cleaning. Steel wool, scouring pads, and harsh scrub brushes scratch the surface. Scratches create weak spots and make the pan less non-stick. Use a soft sponge or cloth.
Twisting or stretching. When removing muffins, push up gently from the bottom. Don’t twist or pull aggressively. Twisting stresses the material and can cause small tears near the cup edges.
Storing folded too tightly. Folding is fine, but folding the same crease repeatedly can weaken the material over time. Vary how you fold it, or roll it instead of folding.
Avoiding grease. The biggest mistake is thinking silicone doesn’t need grease. It does. Every time you skip greasing, you risk sticking.
The stuck batter forces you to scrub harder, which damages the surface. Grease every time, and your pan will last years.
Frequently Asked Questions
Do I need to grease a silicone muffin pan?
Yes. Grease every cup before filling. Silicone is non-stick, but it’s not non-stick enough to release batter without help.
Butter, oil, or non-stick spray all work. A thin even coating is all you need.
Can I use silicone muffin pans without a baking sheet?
You can, but it’s risky. The pan is flexible and can wobble when full of batter. A baking sheet provides stability and makes it easier to move the pan in and out of the oven.
It also catches any spills.
Why are my muffins pale on the bottom?
Silicone doesn’t conduct heat like metal. The bottoms stay pale even when the muffins are fully baked. That’s normal.
Test for doneness with a toothpick or an instant-read thermometer instead of relying on color.
How long should I let muffins cool in a silicone pan?
Let them cool for 5 to 10 minutes. This allows the structure to set. If you try to remove them too soon, they’ll tear or fall apart.
After cooling, press the bottom of each cup upward to release the muffin.
Can I put a silicone muffin pan in the dishwasher?
Yes, most silicone pans are dishwasher safe. Place them on the top rack. The high heat and detergent may cause slight discoloration over time, but it doesn’t affect performance.
Hand washing extends the pan’s appearance.
Will silicone absorb odors?
Yes, silicone can absorb strong odors from ingredients like garlic, fish, or spices. You can remove odors by soaking the pan in a baking soda and water solution. Baking the empty pan at 300°F for 10 minutes also works.
Final Verdict: When Silicone Muffin Pans Shine and When They Don’t
Silicone muffin pans are great for certain situations. They shine when you need easy storage, quick cleanup, and gentle removal. They’re perfect for bakers with limited cabinet space or anyone who hates scrubbing metal pans.
They struggle when you need deep browning or crispy edges. If you love that golden-brown crust on your muffins, stick with metal. Silicone gives you a softer, paler result that’s fine for everyday baking but not for showstopper presentations.
For most home bakers, having both is the best approach. Use silicone for quick weekday batches and for recipes where appearance doesn’t matter. Use metal for special occasions when you want that perfect golden dome.
The key is knowing how to adjust. Grease every time. Use a baking sheet.
Add a few minutes to the bake time. Let them cool before peeling. Follow those rules, and your silicone pan will serve you well for years.