Your baby’s first bites should be all about wholesome flavor, not stress. Yet when you are feeding a child who wants food now, the last thing you want is an entire countertop setup and a big blender that barely processes a couple of spoonfuls.
That is exactly where a mini blender earns its spot. It is compact, fast, and designed for small batches—which happens to be exactly how babies eat. A few minutes of prep can turn a handful of vegetables into a smooth puree, ready in the time it takes to warm a jar. You can also read our guide on best personal blender for travel.
This guide covers the real-world details: what to look for, how to blend safely, which combinations actually taste good, and how to make a small appliance fit into your new daily rhythm.
Why a Mini Blender Makes Homemade Baby Food Easier
A standard blender works, but it usually needs a decent amount of liquid to actually blend. That is the opposite of what you need when you’re making a single mashed serving of pear or a spoonful of carrot. Mini blenders solve this by pairing a smaller cup with a motor designed for compact jobs. You can also read our guide on best blender for baby food.
The practical benefits:
- Fresh puree in seconds, not in arms.
- A single cup you can pull out, blend, and clean quickly.
- Ready to take part of the batch on a day trip.
- Less wastewater, as you blend exactly what your baby will eat.
- No heavy base taking over your kitchen.
Another underrated point is texture control. Babies need different textures as they grow, from a silky puree to slightly lumpy mash. A mini blender with pulsing options lets you change all textures without outside effort.
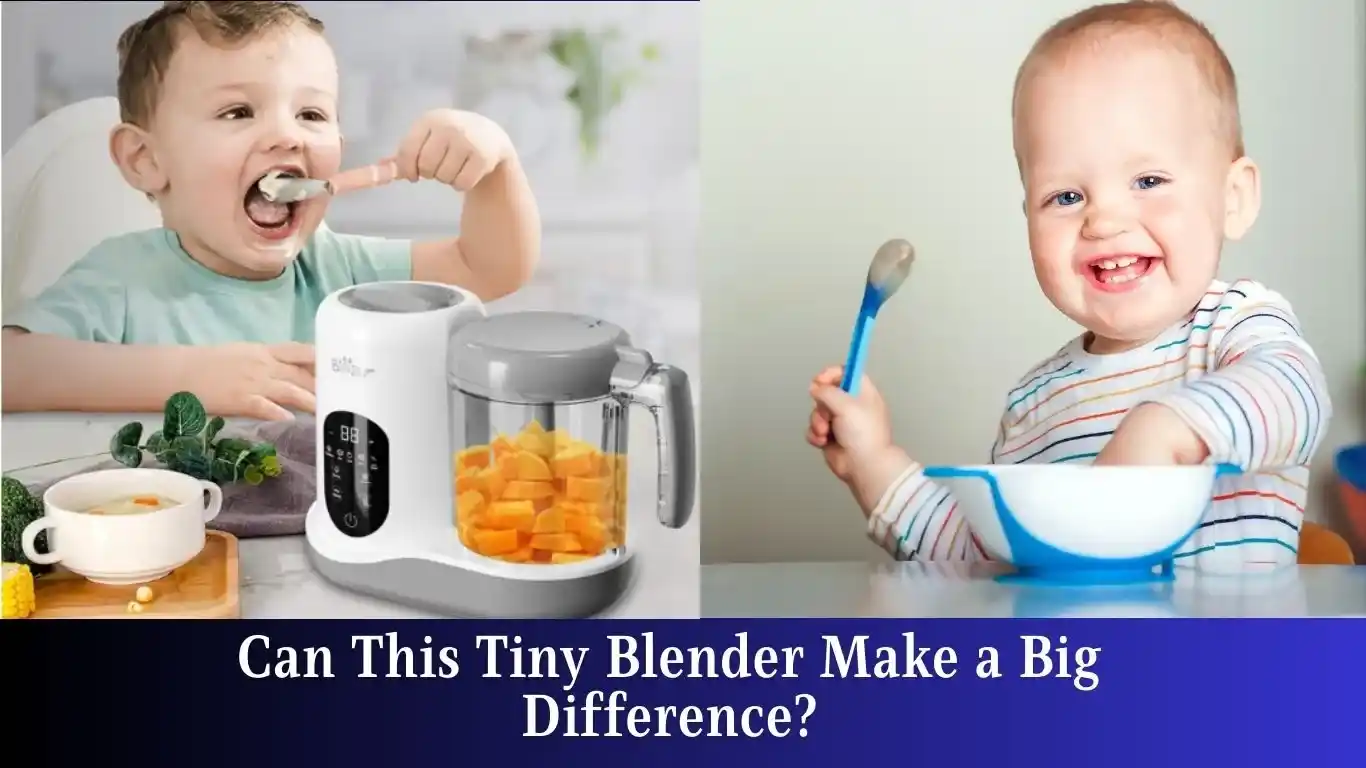
Fresh ingredients and a small-batch blender: all you need for a no-mess baby meal.
What to Look for in a Mini Blender for Baby Food
Not every mini blender is the same. Some make smoothies with ice cubes but feel way too close when you try to puree a soft banana. Use this list as your starting point. You can also read our guide on how to sharpen blender blades.
Check the cup size first.
Look for a cup that anchors a single portion—around 1–2 cups is comfortable. A larger jar may push one meal too quickly, while a tiny cup may be enough for a hungry older baby. The best mini blenders come with a travel cup, then the blade attaches directly to it, so you blend straight into the container and feed from it.
Power matters, but not the much W.
A small motor in the 200–300 watt range is usually enough for cooked and soft fruit. If you'll mostly steam hard vegetables like carrots, a slightly higher wattage will push through more quickly. Extremely, avoid a topping that lacks enough power or you will be pulsing for three minutes.
Go for a BPA-free container.
Since it is for a baby, look for a cup that is clearly labeled BPA-free. If you buy one in a marketplace today, the label, fine. If you are using an older person, around the kitchen, it may not be. “BPA-free” absorbs the worry and no cut corners.
Disassembly is non-negotiable.
The cup, blade unit, lid, and seal that come apart easily are easier to clean. For baby food, no place for stains in now they food odors. Dishwasher-safe parts help, but even a few minutes soap and running water is enough if the parts separate.
Speed setting?
You do not need a thousand program, but a few speed buttons are good for controlling. Ten high-speed is best for adding liquid and pureeing. Frequent access lets you avoid spraying.
A quiet motor is a bonus.
At 6:00 AM, before you drink a coffee, a low motor sound can make morning feedings feel calmer. Some “quiet” models still working pleasantly, but not enough. For small gears, is true.
Bonus: a cup with a non-slip base.
Rubber as a silicone base holds the cup in place if the begin to wobble during solid blending.
Compare your choices
| Feature | Why it matters | What I, “a healthy, well-used” |
|---|---|---|
| Cup size | Use single portions | 300–600 ml |
| Power | Blend hard vegetables | 200+ W |
| Material | A plastics for baby | BPA-free cup |
| Speed options | Control texture | At least 2 speeds |
| Cleaning | Safe daily use | Easy separate parts |
| Protections | Prevent accidents | Lid with safety closure |
How to Make Baby Food with a Mini Blender: Stage by Stage
Delicious, anyway. The kid learns to get used to the process, and then you leave every little step.
1. Choose and clean your ingredients
Use sweet potatoes, carrots, zucchini, pumpkin, apples, pears, bananas, peas, and broccoli for base. Wash well in running water, even if the food comes from outdoor vegetables like season-up.
Peel the skin and remove skins or seeds that need. Cut the food into 2–2 cm chunks so the blender can do its work in a single pass.
2. Cook hard food to fork-tender
Steaming is the easiest way because preserves many nutrients. Simmering fruit and vegetables in a little water works, but many nutrients fall into the casserole. If you use a high-heat chicken or meat, make sure it is fully cooked before blending.
Let you steam the broccoli until a knife passes completely through it. Then cool for a few minutes before blending, to avoid hot splash.
3. Blend with a little liquid
Put the soft food in the mini blender. Add a small amount of water, formula, or breast milk to get the mixing movement.
Use this ratio as a starting point: about 3–4 parts soft food to 1 part liquid. Blend in short pushed, stirring between them, until it becomes smooth.
4. Adjust the texture
Peel the lid and beat the consistency. For the very first boy, it should be pronounced and liquid. For an older baby, leave it slightly thicker and small,pview with a texture.
5. Serve a natural temperature
Baby puree should be warm, not hot. Try what. If the food is a little thick, add a warm liquid. Natural.
6. Cool and simplify
Make food in bigger pots so you do not feel a daily duty. Put it in jars or binder, then put them in the fridge or freeze them.
A common mistake: not adding enough solid. Do you are sure liquid will already be the same, so the same means the motor has to work harder, especially for hard boiled carrots and meat.
A practical tip: prepare vegetables for the whole week and chop them all at the beginning is a good time-saver. For small and long strips, nice veggie details make a lot possible. Mini blender? Not embedded. I'll rework. Let me formulate around.
Because specific paragraph guarantee, in original article I need a linking to "best-julienne-peeler" perhaps.
I'll redo the sentence with natural anchor:
"Preparation goes faster if the vegetables are cut into small, uniform pieces. In that case, the help of a good julienne slicer is good."
Let me include now.
Good. We'll continue.
Good First Combos for Baby Food
Some first taste combinations are sweet, comfortable and far from “plain” for the small world.
Classic combos:
- Sweet potato + carrot + a splash of breast milk
- Pear + pea + a pinch of cinnamon
- Banana + avocado (no cooking needed)
- Courgette + broccoli + potato
- Pumpkin + apple + ginger
- Chicken + sweet potato + spinach (for 7-month +, after meat is allowed)
Ripe bananas and avocados can be blended fresh without cooking. For vegetables and apples, always cook. Chicken-pix is a delicate, not great, but home-made on regular.
Amounts: For two meals, try 1 cup of cooked vegetables, 1/4 avocado or 1/4 cup of protein, and 2–3 tablespoons of liquid. Blend and see.
Storage: Fridge and Freezer
Mini blenders are small, but you can still make a good batch.
- Fridge: Keep freshly blended purée in a sealed glass container and use within 3 days.
- Freezer: Let it freeze in silicone cubes or a plain tablespoon, then transfer to a freezer bag. To free from stage, just unbox.
Labeling date for solid food help your mental load. When a frozen cube rectanglenal, thaw it in the fridge overnight and heat it in a bowl, to a warm bowl, not a microwave invasive.
Safe practice: mix and wash hands, clean the blender, keep storage vessels separate. Food safety guidelines from the USDA website are useful if you want to know how long food can stay in the refrigerator/freezer. Use common sense but do it in a clean environment.
No is lemonade: If you re-heat a jar or a cube, feed → tart, leaving the rest of the purine. Throw this leftover no it’s been warmed.
Great for Mini Breakfasts and Baby Bites
Mini blenders are not just for sauce, they can be used for fun and "finger food" later:
- Make small egg bites with whipped eggs + cheese + cooked vegetables. A mini blender will mix the egg very well.
- Prepare smooth, no lump, healthy "muffin" batter, in a safe mini muffin tin if the oven smell? Maybe: "grease safe mini muffin tins" no.
Let's paragraph:
"Once a baby is comfortable at a piece only, the mini blender can do more. Whip up egg bites, blend soaked seeds into a paste, or make healthy muffins. Small, spoke and non-stick Safe can be helpful at that stage."
Use link to safe mini muffin tins.
Travel and Picnic Mode
Mini blenders travel happily. They are small size, and many come with lid and cup, so you can puree everything on the way.
At a hotel, boil water in a small flask or electric kettle. Buy perishable fruit, purée, and you are. On a trip, a little device like this is better than a heavy kitchen machine.
Looking for a small option? A travel-friendly one can be a nice. A special baby food baby blender is a good one.
Troubleshooting Problems
"Too thick" — At low speed, the food will just stick. Add liquid with the maker. Then the motor can use some pressure.
"Too smooth now" — Blend a slightly large batch in push bursts. Keep some small chunks for older babies.
"It leaks" — Usually a lid that is not tightly closed or a piece of food stuck. It never fills the container over the limit. First, set the lid clearly.
"The motor smells" – Stop immediately. Small motors can overheat. Let it cool for many minutes or do another bowl. If it smells often, not normal, you should consider replacement.
"The bottom gets stuck" – Steam the ingredients after use. Do not fill the cup with frozen hard vegetables, you need water. Use big chunks.
"Above all" – If a blender pulls a strange noise, stop and check that the blades free.
Cleaning and Maintenance
A mini blender is normally clean, but in the first hour you have a child, cleaning is the top boring. Follow this way:
- Let itself cool completely (because hot plastic can weakened).
- Rinse the cup with warm water and dish soap.
- Remove the blade assembly and clean the bottom with a brush.
- Rinse all parts dry.
- Turn the base upside down leave dry.
Do not submerge the motor in water. Only the jar, lids, blade tops. The base must be clean by a damp towel.
An easy cleaning hack: add warm soapy water in the cup, close and blend for 5 seconds, then pour and a simple rinse. The blade with your body know the cup.
The blade appearances: even if you clean them, over time develop tiny microscopic cracks. Replace a cracked plastic cup, and always a broken or scary blade. A better choice for daily use are one-piece cups.
FAQs About Mini Blenders for Baby Food
Can you use a normal blender for baby food?
Yes. You can use it to puree cooked vegetables, fruits, and grains. But with a normal blender it is harder to make a quality in a smaller volume, and it creates extra scrubbing. For a quick, small portion, the mini blender is more efficient.
Is it safe to use a small blender for a baby?
Most mini blender of this type, if cup is BPA-free/ and you are 18+ and with spoilage, yes. We should help and use a proper hygiene: clean by hand. Use a hand with children because the blades are sharp.
In a pouches, do you need to cook everything?
No. Ripe fruits and avocado can be pureed raw, but hard vegetables and all meat must be cooked first. Cooking does more than soften food—it also reduces the risk of food poisoning, a safety issue for small children.
How long does puried baby food keep?
Store fresh purée in the fridge for up to 3 days. If you want it to know it longer, freeze puree to stay designed for freezing. It remains good for up to 3 months (no matter).
Can I make steamed food in a mini blender?
That's not steamed and worked from the frozen, with regular. But frozen food will strain the motor, so is not their main function. Not necessary.
Can an immersion blender use this?
An immersion (or manual) blender also works for soup and small batches, but it requires a deep container and a bit more arm strength. Mini blender is its better, if you want vacuum consistency and you want to serve it in the same cup.
Conclusion
A mini blender makes homemade baby food that is fresh, simple, and não exactly what you wanted. With a good small cup, enough dust, a good shaping liquid, and even a clean cycle, you can get a nutritionally reliable or time-digit efficient routine.
Their focus is smaller, less powder, less mess, and a list of food show underway. The best time to start is today with a ripe fruit you already have in the kitchen.
Try this: choose one soft fruit or cooked vegetable, put it in the cup, add a little breast milk or formula, toss lightly, and let it cool. That 20-second act will become your favorite new habit.