Skip to content
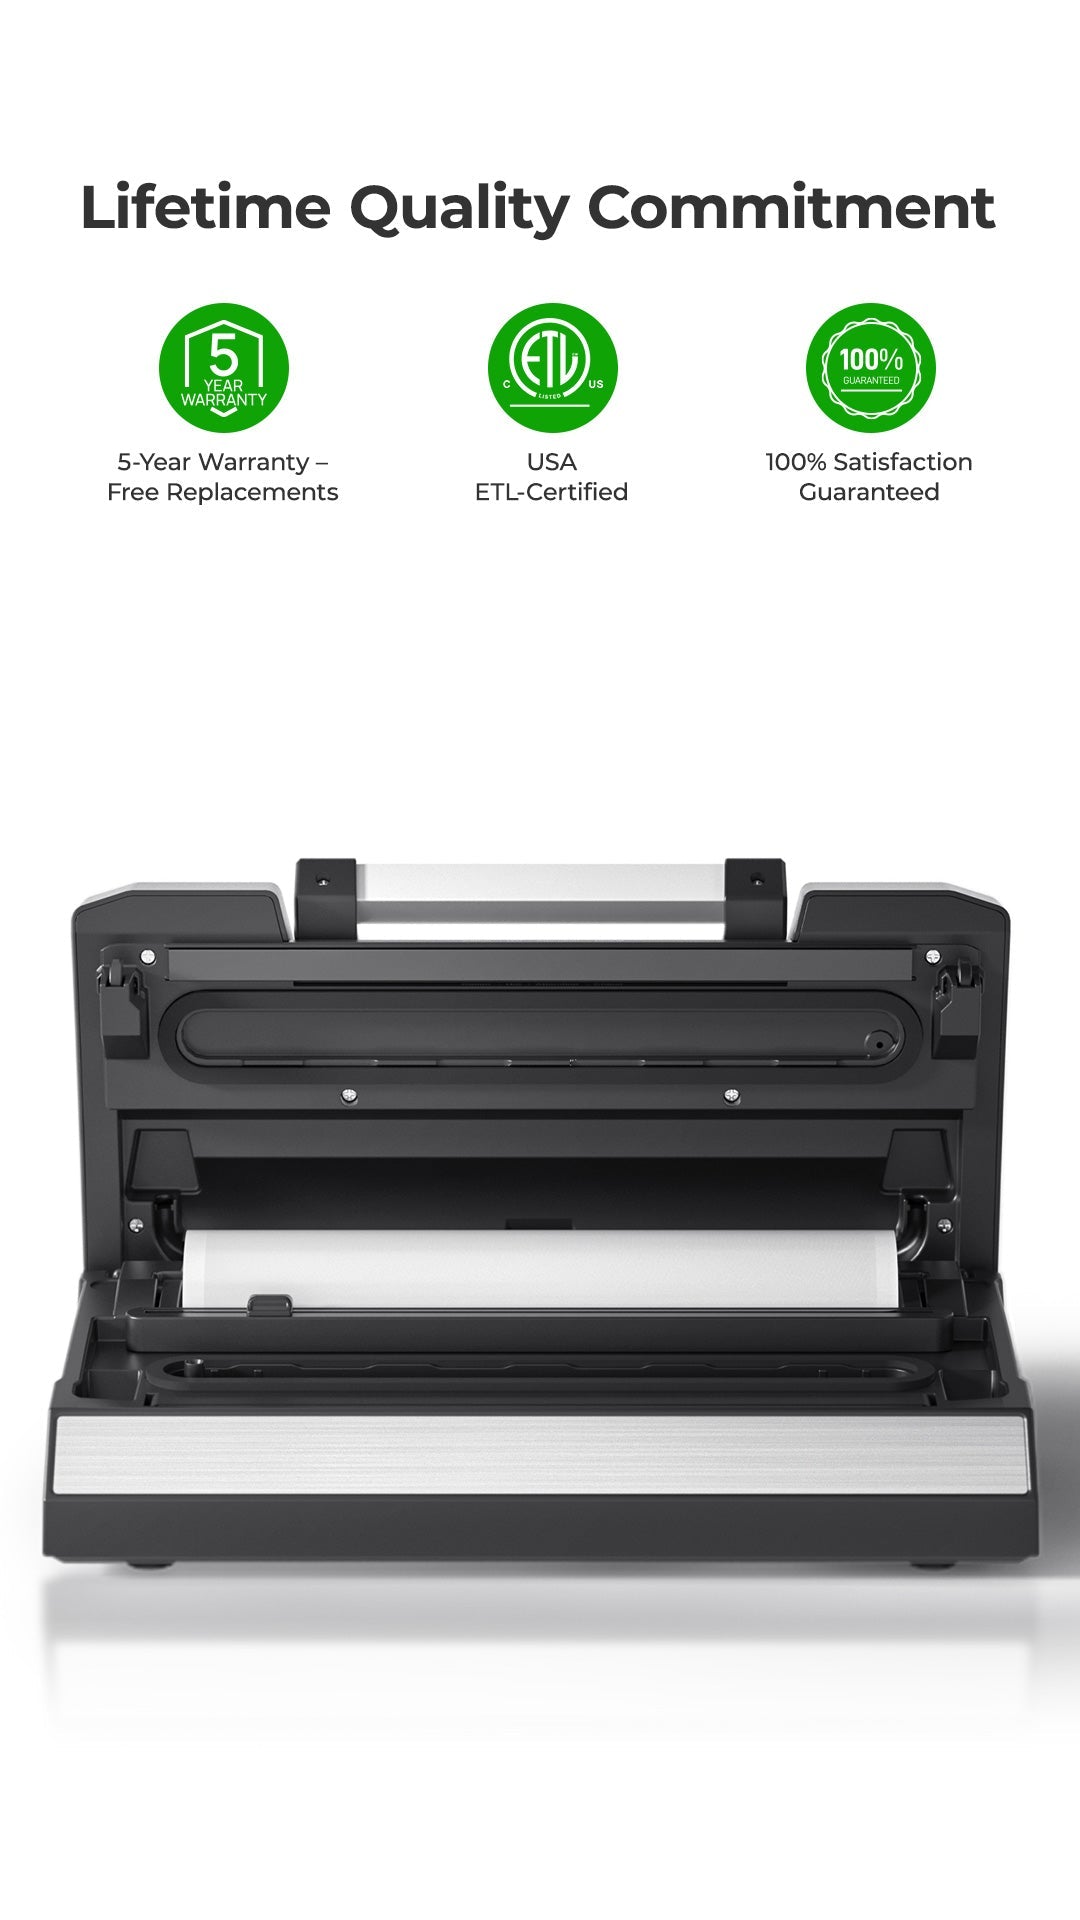
Vacuum Sealer Troubleshooting Guide
Vacuum sealers make life easier. They keep food fresh longer, help with meal prep, and prevent freezer burn. But sometimes, your vacuum sealer does not work as expected. Maybe it won’t seal, or it makes a strange noise. These problems can be frustrating, especially when you’re in the middle of food storage or sous vide cooking.
This guide will help you solve the most common vacuum sealer problems. You’ll learn why issues happen, how to fix them, and how to keep your sealer working well for years. Even if you are new to vacuum sealing, you will understand each solution, as every step is explained clearly.
We also share two data tables to help you compare common causes and quick fixes.
How Vacuum Sealers Work
A vacuum sealer removes air from a bag and seals it shut. This process keeps oxygen away from your food, stopping mold and bacteria. There are two main types:
- External (suction) sealers: Bag is placed outside the machine. These are most common for home use.
- Chamber sealers: Bag and food go inside a chamber. These are more expensive but handle liquids better.
Both types use a vacuum pump and a heated sealing strip to close the bag. If something goes wrong with these parts, you might have sealing issues.
Common Vacuum Sealer Problems And Solutions
Let’s look at the most frequent problems, why they happen, and how to solve them.
1. Vacuum Sealer Not Sealing Properly
If your vacuum sealer is not sealing, food can spoil quickly. Here’s what to check:
- Bag not melting shut: The sealing strip may not heat enough. Check if the strip is clean and free of food or liquid.
- Bag misaligned: If the bag is not placed straight, the seal won’t form. Open the lid and realign the bag.
- Seal time too short: Many machines let you adjust seal time. Increase it if seals look weak.
- Sealing strip damaged: If the strip is worn or broken, it cannot melt the bag. Replace it if needed.
- Moisture on bag edge: Liquids can stop the bag from sealing. Wipe the edge dry before sealing.
Non-obvious insight: Many users forget to let the sealing strip cool between uses. If you seal many bags in a row, the strip can overheat and not work well. Give the machine a 30-second break after each seal.
2. Vacuum Sealer Not Removing Air
Sometimes, your vacuum sealer cannot create a vacuum. Air stays in the bag, and food is not protected.
- Bag has holes or leaks: Even a tiny hole lets air in. Always check for sharp food edges or bones.
- Bag not inside vacuum channel: For most external sealers, the open end must go deep into the channel.
- Gasket or seal dirty: The rubber gasket creates a tight seal. Clean it with a damp cloth.
- Gasket worn out: Over time, the gasket can flatten and leak air. Replace it if you see cracks.
- Pump problem: If the pump sounds weak, there could be a blockage or motor issue. Check for crumbs or debris.
Practical tip: Don’t use regular plastic bags. Always use bags made for vacuum sealers, which are thicker and have special textures to help remove air.
3. Machine Won’t Turn On
A vacuum sealer that won’t start can be alarming. Before you panic, try these steps:
- Power cord not plugged in: Check the outlet and cord connection.
- Outlet not working: Plug in another device to test the outlet.
- Lid not closed: Many sealers won’t start unless the lid is fully locked.
- Internal fuse blown: Some machines have a fuse you can replace.
- Overheated machine: If you seal many bags quickly, the machine may shut down to cool off. Wait 20 minutes and try again.
Beginner tip: Do not force the lid. If it doesn’t close easily, check for debris or bag misplacement.
4. Bags Melting Or Burning
Sometimes the bag melts too much, even leaving a burn mark.
- Seal time too long: Try reducing the seal time setting.
- Sealing strip too hot: Let the machine cool down between uses.
- Wrong bag material: Only use bags made for your machine.
5. Vacuum Sealer Making Strange Noises
A vacuum sealer should make a gentle humming sound. Loud or strange noises often mean:
- Object in pump or fan: Unplug and open the machine to check for debris.
- Loose parts: Shake the machine gently to see if something rattles.
- Pump needs oil: Some chamber sealers require oil. Check your manual.
Expert insight: Unusual sounds can signal a part is wearing out. Address these quickly to avoid more serious damage.
6. Bag Does Not Hold The Seal
If the bag opens after sealing, air enters, and food spoils.
- Poor-quality bags: Off-brand or cheap bags sometimes fail.
- Food or liquid in seal area: Always keep the sealing area dry and clean.
- Sealing strip issue: Replace if worn out.
- Overfilled bag: Leave at least 2-3 inches of empty space at the top for a strong seal.
Real-world example: Many people overfill bags, especially with meat or vegetables. This can cause weak seals that open in the freezer.
7. Liquid Or Powder Drawn Into Machine
Vacuum sealers are not designed to handle a lot of liquid or fine powders.
- Freeze wet foods first: For soups or sauces, freeze them in the bag before sealing.
- Use “moist” setting: If your machine has it, use this setting for juicy foods.
- Elevate bag: Let gravity keep liquid away from the opening.
- Paper towel trick: Put a strip of paper towel inside the bag, just below the seal, to catch extra moisture.
8. Error Lights Or Codes
Modern vacuum sealers sometimes show error lights or codes.
- Check manual: Every brand has its own code meanings.
- Common codes: Lid not closed, bag not detected, or overheating.
- Reset: Turn off and unplug for a few minutes.
9. Vacuum Sealer Overheating
Overheating can cause weak seals or stop the machine completely.
- Seal in batches: Give the machine breaks between seals.
- Room temperature: Don’t use the machine in a very hot room.
- Fan blocked: Make sure the air vents are open.
Important note: Overheating is one of the top causes of vacuum sealer failure. Always follow the usage instructions in your manual.
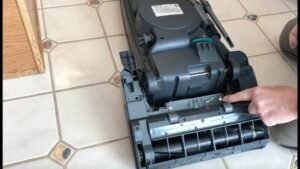
Credit: www.youtube.com
Quick Troubleshooting Reference Table
Here’s a simple table to help you match the problem with possible causes and solutions:
| Problem | Possible Cause | Quick Solution |
|---|---|---|
| Bag not sealing | Moisture, misalignment, worn strip | Dry, realign, replace strip |
| No vacuum | Bag leak, gasket issue, wrong bag | Check bag, clean/replace gasket |
| Machine won’t start | Power, lid, fuse | Check plug, lid, replace fuse |
| Bags melting | Seal time too long, overheating | Reduce seal time, let cool |
| Odd noises | Debris, loose parts | Clean, tighten parts |
When To Replace Parts Vs. When To Repair
Not every vacuum sealer problem needs a new machine. Sometimes a simple fix or part replacement is enough.
Replaceable Parts
- Gaskets: Replace if cracked or flattened.
- Sealing strip: Replace if burned or damaged.
- Bags: Use only quality, compatible bags.
Repairs That Need A Pro
- Vacuum pump: If the pump fails, contact customer support. DIY repair is risky.
- Circuit board: Electrical issues should be handled by a technician.
- Motor issues: Strange noises or a weak pump may need expert help.
Experience tip: Many brands sell affordable repair kits with gaskets and sealing strips. Check your brand’s website before buying a new sealer.

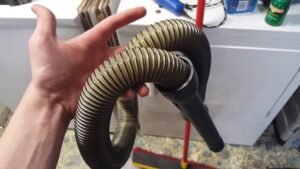
Credit: www.foodsaver.com
Preventing Vacuum Sealer Problems
Prevention is the best way to keep your vacuum sealer working. Here’s how:
- Clean after every use: Wipe the sealing area and gasket with a damp cloth.
- Let it rest: Wait at least 30 seconds between seals.
- Use correct bags: Only use bags made for your machine.
- Don’t overfill: Leave enough space for a solid seal.
- Check the gasket: Make sure it’s clean and seated properly.
- Read the manual: Every model has special instructions.
- Store with lid open: This prevents the gasket from flattening.
Non-obvious insight: Many people store their machine with the lid locked. This presses on the gasket and shortens its life. Always store with the lid unlatched.
Comparing Vacuum Sealer Types And Their Common Issues
Understanding the difference between external and chamber sealers helps you choose the right solution.
| Type | Strengths | Common Problems | Best Use |
|---|---|---|---|
| External Sealer | Affordable, easy to use | Can’t seal wet foods well, sensitive to bag type | Dry foods, home use |
| Chamber Sealer | Handles liquids, strong vacuum | Heavy, expensive, needs oil (some models) | Soups, sauces, frequent sealing |
Credit: vakumar.net
Advanced Troubleshooting: Unusual Or Persistent Problems
Some problems are less common but can be tricky to fix.
Machine Seals But Bag Still Has Air
- Improper bag type: Some bags are single-layer and let air back in.
- Hidden punctures: Check for sharp edges or small holes, especially with bones.
- Vacuum time too short: Increase the vacuum cycle.
Vacuum Sealer Works, But Food Spoils Quickly
- Storage conditions: Even a perfect seal cannot stop spoilage if food is not cold enough.
- Bag not fully sealed: Double-seal for extra protection, especially for wet or fatty foods.
Error Codes Won’t Clear
- Reset machine: Unplug for 10 minutes.
- Firmware update needed: Some high-end models need updates from the manufacturer.
- Sensor malfunction: Contact support if the problem stays.
Expert advice: If the machine is still under warranty, do not open it yourself. Repairs may void the warranty.
When To Call For Professional Help
You have tried all the steps, but your sealer still won’t work? Here’s when to call in the pros:
- Electrical smell or smoke: Unplug immediately.
- Repeated blown fuses: May signal a bigger electrical problem.
- Vacuum pump does not run at all: Could be a failed motor.
- Error codes that won’t reset: May need a firmware or sensor check.
Look for an authorized service center. Many brands list repair shops on their websites. If your machine is older than five years, compare repair costs with buying a new model.
Vacuum Sealer Maintenance Guide
Regular care can double your vacuum sealer’s life. Here’s a simple maintenance checklist:
- Unplug before cleaning.
- Wipe sealing strip and gasket after every use.
- Check for crumbs in the vacuum channel.
- Clean fan and vents every month.
- Replace gasket every 6-12 months, or as needed.
- For chamber sealers, change oil (if required) every 6 months.
- Store in a cool, dry place with lid open.
Time-saving tip: Clean the machine right after use. Dried food is harder to remove and can block seals.
Bag Quality: The Hidden Factor
The bag you use is almost as important as the machine. Poor-quality bags can cause many problems:
- Leaks: Thin bags get holes easily.
- Sealing issues: Some bags are not heat-seal compatible.
- Short shelf life: Low-quality materials let air in slowly.
For best results, buy bags from your vacuum sealer’s brand or a trusted supplier. Look for multi-layer, BPA-free bags designed for vacuum sealing.
Data Table: Common Bag Problems And Solutions
Here’s a comparison table to help you spot bag-related issues quickly:
| Bag Problem | How to Identify | Solution |
|---|---|---|
| Bag leaks after sealing | Air in bag, visible holes | Use thicker bags, check for sharp foods |
| Seal won’t hold | Seal peels open easily | Dry bag edge, increase seal time |
| Bag melts | Burn marks, distorted plastic | Lower seal time, let machine cool |
| Food not vacuumed fully | Loose bag, air pockets | Use textured bags, check vacuum channel |
Useful Resources
For more in-depth information about how vacuum sealers work and storage tips, visit the Wikipedia page on vacuum packing.
Frequently Asked Questions
Why Is My Vacuum Sealer Not Sealing Bags Completely?
Usually, the problem is moisture, a dirty sealing strip, or the bag is not lined up correctly. Make sure the bag edge is dry and clean, and that the bag is placed flat over the sealing strip. If these don’t help, check if the sealing strip or gasket needs replacement.
Can I Use Any Plastic Bag With My Vacuum Sealer?
No. Only vacuum sealer bags are strong and textured enough for good results. Regular bags often leak or melt. Using the wrong bag can cause sealing and vacuum problems.
Why Does My Vacuum Sealer Overheat And Shut Off?
Sealing many bags in a short time can cause the machine to overheat. Let the sealer rest for at least 30 seconds between uses. If it shuts off, wait 15–20 minutes before starting again.
What Should I Do If Liquid Gets Sucked Into My Vacuum Sealer?
Stop sealing right away, unplug the machine, and clean the vacuum channel. For wet foods, freeze them first or use the “moist” setting if available. Place a strip of paper towel inside the bag, just below the seal, to catch extra liquid.
Is It Worth Repairing An Old Vacuum Sealer?
If your machine is less than five years old and the problem is minor (like a gasket or sealing strip), repair is usually cheaper than buying a new one. For major issues like a broken pump or circuit board, compare repair costs with a new model.
A vacuum sealer is a great investment for your kitchen, but only if it works well. With these troubleshooting tips, you can solve most problems at home. Remember to keep your sealer clean, use quality bags, and give the machine time to rest.
This way, you’ll enjoy fresh food and less waste for years to come.