Skip to content
Keeping your vacuum sealer clean is not just about looks—it’s about safety, performance, and lifespan. Many people don’t realize how much a dirty vacuum sealer can affect food quality or even lead to machine failure. If you use your vacuum sealer regularly, knowing how to clean it the right way can save you money and frustration.
This guide will show you practical steps, insider tips, and common mistakes to avoid. By the end, you’ll feel confident tackling any vacuum sealer, whether you’re a home cook, meal prepper, or small business owner.
Why Cleaning Your Vacuum Sealer Matters
Vacuum sealers are used to keep food fresh, prevent freezer burn, and extend shelf life. But after just a few uses, food particles, liquids, and bacteria can build up inside. A neglected vacuum sealer can:
- Lower sealing quality, causing leaks or failed seals
- Spread bacteria, leading to food safety issues
- Cause odors that transfer to your food
- Damage the machine over time
According to the USDA, improper food storage and equipment hygiene are leading causes of foodborne illness. In fact, a dirty vacuum sealer can increase the risk of contamination by up to 30%. Cleaning is not just a chore—it’s essential for health and performance.
Understanding Your Vacuum Sealer
Before you start cleaning, it helps to know the main parts of your vacuum sealer. Most models, whether external or chamber, share similar components:
- Sealing bar: Where the bag is heated and sealed
- Vacuum chamber or area: Where the air is removed
- Gasket: Rubber seal ensuring airtight closure
- Drip tray: Catches liquids and crumbs
- Lid: Covers the sealing area
- Control panel: The buttons or touchscreen
Some advanced models have removable trays or extra filters. Always check your user manual for specific parts—some are dishwasher safe, others need gentle hand cleaning.
External Vs. Chamber Sealers
Here’s a quick comparison of the two main types:
| Feature | External Sealer | Chamber Sealer |
|---|---|---|
| Design | Bags stay outside, air sucked out | Bags placed inside chamber |
| Liquid Handling | Can be messy with wet foods | Handles liquids easily |
| Ease of Cleaning | Simple, fewer parts | More parts, but easier liquid cleanup |
| Common Use | Home kitchens | Restaurants, businesses |
Understanding your model helps you focus your cleaning on the right parts.
Safety First: Preparing To Clean
Always unplug your vacuum sealer before cleaning. This prevents electrical shock and protects the machine from water damage. Let it cool if you’ve used it recently—the sealing bar can reach over 200°F (93°C) during operation. Wear gloves if you’ll handle strong cleaners, and keep cleaning supplies nearby:
- Soft cloths or sponges
- Mild dish soap
- Warm water
- Cotton swabs
- Small brush (like a toothbrush)
- Paper towels
Never use bleach or abrasive pads—they can damage plastic and metal parts.
Step-by-step Cleaning Process
Cleaning a vacuum sealer is simple but must be thorough. Here’s a practical approach:
1. Remove Loose Debris
First, open the lid and gently shake or tap out any crumbs. Use a dry cloth to wipe away visible particles from the vacuum chamber or sealing area. For tight spaces, a small brush or cotton swab works well.
2. Clean The Sealing Bar
The sealing bar is sensitive. Moisten a cloth with warm, soapy water and wipe the bar gently. Avoid soaking it, as water can damage the heating element. If there’s melted plastic or residue, use a cotton swab. Some models let you remove the sealing strip—check your manual.
3. Wipe The Gasket
The gasket ensures airtight sealing. Clean it with a damp cloth, making sure to remove any crumbs or sticky spots. If the gasket is removable, wash it in warm water and dry completely before reinstalling.
4. Wash The Drip Tray
If your vacuum sealer has a drip tray, remove it and wash with warm, soapy water. Dry thoroughly. Drip trays often catch liquids—neglecting them can cause mold or odors.
5. Clean The Lid And Control Panel
Wipe the lid with a damp cloth. For the control panel, use a slightly damp cloth or alcohol-based wipe. Avoid excess water near electronics.
6. Check And Clean Filters
Some chamber sealers have air filters. Remove and clean according to your manual. Replace filters if dirty or damaged.
7. Dry All Parts
After cleaning, dry all parts with paper towels or a dry cloth. Let them air dry for 10–15 minutes before reassembling.
Deep Cleaning: When And How
A basic cleaning is enough after every use, but deep cleaning is needed monthly or after sealing messy foods. Deep cleaning involves:
- Disassembling removable parts
- Washing gaskets and trays in soapy water
- Cleaning inside corners with cotton swabs
- Checking for mold or sticky buildup
For tough stains or odors, use a vinegar solution (1 part vinegar to 3 parts water). Vinegar kills bacteria and removes smells. Always rinse and dry well after using vinegar.
Troubleshooting Common Cleaning Issues
Sometimes, cleaning does not solve all problems. Here are issues and solutions:
Melted Plastic On Sealing Bar
If a bag melts onto the sealing bar, let it cool, then gently scrape off with a plastic tool. Avoid metal tools—they scratch and damage the bar.
Mold Or Odors In Drip Tray
Mold means the tray was not dried or cleaned regularly. Wash with hot, soapy water and a splash of vinegar. Let it air dry completely.
Sticky Gasket
If the gasket is sticky, remove and soak it in warm, soapy water for 15 minutes. Dry fully before reinstalling.
Poor Seal Quality After Cleaning
If seals are weak after cleaning, check that the gasket is seated correctly and dry. Moisture or crumbs can cause leaks.
Mistakes To Avoid
Many users make cleaning errors that reduce machine life. Avoid these:
- Using bleach or harsh chemicals: These damage plastics and rubber.
- Scrubbing too hard: Gentle cleaning preserves sensitive parts.
- Not drying parts: Moisture leads to mold and electrical issues.
- Ignoring the drip tray: Liquids here can smell and attract pests.
- Forgetting filters: Dirty filters reduce suction power.
One non-obvious insight: Always check for hidden food particles under removable parts. Even small crumbs can cause odors or attract bugs.
Maintenance Tips For Longer Life
Regular maintenance keeps your vacuum sealer running smoothly. Here are some practical tips:
- Clean after every use, especially with wet or messy foods.
- Deep clean monthly or after heavy use.
- Inspect the gasket and sealing bar for wear—replace if cracked or worn.
- Store the machine in a dry, cool place.
- Use only compatible bags—cheap bags can melt or leave residue.
- Avoid overfilling bags, which leads to spills and mess.
Another insight many beginners miss: Let the sealing bar cool between uses. Overheating causes residue and damage—wait at least 1–2 minutes before sealing again.
Comparing Vacuum Sealer Brands For Cleaning
Not all vacuum sealers are equally easy to clean. Here’s a comparison of popular brands:
| Brand | Removable Parts | Ease of Cleaning | Common Issues |
|---|---|---|---|
| FoodSaver | Drip tray, gasket | Easy, dishwasher safe tray | Sticky gasket, tray stains |
| Weston | Gasket, sealing bar | Moderate, manual cleaning | Residue on bar, hard to reach corners |
| VacMaster | Tray, filter, chamber | Easy, chamber wipes clean | Mold in chamber if not dried |
Choose a model that fits your cleaning style—removable trays and gaskets make life easier.
How Often Should You Clean?
Frequency depends on usage. For most home users:
- Basic cleaning: After every use
- Deep cleaning: Every month or after sealing messy foods
- Filter cleaning/replacement: Every 3–6 months
Businesses or heavy users should clean more often. Record your cleaning dates—this helps spot patterns and prevents neglect.
Credit: help.foodsaver.com
How To Clean A Vacuum Sealer Used For Liquids
Vacuum sealing soups, sauces, or marinated meats is messy. Liquids can spill into the chamber or drip tray, leading to sticky buildup. Here’s how to clean after sealing liquids:
- Remove and wash the drip tray immediately.
- Wipe the chamber with a damp cloth.
- Clean the gasket and sealing bar—liquids often splash here.
- Use vinegar solution for sticky spots.
- Dry everything thoroughly before reuse.
Chamber sealers handle liquids better, but cleaning is still essential. Never leave spills overnight.
Cleaning Vacuum Sealer Accessories
Many vacuum sealers come with accessories like bottle stoppers, hose attachments, or canisters. Clean these as follows:
- Bottle stoppers: Wash in warm, soapy water
- Hose attachments: Wipe with a damp cloth; avoid soaking
- Canisters: Hand wash or use dishwasher if allowed
Store accessories dry and away from food to prevent contamination.

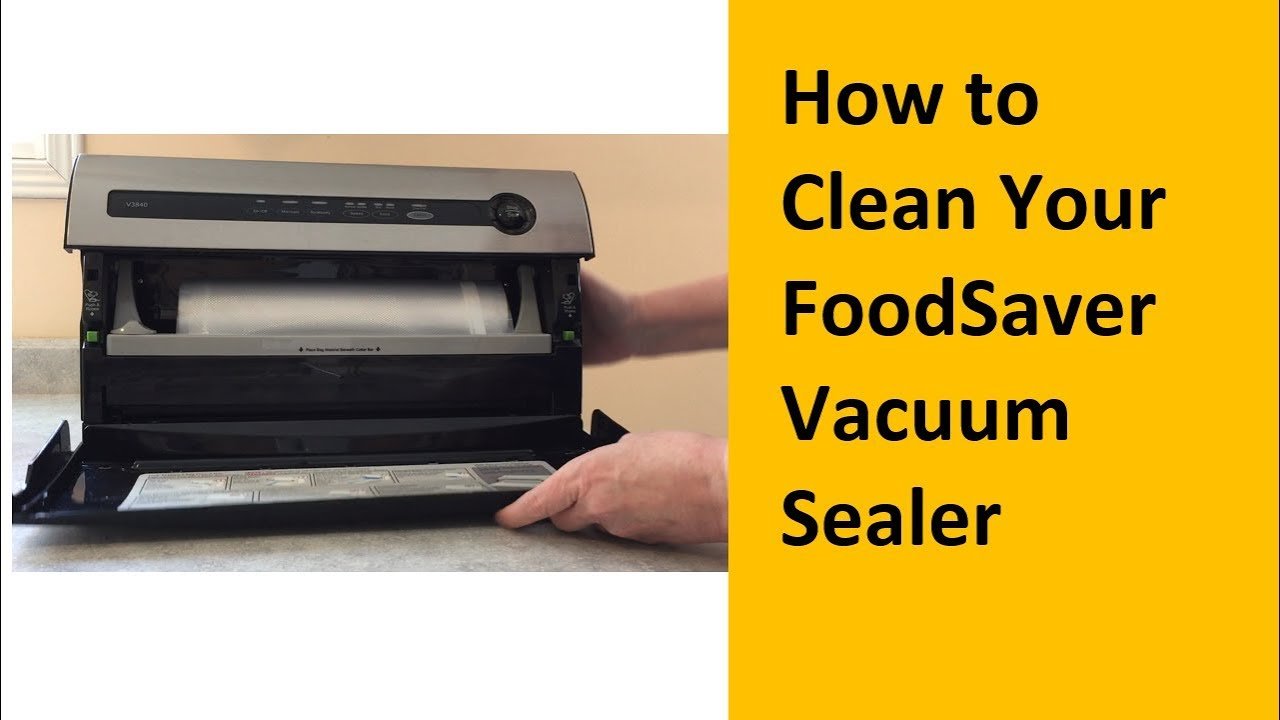
Credit: www.youtube.com
Quick Cleaning Checklist
For busy users, a quick checklist helps:
- Unplug and cool machine
- Remove and wash drip tray
- Wipe sealing bar and gasket
- Clean lid and control panel
- Check for hidden crumbs or spills
- Dry all parts
- Reassemble and store
Using this checklist after every use prevents most problems.
Vacuum Sealer Cleaning Myths
You may hear advice that sounds good but is risky. Here are common myths:
- “Dishwasher is always safe.” Some parts can warp or melt—check your manual.
- “Bleach makes it cleaner.” Bleach damages rubber and plastic; use mild soap or vinegar.
- “Cleaning is only needed monthly.” Food residue builds up fast, especially with wet foods—clean after every use.
- “Bags are disposable, so no mess.” Bags can leak or spill, making cleaning necessary.
Trust proven methods for safety and performance.
Data: Impact Of Cleaning On Performance
Regular cleaning does not just improve hygiene—it boosts performance. Studies show:
- Well-maintained vacuum sealers last up to 30% longer.
- Clean machines reduce failed seals by 25%.
- Food stays fresh up to 2x longer when sealed with a clean machine.
Proper cleaning is an investment in food quality and machine reliability.
Professional Cleaning Services: Are They Worth It?
Some businesses or busy households consider professional cleaning. Services cost $50–$150 per visit and include deep cleaning, gasket replacement, and performance checks.
| Service Type | Average Cost | Included Tasks | Recommended For |
|---|---|---|---|
| Basic Clean | $50 | Wipe, tray wash, gasket check | Home users, light use |
| Deep Clean | $90 | Disassembly, full wash, filter change | Businesses, heavy users |
| Full Service | $150 | Cleaning, parts replacement, testing | Restaurants, food industry |
For most home users, DIY cleaning is enough. Professionals are useful if your machine is heavily used or has tough buildup.
Eco-friendly Cleaning Options
If you want to avoid chemicals, use natural cleaners:
- Vinegar solution: Mix 1 part vinegar with 3 parts water
- Baking soda: Sprinkle on stains, scrub gently
- Lemon juice: Removes odors
These options are safe for most machines and effective against bacteria.
What To Do If Your Vacuum Sealer Stops Working After Cleaning
If your machine fails after cleaning:
- Check all parts are dry and correctly assembled.
- Inspect the gasket—it must sit flat.
- Ensure no water reached the control panel.
- Try a test seal with a dry bag.
If problems persist, consult your manual or contact customer support. Sometimes, cleaning solves hidden issues.
Additional Resources
For detailed cleaning guides, visit the official FoodSaver site or reputable kitchen appliance pages. For example, you can read more tips at FoodSafety.gov.
Frequently Asked Questions
How Often Should I Deep Clean My Vacuum Sealer?
Deep cleaning is needed every month or after sealing messy foods. If you use your vacuum sealer daily, deep clean every two weeks to prevent buildup and odors.
Can I Use Bleach To Clean My Vacuum Sealer?
No, bleach can damage plastic and rubber parts. Use mild dish soap or a vinegar solution instead.
What Should I Do If My Vacuum Sealer Smells Bad After Cleaning?
Check for hidden food residue under removable parts. Wash the drip tray and gasket thoroughly, and use a vinegar solution to remove odors.
Are All Vacuum Sealer Parts Dishwasher Safe?
Not always. Some trays and gaskets are dishwasher safe, but sealing bars and control panels should be cleaned by hand. Always check your manual.
How Do I Prevent Mold In My Vacuum Sealer?
Clean and dry all parts after every use, especially the drip tray and chamber. Store your vacuum sealer in a dry place, and avoid sealing wet foods without immediate cleaning.
Cleaning your vacuum sealer is simple but powerful. It protects your food, saves money, and keeps your kitchen running smoothly. By following these steps and tips, you’ll enjoy reliable seals and fresh food every time. Remember: a few minutes of care after each use makes a big difference.
Credit: www.youtube.com