Skip to content
Imagine preparing your favorite smoothie, only to find that your blender struggles to mix the ingredients smoothly. Frustrating, isn’t it?
You might not realize it, but dull blender blades can significantly affect the texture and quality of your blends. When was the last time you checked the sharpness of your blender blades? If your smoothies are turning out less than perfect, it might be time to sharpen those blades.
In this guide, you’ll discover simple, effective techniques to restore your blender’s performance, ensuring each blend is as smooth and delicious as you desire. Ready to enhance your blending experience and make the most out of your kitchen appliance? Read on to learn how to sharpen your blender blades effortlessly.
Importance Of Sharp Blender Blades
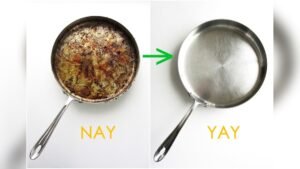
Sharp blades make blending faster and easier. Dull blades struggle with hard foods. This can cause stress on the blender motor. The result is uneven textures. Sharp blades cut smoothly through food. They make creamy smoothies and soups. Keeping blades sharp saves time. It also helps the blender last longer. Sharp blades need less power. This means less wear on the machine.
Blades should be checked regularly. If they feel dull, it’s time to sharpen them. Using sharp blades can be safer. Dull blades can slip and cause accidents. Safety is important in the kitchen. A sharp blade is a safe blade.
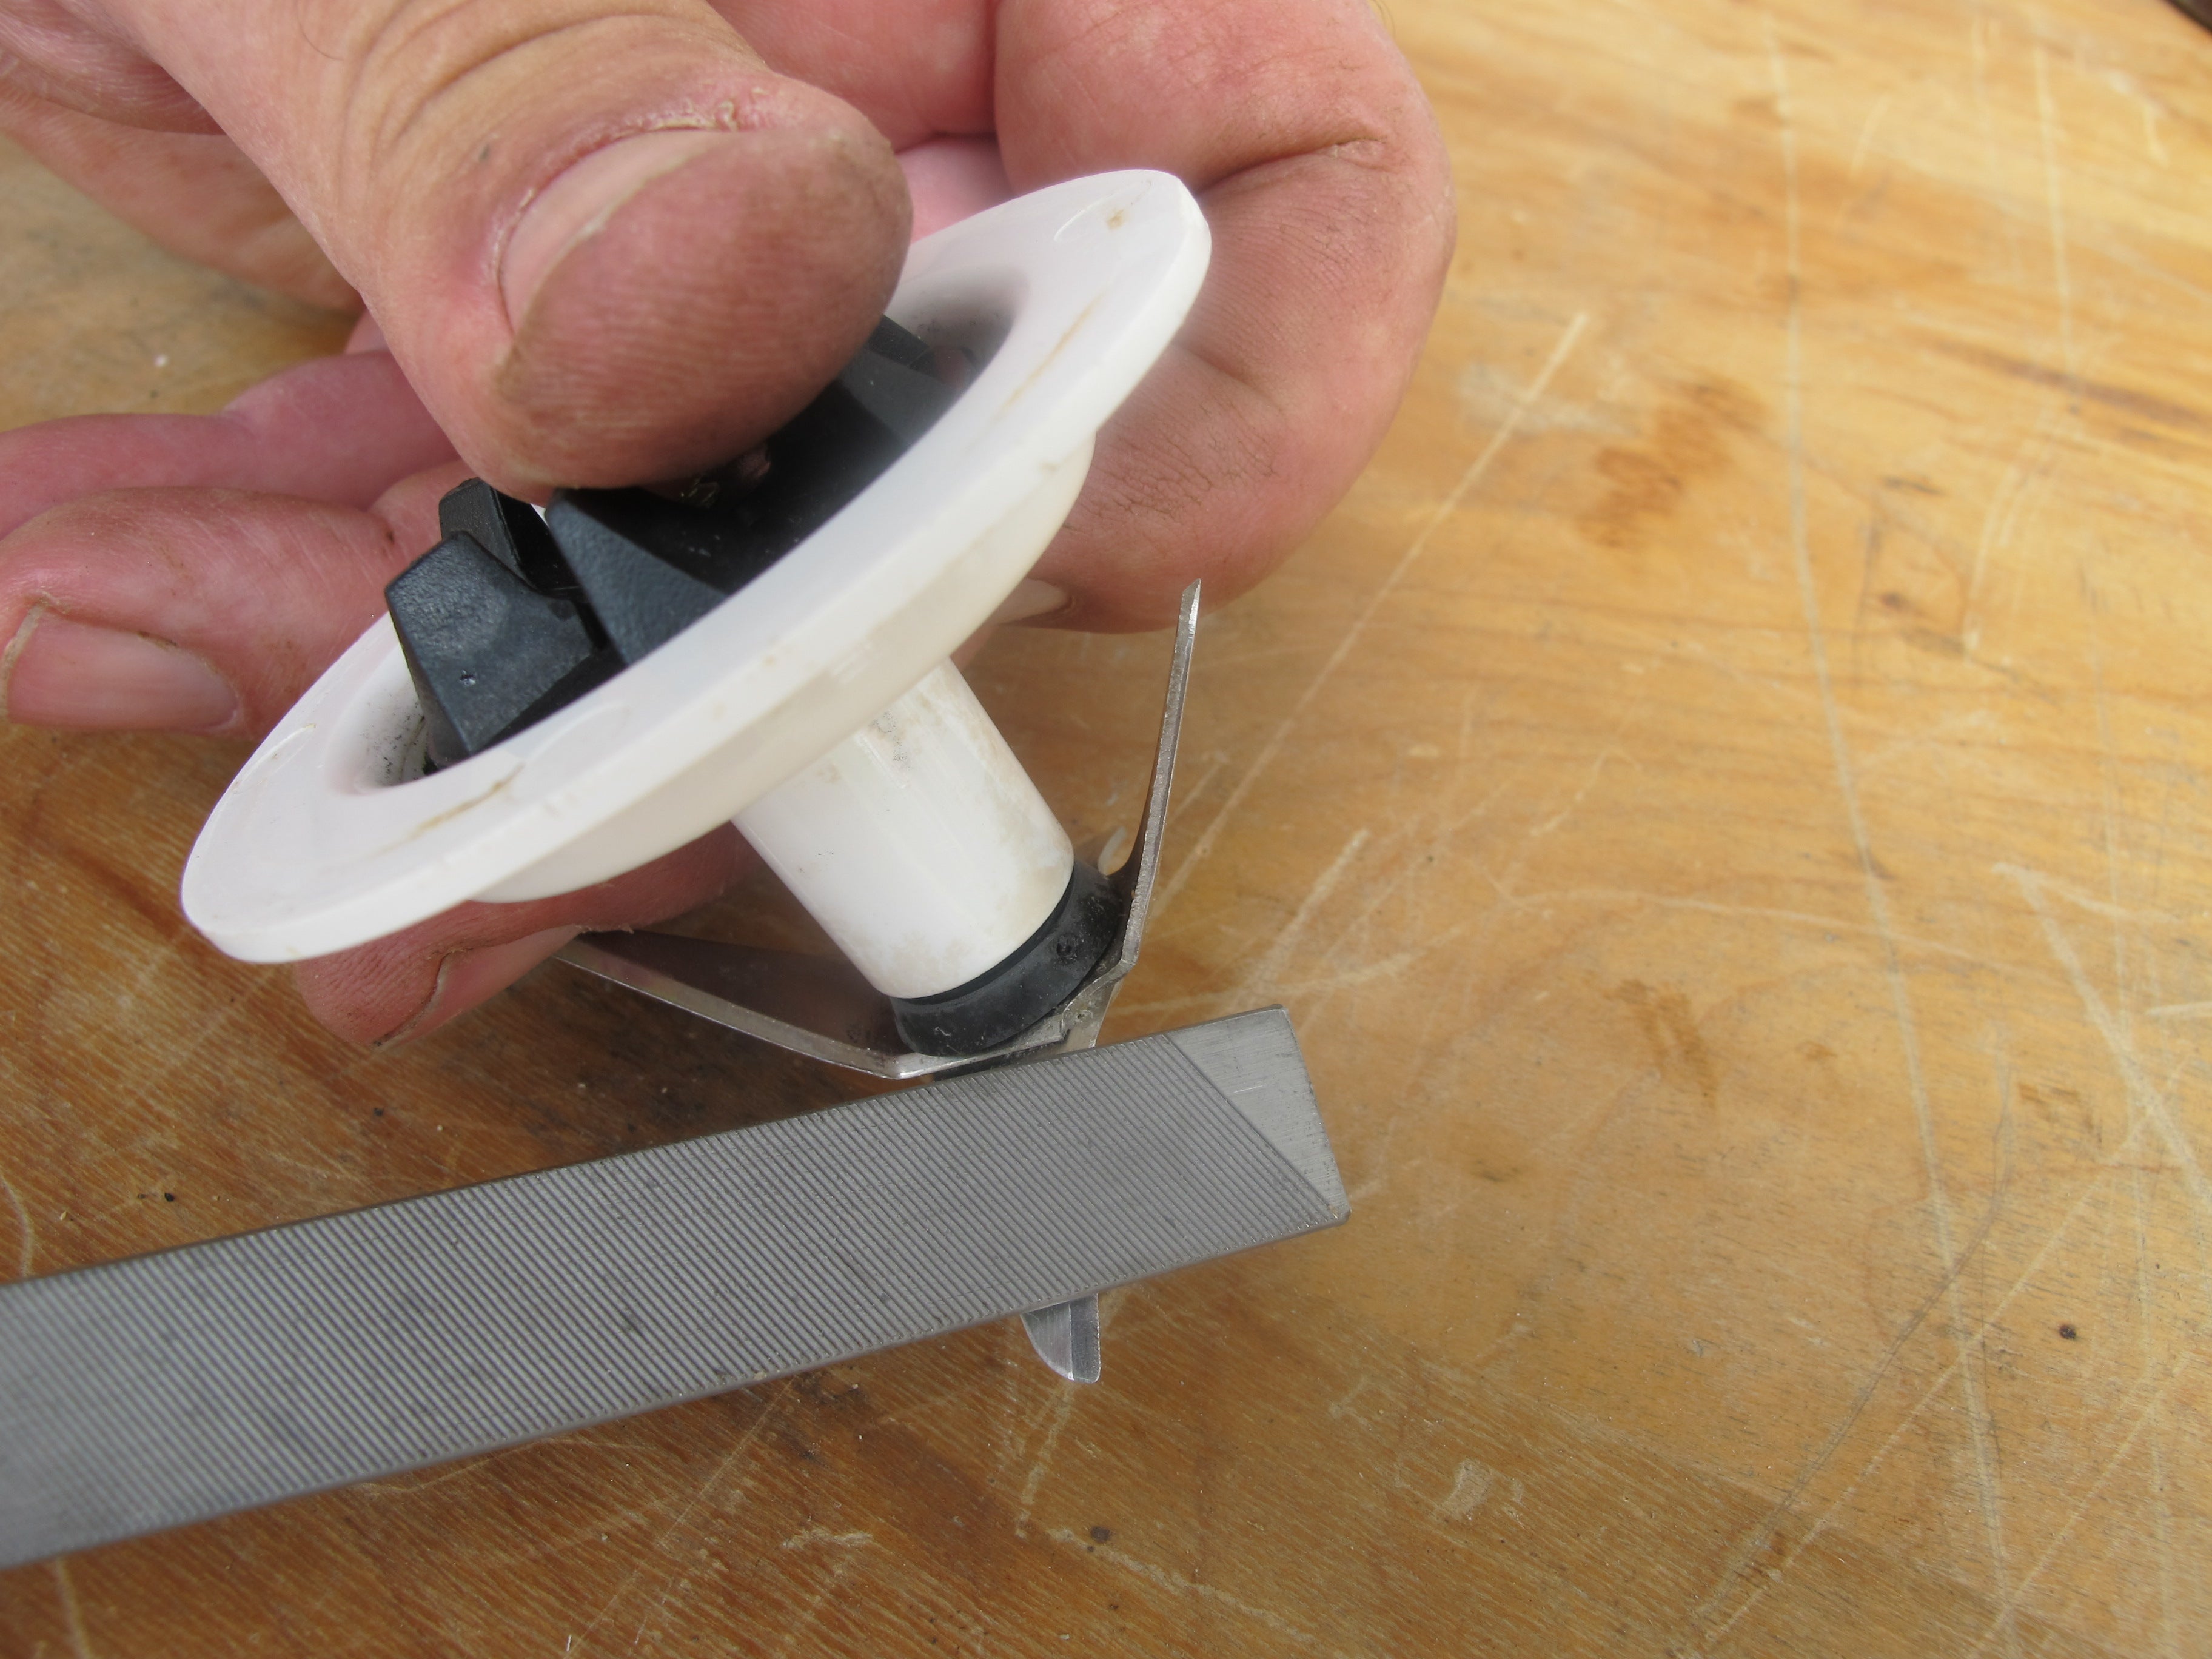
Credit: www.instructables.com
How to Tell If Your Blender Blades Are Dull
Blender blades can become dull over time. Food doesn’t blend smoothly. Ingredients may remain chunky or uneven. Blades might make strange sounds. The blender might need more time to finish. These are clear signs of dullness. Smoothies may have bits of fruit. Soup might have chunks.
Overworked blenders can overheat. Frequent dullness can damage the motor. Regular checks can prevent dullness. Dull blades can affect taste and texture. A sharp blade is important for good blending— and so is power. If you’re unsure how much power your blender really needs, here’s a guide on how many watts a good blender should have.
Safety Tips Before Sharpening Blender Blades
Safety is very important. Blender blades are sharp and can cut. Always unplug the blender before working on it. This stops any accidents. Use gloves to protect your hands. Blades can be slippery and gloves give grip. Keep kids away while you work. Small parts can be dangerous. Check for damaged parts. If anything is broken, fix it first.
Use the right tools. Screwdrivers and pliers help to detach blades safely. Keep the area clean. Messy spaces can lead to accidents. Work in a well-lit area. Good lighting helps see all parts clearly.
Tools You Need to Sharpen Blender Blades at Home
Gather the right tools to sharpen blender blades. You will need a screwdriver. It helps to remove the blade from the blender. Get a whetstone or sharpening stone. These stones make the blades sharp again. A soft cloth is needed to clean the blade. Ensure the cloth is dry and clean. Gloves protect your hands while working. Safety first!
Also, have a small brush ready. It helps clean tiny particles. Water is necessary for wetting the stone. It makes sharpening easier. Now you have everything needed to sharpen your blender blades.
Step-by-Step: How to Sharpen Blender Blades Safely
Sharpening blender blades involves a few simple steps. First, unplug the blender for safety. Remove the blades carefully. Use a sharpening stone or metal file to sharpen each blade edge. Reattach the blades securely before use. Always handle blades with caution to avoid injury.
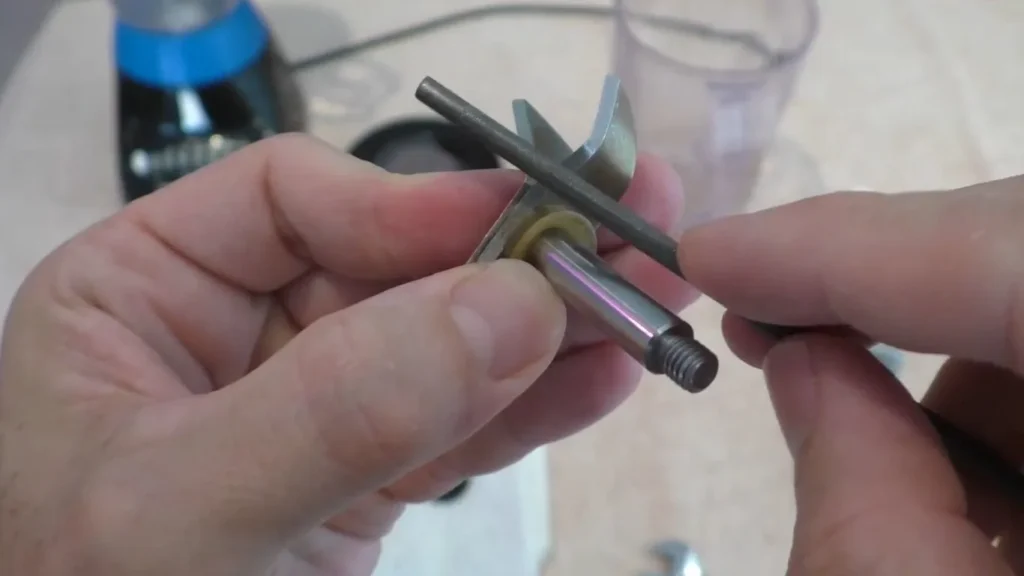
Removing Blender Blades
First, unplug the blender from the socket. This keeps you safe. Next, detach the blender jar from its base. Turn the jar upside down. Find the bottom nut or ring. Twist it counterclockwise to loosen. Carefully remove the blades from the jar. Handle with caution. Blades can be sharp!
Cleaning The Blades
Use warm, soapy water to clean the blades. A small brush can help. Scrub away any food bits stuck on the blades. Rinse with clean water. Dry the blades with a towel. Make sure no moisture remains. Clean blades sharpen better.
According to the USDA’s food safety guidelines, it’s important to keep food-contact surfaces like blender blades clean to prevent bacteria and foodborne illness.
Sharpening Techniques
Place blades on a flat surface. Use a whetstone for sharpening. Hold the blade at a small angle. Slide it across the stone, gently. Repeat for each side. Keep the angle steady. Check sharpness after each pass. Stop when blades are sharp.
Reassembling The Blender
Insert the blades back into the jar. Align them correctly. Twist the bottom nut or ring clockwise. Ensure it’s tight. Attach the jar to the blender base. Plug the blender back in. Test to see if it works well. Enjoy your sharper blades!
How to Maintain Blender Blades to Keep Them Sharp
Blender blades need cleaning after every use. Remove the blades carefully. Use soap and warm water. Scrub gently with a brush. Dry the blades completely. Moisture can cause rust.
Store blades in a safe place. Use blade covers if possible. Avoid stacking them with other tools. Separate them to prevent damage. Keep them dry and dust-free. This keeps blades sharp for longer.
Professional Services For Blade Sharpening
Blender blades can become dull over time. Professional services can help. Experts use special tools to sharpen blades. They ensure blades are safe and effective. Professionals offer quick service. They have experience with many types of blades. This service can extend the life of your blender.
Choosing a skilled professional is important. It ensures the blades are sharpened correctly. Trustworthy services are often affordable. They provide quality results. A sharp blade works better. It blends food smoothly. It saves time and energy. Always choose a service that guarantees satisfaction.
| Service | Features |
|---|---|
| Expert Blade Sharpening | Safe, effective, quick |
| Affordable Pricing | Quality results, satisfaction guarantee |
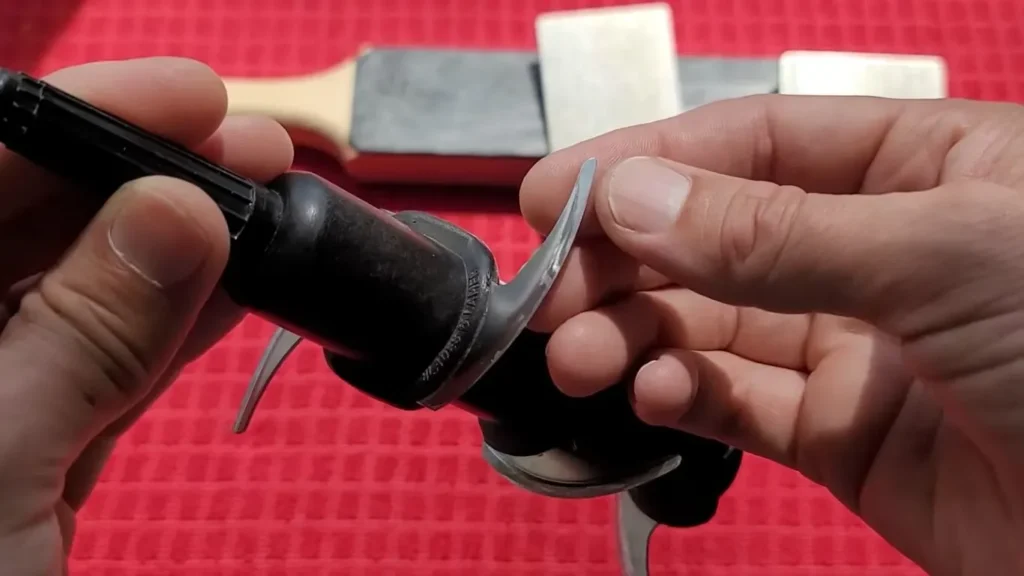
Credit: riseandblend.com
Common Blender Blade Sharpening Mistakes to Avoid
Blender blades can get dull quickly. Sharp blades cut food better. Dull blades smash food instead. Many people make mistakes with blade care. Using metal tools scratches blades. Scratches can damage blades. Hot water can warp blades. Warped blades don’t cut well. Dropping the blender can bend blades. Bent blades don’t spin right. Cleaning blades with strong chemicals can erode them. Eroded blades lose their edge. Using the wrong angle to sharpen can make blades worse. Incorrect angles change blade shape. Always use the right tools for sharpening. Proper care keeps blades sharp and safe.
Final Thoughts:
Sharpening blender blades keeps your kitchen tools efficient. Regular care saves time and effort. Follow simple steps for a safe process. Clean the blades before sharpening for better results. Use a sharpening stone for precise edges. Check blade alignment after sharpening.
Always handle blades with care. Sharp blades blend ingredients smoothly. Store the blender properly to maintain sharpness. Regular maintenance extends blade life. Keep a schedule to avoid dullness. A well-sharpened blade enhances your cooking experience. Enjoy smoother blends and easier food prep.
Your kitchen tasks become simpler and more enjoyable.
FAQs About Sharpening Blender Blades
How Do I Know If My Blender Blades Are Dull?
Blender blades might be dull if blending takes longer or results are uneven.
Can I Sharpen Blender Blades At Home?
Yes, you can sharpen blender blades using a sharpening stone or sandpaper.
What Tools Do I Need To Sharpen Blender Blades?
You need a sharpening stone, sandpaper, or a knife sharpener.
How Often Should Blender Blades Be Sharpened?
Sharpen blades every few months, depending on use frequency.
Are There Risks In Sharpening Blender Blades Myself?
Yes, improper sharpening can damage blades or cause injury. Be careful while handling.