Skip to content
Keeping your pressure cooker clean is not just about looks—it’s about safety, taste, and making your kitchen life easier. Food residue, grease, and mineral buildup can cause problems in how your cooker works. Sometimes, leftover smells or stuck-on food can even ruin your next meal.
Fortunately, cleaning a pressure cooker is straightforward once you know the right steps. Whether you use a classic stovetop model or a modern electric one, this guide will show you how to clean a pressure cooker thoroughly. You’ll also find tips to solve common problems and keep your cooker working like new.
Why Proper Cleaning Matters
A clean pressure cooker does more than sparkle on your countertop. It helps food taste better, prevents unwanted odors, and avoids mechanical issues. Even a small bit of leftover food in the gasket or valve can stop your cooker from sealing properly.
This can be dangerous, as pressure cookers rely on an airtight seal to cook safely. Regular cleaning also extends the life of your cooker, saving you money in the long run.
What You Need Before You Start
You don’t need fancy tools to clean a pressure cooker. Here’s what’s helpful to have on hand:
- Mild dish soap
- Soft sponge or cloth
- Non-abrasive brush or old toothbrush
- White vinegar
- Baking soda
- Wooden or plastic scraper
- Paper towels or soft kitchen towels
- Cotton swab or toothpick (for small parts)
- Water
Basic Cleaning Steps For Every Pressure Cooker
Cleaning a pressure cooker usually follows the same basic steps, whether it’s electric or stovetop. Some details will change based on the model, but the process is similar.
- Unplug and Cool Down: Always unplug the cooker and let it cool completely before cleaning. This helps avoid burns and protects the electronics.
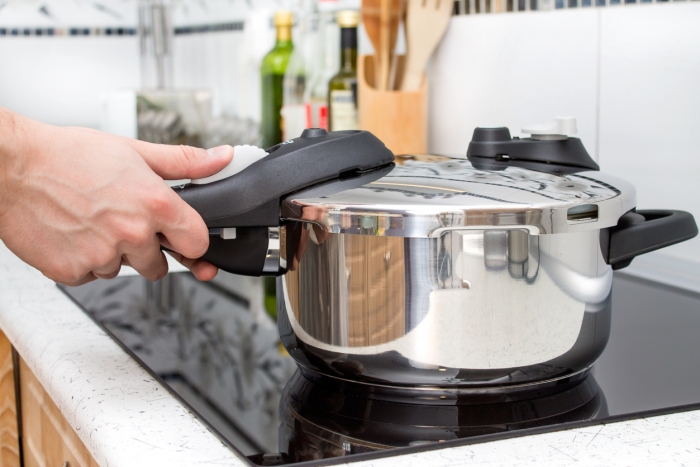
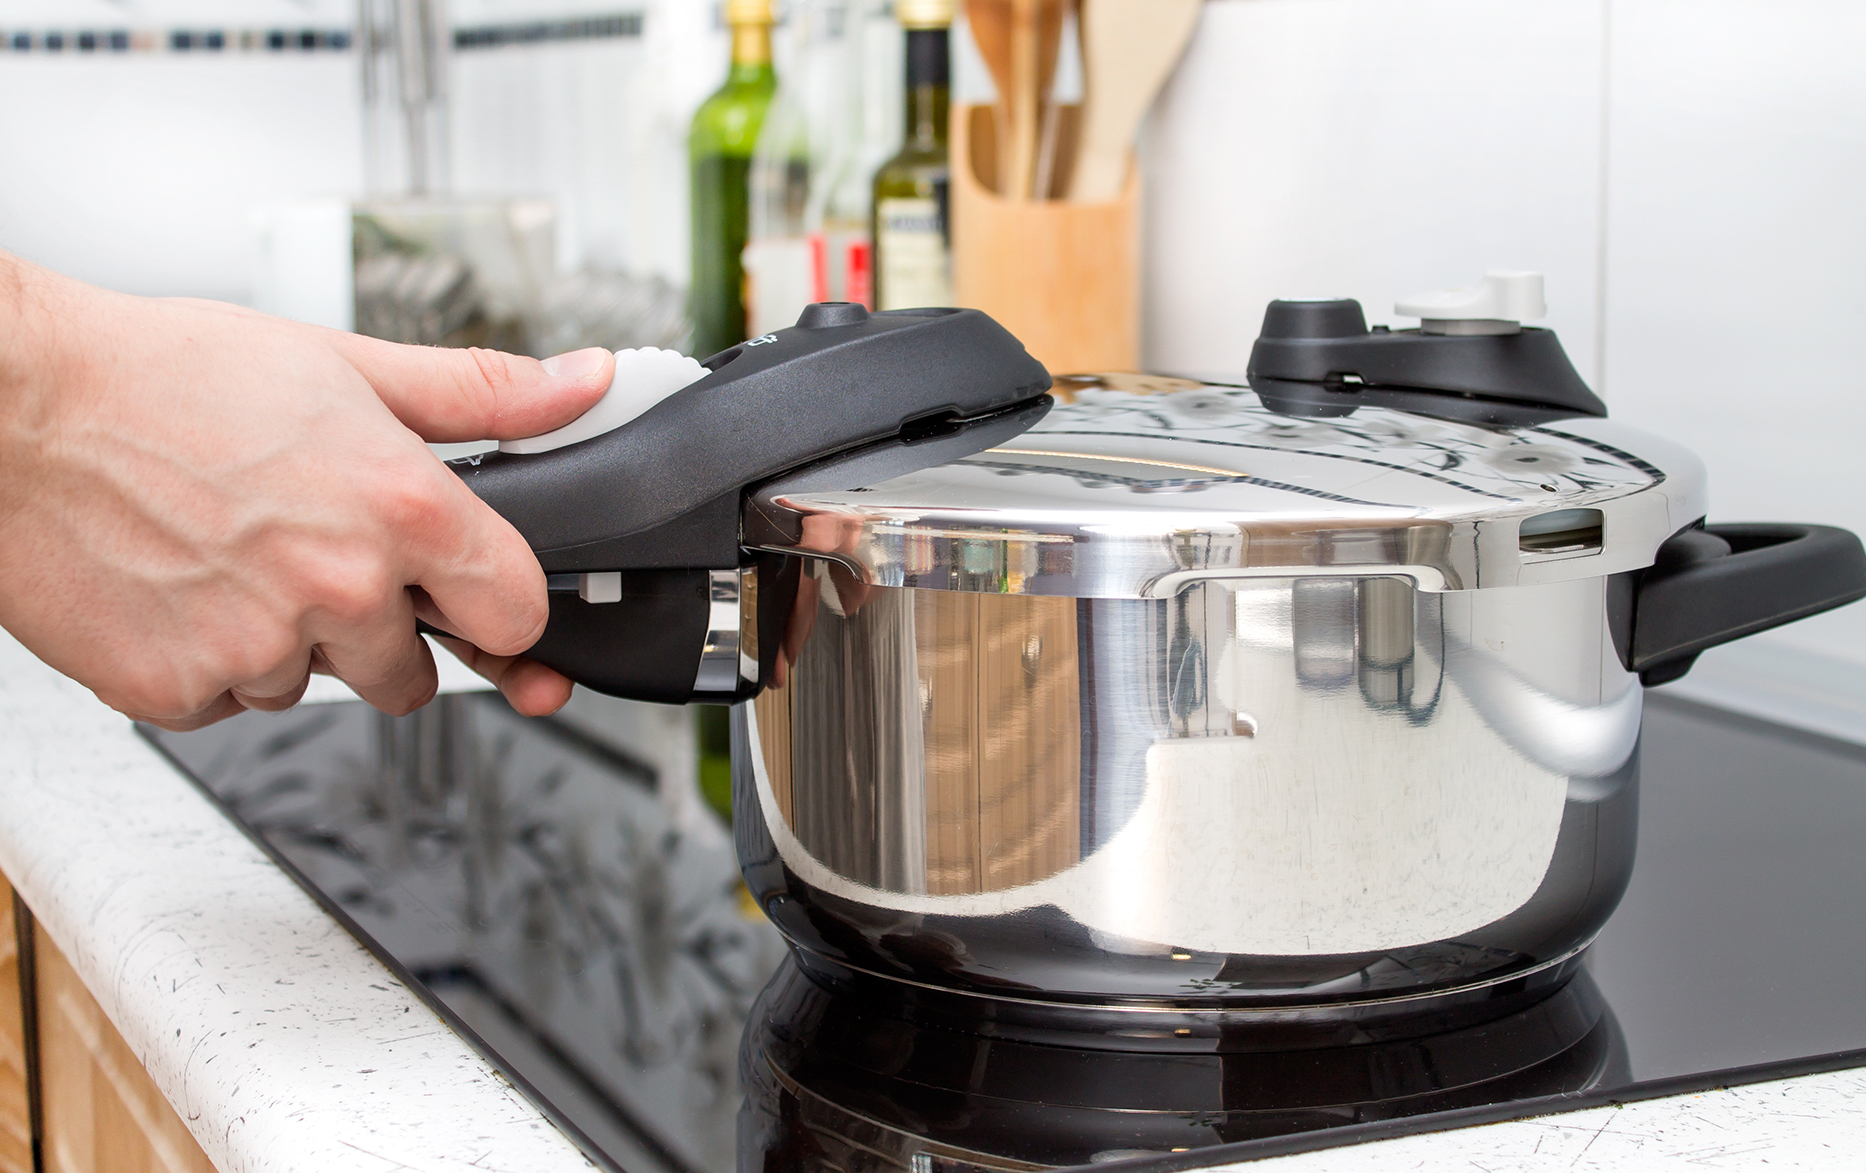
- Disassemble the Parts: Take out the inner pot, gasket (the rubber sealing ring), lid, and any removable valves or parts. Most cookers let you remove the pressure regulator and steam release valve.
- Wash Removable Parts: Wash the inner pot, lid, and gasket with warm water and mild dish soap. Use a soft sponge to avoid scratching the metal. For stuck-on food, soak parts for 15–20 minutes.
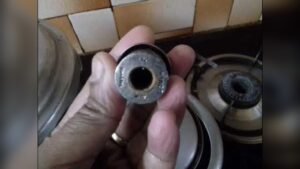
- Clean the Small Parts: Use a brush, toothpick, or cotton swab to clean steam valves and small holes. These parts often trap food and grease.
- Wipe the Cooker Base: Never submerge the cooker base (especially for electric models). Wipe the exterior and interior (outside the heating element) with a damp cloth.
- Dry Everything Thoroughly: Let all parts air dry or use a towel. Make sure the gasket is fully dry before putting it back.
- Reassemble Carefully: Put all parts back together, checking that the gasket sits flat and the valves are clear.
Step-by-step: Deep Cleaning Your Pressure Cooker
Sometimes, a basic wash isn’t enough. If you notice smells, stains, or sticky buildup, it’s time for a deep clean.
Cleaning Tough Stains
- For the Inner Pot: Sprinkle baking soda on stains. Add a bit of water to make a paste. Scrub gently with a soft brush. For burnt-on food, fill the pot with water and a few tablespoons of vinegar. Simmer on low heat for 10–15 minutes, then scrub again.
- For the Lid and Gasket: Soak them in a mix of warm water and vinegar (1:1 ratio) for 30 minutes. Rinse well to remove any vinegar smell.
- For Valves and Small Parts: Soak in hot soapy water. Use a toothpick to clear any clogs.
Removing Odors
Pressure cookers can sometimes retain strong smells, especially after cooking spicy or onion-heavy dishes.
- Baking Soda Soak: Fill the pot with water and 2 tablespoons of baking soda. Let it soak for 1–2 hours, then rinse.
- Vinegar Steam: Add 1 cup of water and 1 cup of vinegar to the pot. Run a short cooking cycle (without food) to steam clean and deodorize.
Dealing With Mineral Buildup
If you notice white spots or chalky residue (common with hard water), use vinegar.
- Fill the pot with equal parts water and white vinegar.
- Let it sit for 30 minutes.
- Scrub and rinse thoroughly.
Credit: www.ovenclean.com
How To Clean Electric Vs. Stovetop Pressure Cookers
Electric and stovetop pressure cookers have some unique cleaning needs. Here’s a comparison to help you see the main differences.
| Feature | Electric Pressure Cooker | Stovetop Pressure Cooker |
|---|---|---|
| Base Cleaning | Wipe with damp cloth, never submerge | Can wash entire cooker (except valve) |
| Inner Pot | Usually removable, dishwasher-safe | Fixed, hand-wash only |
| Gasket | Removable, wash by hand | Removable, wash by hand |
| Valve Cleaning | Check for food debris, use brush | Check for clogs, use toothpick |
| Electronics | Do not get wet | No electronics, easy to rinse |
How Often To Clean Each Part
Regular cleaning keeps your pressure cooker safe and efficient. Here’s a simple guide on how often to clean each part:
| Part | When to Clean |
|---|---|
| Inner Pot | After every use |
| Lid | After every use |
| Gasket | Every 1–2 uses, check for odors |
| Valves | Weekly or after messy recipes |
| Base/Exterior | Wipe weekly or as needed |
Common Cleaning Mistakes To Avoid
Even experienced home cooks sometimes make errors when cleaning their pressure cookers. Here are a few things to watch out for:
- Using Harsh Chemicals: Avoid bleach, strong cleaners, or abrasive pads. These can damage the metal and rubber parts.
- Not Drying the Gasket: If the gasket stays wet, it can trap smells and even grow mold.
- Skipping Valve Cleaning: Small pieces of food can block valves and affect safety.
- Submerging the Electric Base: Only wipe the outside—never put it in water.
- Forgetting to Reassemble Properly: Make sure all parts are back in the right place before the next use.
Special Tips For Better Results
Most guides stop at the basics, but here are some extra tips that often get missed:
- Rotate Your Gasket: Rubber gaskets wear out faster if left in the lid. Store the gasket separately when not in use. This keeps it flexible and odor-free.
- Check for Cracks: Look for cracks or tears in the gasket and valves. Even small damage can cause leaks or pressure problems.
- Dishwasher Use: Many stainless steel inner pots and some lids are dishwasher-safe. However, always check your manual—some nonstick pots or gaskets may get damaged in the dishwasher.
- Label Parts for Group Cooking: If you have several cookers (for big families or events), label gaskets and valves. This avoids mixing parts, which can lead to poor sealing.
You may also like: How Many Whistles for Rice in Pressure Cooker
When To Replace Pressure Cooker Parts
Cleaning helps, but some parts wear out no matter how careful you are. Here’s how to know when it’s time for a new part:
- Gasket: If it feels sticky, smells bad after cleaning, or has cracks—replace it. Most need replacing every 12–18 months.
- Valves: If you can’t clear a clog or notice steam leaks, get a new valve.
- Inner Pot: Deep scratches or flaking (especially in nonstick pots) mean it’s time for a new one.
- Lid Locking Mechanism: If it doesn’t click or seal, consult your manual or replace.
This kind of maintenance keeps your cooker safe and extends its lifespan.
How To Store A Clean Pressure Cooker
Proper storage can prevent odors and mildew. Here’s how to keep your cooker fresh:
- Leave the Lid Off: Store with the lid upside-down or slightly open. This lets air flow and prevents smells.
- Keep Gasket Separate: Store the gasket in a cool, dry place, not in the lid.
- Dry Before Storing: Make sure every part is completely dry to avoid rust or mold.
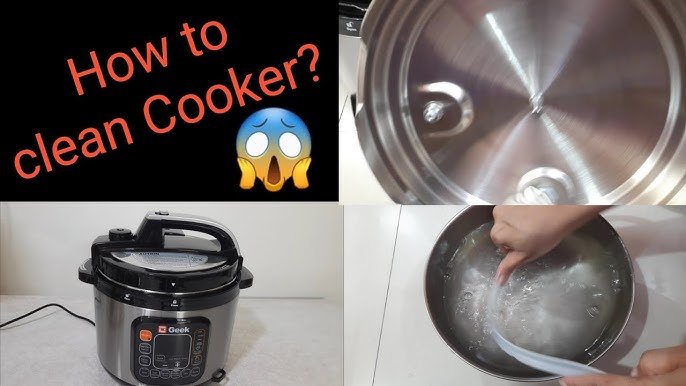
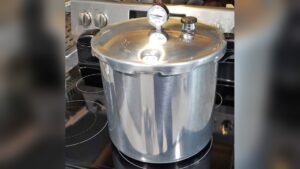
Credit: www.youtube.com
Troubleshooting Common Cleaning Problems
Pressure cookers sometimes develop stubborn stains, rust spots, or stuck smells. Here’s what to do:
Stubborn Stains
Mix baking soda with a little water to form a paste. Spread it on the stain, let it sit for 30 minutes, then scrub with a soft brush.
Rust Spots
If you notice rust on stainless steel pots, rub gently with a paste of baking soda and water. Rinse well. For tougher spots, use a little white vinegar.
Persistent Odors
Soak the pot in a mix of water and white vinegar (1:1) for several hours. Rinse thoroughly.
Clogged Valves
Use a toothpick or a thin brush to clear any debris. Never use sharp metal objects as they can damage the parts.
Pressure Cooker Cleaning: Quick Reference Chart
For those who want a summary, here’s a handy chart of what to do and when.
| Task | Frequency | Materials Needed |
|---|---|---|
| Wash inner pot & lid | After every use | Dish soap, soft sponge |
| Clean gasket | Every 1–2 uses | Soap, water, towel |
| Clear valves | Weekly or as needed | Toothpick, brush |
| Deodorize | Monthly or as needed | Baking soda, vinegar |
| Inspect for wear | Every few months | Visual check |
Credit: simplegreen.com
Frequently Asked Questions
How Do I Remove Burnt Food From My Pressure Cooker?
Fill the pot with water and add a few tablespoons of baking soda or vinegar. Bring to a gentle boil (or use the “Steam” function for electric cookers) for 10–15 minutes. Let it cool, then scrub gently with a soft brush.
Avoid metal scrubbers, as they can scratch the surface.
Can I Put My Pressure Cooker Parts In The Dishwasher?
Most stainless steel inner pots and some lids are dishwasher-safe. However, the gasket and valves should always be washed by hand. Nonstick pots and certain electric cooker parts may get damaged in the dishwasher. Always check your manual or manufacturer’s website for guidance.
Why Does My Pressure Cooker Smell After Cleaning?
Odors often stay in the gasket or lid. Soak these parts in a mix of vinegar and water or leave baking soda inside the pot overnight. Store the lid open to let air circulate and prevent smells.
What Should I Do If The Steam Valve Is Clogged?
Unplug and cool the cooker. Remove the valve (if possible) and soak it in hot, soapy water. Use a toothpick or small brush to clear debris. Never use sharp objects, as they can damage the valve.
How Often Should I Replace The Gasket?
Most gaskets last 12–18 months. Replace yours if it’s cracked, sticky, or holds odors after cleaning. A good seal is critical for safe cooking.
A clean pressure cooker means safer, tastier meals every time. With a little care, your cooker can last for years. For more safety tips and detailed manuals, visit the U.S. Consumer Product Safety Commission. Regular cleaning and inspection take only a few minutes but protect your investment—and your family.