Skip to content
Most people depend on their ice maker more than they realize—until the day it stops working. Suddenly, ice is missing from your drinks, entertaining becomes stressful, and you find yourself searching for answers. Troubleshooting an ice maker can feel overwhelming, especially with so many parts and possible problems. But with clear steps, a bit of patience, and basic tools, you can often fix the problem yourself and avoid the cost of a service call.
This guide walks you through every step of ice maker troubleshooting. You’ll learn how to spot the real cause, which repairs you can do yourself, and when you should call a professional. I’ll also share some insider tips that most beginners miss, and I’ll include practical examples and comparison tables to help you understand what matters most. By the end, you’ll have the confidence to get your ice maker running smoothly again.
Understanding How An Ice Maker Works
Before you start fixing things, it helps to know how a typical home ice maker operates. Most common models (like those in refrigerators) work with a simple process:
- Water flows into a tray or mold through the water inlet valve.
- The tray freezes the water into cubes.
- A small heater loosens the cubes.
- An arm or ejector pushes the cubes into a storage bin.
- The cycle repeats until the bin is full, controlled by a sensor or mechanical arm.
Knowing these steps can help you understand where something might go wrong.
Types Of Ice Makers
There are several types of ice makers, and their troubleshooting steps can vary. The three most common are:
- Refrigerator ice makers (usually in the freezer section)
- Standalone countertop ice makers
- Undercounter or built-in ice machines
While the basic principles are the same, some parts and error codes differ. Always check your model’s manual for specific instructions and part numbers.
Safety First: Preparing To Troubleshoot
Before you touch anything, take these important safety steps:
- Unplug the appliance. Electricity and water are a dangerous mix.
- Turn off the water supply. This prevents leaks or sprays if you disconnect hoses.
- Clear out ice and water. Remove any ice from the bin and mop up standing water.
- Gather tools. You’ll usually need a screwdriver, flashlight, towels, and possibly a multimeter.
Never skip these steps. Even a simple check can lead to a shock or a mess if you’re not careful.

Credit: kismile.com
Common Ice Maker Problems And How To Diagnose Them
Most ice maker issues fit into a few main categories. Here’s how to identify what’s wrong:
Ice Maker Not Making Ice
This is the most common complaint. Here’s how to narrow down the cause:
- Is the ice maker turned on? Some have a switch or arm that stops ice production.
- Is the water supply connected and on? Check the shutoff valve and make sure it’s open.
- Is the water filter clogged? A dirty filter can block water flow.
- Is the freezer cold enough? Most ice makers need the freezer to be below 10°F (-12°C).
If you answer “no” to any of these, fixing that issue may solve the problem.
Ice Maker Not Getting Water
If the ice tray stays empty, check these points:
- Water line connection: Make sure the hose is attached and not kinked.
- Inlet valve function: Listen for a humming sound when the ice maker cycles. No sound may mean a dead valve.
- Filter age: Filters typically need replacing every 6 months.
Ice Cubes Are Too Small Or Hollow
Tiny or hollow cubes often mean low water pressure or a partially blocked line. Check:
- Household water pressure: Should be at least 20 psi for proper ice production.
- Filter condition: Replace if old or dirty.
- Valve blockage: Sometimes mineral buildup inside the valve reduces flow.
Ice Maker Is Leaking Water
Leaks usually come from:
- Loose water connections
- Cracked ice trays
- Overfilled tray (faulty sensor or valve)
Inspect all visible hoses and joints. Tighten or replace as needed.
Ice Maker Is Noisy
Some sounds are normal (like water filling and cubes dropping), but loud grinding or buzzing often signals trouble:
- Obstructed ejector arm: Remove any jammed ice.
- Worn motor or gears: These parts may need replacement.
Step-by-step Ice Maker Troubleshooting Guide
Let’s walk through a complete troubleshooting process. Start with the simplest fixes, then move to more advanced checks.
1. Check The Power And Controls
- Make sure the refrigerator or ice maker is plugged in and switched on.
- Some models have a dedicated on/off switch or a wire arm. Confirm it’s in the “on” position.
- Reset the ice maker if your model has a reset button.
2. Inspect The Water Supply
- Locate the water supply valve, usually behind the fridge or under the sink.
- Confirm the valve is open and the hose is not twisted or pinched.
- For portable models, check the water reservoir is filled to the required level.
3. Replace Or Clean The Water Filter
A clogged water filter restricts flow and can stop ice production. Replace the filter if it’s older than 6 months or if your ice tastes bad.
4. Check The Freezer Temperature
Most ice makers need the freezer at 0–5°F (-18 to -15°C). If it’s warmer:
- Adjust the thermostat to a colder setting.
- Wait 24 hours and check again.
- Remove items that block air vents.
5. Inspect The Ice Maker Assembly
- Look for any visible ice blockages or jammed parts.
- Remove the ice bin and check for stuck cubes.
- Clean the ejector arm and tray with warm water.
6. Test The Water Inlet Valve
- Unplug the appliance and locate the valve (usually at the back).
- Use a multimeter to check for electrical continuity. No reading means the valve is faulty.
- If you hear a humming sound but no water flows, the valve may be blocked with debris.
7. Check The Water Line For Freezing
- Sometimes the fill tube freezes, blocking water. Use a hair dryer on low to gently thaw the tube.
- Never use sharp tools, as this can damage the line.
8. Inspect The Ice Mold Thermostat
- If the mold thermostat fails, the ice maker won’t start a new cycle.
- This part usually requires professional testing or replacement, but you can check for visible damage.
9. Examine The Ice Level Control Board
- Some newer ice makers use an electronic sensor instead of a wire arm.
- Clean the sensor with a soft cloth. Dust or frost can block the signal.
10. Look For Error Codes
Many modern ice makers display error codes on the fridge panel or inside the ice bin. Check your manual for what the code means, or search the manufacturer’s website.
Advanced Troubleshooting: When Basic Steps Don’t Work
If the simple checks don’t fix your ice maker, it’s time to dig deeper. Here are some advanced methods.
Testing Electrical Components
You can test switches, sensors, and motors with a multimeter. Always unplug the appliance first.
- Motor: No continuity usually means the motor is dead.
- Thermostat: Should open and close at the right temperature.
- Switches: Test for proper on/off function.
Checking For Clogged Or Frozen Water Lines
Remove the back panel and inspect all visible lines for ice buildup, mineral deposits, or bends. Flush with warm water or replace as needed.
Comparing Ice Maker Problems And Solutions
Here’s a summary table to help match common symptoms to fixes:
| Problem | Likely Cause | Solution |
|---|---|---|
| No ice produced | Power off, water off, filter clogged | Check switches, water line, replace filter |
| Small/Hollow cubes | Low water pressure, old filter | Test pressure, replace filter |
| Leaking water | Loose hose, cracked tray | Tighten/replace parts |
| Noisy operation | Ice jam, worn motor | Clear jam, replace motor |
| Ice tastes bad | Dirty filter, stagnant water | Replace filter, clean bin |
How To Clean And Maintain Your Ice Maker
Good maintenance prevents many ice maker problems. Here’s how to keep yours in top shape:
- Clean the ice bin and mold every month. Use warm water and mild dish soap. Rinse thoroughly.
- Replace the water filter regularly. Mark your calendar for every 6 months.
- Check for mineral buildup. Hard water leaves scale that can block parts. Use a descaling solution if needed.
- Inspect hoses for leaks or cracks. Replace at the first sign of wear.
- Test the ice taste. Odd flavors may signal a dirty filter or standing water.
- Run a test cycle. After cleaning, run a cycle and discard the first batch of ice.
Cleaning Vs. Repair: When To Do Each
| Situation | Cleaning Needed? | Repair Needed? |
|---|---|---|
| Dirty ice or bad taste | Yes | No, unless problem continues |
| Slow ice production | Yes | Maybe, if cleaning doesn’t help |
| No ice at all | No | Yes, likely mechanical/electrical issue |
| Leaking water | No | Yes, check connections/parts |
Replacement Parts: What To Buy And What To Avoid
If you need to replace a part, use these guidelines:
- Buy genuine OEM parts. These fit best and last longer.
- Avoid universal or “one-size-fits-all” parts. They often don’t fit correctly.
- Check model numbers. Always match parts to your exact ice maker model.
- Keep receipts and packaging. Some parts have a warranty.
Cost Comparison: Diy Vs. Professional Repair
Let’s compare the typical cost of doing it yourself versus hiring a pro:
| Repair Type | DIY Cost (USD) | Professional Cost (USD) |
|---|---|---|
| Replace water filter | $20–$60 | $70–$120 |
| Replace inlet valve | $35–$90 | $150–$250 |
| Replace ice maker assembly | $70–$200 | $200–$400 |
| Professional diagnosis | $0 | $80–$120 (visit fee) |
Non-obvious insight: Many beginners buy the wrong part because they skip the model number check. Others forget to reset the ice maker after installing new parts—this can stop it from working even if the fix was correct.
When To Call A Professional
Not every problem is safe or practical to fix on your own. Call a pro if:
- You smell burning or see sparks.
- There’s a major water leak you can’t stop.
- You’ve replaced parts and the problem remains.
- The unit displays error codes you can’t clear.
- You’re uncomfortable working with electricity or water lines.
Tip: Some repairs may be covered under your refrigerator’s warranty. Check before paying for service.
Credit: www.youtube.com
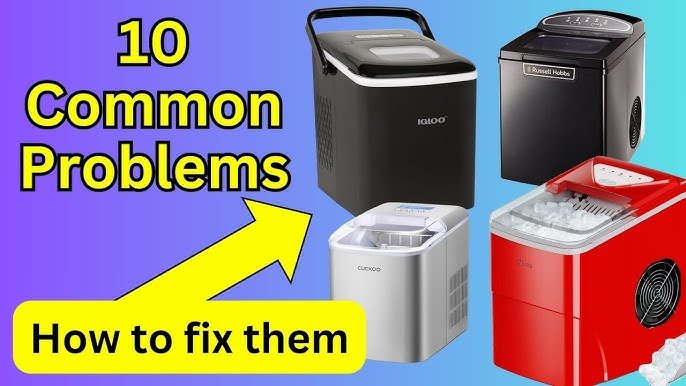
Troubleshooting Portable And Countertop Ice Makers
These models are easier to check, but have their own quirks:
- Frequent cleaning is essential. Mineral buildup happens faster.
- Check for removable parts. Many have trays or scoops that can be washed.
- Use filtered water. This prevents scaling and extends machine life.
- Let the unit rest. If the ice maker overheats, unplug for 1 hour before restarting.
Countertop ice makers usually have simple reset buttons and indicator lights. Read the manual for specific error messages.
Ice Maker Troubleshooting Tips Most People Miss
- Check the ice bin position. Some ice makers won’t run if the bin isn’t seated correctly.
- Inspect the door switch. If the freezer door switch is broken, the ice maker may think the door is open and stop working.
- Clean the condenser coils. Dusty coils can raise freezer temperature, slowing or stopping ice production.
- Listen for sounds. A humming but non-working ice maker often means the inlet valve is getting power but is blocked or faulty.
- Look for frost in unusual places. Excessive frost can mean a bad door seal, causing higher temperatures and less ice.
How To Prevent Future Ice Maker Problems
Prevention is easier than repair. Here’s how to avoid most ice maker issues:
- Replace water filters on schedule.
- Clean the ice maker every 1–2 months.
- Keep the freezer at the right temperature.
- Don’t overload the freezer. Proper airflow is needed for ice production.
- Use the ice regularly. Stagnant water can cause blockages or bad taste.
- Check hoses and connections during routine cleaning.
These small steps can prevent costly repairs and keep your ice supply steady.
Where To Find More Help
If you’ve tried every step and the ice maker still doesn’t work, check the manufacturer’s support site. Brands like Whirlpool, GE, Samsung, and LG offer troubleshooting guides, diagrams, and live chat. For a deeper understanding, you can also read the comprehensive guide on Wikipedia.
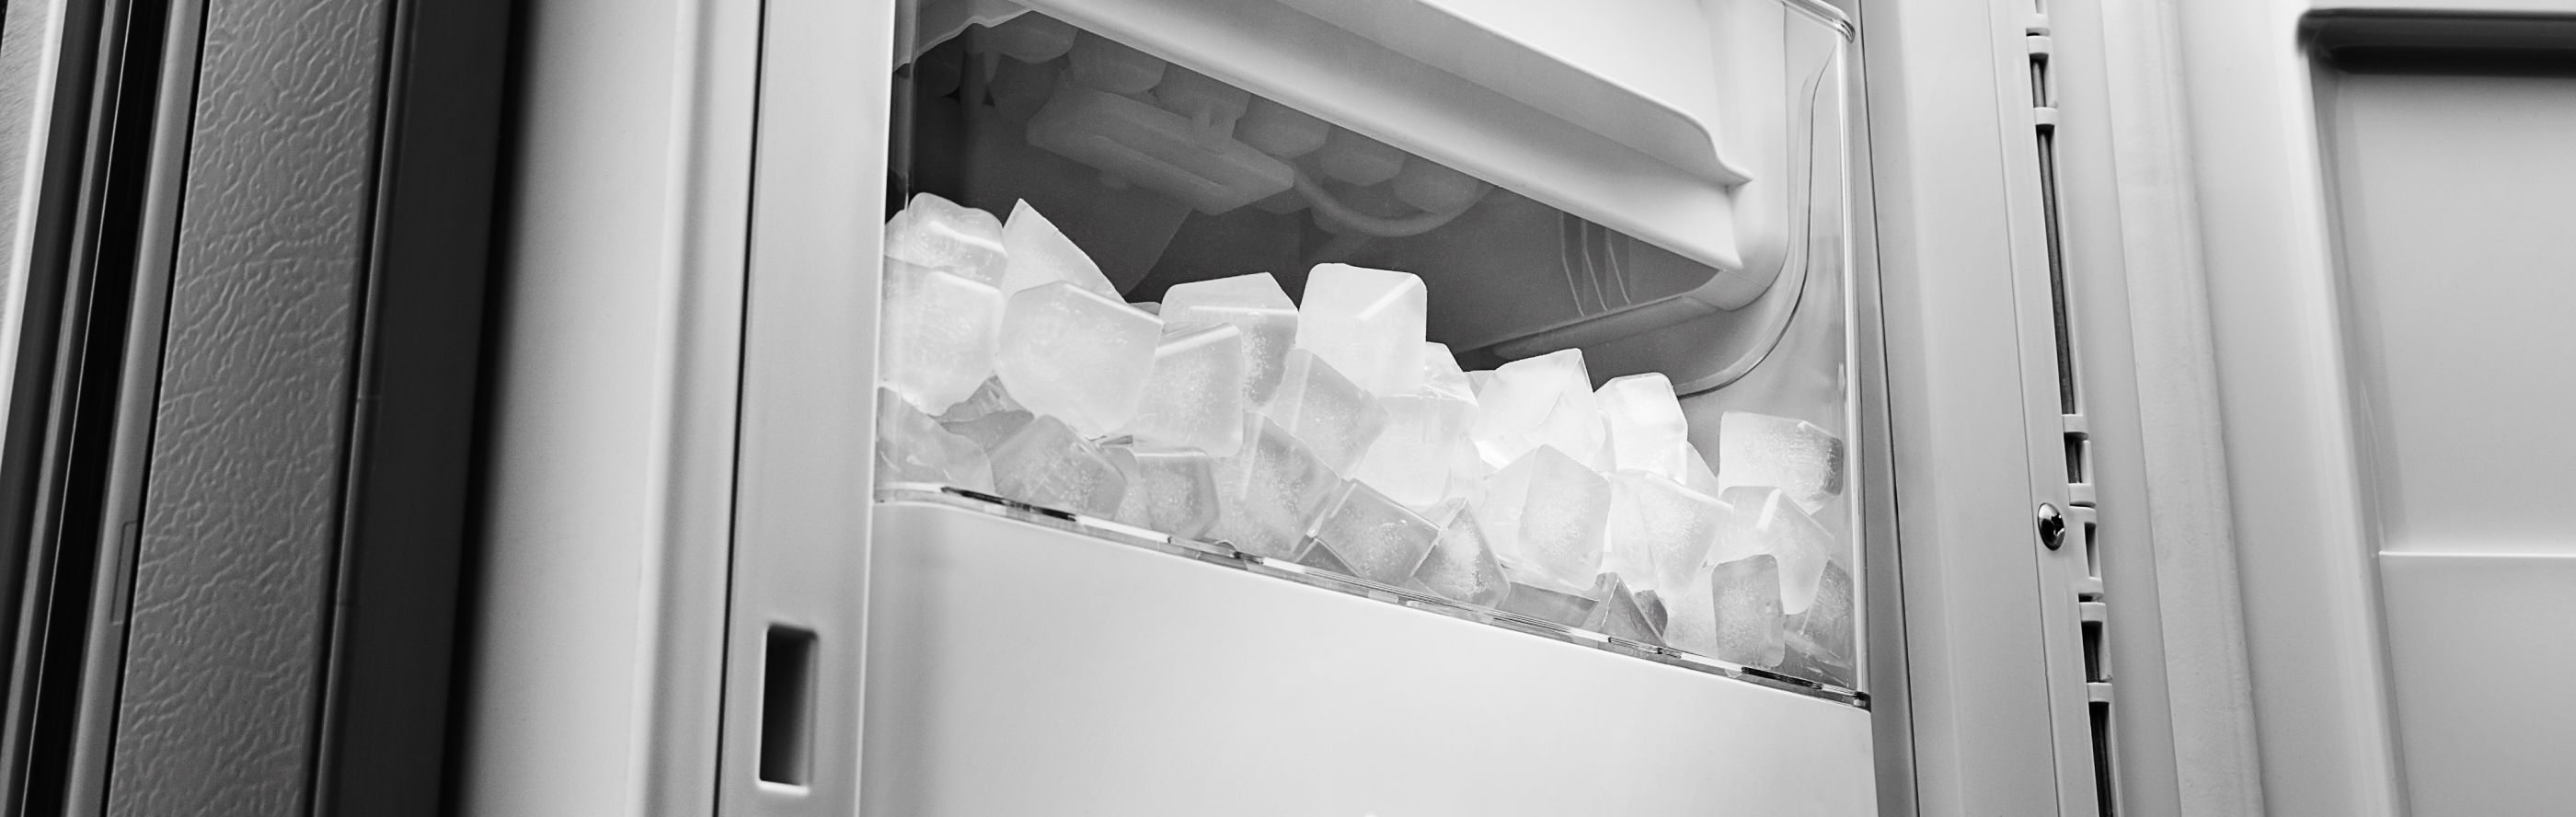
Credit: www.kitchenaid.com
Frequently Asked Questions
Why Is My Ice Maker Not Working After Replacing The Water Filter?
After a new filter is installed, air can become trapped in the water line, stopping ice production. Run several cups of water through the dispenser (if your model has one) to clear the air. Also, make sure the filter is seated properly—if not, water may not flow.
How Often Should I Clean My Ice Maker?
Clean the ice bin and ice maker every 1–2 months, or more often if you have hard water or use the machine heavily. Regular cleaning prevents mold, mineral deposits, and bad-tasting ice.
Can A Clogged Water Filter Stop The Ice Maker From Working?
Yes. A clogged or old filter can block water flow completely, stopping ice production. Replace the filter every 6 months, or sooner if your ice production slows down or the ice tastes strange.
What Does It Mean If My Ice Maker Makes Ice But Not Enough?
This usually means low water pressure, a dirty filter, or a freezer that’s too warm. Check all three. Also, make sure nothing is blocking the vents in your freezer.
Is It Safe To Repair An Ice Maker Myself?
You can safely do basic checks and cleaning if you unplug the appliance and turn off water first. For electrical or complex parts (like motors and control boards), call a professional unless you have experience. Water and electricity can be dangerous if handled incorrectly.
Troubleshooting an ice maker can be simple or complex, but with a clear process, most problems can be fixed without stress. By following this guide, you’re well-equipped to restore your ice maker to full function and enjoy cool drinks any time.