Skip to content
Keeping your refrigerator running efficiently isn’t just about the food inside—it’s also about the hidden parts outside. Many people forget about the refrigerator coils, but these coils play a major role in cooling and energy use. Dirty coils can make your fridge work harder, use more electricity, and even shorten its life.
Cleaning refrigerator coils is one of the easiest ways to save money and prevent unexpected repairs. If you’ve never cleaned them, or you don’t know where to start, this guide will help. You’ll learn why coil cleaning matters, how often to do it, and step-by-step instructions for a safe, effective clean. With a few tools and some simple know-how, you can protect your appliance and keep your kitchen running smoothly.
What Are Refrigerator Coils And Why Clean Them?
Most refrigerators have condenser coils that are either at the back or underneath the appliance. These coils remove heat from inside the fridge, allowing the coolant to cycle and keep your food cold. Over time, dust, pet hair, and kitchen debris settle on the coils. This buildup acts like insulation, making the fridge work harder.
Cleaning coils can:
- Improve energy efficiency by up to 30%
- Lower your electricity bill
- Reduce the risk of breakdowns
- Extend the lifespan of your refrigerator
A 2023 study by the US Department of Energy found that households can save $20–$50 per year just by keeping coils clean. If you have pets, especially cats or dogs, their fur can quickly clog coils, so regular cleaning is even more important.
How Often Should You Clean Refrigerator Coils?
It’s easy to forget about the coils since they’re hidden, but they need regular attention. For most homes, cleaning every 6–12 months is enough. If you have pets, dusty floors, or a busy kitchen, aim for every 3–6 months.
Signs it’s time for cleaning:
- The fridge feels hot on the outside
- It runs louder or longer than usual
- Your electricity bill goes up suddenly
A quick check every few months can prevent problems before they start.
Tools And Materials Needed
You don’t need expensive equipment to clean refrigerator coils. Here’s what you’ll need:
- Vacuum cleaner with a brush or crevice attachment
- Coil cleaning brush (long, flexible)
- Soft cloth or microfiber towel
- Screwdriver (for some models)
- Mask (optional, for dusty environments)
- Flashlight (to see under or behind the fridge)
Some people use compressed air, but a vacuum and brush are usually enough.
Comparison Of Cleaning Tools
Here’s a look at the most common tools used for coil cleaning.
| Tool | Effectiveness | Cost | Ease of Use |
|---|---|---|---|
| Vacuum with Brush | High | $30-$120 (if you already own) | Easy |
| Coil Cleaning Brush | Medium-High | $5-$15 | Easy |
| Compressed Air | Medium | $10-$25 | Medium |
| Microfiber Cloth | Low | $1-$5 | Easy |
For most people, a vacuum and brush are enough. Don’t overspend—simple tools work well.
Step-by-step Guide To Cleaning Refrigerator Coils
Cleaning refrigerator coils isn’t complicated, but doing it right matters. Here’s a practical, step-by-step approach.
1. Unplug The Refrigerator
Safety first. Unplug the refrigerator before you start. Coil cleaning involves dust, and sometimes metal parts, so avoid electric shock. If your fridge is too heavy to move easily, ask for help.
2. Locate The Coils
Most modern refrigerators have coils either:
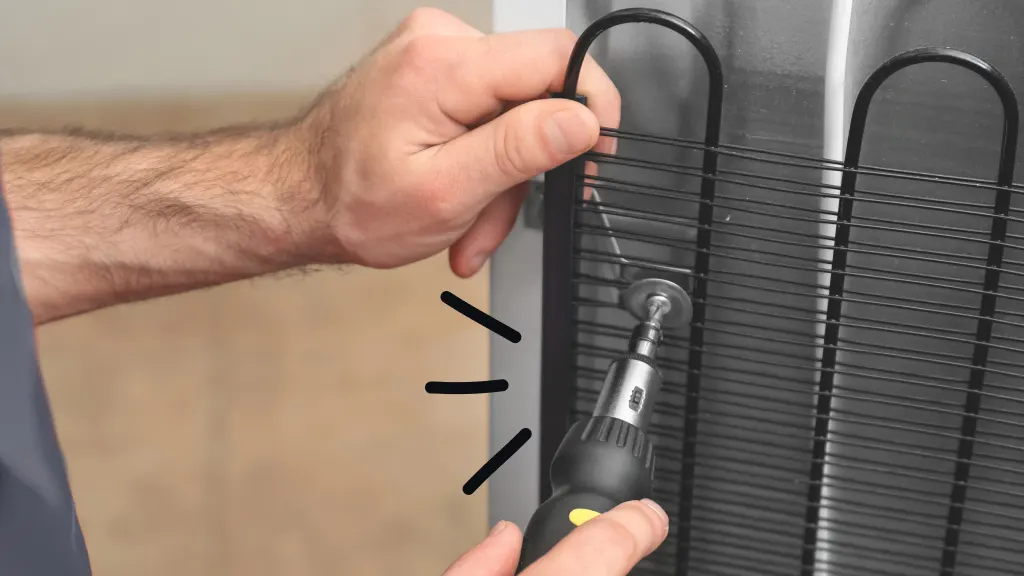
- At the back (vertical)
- Underneath, behind a grill or cover
Check your manual or look for a removable panel at the base. Some older models have exposed coils at the back, which are easier to reach.
3. Move The Refrigerator Carefully
Pull the fridge away from the wall gently. Make sure you don’t damage the floor. If your fridge is heavy, use furniture sliders or ask someone to help. If the coils are underneath, remove the front grill by snapping or unscrewing it.
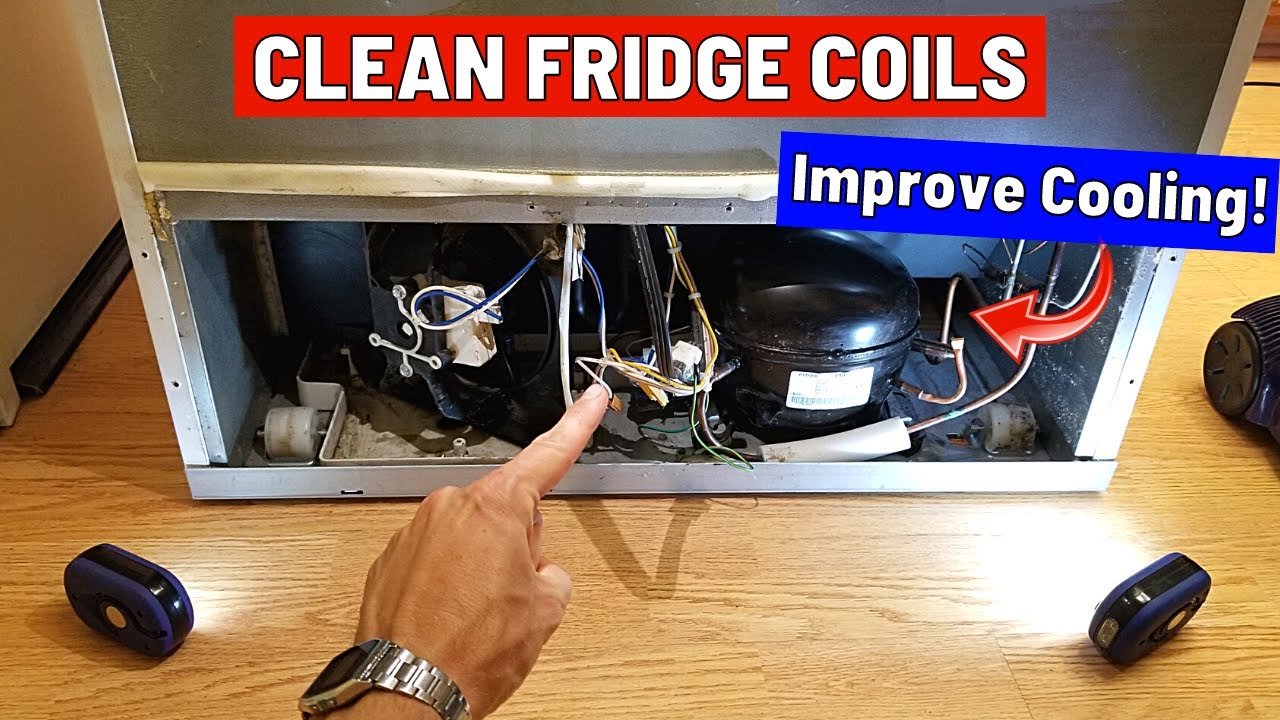
4. Remove Surface Dust
Use a vacuum with a brush attachment to clean the area around the coils. Focus on removing loose dust and debris. A flashlight helps you see hidden dirt.
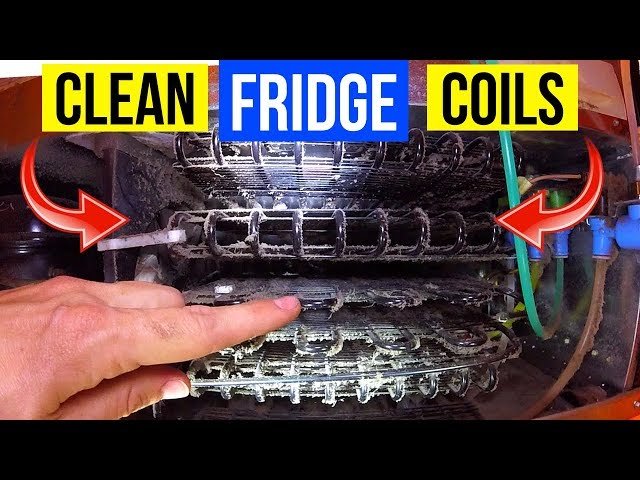
5. Brush The Coils Thoroughly
Take a coil cleaning brush and gently sweep between the coils. Move slowly to avoid bending or damaging them. Pull dust toward you, not deeper into the coils. If you don’t have a coil brush, a long bottle brush can work.
6. Vacuum Again
After brushing, vacuum the area again. This removes dust loosened by the brush. Be thorough—leftover dust can settle back onto the coils.
7. Wipe Surrounding Areas
Use a damp microfiber cloth to clean the floor and walls near the coils. This prevents new dust from settling quickly.
8. Reassemble And Plug In
Put the grill or cover back, move the fridge to its original spot, and plug it in. Let it cool for a few hours before loading food if you had to unplug it for a long time.
Typical Cleaning Time And Frequency
| Frequency | Time Required | Pet Owners | Dusty Homes |
|---|---|---|---|
| Every 6–12 months | 15–30 minutes | Every 3–6 months | Every 3–6 months |
Most cleanings take less than 30 minutes.
Credit: www.asurion.com
Common Mistakes And How To Avoid Them
Cleaning refrigerator coils is simple, but some mistakes can cause problems. Here are the most common errors:
- Not unplugging the fridge—risk of shock.
- Using too much force—bending coils can reduce efficiency.
- Missing hidden coils—check for extra coils under panels.
- Skipping vacuuming after brushing—dust can resettle.
- Forgetting to clean the floor—dust returns quickly.
- Reassembling incorrectly—make sure grills/panels fit tightly.
A non-obvious tip: Some refrigerators have coils covered by insulation or metal shields. If you can’t see the coils, check your manual before trying to remove panels.
Benefits Of Cleaning Refrigerator Coils
Many people underestimate the impact of clean coils. Here are the main benefits:
- Lower energy bills: The US Department of Energy says dirty coils can increase energy use by up to 35%.
- Longer appliance life: A fridge with clean coils lasts years longer.
- Better cooling: Food stays fresh longer, and ice production improves.
- Reduced repair costs: Fewer breakdowns mean fewer repair bills.
A practical example: One homeowner saw a $40 drop in their yearly electricity bill just by cleaning coils twice a year.
Data: Energy Savings From Coil Cleaning
| Condition | Energy Use (kWh/year) | Estimated Cost ($/year) |
|---|---|---|
| Clean Coils | 500 | $60 |
| Dirty Coils | 650 | $80 |
This data shows a clear advantage for regular coil cleaning.
Extra Tips For Effective Coil Cleaning
A few extra pointers can make your cleaning more effective:
- Wear a mask if you have allergies; dust from coils can be irritating.
- Use a flashlight to spot hidden dust.
- Check for leaks while cleaning. If you see oil or coolant, call a professional.
- Keep pets away during cleaning—they can stir up more dust.
- Set a reminder on your phone or calendar for the next cleaning.
Many people forget to check under the fridge, where dust collects fastest. Always look in hard-to-reach spots.
What If Your Refrigerator Has Sealed Coils?
Some newer refrigerators have sealed coils that are hidden or covered. If you can’t find the coils, check your manual. Don’t try to remove panels unless the manufacturer says it’s safe. For these models, focus on cleaning the area around the fridge and any accessible vents.
If your fridge has sealed coils, you may need professional maintenance every 2–3 years. Don’t risk damaging the appliance.
Credit: www.youtube.com
Can Professional Cleaning Help?
If you’re not comfortable cleaning coils, or your fridge is old or complicated, a professional can help. Many appliance repair companies offer coil cleaning as part of routine maintenance. Prices range from $50–$120, depending on location and refrigerator size.
Professionals use special tools and can spot early signs of trouble. If your fridge is making strange noises, feels hot, or isn’t cooling well even after cleaning, call a technician.
Cleaning Coils In Different Refrigerator Models
Not all refrigerators are the same. Here’s how coil cleaning differs by model:
Top-freezer Models
- Coils are usually at the back, easy to reach.
- Remove rear panel to access.
Bottom-freezer Models
- Coils often underneath, behind front grill.
- Need to remove grill and use a flashlight.
Side-by-side Models
- Coils can be underneath or at the back.
- Check manual for exact location.
Built-in Or Integrated Models
- Coils are often hidden or sealed.
- May require professional service.
Knowing your model helps you plan the cleaning.
Credit: www.youtube.com
Safety Tips For Coil Cleaning
Stay safe while cleaning:
- Always unplug the fridge.
- Avoid using water directly on coils.
- Wear gloves if you have sensitive skin.
- Don’t use sharp tools—can damage coils.
- If you see damaged wires or leaks, stop and call a pro.
Safety is more important than speed.
How To Keep Coils Clean Longer
After cleaning, you want coils to stay clean. Here’s how:
- Sweep and vacuum around the fridge regularly.
- Keep pets away from the back and bottom of the fridge.
- Use air purifiers if your kitchen is dusty.
- Don’t block air vents with boxes or bags.
- Keep the fridge at least 2 inches from the wall.
These habits can cut down on coil cleaning frequency.
Non-obvious Insights For Beginners
- Pet hair is a major culprit: Even if you don’t see fur, it collects fast on coils, especially with dogs or cats.
- Humidity matters: High humidity causes dust to stick more quickly. If your kitchen is humid, clean coils more often.
- Older refrigerators need more frequent cleaning: Their coils are larger and more exposed.
Beginners often overlook these points, but they make a big difference.
Eco-friendly Coil Cleaning
If you care about the environment, coil cleaning is an easy step. Lower energy use means fewer emissions. Use reusable brushes and cloths instead of disposable wipes. Don’t use chemical cleaners—plain water or mild soap is enough for surrounding areas.
For more on energy savings and eco-friendly maintenance, visit Energy Saver.
Signs Your Coils Need Immediate Attention
Sometimes, coil cleaning can’t wait. Watch for these warning signs:
- Fridge feels hot to the touch
- Food spoils faster than usual
- Fridge cycles on and off constantly
- Ice buildup inside the fridge
- Strange smells or noises
If you see these signs, clean coils as soon as possible.
Frequently Asked Questions
How Do I Find The Coils On My Refrigerator?
Coils are usually at the back or underneath. Look for a grill or panel at the bottom front, or check the rear side. Your user manual will show the exact location.
What Happens If I Don’t Clean Refrigerator Coils?
Dirty coils force your fridge to work harder, use more energy, and risk breakdowns. Over time, your appliance may need expensive repairs or replacement.
Can I Use Water Or Cleaning Sprays On The Coils?
Avoid spraying water directly onto coils. Use a dry brush and vacuum first. If needed, use a damp cloth for the surrounding area. Never use harsh chemicals.
Do All Refrigerators Have Coils That Need Cleaning?
Most do, but some newer models have sealed or hidden coils. If you can’t find them, check your manual or contact the manufacturer.
Is Professional Cleaning Worth It?
If your fridge is hard to access, old, or you’re uncomfortable cleaning, professional service can help. It’s usually not necessary for most homes, but it’s a good option for built-in or high-end models.
Cleaning refrigerator coils may not be glamorous, but it’s one of the smartest ways to protect your appliance, save money, and keep your kitchen running smoothly. With regular attention and a few simple tools, you can make a big impact on efficiency and reliability.
Don’t wait until you notice a problem—add coil cleaning to your routine and enjoy the benefits every day.