You’re mid-recipe, the oven is preheating, and you’re staring at the liquid measuring cup on the counter. Can a glass measuring cup go in the oven? The honest answer is yes, but only certain ones.
The wrong glass can shatter mid-bake and ruin your meal. Let’s separate the safe from the dangerous.
Manufacturer specifications vary by glass type and brand. Pyrex in the US uses tempered soda-lime glass, which most brands rate to 425°F. Borosilicate glass cups handle up to 500°F or higher.
As of 2026, nearly every oven-safe measuring cup stamps a temperature limit on its base. That stamp is your first safety check.
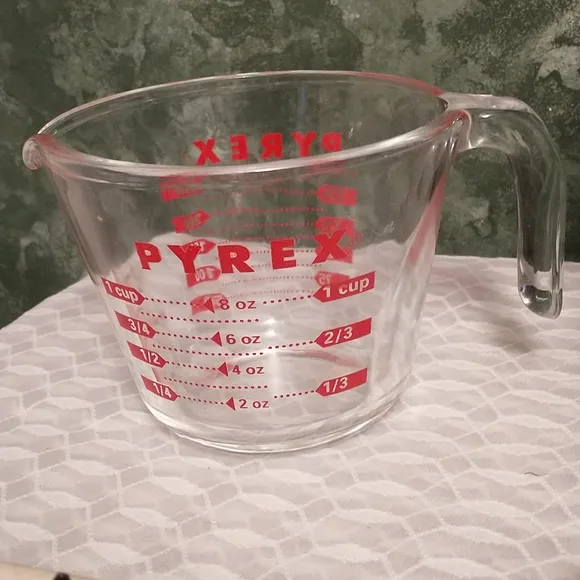
Image source: Web (Bing) / storage.googleapis.com (Web image (fair-use with source credit))
Quick Answer
Yes, but only if the cup is labeled oven-safe. Check the bottom for a temperature rating. Most tempered glass measuring cups handle up to 425°F.
Borosilicate cups can reach 500°F or more. Never move cold glass straight into a hot oven.
Why the Answer Depends on the Glass, Not the Brand
Some recipes mention glass bakeware like it’s all the same. It isn’t. The brand on the side tells you little about oven safety.
What matters is the glass formula and the way it was manufactured.
The two common types are tempered soda-lime glass and borosilicate glass. Tempered soda-lime is heated and cooled rapidly during production. That makes it stronger under normal use, but still vulnerable to sudden temperature swings.
Borosilicate contains boric oxide, which gives it a much lower thermal expansion rate. It tolerates sudden heat changes far better.
Our research shows that most oven-related glass breakage happens because people assume brand equals safety. A measuring cup from the same company can be safe in one generation and less safe in another. Always verify the specific cup, not the logo.
The FDA regulates food-contact glassware, including measuring cups, but it doesn’t test household oven performance. That responsibility falls on the manufacturer and the warnings printed on the glass.
Borosilicate vs. Tempered Soda-Lime: What’s Actually in Your Cup
This is the heart of the question. The glass type decides the temperature range, the thermal shock resistance, and the risk of shattering.
Tempered soda-lime glass is what most American measuring cups are made of today. It’s cheap, durable, and fine for baking. But it doesn’t like extreme temperature changes.
Going from a cold fridge into a 425°F oven can cause it to crack.
Borosilicate glass is the classic laboratory and bakeware glass. It’s more expensive, but it shrugs off temperature changes. It goes from freezer to oven without drama.
Many European measuring cups use borosilicate because it meets stricter safety expectations.
| Property | Tempered Soda-Lime Glass | Borosilicate Glass |
|---|---|---|
| Typical oven limit | 425°F to 450°F | 500°F to 600°F |
| Thermal shock resistance | Low to moderate | High |
| Cost | Lower | Higher |
| Common brands | Pyrex (US), Anchor Hocking | Pyrex (Europe), laboratory brands |
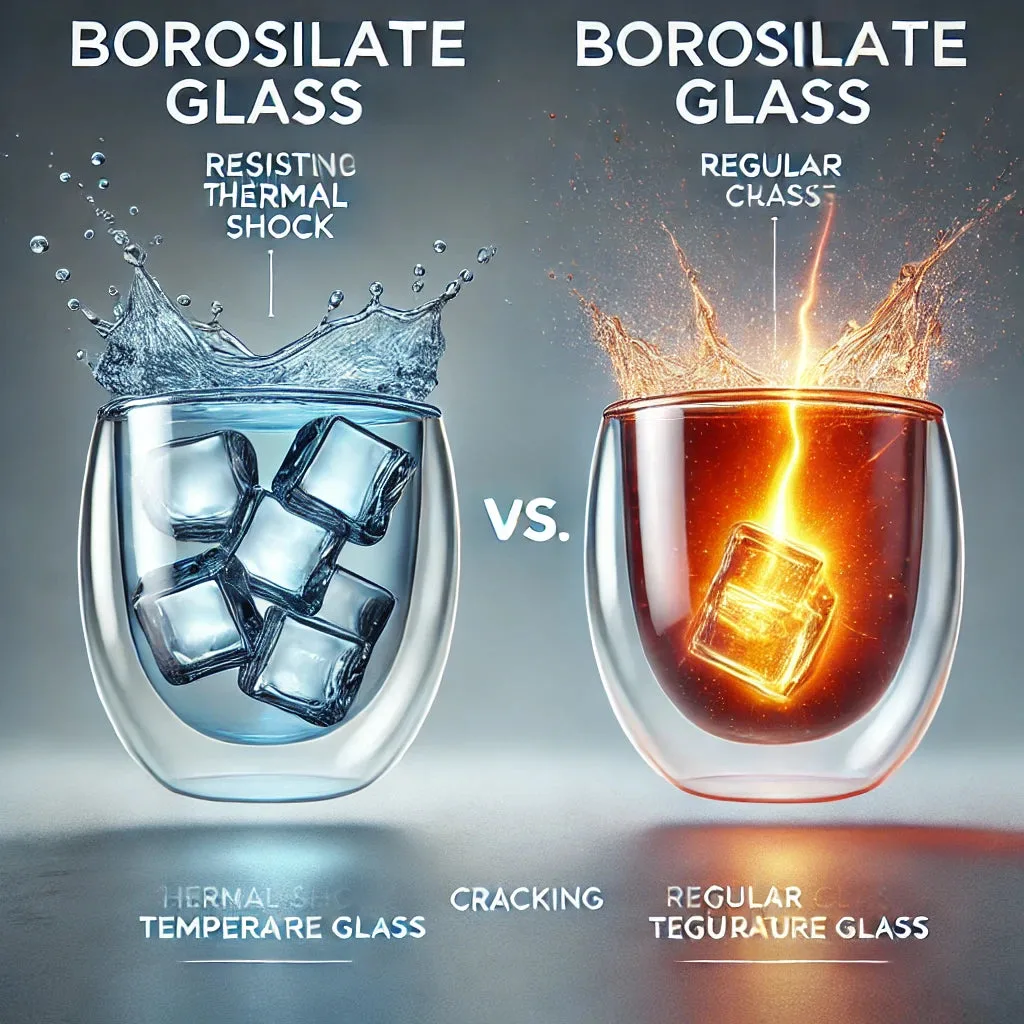
Image source: Web (Bing) / borotechglass.com (Web image (fair-use with source credit))
How to Tell If Your Measuring Cup Is Oven-Safe
Don’t guess. Look at the cup itself. Here’s a quick checklist.
- Flip the cup over and read the bottom.
- Look for an oven-safe symbol. It often looks like an open oven door or a simple line drawing of an oven.
- Check for a temperature number, such as 425°F or 500°F.
- Look for the words “oven-safe” or “ovenware” in the stamp.
- If there’s no stamp, the cup is probably not safe for oven use.
The absence of a label is a refusal from the manufacturer. They didn’t test it for oven heat, so you shouldn’t use it that way.
Also check the material. If the cup feels thin and light, it might not be tempered. Older cups without markings are especially risky.
When in doubt, use a glass baking dish instead.
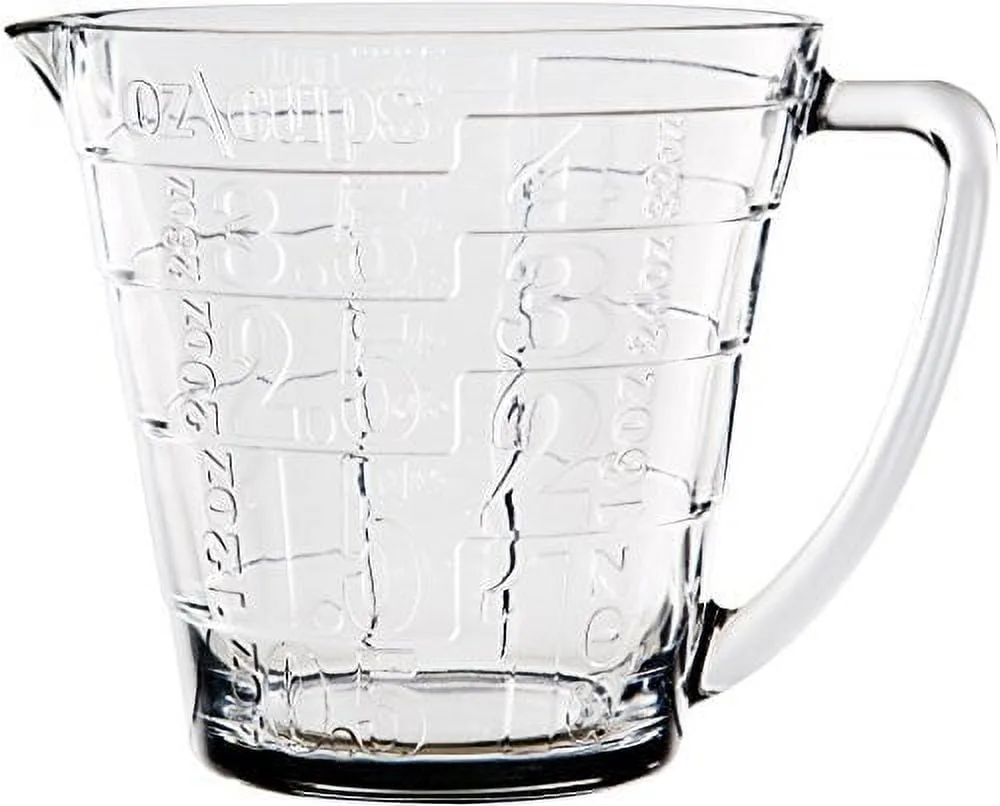
Image source: Bing (Web (fair-use with source credit))
Safe Temperature Limits: What the Labels Really Mean
A label that says “oven-safe up to 425°F” isn’t a suggestion. That number reflects the glass formula’s safe ceiling in a dry oven. Stay under it and you’re fine.
Go above it and the glass can soften, warp, or break.
Here are common ranges you’ll find in stores:
| Cup type | Labeled oven limit | Notes |
|---|---|---|
| US Pyrex measuring cup | 425°F | Tempered soda-lime glass |
| Anchor Hocking measuring cup | 425°F | Tempered soda-lime glass |
| Generic borosilicate measuring cup | 500°F to 550°F | Often labeled as “thermal shock resistant” |
The key is to keep the entire cup at a similar temperature. That’s why you shouldn’t put a cold cup into a hot oven. Let it come to room temperature first.
Use mitts when you pull it out. Place it on a dry, room-temperature surface, not a wet countertop. That kind of careless handling causes more breakage than the oven itself.
Manufacturer specifications indicate that these limits apply to reheating, baking, and melting. They don’t apply to broiling or placing a cup on a stovetop. Those methods expose the glass to direct, intense heat that can exceed the rating.
The Science of Thermal Shock (And How to Avoid Shattering)
Thermal shock happens when one part of the glass heats up faster than another. The uneven expansion creates internal stress. When that stress exceeds the glass’s strength, it cracks or shatters.
Picture a cold measuring cup straight from the fridge. The outside warms instantly in the oven, while the inside stays cold. That difference is enough to break tempered glass.
The same thing happens in reverse. A hot cup placed on a wet or cold countertop cools too fast on the bottom. The bottom contracts while the top is still expanded.
That’s a classic breakage moment.
To avoid thermal shock, let the cup sit at room temperature for 20 to 30 minutes before baking. Never add cold liquid to a hot cup. Never transfer a hot cup directly to a cold surface.
Borosilicate glass handles thermal shock much better because it expands less under heat. That’s why lab beakers and test tubes are made from it. Tempered soda-lime glass needs more care around temperature changes.
Oven-Safe vs. Microwave-Safe: Don’t Mix Them Up
These labels are not interchangeable. Many measuring cups say “microwave-safe” on the bottom but say nothing about an oven. That distinction matters.
Microwave-safe glass is tested for the even, moderate heat of a microwave. An oven exposes the glass to dry, radiant heat from every direction. That’s a tougher environment for the material.
A cup marked only as microwave-safe should stay out of your oven. Manufacturer specifications indicate that oven-safe tests involve direct exposure to heating elements or hot air. Microwave tests don’t replicate that stress.
If your cup has no oven stamp, use it for reheating sauces or melting butter in the microwave. Save oven duty for a dish explicitly labeled for it.
Step-by-Step: Baking with a Glass Measuring Cup Safely
Use this simple workflow whenever you need a glass measuring cup in the oven. It keeps the glass safe and your recipe on track.
- Check the bottom. Look for the oven-safe symbol and a temperature rating. If neither exists, don’t use it.
- Inspect for damage. Hold the cup up to the light. Look for chips, cracks, or tiny fissures near the handle.
- Bring the cup to room temperature. Wait 20 to 30 minutes if it was in the fridge or pantry.
- Preheat the oven fully. Place the cup only after the oven reaches the set temperature.
- Use dry mitts. Wet fabric conducts heat unevenly and can shock the glass.
- Keep it away from the broiler. Even oven-safe cups can fail under direct overhead heat.
- Cool it gradually. Set the cup on a dry cutting board or cooling rack. Wait before cleaning.
Aggregate buyer feedback reports that the cooler-down step is the most skipped. That’s why so many measuring cups crack after they come out of the oven, not while they’re inside.
Mistakes That Will Crack or Break Your Measuring Cup
Some errors happen so often that they cover the majority of shattered-glass stories in kitchen forums.
- Putting a cold cup into a preheated oven
- Leaving a hot cup on a wet, cold, or metal surface
- Using a cup with a chip near the rim or handle
- Setting a hot cup directly under cold running water
- Exceeding the printed temperature limit
- Using the cup under the broiler or on a stovetop burner
- Filling the cup to the brim, so hot contents spill onto the glass walls unevenly
Each of these creates a rapid temperature difference or breaks the structural integrity. Both can lead to a dramatic, oven-ruining crack.
If a cup survives an oven session, don’t assume it’s now stronger. Microscopic stress fractures can form without visible damage. The next run may be the one that fails.
When to Throw a Measuring Cup Away
Every measuring cup has a lifespan. Glass fatigue is real, especially for tempered soda-lime variants.
Discard the cup immediately if you see a crack, chip, or star-shaped mark. These weak points concentrate stress. They’re the first places a break will travel.
Also consider retirement after years of heavy dishwasher use. Continuous thermal cycling degrades the glass over time. If the cup has lost its clear ring when you tap it, the structure may be compromised.
When in doubt, replace it. A new measuring cup costs a few dollars. That’s nothing compared to a ruined roast or a glass-covered oven floor.
Better Alternatives for Oven Cooking (and When to Use Them)
Measuring cups are convenient, but they aren’t always the best tool for oven work. If your cup lacks an oven-safe label, switch to something designed for that heat. It’s not worth the risk.
For melting butter or chocolate, use a dedicated glass mixing bowl rated for oven use. For small bakes like individual puddings or soufflés, grab a ceramic ramekin. If you need precise measurement and heat, pour your measured ingredients into a metal baking pan instead.
| Container | Best for | Typical oven limit | Notes |
|---|---|---|---|
| Oven-safe glass measuring cup | Melting, warming, small bakes | 425°F to 500°F | Only if labeled |
| Glass bakeware | Casseroles, cakes, roasting | 425°F to 500°F | Wide surface, stable |
| Ceramic ramekins | Individual portions, custards | 350°F to 500°F | Check glaze for cracks |
| Metal baking pan | Breads, cookies, roasting | 500°F+ | Not for measuring, but heat-safe |
One more option is a borosilicate liquid measuring cup. They’re less common in US stores, but they offer both measuring and high heat tolerance. Look for one that says “borosilicate” or “thermal shock resistant” on the label.
Per ASTM standards for glass cookware, oven-safe glass should be tested for sudden temperature changes. Manufacturer instructions confirm that rated bakeware is the safest choice. When your measuring cup doesn’t meet that bar, use something that does.
Frequently Asked Questions
Can a Pyrex measuring cup go in the oven?
Yes, but only if the marking says so. US Pyrex measuring cups are made from tempered soda-lime glass and typically rated to 425°F. Check the bottom of your cup.
If you see an oven-safe symbol or a temperature number, you’re good to go. If not, use it for mixing only.
Can a glass measuring cup go in the oven at 350°F?
Yes, if the cup is labeled oven-safe. 350°F is a moderate temperature that most tempered glass measuring cups handle without issue. Still, let the cup come to room temperature first. A cold cup loaded into a warm oven risks thermal shock, even at lower temperatures.
Can a glass measuring cup go in the oven at 425°F?
Yes, but only if the cup’s rating reaches that mark. Many US Pyrex and Anchor Hocking cups list 425°F as their safe ceiling. Never push past the printed limit.
Stay at 400°F or below if you’re unsure about the cup’s condition or the accuracy of its label.
What happens if you put a non-oven-safe measuring cup in the oven?
It can crack, shatter, or explode. The glass expands unevenly under direct heat. Tempered glass may break into small pieces, while non-tempered glass can send sharp shards across the oven.
Either way, your food is ruined and your oven needs a full cleanup. Don’t test it.
How do I know if my measuring cup is oven safe?
Flip it over and read the bottom. Look for an oven symbol, the words “oven-safe,” or a temperature in degrees Fahrenheit. If none of those appear, treat the cup as microwave-safe only.
When a manufacturer doesn’t certify oven use, there’s no reason to risk it.
The Bottom Line: Your Safe-Use Checklist
Here’s the final rundown before you put any glass measuring cup in the oven.
- Check the bottom for an oven-safe label and temperature rating.
- Throw out any cup with chips, cracks, or scratches.
- Let the cup warm to room temperature before heating.
- Never place it under the broiler or on a stovetop.
- Use dry mitts and a dry, room-temperature landing spot.
- Cool the cup slowly before washing.
- If you can’t confirm it’s oven-safe, use a different baking vessel.
Following this checklist keeps your meals intact and your oven safe. One glance at the label beats a shattered glass mess every time.