Can you use an immersion blender in a glass jar? Yes, most of the time, but only when certain conditions are met. The answer isn’t a simple yes or no.
Pick the wrong jar or ignore the blade guard, and you’ll be scraping food out of a pile of shattered glass.
Manufacturer specifications indicate that most immersion blenders ship with a purpose-made beaker for a reason. Two glass types dominate the kitchen: tempered soda-lime glass, used in most American canning jars, and borosilicate glass, common in European jars and labware. As of 2026, neither type is rated for the vibration of a spinning blade.
That’s why the safe answer comes down to three simple conditions.
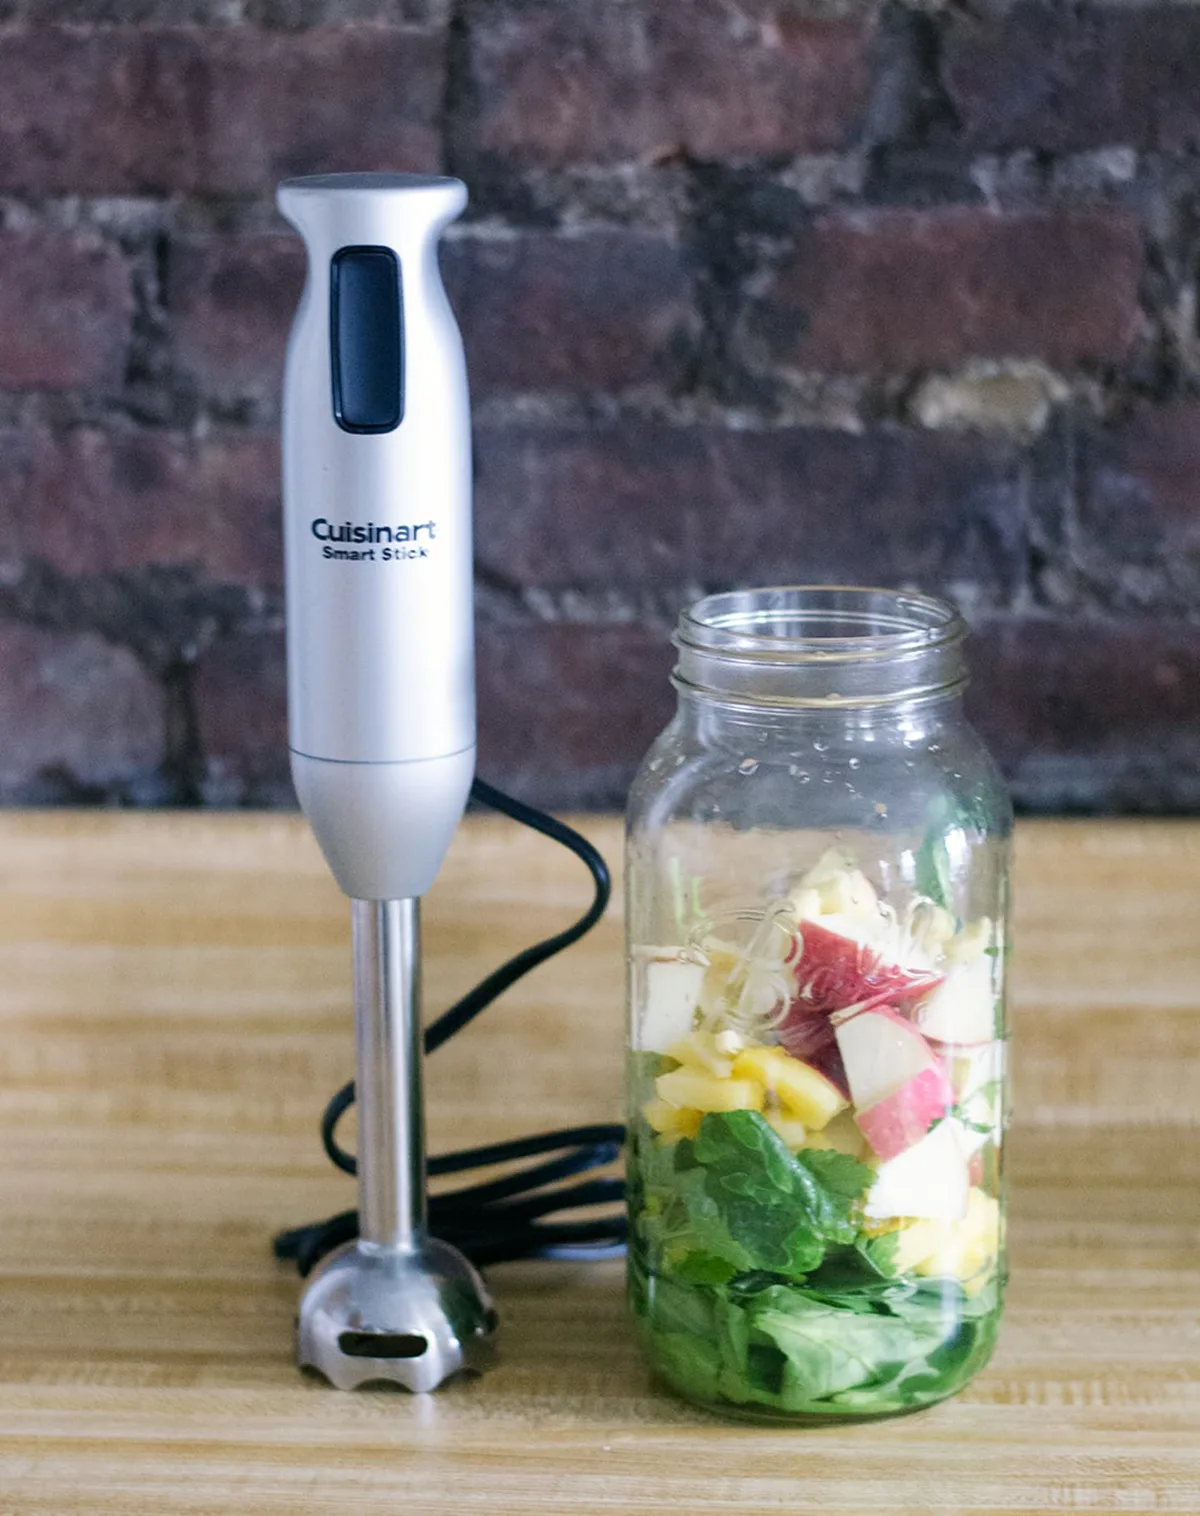
Image source: Web (Bing) / thekitchn.com (Web image (fair-use with source credit))
The 30-Second Answer: Yes, But Only If These 3 Things Are True
Here’s the short version. You can safely use an immersion blender in a glass jar if all three of these are true:
- The jar is thick-walled and free of chips, cracks, or scratches.
- The jar is wide enough for the blade guard to sit fully inside without touching the sides.
- You leave at least an inch of headspace and keep the lid off.
If all three are true, you’re good to go. If any one fails, use a different container. The easiest safe options are a wide-mouth Mason jar, a Pyrex measuring cup, or any borosilicate glass jar with straight sides.
Why Glass Jars Crack: It’s Not the Blending, It’s the Setup
Glass breaks when it experiences sudden stress. An immersion blender creates two kinds of stress: physical vibration and temperature swings.
The most common culprit is the blade guard tapping the side of the jar. When the blade spins, the shaft vibrates. If the guard touches the glass, that repeated impact can chip the surface.
Chips become cracks. Cracks become a mess.
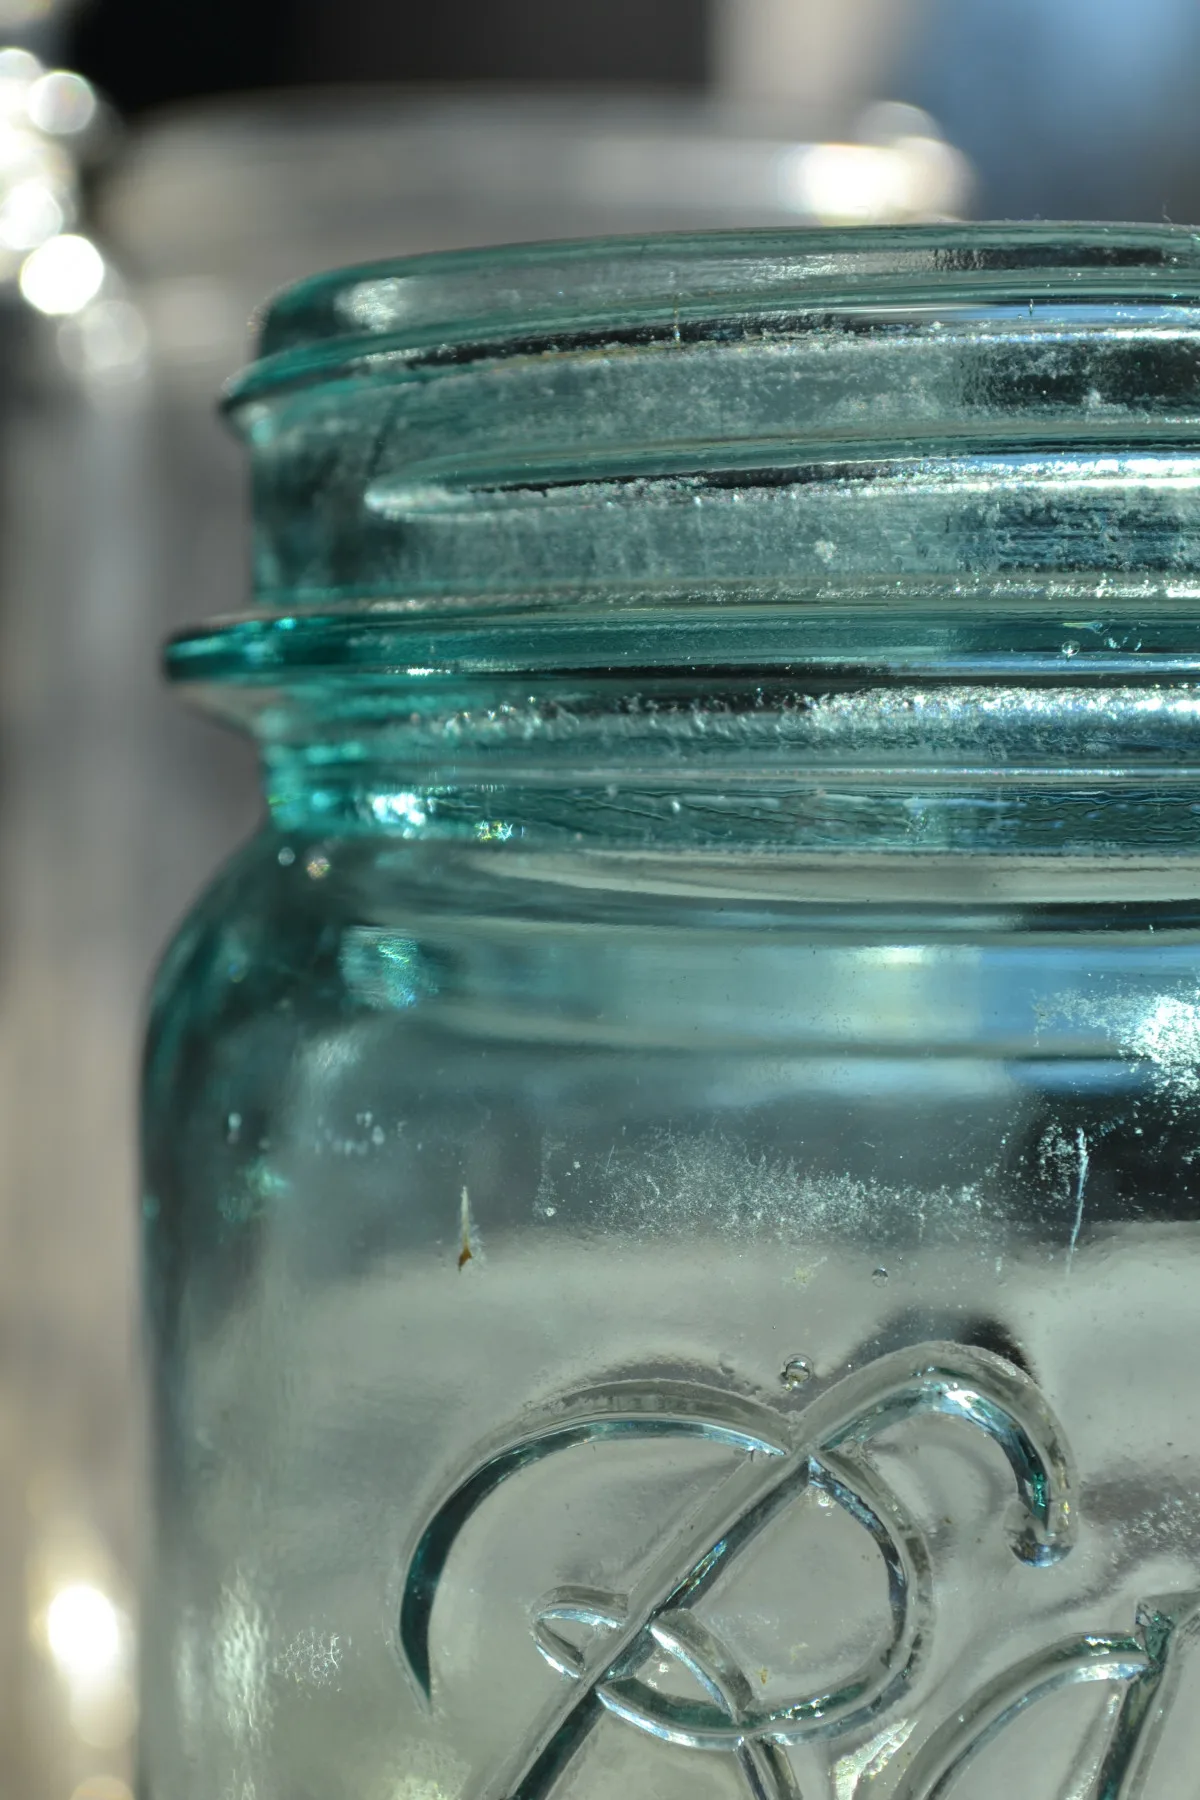
Image source: Bing (Web (fair-use with source credit))
Thermal shock is the other big one. If you pour boiling soup into a cold jar and drop in the blender, the glass expands unevenly. That’s why pouring hot liquids into cold glass is one of the quickest ways to crack it.
Existing damage matters too. A jar with a tiny nick on the rim or a hairline scratch on the bottom is already compromised. The vibration finds that weak point and finishes the job.
In our research, most immersion blender accidents in glass containers trace back to one of these three setup mistakes.
The Safety Check: Jar Type, Blade Guard Material, and What’s Inside
Jar Type Matters Most
Not all glass is the same. Here’s a quick comparison:
| Jar type | What it is | Safe for immersion blending? |
|---|---|---|
| Tempered soda-lime glass | American Mason jars and most US Pyrex | Yes, if thick-walled and undamaged |
| Borosilicate glass | European Pyrex, Weck jars, labware | Yes, handles temperature swings better |
| Thin-walled drinking glass | Cheap tumblers, store-bought jelly jars | No, too fragile |
Tempered glass is strong against blunt impact, but it’s still vulnerable to thermal shock. Borosilicate handles sudden heat changes far better. Neither one is rated for vibration, so always inspect the jar first.
Food-contact glass is regulated by the FDA, but that only covers materials, not how hard you can spin a blade inside.
Blade Guard Material
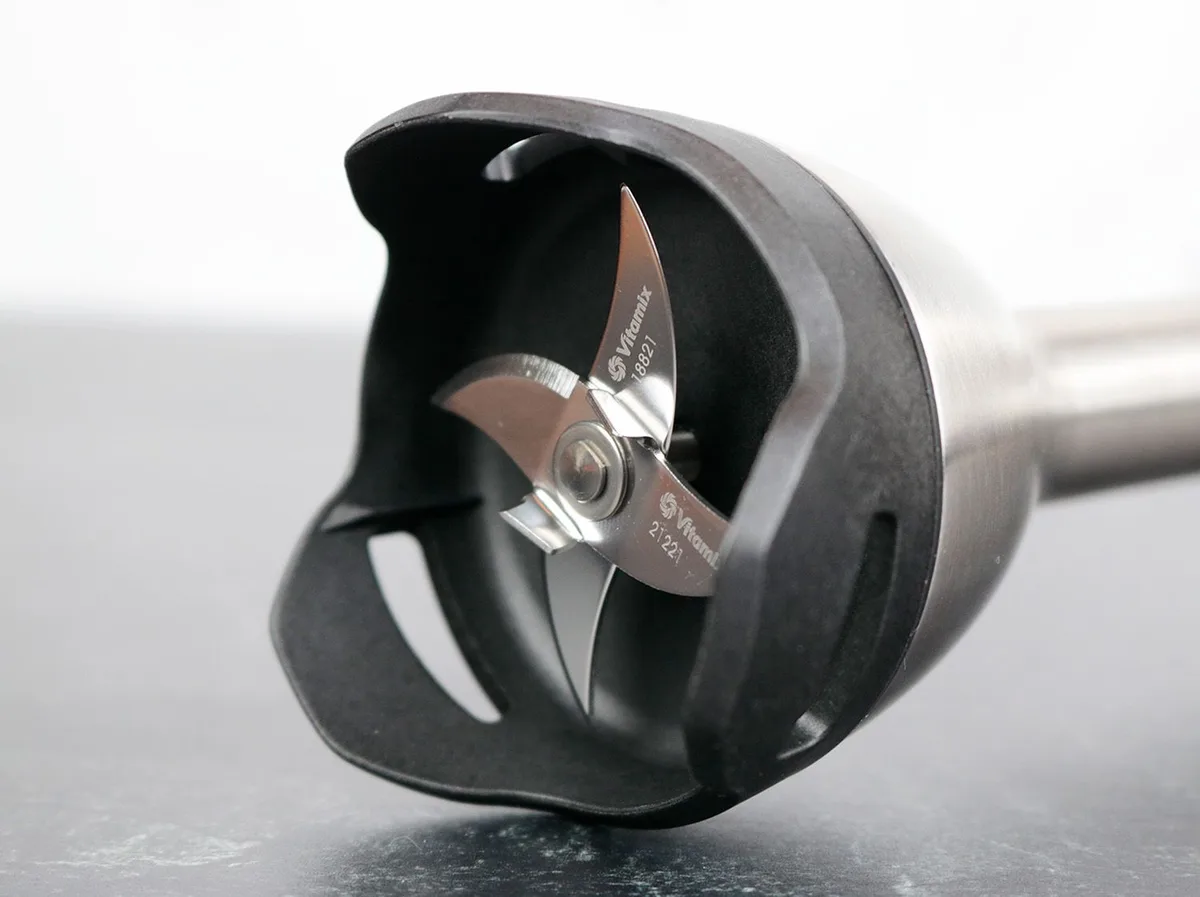
Image source: Bing (Web (fair-use with source credit))
Look at the base of your immersion blender. A metal blade guard is heavier and more likely to chip glass if it bumps the side. A plastic guard is lighter and a little more forgiving.
That doesn’t make plastic automatically safe, but it lowers the risk of impact damage.
If your blender has a metal guard, be extra careful about keeping it away from the glass. If it has a plastic guard, you still need clearance, just less pressure.
What’s Inside the Jar
Room-temperature or barely warm liquids are safest. Hot soup is fine if you warm the jar first with hot water so the glass adjusts slowly. A portable electric kettle makes that step quick and easy.
Ice and frozen fruit work better in short pulses. Blending hard, frozen things at full speed makes the jar more vulnerable.
Step-by-Step: How to Blend in a Mason Jar or Pyrex Cup Safely
Here’s the safe workflow. Follow these steps and you’ll avoid most of the common mistakes.
- Choose a wide-mouth jar. A 16-ounce or 32-ounce canning jar works well. Thin glass won’t.
- Inspect the jar. Look for chips, cracks, and scratches. If you see any, grab another jar.
- Check blade clearance. Put the blender in the empty jar. The blade guard must sit at least half an inch above the bottom and have room around the sides.
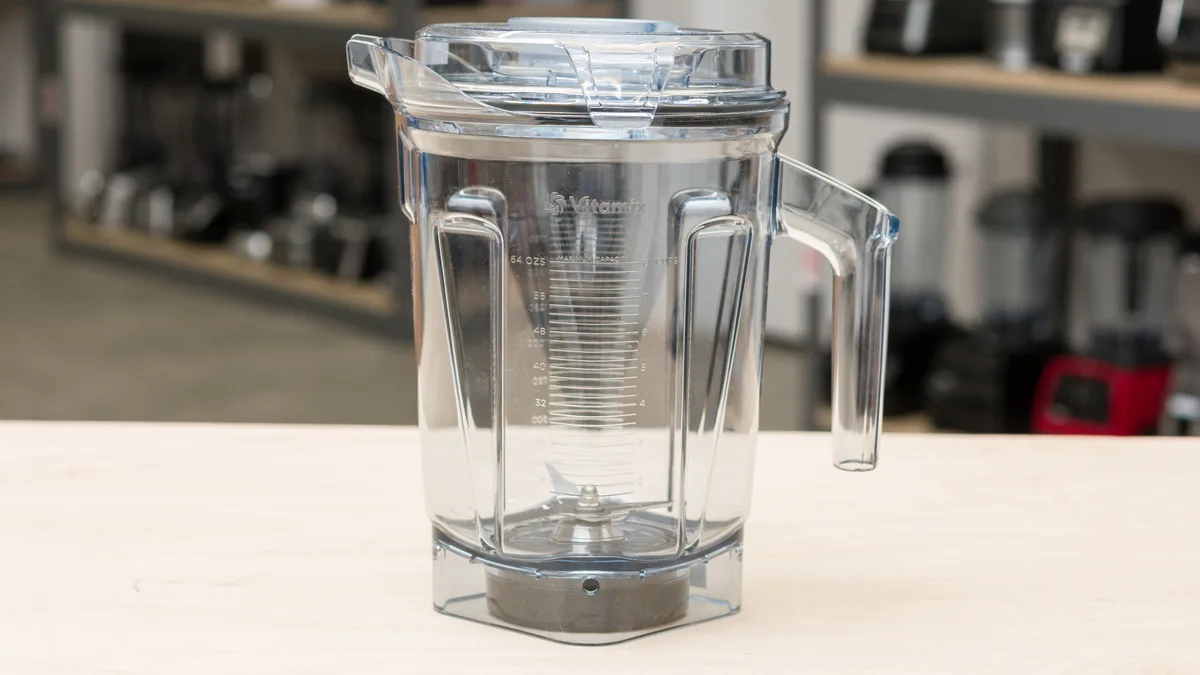
Image source: Web (Bing) / kbz-rechtsanwalt-steuerberater-frankfurt-oder.de (Web image (fair-use with source credit))
- Add ingredients. Leave at least an inch of headspace. Blending expands liquids, so more room is better.
- Keep the lid off. A sealed jar builds pressure and can pop or shatter.
- Start slow. Begin on low speed, then pulse. Don’t jam the blender to the bottom or press it hard against the glass.
- Move in a slow circle. Keep the guard below the surface so it doesn’t suck in air and splatter.
- Unplug before cleaning. Rinse the shaft right away.
If you ever hear a dull clink against the glass, stop immediately. That’s the guard touching the jar. Adjust the angle or switch to a wider container.
The same idea applies to other prep tools, too. A simple julienne peeler can make short work of vegetables for dressings and sauces.
When a Glass Jar Is the Right Choice for Immersion Blending
Immersion blending in a glass jar isn’t something you should do all the time. But in a few situations, it’s genuinely the best option.
- Small batches. A full-size blender struggles with half a cup of vinaigrette. A glass jar and an immersion blender handle it perfectly.
- Zero-waste kitchens. If you’re avoiding plastic, blending straight into a reusable glass jar means one less plastic pitcher to buy.
- Hot soups. You can puree soup right in the pot, but a heat-safe glass measuring cup lets you do small batches without dirtying a big pot.
- Canning season. Home canners often need to smooth out sauces and purees before jarring them.
The best glass jars for this are wide-mouth canning jars and Pyrex measuring cups. They’re sturdy, easy to clean, and made from materials that handle kitchen work.
If you like adapting tools, this fits the same mindset as baking with what you have. You can even make a batch of muffins without a physical muffin pan. And if you’re trying to cut plastic out of more of your kitchen, non-toxic muffin pans are another easy swap.
A sharp chef’s knife also helps when you’re prepping vegetables for sauces. Not every knife is worth the price, but a solid one makes small-batch cooking noticeably easier.
Glass Jar vs. Blending Beaker vs. Plastic Pitcher vs. Saucepan
Container choice shapes both safety and cleanup. The included blending beaker is the safest option because it’s built for your specific blade guard. But it adds one more item to the wash pile.
Glass jars win for storage and plastic-free cooking.
Plastic pitchers are lighter and won’t shatter. They also scratch, stain, and absorb garlic or onion odors over time. Saucepans handle hot soups better than anything else.
They move heat away from the glass and catch splashes. The only risk is a narrow pan where the blade guard bangs against the sides.
| Container | Strength | Weakness | Best for |
|---|---|---|---|
| Glass jar | Storage-friendly, no plastic | Shatter risk | Dressings, single-serve smoothies |
| Blending beaker | Safe, designed for your blender | Extra cleanup | Everyday blending |
| Plastic pitcher | Light, shatterproof | Absorbs odors | Heavy blending sessions |
| Saucepan | Great for hot liquids | Narrow pans splash | Soups and purees |
A good rule of thumb: use the beaker for everyday blending, the jar for small batches, and the pan for anything hot. When you’re working from a jar, a sturdy spatula makes quick work of scraping out every last bit of dressing or sauce.
Mistakes That Break Jars, Dull Blades, or Void Your Warranty
Most jar failures come down to a few repeatable mistakes. Blending with the lid sealed is the worst. Pressure builds inside the jar as the blade spins.
The glass finds the weakest point and lets go. It happens in seconds, and you’ve got glass shards in your meal.
Other avoidable errors:
- Pressing the blade guard hard against the bottom or corners.
- Using thin glass that isn’t made for vibration.
- Running frozen fruit at full speed without liquid.
- Ignoring a chip or hairline crack in the jar.
- Blending cold glass right after washing it in hot water.
Aggregate user reviews confirm that most blender warranties cover only the included beaker. Containers you add on your own are not covered. That means a cracked jar can void your warranty if the motor housing takes damage too.
If you find yourself blending hard ingredients, a blender is the wrong tool. Starting with a sharper blade keeps the prep work on your cutting board and away from your glass. It saves the jar and your motor.
What About Hot Soup? Blending Hot Liquids in Glass, Explained
Yes, you can puree hot soup in a glass jar. You just have to warm the jar first. A cold jar hits boiling liquid and expands unevenly.
That’s thermal shock, and it’s the fastest way to crack glass. Per ASTM standards, thermal shock testing for food containers is a standard part of glass quality checks.
The fix is simple: warm the jar first under hot tap water. Then let the soup cool for about five minutes. Blend in short pulses with the guard completely submerged.
Borosilicate glass handles temperature swings better than tempered soda-lime glass. That’s why European jars like Weck and Kilner are the better pick for hot liquids. If you’re making a quick cheese sauce, this method keeps things simple.
You can blend and serve from the same jar.
Quick Reference: Jar Sizes, Headspace, and Blade Clearance
A quick reference table can save your next batch from turning into a cleanup project.
| Jar size | Headspace to leave | Blade clearance | What it’s best for |
|---|---|---|---|
| 8 oz (1 cup) | 1 inch | Short blenders only | Salad dressing, vinaigrette |
| 16 oz (1 pint) | 1 inch | Most blenders fit | Smoothies, sauces |
| 32 oz (1 quart) | 1.5 inches | Room to work comfortably | Soups, purees, small batches |
| 64 oz (half gallon) | 1.5 inches | Too wide to steady easily | Not recommended |
Leave at least one inch of headspace. The blade guard needs at least half an inch of clearance below it. If the guard touches the bottom, the vibration transfers straight into the glass.
Prepping ingredients for the jar is where most people make mistakes. Slicing avocados in halves means you can drop them straight into the jar without a cutting board. Add liquid, blend, and you’re done.
That’s the setup that makes jar blending worth it.
The Verdict: Simple Rules for Safe Glass Jar Blending
Can you use an immersion blender in a glass jar? Yes, with conditions. Use a thick, wide-mouthed jar that’s free of chips and cracks.
Keep the lid off. Leave enough headspace. Start on low speed and use pulses instead of full power.
When in doubt, use the blending beaker that came with your blender. It’s designed for the job. A glass jar is a convenience, not a requirement.
If the jar looks questionable, repurpose it for dry storage. Your blender doesn’t need the thrill of surviving a shatter test.