Cooking a roast in a pressure cooker can turn a tough piece of meat into a tender, flavorful meal in a fraction of the time it takes using traditional methods. Many home cooks love pressure cookers for this reason, but figuring out exactly how long to cook roast in pressure cooker can be confusing. Different types of meat, roast sizes, and even your choice of vegetables all affect cooking time. Choosing the right time means you get juicy, perfectly cooked meat—not something dry or underdone.
In this guide, you’ll find precise cooking times, tips for best results, and the answers to common questions so you can confidently prepare a delicious roast every time.
Why Use A Pressure Cooker For Roast?
A pressure cooker uses high-pressure steam to cook food much faster than conventional ovens or slow cookers. This means:
- Shorter cooking times (sometimes 60–70% faster)
- Moist, tender results even with tough cuts of meat
- Less energy used compared to an oven
For example, a classic pot roast that needs 3 hours in the oven can be ready in about 60 minutes in a pressure cooker. This is especially helpful if you want a home-cooked meal on a busy day.
Key Factors That Affect Cooking Time
The exact time to cook a roast in your pressure cooker depends on several important factors:
- Type of Meat – Beef, pork, and lamb all cook at different rates.
- Cut of Meat – Chuck roast, brisket, or pork shoulder each have their own ideal times.
- Roast Size and Thickness – Bigger, thicker pieces take longer.
- Bone-In vs Boneless – Bone-in roasts may need a few extra minutes.
- Desired Doneness – Medium, medium-well, or well-done preferences.
- Pressure Level – Most recipes use high pressure, but some cookers have different settings.
Understanding these factors helps you adjust times as needed for your specific roast.
Average Pressure Cooker Roast Times
To make things clearer, here’s a comparison of typical pressure cooker roast times for common meats and cuts. These times are for high pressure and assume the roast is browned first and cooked with liquid (like broth or water).
| Meat Type | Cut | Weight (lbs) | Cook Time (minutes) |
|---|---|---|---|
| Beef | Chuck Roast | 3 | 60–70 |
| Beef | Brisket | 3 | 70–80 |
| Pork | Shoulder (Butt) | 3 | 55–65 |
| Pork | Loin | 2 | 25–30 |
| Lamb | Leg (Boneless) | 3 | 50–60 |
These are general guidelines. Always check your roast for doneness before serving.
Step-by-step: Cooking Roast In A Pressure Cooker
If you’re new to pressure cooking, follow these steps for a classic beef chuck roast. The process is similar for pork or lamb, with minor time adjustments.
1. Gather Ingredients
- 3 lb beef chuck roast
- 2 tbsp oil
- 1 onion, chopped
- 3 cloves garlic, minced
- 2 cups beef broth
- 1 lb carrots, peeled and cut
- 1 lb potatoes, peeled and cut
- 2 tsp salt
- 1 tsp pepper
- 1 tsp dried thyme (optional)
2. Prep The Meat
Pat the roast dry with paper towels. Season all sides with salt and pepper. This helps develop a flavorful crust.
3. Brown The Roast
Set your pressure cooker to sauté mode (or use medium-high heat on stovetop models). Add oil. Sear the roast for 3–4 minutes per side until well-browned. Remove and set aside.
4. Sauté Aromatics
Add onions and garlic to the cooker. Sauté for 2–3 minutes until softened. This step adds depth to the final flavor.
5. Deglaze The Pot
Pour in a little broth and scrape up any browned bits with a wooden spoon. These bits add flavor and prevent burning.
6. Pressure Cook
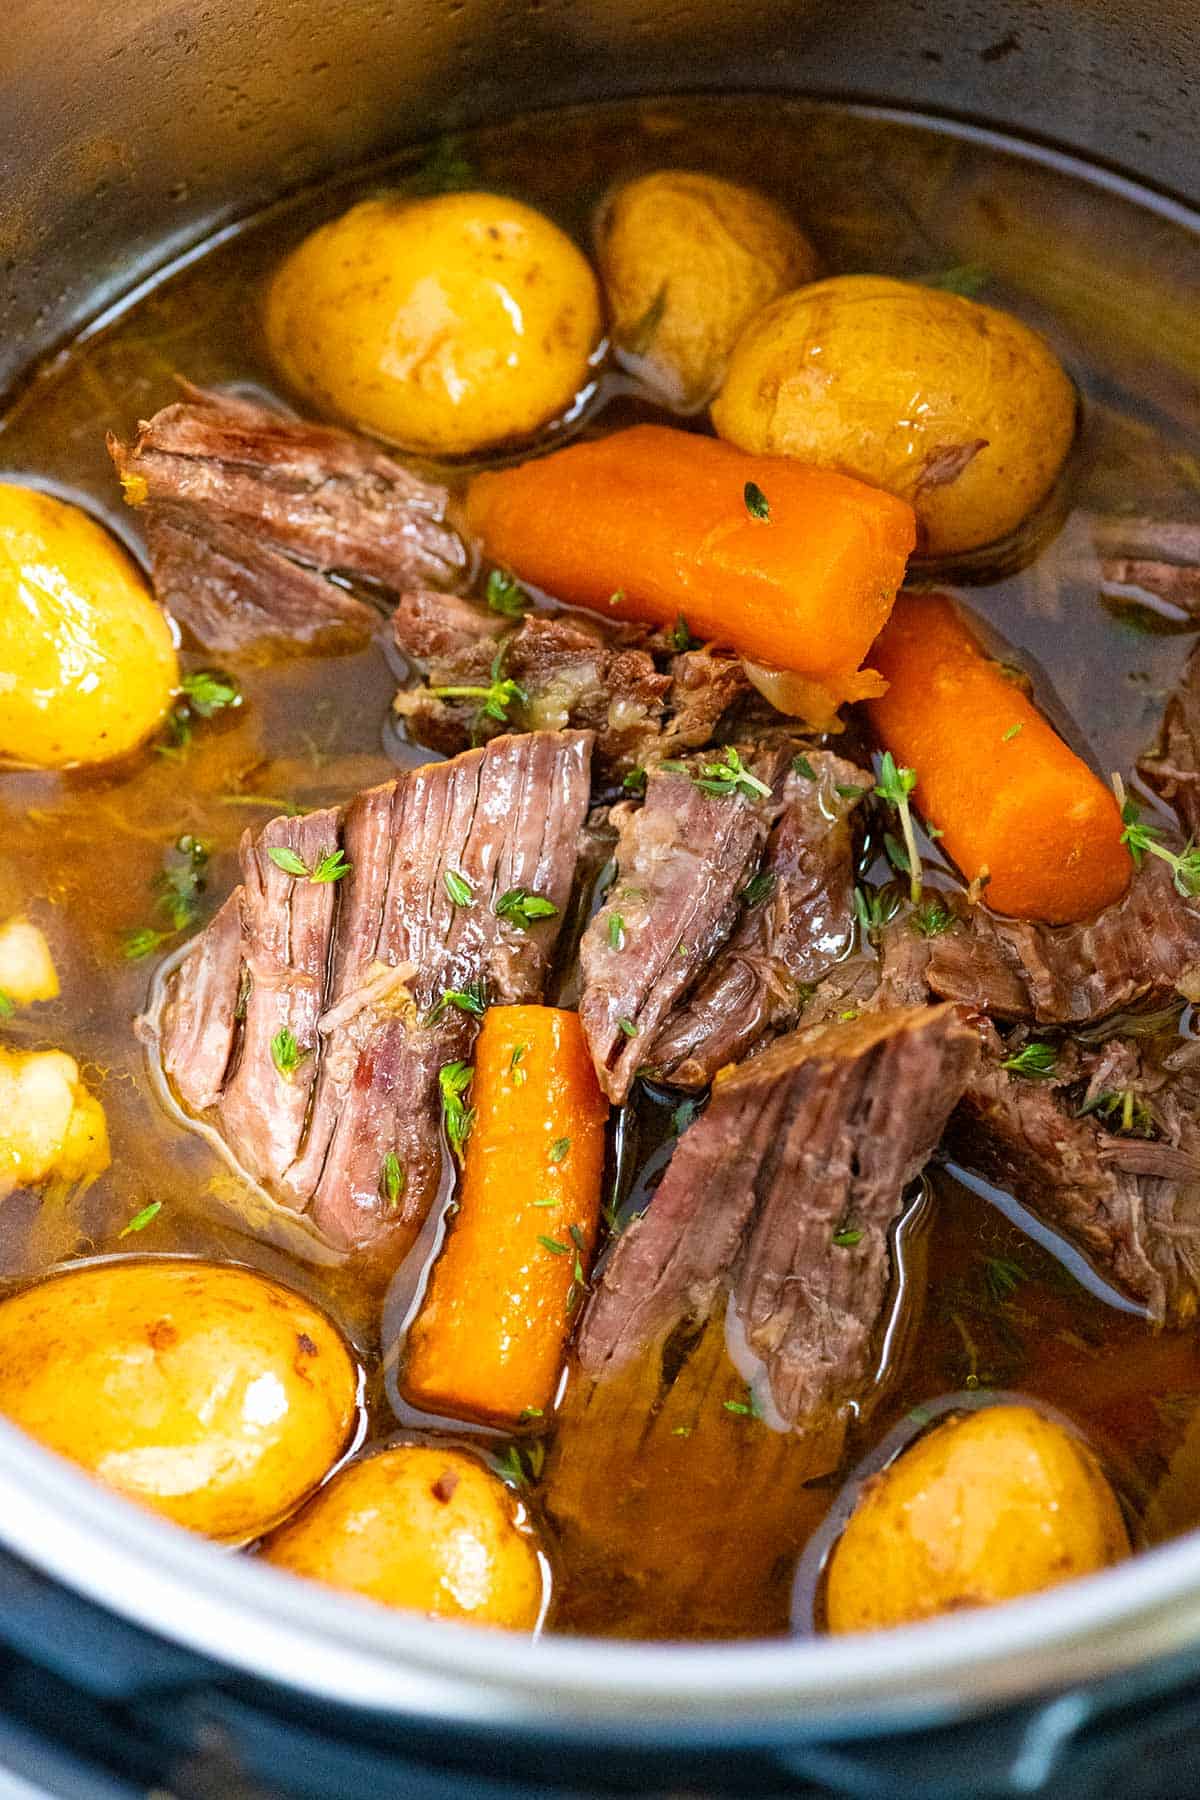
Return the roast to the pot. Add the remaining broth, thyme, carrots, and potatoes. Lock the lid and set to high pressure for 60 minutes.
7. Natural Release
When cooking time is up, let the pressure release naturally for 10–15 minutes. Then open the valve to release any remaining pressure. This helps the meat stay tender and juicy.
8. Check Doneness
Use a fork to check if the roast shreds easily. If not, cook for 10 more minutes under pressure.
9. Serve
Slice or shred the roast. Spoon some of the cooking liquid over the top for extra flavor.
Adjusting Cooking Times For Different Roasts
Not every roast is the same size or cut. Here’s how to adjust:
- Smaller roast: Reduce time by 10–15%
- Larger roast: Add 5–10 minutes per extra pound
- Bone-in: Add 5–8 minutes for a similar weight
- Frozen roast: Increase cooking time by 30–40% (skip browning step)
Always add enough liquid to create steam—usually 1–2 cups.
Roast Doneness: What To Look For
Pressure cookers are great for fall-apart tender meat, but you still want to avoid overcooking. Here’s what to check:
- Fork test: Meat should shred easily with a fork.
- Internal temperature: For beef and pork, 195–210°F gives very tender results. Use a meat thermometer if unsure.
- Vegetables: Add halfway through cooking if you like them firmer.
An uncommon tip: If you want sliced roast instead of shredded, use the lower end of the recommended time and let it rest before slicing.
Common Mistakes To Avoid
Many beginners make the same errors when cooking roast in a pressure cooker. Avoid these for better results:
- Not browning the meat: Skipping this step means less flavor.
- Too little liquid: Pressure cookers need steam to build pressure.
- Opening too soon: Quick-release can make meat tougher. Use natural release for at least 10 minutes.
- Cutting meat right away: Resting the roast keeps it juicy.
- Overcrowding the pot: Large roasts need space for steam to circulate.
Small details like these can make the difference between a good roast and a great one.
You might find this helpful: Best Pressure Cookers for Meat
Comparing Pressure Cooking To Other Methods
How does pressure cooking a roast stack up against other methods like oven roasting or slow cooking? Here’s a quick comparison.
| Method | Cook Time (3 lb roast) | Texture | Flavor | Hands-on Time |
|---|---|---|---|---|
| Pressure Cooker | 60–70 min | Tender, moist | Rich, concentrated | Low |
| Oven Roast | 2.5–3 hours | Variable, can be dry | Deep, browned | Medium |
| Slow Cooker | 8–10 hours | Very tender | Milder | Very low |
Pressure cooking is a great balance of speed and taste, especially when you want a meal ready in about an hour.
Credit: www.inspiredtaste.net
Choosing The Best Cut For Pressure Cooker Roast
Not all meat cuts work equally well in a pressure cooker. Some become dry, while others turn juicy and tender. Here are the best choices:
- Beef chuck roast – Well-marbled, becomes fork-tender
- Brisket – Needs longer time but rewards with flavor
- Pork shoulder (butt) – Perfect for shredding
- Lamb shoulder or leg – Rich and flavorful
Avoid lean cuts like beef round or pork tenderloin; these can dry out quickly.
How To Add Vegetables (and When)
Adding vegetables to your roast can be tricky. If you add them at the start, they may get mushy. For best results:
- Root vegetables (carrots, potatoes, parsnips): Add for the final 15–20 minutes of cooking.
- Softer vegetables (peas, green beans): Add after pressure cooking, just before serving.
Some pressure cookers allow you to open and add ingredients partway through. If not, cut vegetables into larger chunks to help them hold shape.
Tips For Extra Flavor
Experienced cooks know small tweaks can boost flavor:
- Deglaze well – Always scrape up browned bits after searing.
- Use broth instead of water – Adds depth.
- Add herbs and spices – Bay leaf, thyme, or rosemary work well.
- Finish with acid – A splash of vinegar or lemon juice brightens the dish.
- Roast garlic – Adds sweet, mellow flavor.
These tricks are simple but often missed by beginners.
Safety Tips For Pressure Cooking
Pressure cookers are safe if used correctly, but there are some important rules:
- Always check the sealing ring is in place.
- Do not overfill the pot. Most cookers have a “max” line.
- Use enough liquid for your model (minimum 1 cup for electric, 1.5 cups for stovetop).
- Release pressure away from your face and hands.
- Never force open the lid.
For more safety tips, visit the USDA Food Safety Service.
Cleaning Up After Cooking
Cleanup is usually easy with pressure cookers:
- Let the cooker cool fully before removing the lid.
- Wash the pot, lid, and sealing ring with soapy water.
- Check the steam release valve for any blockages.
- Dry all parts thoroughly before storing.
Doing this right after cooking avoids stuck-on residue and keeps your cooker in good shape.
Frequently Asked Questions
How Much Liquid Do I Need For A Pressure Cooker Roast?
Most electric pressure cookers need at least 1 cup of liquid to build pressure. Stovetop models often need 1.5 cups. The liquid can be water, broth, or a mix. Too little liquid means the cooker won’t reach pressure.
Can I Cook A Frozen Roast In The Pressure Cooker?
Yes, you can cook a frozen roast without thawing. Add 30–40% more cooking time, and skip the browning step (it won’t work on frozen meat). Always check doneness—sometimes the center takes longer.
Why Is My Roast Tough After Pressure Cooking?
Usually, a tough roast means it needs more time. Pressure cooking breaks down tough fibers. If your roast isn’t fork-tender, re-seal and cook for another 10–15 minutes. Also, always allow natural pressure release for at least 10 minutes.
Can I Use The Cooking Liquid For Gravy?
Absolutely! The cooking liquid is full of flavor. Strain out solids, then simmer and thicken with a cornstarch or flour slurry. Season as needed. This makes a rich gravy that pairs perfectly with your roast.
What Vegetables Work Best With Pressure Cooker Roast?
Carrots, potatoes, onions, and parsnips hold up well. Cut them into large chunks to avoid mushiness. Avoid very soft vegetables (like zucchini) for long cooking times, as they’ll disintegrate.
Cooking a roast in a pressure cooker is one of the easiest ways to create a hearty, impressive meal without spending all day in the kitchen. With the right timing and a few smart tips, you’ll enjoy perfectly tender, flavorful roasts every time—no guesswork required.
:max_bytes(150000):strip_icc()/6374498-2ba733b7e4af4d9787dba57d66363fb8.jpg)
Credit: www.eatingwell.com