Baking bread at home is one of the most satisfying kitchen experiences. When you use a Dutch oven, your bread can rival the best bakery loaves—crisp crust, airy inside, and a deep, natural flavor. Many home bakers think Dutch oven bread is hard, but the process is simple if you follow clear steps.
In this guide, you’ll learn how to bake bread in a Dutch oven, why this method works so well, and how to avoid common mistakes. Whether you are new to bread baking or want to improve your skills, this article will help you bake beautiful, delicious bread in your own kitchen.
Why Bake Bread In A Dutch Oven?
A Dutch oven is a heavy pot, often made of cast iron, with a tight lid. It creates a special environment for bread baking. The thick walls hold heat, and the lid traps steam. This steam keeps the bread’s crust soft at first, so the loaf can rise fully. Later, the steam escapes and the crust becomes crisp and golden.
Professional bakers use steam ovens to bake perfect bread. At home, a Dutch oven gives you similar results. You don’t need any extra equipment, just a simple pot with a lid.
Key benefits of Dutch oven bread:
- Better rise and shape
- Thick, crisp crust
- Moist, tender crumb
- More forgiving for beginners
Many bakers notice their first Dutch oven loaf looks and tastes much better than bread baked on a regular tray. Even recipes that failed before often turn out beautifully in a Dutch oven.
Choosing The Right Dutch Oven
Not every Dutch oven works for bread. You need a pot that can handle high heat and is big enough for your dough.
Size And Material
Most bread recipes fit best in a 5 to 7 quart Dutch oven. Smaller pots can restrict the rise. Cast iron is the top choice—it holds heat well and lasts for years. Some Dutch ovens have enamel coating, which is fine for bread.
Avoid Dutch ovens with plastic handles or parts that cannot handle oven temperatures above 450°F (232°C). Bread baking needs hot conditions.
Shape
Round Dutch ovens match the shape of most bread loaves. Oval pots work too but may create wider, flatter loaves. Both are acceptable.
Lid
A tight-fitting lid is important. It traps steam, which helps bread rise and develops the crust.
Example Comparison
Here’s a comparison of popular Dutch oven sizes:
| Brand | Size (quarts) | Material | Max Oven Temp | Notes |
|---|---|---|---|---|
| Lodge | 6 | Cast Iron | 500°F | Affordable, durable |
| Le Creuset | 5.5 | Enamel Cast Iron | 500°F | Premium, colorful |
| Staub | 7 | Enamel Cast Iron | 500°F | Large loaves |
If you already own a Dutch oven, check the size and lid. If you need to buy one, cast iron is a safe bet.

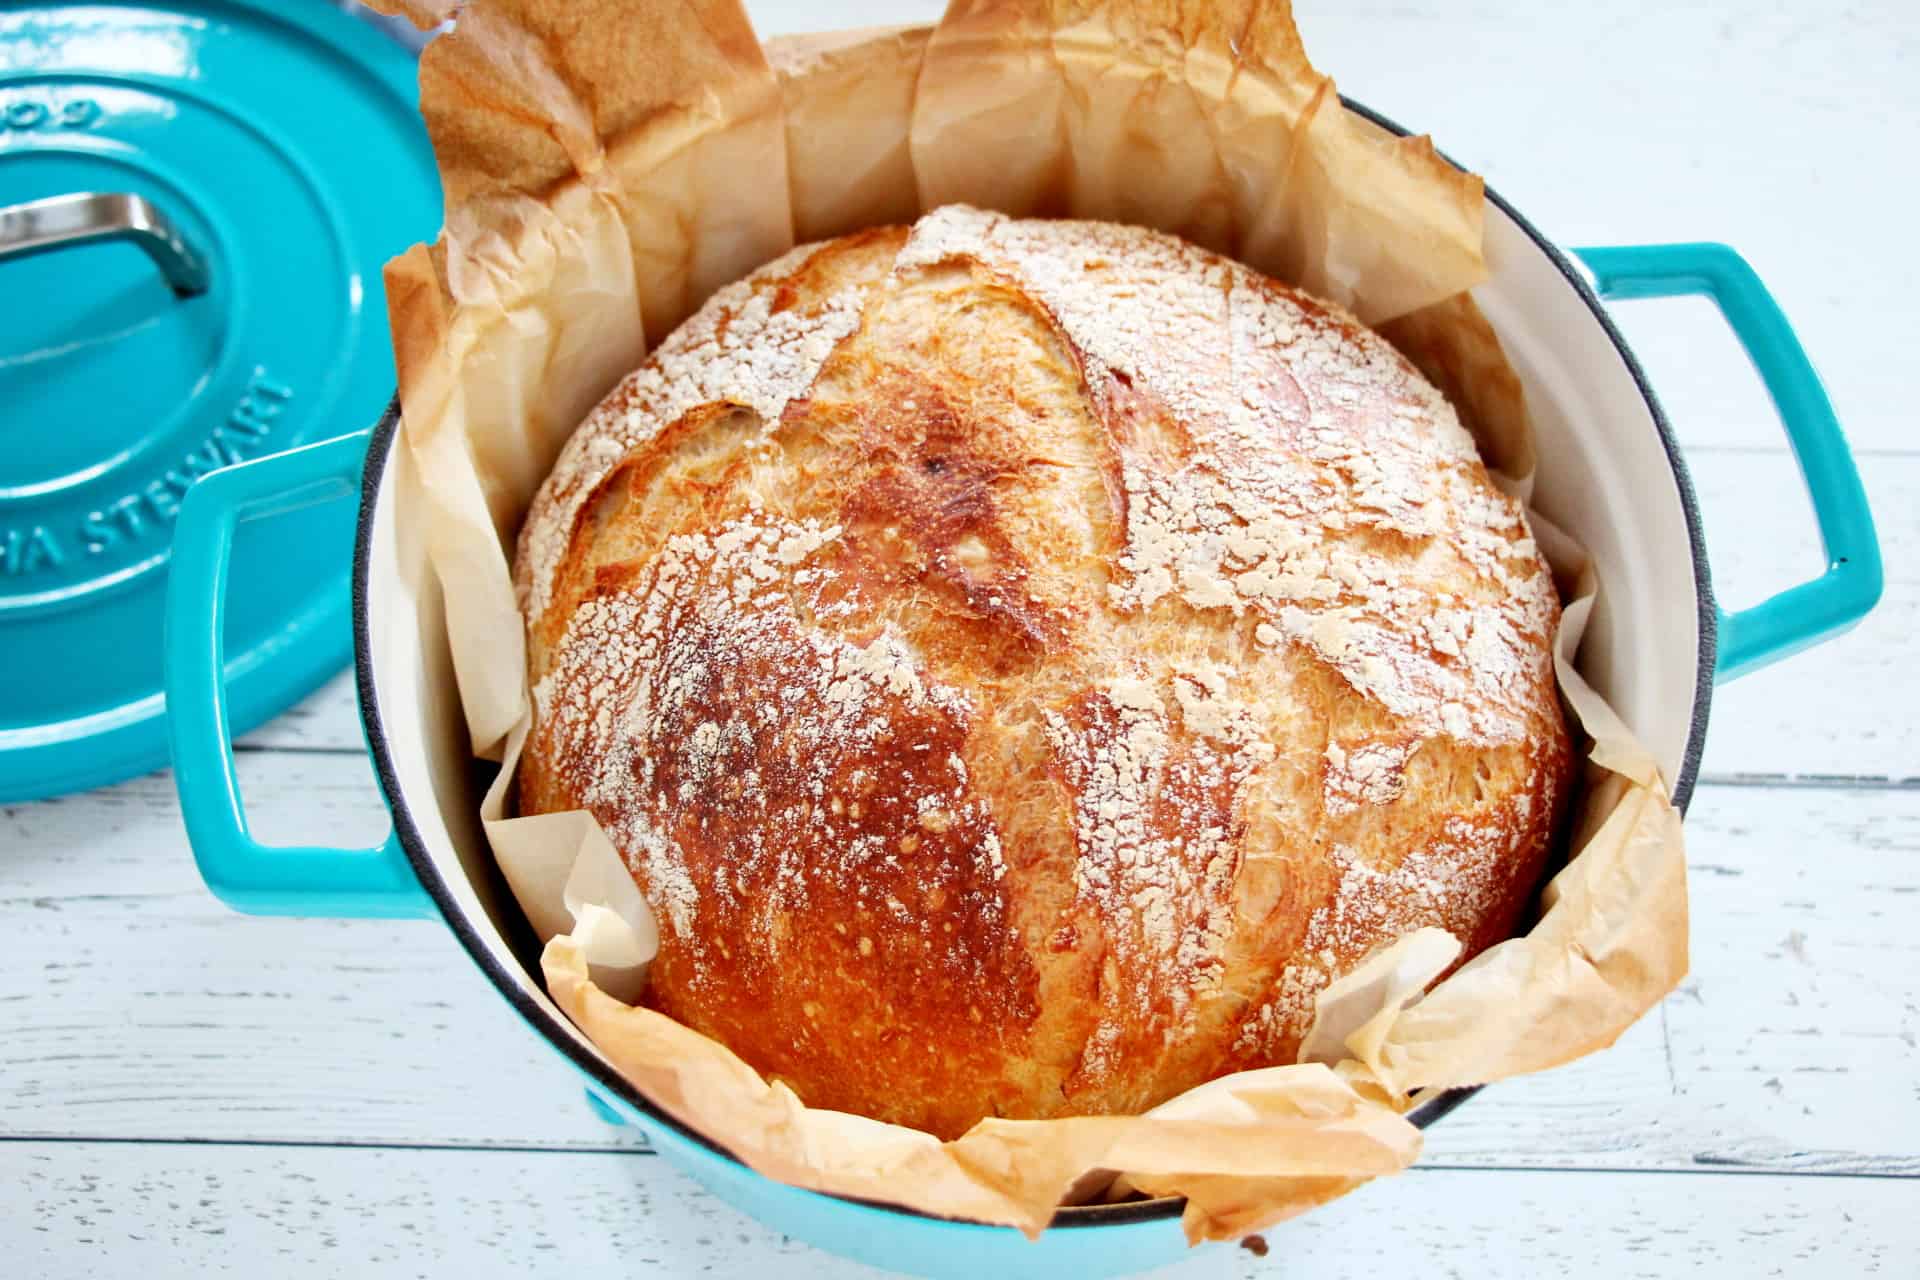
Credit: www.bowlofdelicious.com
Essential Ingredients And Tools
The basic bread recipe uses few ingredients. You can make excellent bread with just flour, water, salt, and yeast.
Ingredients
- Bread flour: 500 g (about 4 cups)
- Water: 350 g (about 1.5 cups, room temperature)
- Salt: 10 g (about 2 teaspoons)
- Instant yeast: 7 g (about 2 teaspoons) or sourdough starter (100 g, optional)
Many bakers use bread flour because it has more protein. This gives your bread a chewy texture and helps it rise well.
Optional Additions
- Olive oil or butter (for flavor)
- Herbs, seeds, nuts, dried fruit (for variety)
- Whole wheat flour or rye flour (for deeper flavor)
Tools
- Mixing bowl
- Bench scraper or spatula
- Kitchen scale (for accuracy)
- Parchment paper (for easy transfer)
- Sharp knife or bread lame (for scoring)
- Oven mitts
While you can use cups, weighing ingredients gives more consistent results. If you don’t have a scale, try to measure carefully.
Step-by-step Bread Baking In A Dutch Oven
Let’s break down the process from start to finish. For this guide, we’ll use a simple yeast-based bread. If you want to use sourdough, the steps are similar but need longer rising times.
1. Mixing The Dough
Combine the flour, water, salt, and yeast in a large bowl. Stir until all flour is moistened. The dough will look rough and sticky. You do not need to knead much—just mix until combined.
For beginners, try the “no-knead” method. Let the dough sit for 30 minutes, then stretch and fold it a few times. This builds gluten without hard kneading.
2. First Rise (bulk Fermentation)
Cover the bowl with plastic wrap or a damp towel. Let it sit at room temperature for 1 to 2 hours, or until it doubles in size. If your kitchen is cool, this may take longer.
Some bakers use the fridge for a slow rise. This gives better flavor but needs 8–12 hours.
3. Shaping The Dough
Once the dough has risen, gently turn it onto a floured surface. Use a bench scraper to shape it into a round ball. Avoid pressing out all air—handle gently.
Place the shaped dough onto a piece of parchment paper. This makes it easy to transfer to the Dutch oven later.
4. Second Rise (proofing)
Cover the dough and let it rise again for 30–60 minutes. It should puff up but not spread too much.
If you want more flavor, you can proof in the fridge for several hours. Cold dough is easier to handle and scores better.
5. Preheat The Dutch Oven
Place your Dutch oven (with lid) in the oven. Preheat to 450°F (232°C) for at least 30 minutes. This makes sure the pot is hot enough to create steam and bake the bread quickly.
6. Scoring The Dough
Just before baking, use a sharp knife or bread lame to make a slash on the top of the dough. This lets steam escape and helps the loaf expand.
Common patterns are a single long slash, a cross, or creative designs. Scoring is not just decoration—it prevents random cracks.
7. Baking
Remove the hot Dutch oven from the oven, using oven mitts. Lift the dough with parchment paper and place it inside.
Cover with the lid and return to the oven. Bake for 30 minutes with lid on. Then, remove the lid and bake for another 10–15 minutes, until the crust is deep golden brown.
8. Cooling
When done, lift the bread out and place on a wire rack. Let it cool for at least 1 hour. This lets the crumb set and flavor develop. Cutting too soon can make the bread gummy.
You might find this helpful: Best Dutch Ovens Under $50
Common Mistakes And Solutions
Even experienced bakers make mistakes. Here are some problems and how to fix them.
Dough Too Sticky
Sticky dough is normal. If it’s impossible to shape, add a little flour. But avoid adding too much—wet dough makes better bread.
Flat Loaf
If your loaf spreads too much, the dough may be over-proofed or too wet. Try shortening the second rise, or use a smaller Dutch oven to help the loaf hold its shape.
Burnt Bottom
Dutch oven bread sometimes burns on the bottom. Try placing a baking sheet under the Dutch oven during baking. This protects the bottom from intense heat.
Dense Bread
Dense bread can come from cold dough, not enough rise, or old yeast. Make sure your yeast is fresh, and let the dough double in size during the first rise.
Soggy Crust
If the crust is soft or soggy, bake with the lid off for longer. Let the bread cool fully before slicing.
How Steam Makes Better Bread
Steam is the secret to crispy crust and good rise. When you bake bread in a Dutch oven, the steam from the dough stays trapped. This keeps the crust soft for the first part of baking, so the loaf can expand.
After the lid comes off, the steam escapes and the crust becomes crisp and shiny. Without steam, bread often turns dull and hard.
A surprising insight: home ovens are dry, so regular bread recipes often miss this steam effect. With a Dutch oven, you get bakery-style results even in a home kitchen.
Variations And Advanced Techniques
Once you master basic Dutch oven bread, try adding new flavors and techniques.
Whole Wheat And Rye Bread
Replace up to 30% of the flour with whole wheat or rye flour. These grains add flavor and nutrition. They also absorb more water, so you may need to add extra.
Sourdough Bread
Use a sourdough starter instead of yeast. Sourdough needs longer rising times (8–12 hours) but gives deep flavor and chewy texture.
Add-ins
Mix in seeds (like sunflower seeds or flax), herbs, cheese, olives, or dried fruit. Add these after the first rise, before shaping.
Cold Fermentation
Let the dough rise in the fridge overnight. This develops complex flavors and makes dough easier to handle.
Two Dutch Oven Baking Methods
You can bake bread two ways:
- Place the shaped dough in the hot Dutch oven.
- Put the dough in a cold Dutch oven, then place in the hot oven.
Most bakers prefer the first method for better crust and oven spring. The second method is safer but may produce less crisp crust.
Dutch Oven Vs. Other Baking Methods
How does Dutch oven bread compare to other home baking methods? Let’s look at the differences.
| Baking Method | Crust | Shape | Ease | Flavor |
|---|---|---|---|---|
| Dutch Oven | Thick, crisp | Round, tall | Beginner friendly | Deep, moist |
| Baking Tray | Thin, less crisp | Flat, wide | Easy | Less complex |
| Bread Machine | Soft | Rectangle | Automatic | Mild |
The Dutch oven method shines in crust and flavor. Bread machines are convenient but produce a softer loaf. Baking trays are easy but cannot match the Dutch oven’s steam effect.
Practical Tips For Perfect Bread
Small changes can make a big difference in bread quality. Here are tips many beginners miss:
- Use a kitchen scale for accuracy. Bread is sensitive to water and flour ratios.
- Let the dough rest after mixing. This helps gluten develop naturally.
- Parchment paper makes transferring dough easy and prevents sticking.
- If you want a shiny crust, mist the dough with water before baking.
- Score deeply but not too much—about 1/2 inch is ideal.
- Let bread cool completely before cutting for best texture.
Baking bread is a journey. Your first loaf may not be perfect, but with each batch, you learn and improve.
Storing And Serving Your Bread
Fresh bread tastes best the day you bake it. If you want to keep it longer:
- Store bread at room temperature in a paper bag or bread box.
- Avoid plastic bags—they trap moisture and soften the crust.
- Freeze sliced bread for longer storage. Toast or warm to revive flavor.
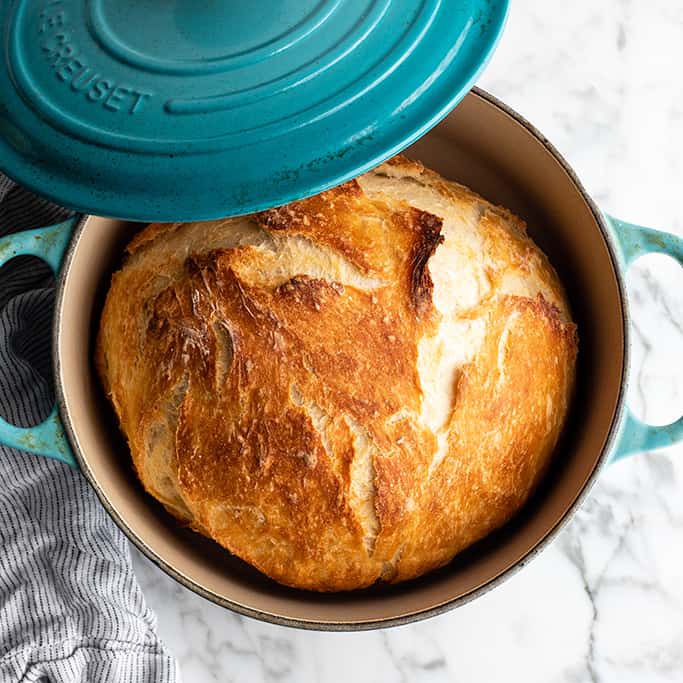
Dutch oven bread is great for sandwiches, soups, or simply with butter. Try toasting slices for breakfast, or use leftovers for croutons.
Credit: juliarecipes.com
Cleaning And Maintaining Your Dutch Oven
Dutch ovens are tough, but proper care keeps them working for years.
- Let the pot cool before washing.
- Avoid soap if your Dutch oven is not enameled—just use hot water and a brush.
- Dry thoroughly to prevent rust.
- If your pot is cast iron, apply a thin layer of oil after cleaning.
- For stubborn stains, boil water in the pot to loosen debris.
Many bakers worry about sticking, but parchment paper solves this problem. If you bake often, your Dutch oven will develop a smooth, non-stick surface.
Dutch Oven Bread And Nutrition
Homemade bread has fewer additives than store-bought. You control the ingredients—no preservatives or unnecessary sugar.
A standard loaf made from bread flour, water, salt, and yeast has about:
- 110 calories per slice (1/12th of loaf)
- 4 grams of protein
- 22 grams of carbohydrates
- 0.5 grams of fat
Adding whole grains, nuts, or seeds boosts nutrition.
Another non-obvious insight: letting bread ferment longer (overnight) can lower gluten and increase digestibility. Many people find slow-fermented bread easier to digest.
Dutch Oven Bread Around The World
Dutch oven bread is not just a trend—it has roots in many cultures. In France, Dutch ovens are used for boule and pain de campagne. In the US, Dutch ovens helped pioneers bake bread over campfires.
Today, bakers use Dutch ovens for artisan bread, sourdough, and even flatbreads. The technique is universal and adapts to many styles.
If you want to learn more about bread history and styles, visit the Wikipedia Bread Page.
Frequently Asked Questions
Can I Bake Bread In A Dutch Oven Without Parchment Paper?
Yes, but parchment paper makes it easier to transfer dough and prevents sticking. If you don’t use parchment, grease the pot and dust with flour or cornmeal.
How Do I Know When My Bread Is Fully Baked?
Bread is done when the crust is deep golden and sounds hollow when tapped. For more precision, use a thermometer—bread is fully baked when the internal temperature is 200–210°F (93–99°C).
Can I Use Regular Flour Instead Of Bread Flour?
Yes, but bread flour gives better rise and texture. All-purpose flour works, but the loaf may be softer and less chewy.
Is It Possible To Bake Gluten-free Bread In A Dutch Oven?
Yes, but gluten-free doughs behave differently. They often need special recipes and may not rise as much. The Dutch oven still helps create a crisp crust.
Can I Double The Recipe For A Bigger Loaf?
You can, but make sure your Dutch oven is big enough. Larger loaves need longer baking time. If the pot is too small, the dough may overflow or bake unevenly.
Baking bread in a Dutch oven is simple once you learn the basics. Each loaf teaches you something new. With practice, you’ll bake bread that looks beautiful and tastes amazing. The Dutch oven method is forgiving, reliable, and perfect for home kitchens.
Enjoy your baking journey—your next loaf might be your best yet.
Credit: joyfoodsunshine.com