
Calibrating your kitchen scale is one of those small kitchen tasks that’s easy to overlook—but it can make a big difference in your cooking and baking results. Whether you’re measuring flour for bread or portioning ingredients for a diet, accuracy matters.
A scale that’s even a few grams off can ruin a recipe or throw off your nutrition plan. The good news? Calibrating a kitchen scale isn’t difficult. With the right method, a little patience, and a few household items, you can get your scale back to perfect accuracy.
Let’s explore the clear steps, practical tips, and common mistakes to avoid so your kitchen scale stays reliable every time you need it.
Why Kitchen Scale Calibration Matters
Most people use a kitchen scale for precision. But what if your scale is off by 10 grams? That’s enough to change a cookie recipe’s texture or a cake’s rise. Over time, kitchen scales can lose accuracy. This can happen if the scale is bumped, dropped, or even just from battery changes. Even small inaccuracies add up, especially for people tracking calories or baking with strict recipes.
Calibration brings your scale back to zero error. It resets the scale’s internal measurement so that when you weigh something, you know the number is correct. This is especially important for digital scales, which are more sensitive but can also drift out of calibration due to electrical or mechanical factors.
When Should You Calibrate Your Kitchen Scale?
Not every scale needs to be calibrated every day. But you should check and calibrate your scale:
- When you first buy it or after a long period of no use
- If the scale is dropped or bumped hard
- After battery replacement
- When you notice measurements seem off
- Every few months as routine maintenance
A quick calibration check takes just a few minutes and can save you from kitchen disasters later.
Credit: lifetips.alibaba.com
Types Of Kitchen Scales And Calibration Basics
There are two main types of kitchen scales: digital and mechanical. Each requires a slightly different approach.
| Scale Type | Calibration Method | Typical Accuracy |
|---|---|---|
| Digital Scale | Uses calibration mode with test weights | ±1 gram |
| Mechanical Scale | Zero adjustment knob, test weights | ±2-5 grams |
Digital scales often have a dedicated calibration button or mode, while mechanical scales use a dial or sliding knob to set the pointer to zero. Both types benefit from using a known weight—ideally a calibration weight, but common household items can work in a pinch.
What You Need Before Calibrating
Before starting, gather these items:
- Owner’s manual (if available): Different scales have different calibration steps.
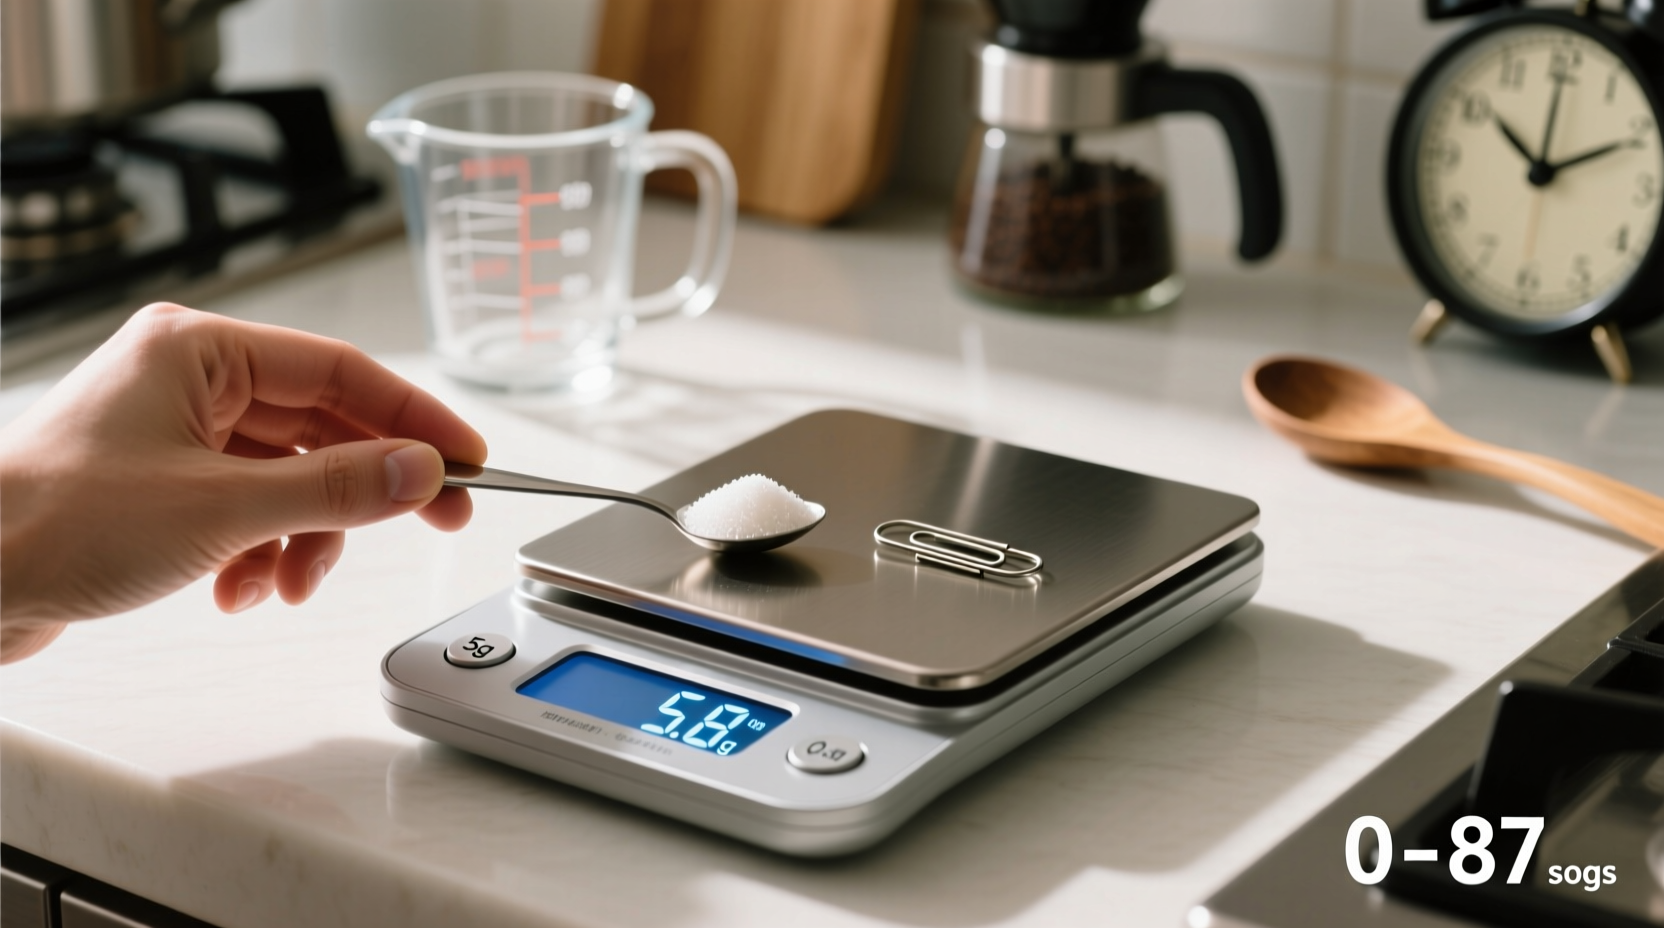
- Calibration weight: The best option is a commercial calibration weight (usually 100g, 200g, or 500g). If you don’t have one, you can use coins or unopened food items with a known weight.
- Clean, flat surface: The scale should be on a stable, level countertop.
- Fresh batteries (for digital scales): Low batteries can affect accuracy.
Common Household Items For Calibration
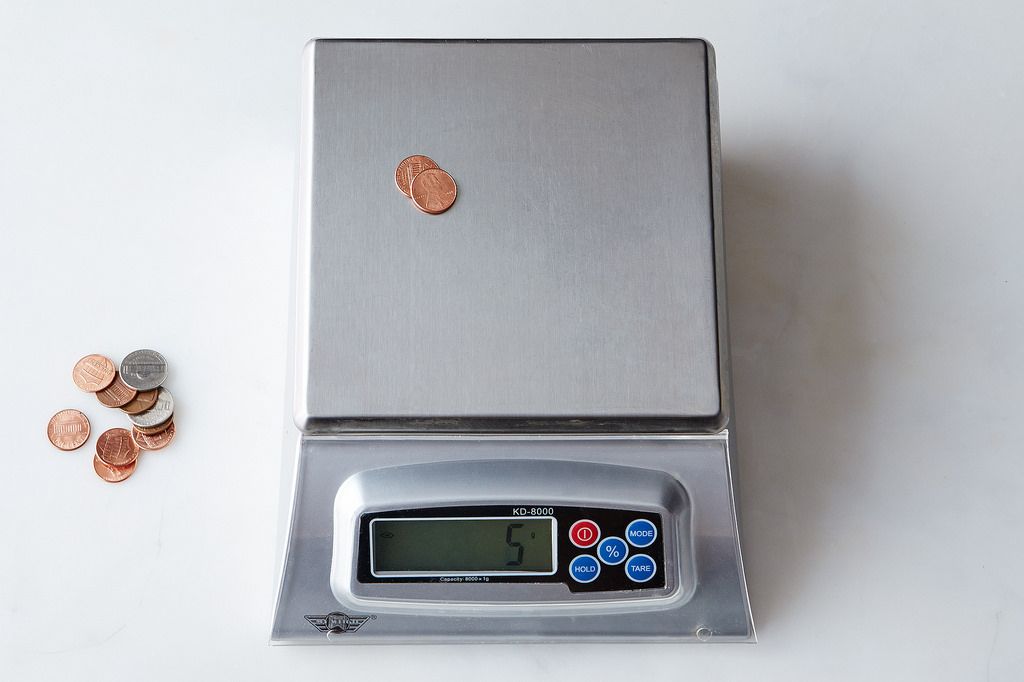
If you don’t own a calibration weight, U.S. coins are a great substitute:
| Coin | Weight (grams) |
|---|---|
| Penny (after 1982) | 2.5 |
| Nickel | 5.0 |
| Quarter | 5.67 |
| Dime | 2.268 |
Stack coins to reach the calibration weight your scale needs. For example, 20 nickels = 100 grams.
Step-by-step: How To Calibrate A Digital Kitchen Scale
Most modern kitchen scales are digital. Here’s how to calibrate them:
1. Read The Manual
Find the calibration instructions for your model. This is important because some scales have unique button combinations. If you don’t have the manual, search the brand and model online.
2. Power On And Zero The Scale
Place the scale on a flat, stable surface. Turn it on and let it settle for 30 seconds. Press the “zero” or “tare” button to clear any existing weight.
3. Enter Calibration Mode
Most digital scales require you to press and hold a button (often “mode”, “cal”, or both). The display will usually show “CAL” or a similar message.
4. Place The Calibration Weight
When prompted, place your calibration weight (or coin stack) in the center of the scale. Wait for the scale to register the weight.
5. Confirm And Complete
The display should show a confirmation message (like “PASS” or the weight value). Remove the weight and power off the scale. Calibration is now complete.
Example: Calibrating A Popular Model
Suppose your scale asks for a 200-gram weight. Stack 40 nickels, making sure they’re clean and dry. Enter calibration mode, place the stack in the center, and wait for the beep or confirmation. Remove the coins and check with a smaller known weight to confirm accuracy.
How To Calibrate A Mechanical Kitchen Scale
Mechanical scales are less common but still used in many kitchens, especially for larger quantities.
- Set the scale to zero: With the scale empty, adjust the dial or sliding knob until the pointer aligns with zero.
- Place a known weight: Use a calibration weight or household item.
- Check the reading: If the pointer does not align with the correct weight, adjust the knob again.
- Repeat as needed: Test with several weights to confirm accuracy across the scale’s range.
Mechanical scales can drift over time, so check zero with no weight and with a test weight regularly.
Credit: food52.com
Tips For Accurate Calibration
- Always calibrate at room temperature. Extreme heat or cold can affect scale sensors.
- Use clean, dry weights. Dust, water, or oil on weights can change readings.
- Calibrate on a hard, level surface. Soft mats or uneven counters cause errors.
- Avoid vibrations. Don’t calibrate near running appliances or on a shaky table.
- Check multiple weights. Sometimes a scale is accurate at 100g but not at 500g.
These small habits improve consistency and extend your scale’s useful life.
You may also like: Best Kitchen Scale For Daily Use
Common Calibration Mistakes (and How To Avoid Them)
- Ignoring the Owner’s Manual: Each scale is a little different. Don’t skip the instructions.
- Using the wrong weight: Guessing or using an imprecise object (like a cup of sugar) will make things worse. Use coins, unopened food packages, or proper calibration weights.
- Calibrating on carpet or soft mats: This causes uneven pressure and false readings.
- Not resetting to zero: Always tare before and after calibration.
- Not checking batteries: Weak batteries can cause random errors, especially for digital scales.
How Often Should You Calibrate?
For most home cooks, calibrating every 2-3 months is enough if the scale is used regularly. If you use your scale daily for baking or meal prep, check it monthly. After moving, dropping, or changing batteries, always recalibrate. Professionals, like pastry chefs, calibrate their scales weekly.
Troubleshooting: When Calibration Doesn’t Work
Sometimes, even after following all steps, your scale stays inaccurate. Here’s what to try:
- Replace batteries. Many issues come from low or old batteries.
- Clean the scale. Crumbs or spills under the weighing platform can block sensors.
- Reset the scale. Some models have a reset hole or button.
- Try a heavier/lighter calibration weight. Test different weights to see if the error is consistent.
- Contact the manufacturer. Sometimes the scale itself is defective.
If your digital scale drifts more than 2-3 grams after calibration, it may be time for a replacement.
Choosing And Caring For A Reliable Kitchen Scale
When buying a new kitchen scale, look for:
- Good accuracy (±1g)
- Clear calibration instructions
- Sturdy platform and buttons
- Easy-to-read display
- Replaceable batteries
Avoid very cheap or unbranded scales, which often have poor sensors. Scales with stainless steel platforms are more durable and easier to clean. If you bake often, invest in a scale with a 0. 1g resolution for ultimate precision.
To keep your scale accurate:
- Store it flat, not on its side
- Keep it clean and dry
- Don’t overload it (stay within its weight limit)
- Remove batteries if not used for months
Advanced Tip: Using Professional Calibration Weights
For those who want maximum accuracy, consider buying a set of professional calibration weights. These are certified to exact standards and range from 1g to 1kg. They’re especially helpful for people who bake professionally or track calories closely.
Calibration weights are available online or at specialty kitchen stores. While household items are fine for most people, professional weights remove all guesswork.
Non-obvious Insights Most Beginners Miss
- Scale accuracy can change by location. Moving your scale from one countertop to another can shift calibration if the surfaces aren’t perfectly level.
- Humidity affects readings. In very humid climates, electronic components and even the weights themselves can absorb moisture, leading to small errors.
- Calibration doesn’t fix a broken scale. If your scale is consistently off by a large amount, even after calibration, the internal sensor may be damaged.
Frequently Asked Questions
How Do I Know If My Kitchen Scale Is Accurate?
Check by weighing a known item, like a nickel (5g), or an unopened food package with the weight marked. If your scale reads within ±1g of the expected weight, it’s accurate for most kitchen tasks.
Can I Use Household Items Instead Of Calibration Weights?
Yes. Coins, like nickels or quarters, are made to strict weights. You can also use unopened sticks of butter (usually 113g or 4oz) or canned food with the net weight listed.
Why Does My Scale Drift Or Give Different Readings?
Common reasons include low batteries, uneven surfaces, residue under the platform, or sensor wear. Always calibrate on a hard, clean, level surface with fresh batteries.
Is Calibration The Same As “zeroing” Or “taring” The Scale?
No. Taring sets the display to zero with a container on the scale, so you measure only the contents. Calibration adjusts the scale’s internal sensor to match a known weight, correcting errors.
Where Can I Find More Information About Calibration Weights?
For detailed standards and recommendations, check the National Institute of Standards and Technology website: NIST.
Calibrating your kitchen scale doesn’t take much time but pays off with better, more reliable cooking results. With a few coins, a careful process, and regular checks, you’ll always know your measurements are spot on—giving you extra confidence in every recipe and meal.





