Skip to content
Canning deer meat at home is a practical way to preserve your harvest for months or even years. If you hunt or buy venison in bulk, pressure canning lets you enjoy flavorful, tender meat without a freezer. But many beginners worry about safety, flavor, and the right steps.
This guide will help you can deer meat using a pressure cooker safely, with step-by-step instructions, tips, and clear answers for common questions. By the end, you’ll have the confidence to turn fresh venison into shelf-stable meals.
Why Pressure Can Deer Meat?
Deer meat, also called venison, is lean and rich in protein. Freezing is common, but it takes space and power. Canning is safer for long-term storage and makes meal prep easier. Pressure canning destroys bacteria like botulism, which can survive boiling water. Water bath canning isn’t safe for meat—always use a pressure cooker.
According to the US Department of Agriculture, home-canned meat can last up to 2 years if stored properly. It’s also convenient: canned venison doesn’t need thawing and can be used in stews, tacos, or sandwiches right from the jar. Many hunters report that canned deer tastes more tender and flavorful, especially after a few months.
What You Need For Canning Deer Meat
Before you start, gather all the tools and ingredients. Missing items can cause delays or unsafe results.
Equipment
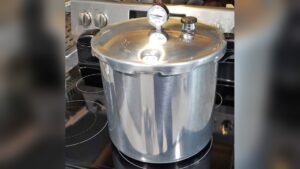
- Pressure canner: Not a regular pressure cooker. It must reach at least 240°F.
- Canning jars: Pint or quart size, with matching lids and rings.
- Jar lifter: For handling hot jars safely.
- Wide-mouth funnel: Makes filling jars cleaner.
- Bubble remover tool: Removes air pockets.
- Cutting board and sharp knife
- Large bowl for meat
- Clean towels
Ingredients
- Venison: About 1 pound per pint jar, 2 pounds per quart jar.
- Salt (optional): ½ teaspoon per pint, 1 teaspoon per quart.
- Water, broth, or tomato juice (optional): For packing liquid.
- Spices or onions (optional): For flavor.
Do not add flour, starch, or dairy. These can cause unsafe canning results.
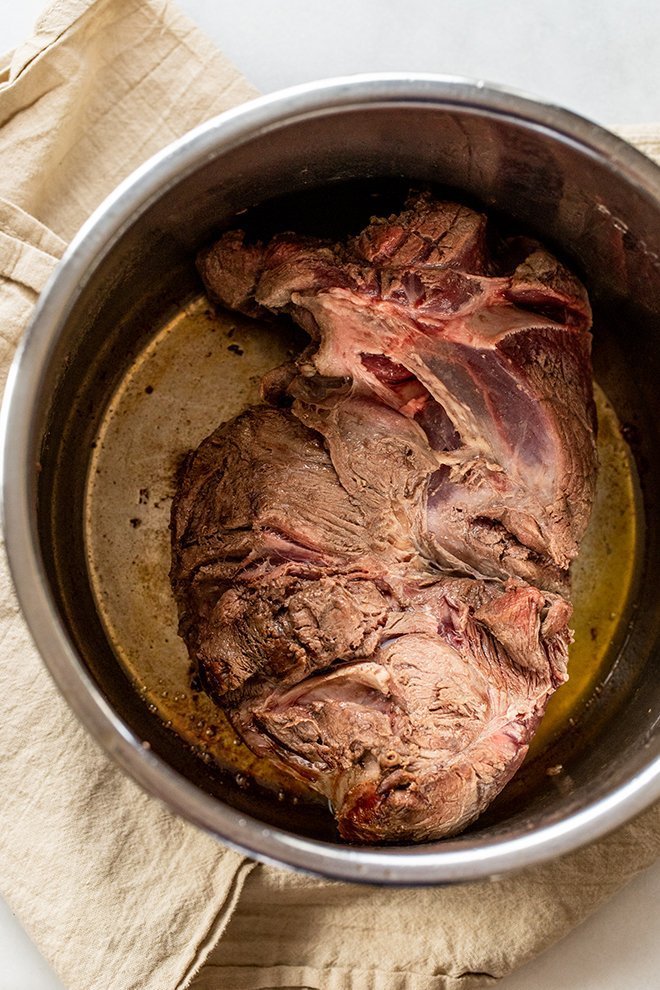
Preparing Deer Meat For Canning
Good results begin with good preparation. The way you handle and cut the meat affects flavor and safety.
- Trim all fat: Deer fat turns waxy and can spoil flavor. Remove sinew and silver skin.
- Cut into cubes: Aim for 1-inch pieces. Larger chunks may not heat evenly.
- Wash meat: Rinse with cold water to remove blood and debris.
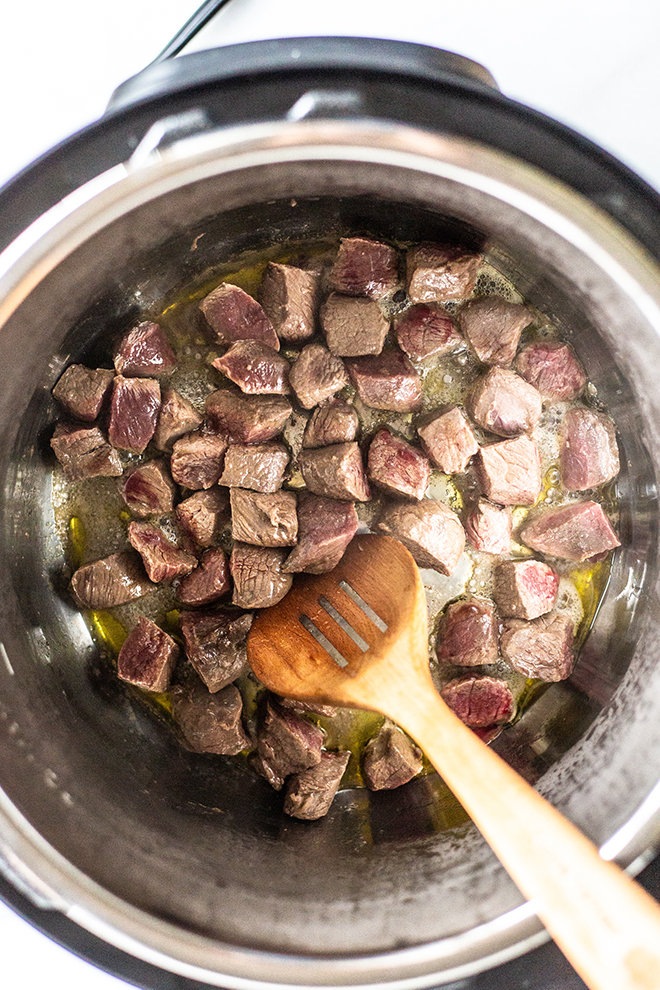
- Optional pre-cooking: Browning meat in a skillet enhances flavor, but raw packing is common and safe.
Some beginners forget to trim enough fat. This is a mistake—untrimmed fat can make the meat taste strong or gamey.
Step-by-step: How To Can Deer Meat In A Pressure Cooker
Follow these steps carefully. Do not rush; canning mistakes can cause spoilage or health risks.
Step 1: Sterilize Jars And Prepare Lids
Wash jars and lids with hot, soapy water. Rinse well. Place jars in boiling water for 10 minutes or run them through a dishwasher cycle. Keep jars warm until filling to prevent cracking.
Step 2: Fill Jars With Meat
- Place meat cubes in jars, leaving 1-inch headspace at the top.
- Add salt if desired.
- Optional: Add chopped onions or spices.
- For liquid packing, pour hot broth or water to cover meat. For dry packing, leave as is—the meat will release juice during canning.
Step 3: Remove Air Bubbles
Use a bubble remover tool or a plastic spatula to push around the inside of each jar. This releases trapped air. Wipe the rim with a clean towel.
Step 4: Seal Jars
Place lids on jars and screw on rings until fingertip tight. Do not overtighten; air must escape during canning.
Step 5: Load Pressure Canner
Add 2–3 inches of water to the canner. Place jars on the rack inside. Make sure jars do not touch each other.
Step 6: Process Jars
Close the canner lid and lock it. Heat until steam escapes for 10 minutes. Add the pressure regulator.
Use the table below for processing times and pressure:
| Jar Size | Pressure (psi) | Processing Time | Altitude (ft) |
|---|---|---|---|
| Pint | 10 | 75 minutes | 0–1,000 |
| Quart | 10 | 90 minutes | 0–1,000 |
| Pint | 15 | 75 minutes | 1,001+ |
| Quart | 15 | 90 minutes | 1,001+ |
Higher altitudes require more pressure. If you live above 1,000 feet, use 15 psi.
Step 7: Cooling And Testing Seals
Turn off the heat and let the pressure return to zero. Wait at least 10 minutes before opening the lid. Remove jars with a jar lifter and place on a towel, away from drafts. Let jars cool for 12–24 hours.
Check lids: They should be flat and not pop when pressed. If a jar did not seal, refrigerate it and use within a week.
Common Mistakes And How To Avoid Them
Canning deer meat is safe when done properly, but beginners often make these errors:
- Not using a pressure canner: Water bath canning is dangerous for meat.
- Overfilling jars: This can cause poor seals or siphoning.
- Ignoring altitude: Lower pressure at high altitudes can result in underprocessed meat.
- Not checking seals: Always test after cooling.
- Using old lids: Lids can fail if reused. Always use new lids for each batch.
Another mistake is skipping the step of removing air bubbles. Air pockets can lead to uneven heating, risking spoilage.
You might find this helpful:
Advantages Of Canned Deer Meat
There are clear benefits to pressure-canned venison:
- Long shelf life: Up to 2 years.
- No freezer needed: Saves space and power.
- Ready-to-eat: Great for quick meals, emergencies, or camping.
- Tender texture: Canning breaks down tough fibers.
- Flavor improves: Many say canned venison tastes better after a few months.
According to a survey by the National Center for Home Food Preservation, over 30% of hunters now preserve deer meat by canning.
Credit: www.missallieskitchen.com
Tips For Better Flavor And Texture
- Use fresh deer meat: The sooner after harvest, the better.
- Add a spoonful of tomato juice or broth for richer taste.
- Avoid overpacking jars; leave enough space for juices.
- Try browning meat before canning—this adds depth.
- For spicy venison, add pepper or garlic cloves.
Some canners add a small onion slice to each jar. This gives a mild sweetness without overpowering game flavor.
Storing And Using Canned Deer Meat
Store jars in a cool, dark place. Avoid direct sunlight and moisture. Canned venison is perfect for:
- Stews and soups
- Tacos or burritos
- Sandwiches
- Chili
- Pasta sauces
Once opened, use within 3–5 days. Always smell and check for signs of spoilage before eating.
Here’s a quick comparison of storage methods:
| Method | Shelf Life | Flavor | Ease of Use |
|---|---|---|---|
| Canning | Up to 2 years | Improves over time | Ready-to-eat |
| Freezing | 6–12 months | Good, but can dry out | Needs thawing |
| Drying/Jerky | 3–6 months | Very chewy | Snack only |
Safety Tips And Troubleshooting
Pressure canning is safe if you follow rules. Always check your pressure canner’s gauge for accuracy. If you notice cloudy liquid, broken seals, or bulging lids, discard the jar immediately.
If you’re unsure about best practices, visit the National Center for Home Food Preservation for official guidelines.
If you live in a humid climate, jars may rust faster. Check lids monthly and wipe jars to prevent corrosion.
Frequently Asked Questions
Can I Can Deer Meat Without A Pressure Cooker?
No, you must use a pressure canner. Water bath canning is unsafe for meat because it cannot reach high enough temperatures to kill bacteria like botulism.
How Long Does Canned Deer Meat Last?
Properly sealed, canned venison lasts 12–24 months. Always store jars in a cool, dry place and check seals before use.
Can I Add Vegetables Or Potatoes To The Jars?
You can add onions or peppers, but avoid potatoes and other starchy vegetables. They affect heat transfer and may not process safely.
Is It Safe To Reuse Lids?
No. Always use new lids for each batch. Used lids may not seal correctly, risking spoilage or contamination.
What Should I Do If A Jar Didn’t Seal?
Refrigerate the jar and use the meat within a week. Do not attempt to reprocess sealed jars—this can lower quality and safety.
Canning deer meat in a pressure cooker is a reliable way to enjoy venison year-round. It takes careful preparation and following each step, but the reward is tender, tasty, and shelf-stable meat. If you have doubts, follow official guides and use new equipment when possible.
With practice, you’ll find the process easy and satisfying, making each hunting season more rewarding.
Credit: www.missallieskitchen.com