Canning green beans at home is a great way to enjoy their fresh taste all year long. Many people think you need a pressure cooker for safe canning, but there are other methods if you don’t have one. Learning how to can green beans without a pressure cooker can help you save money, reduce waste, and enjoy healthy food whenever you want.
In this guide, you’ll discover safe, clear steps for water bath canning, practical tips, and answers to common questions. You’ll also learn about the safety concerns and how to avoid mistakes that beginners often make.
Why Can Green Beans Without A Pressure Cooker?
Not everyone owns a pressure cooker. Sometimes, they are expensive or hard to use for beginners. If you have a simple water bath canner or a large pot, you can still preserve green beans. Water bath canning is popular for fruits and acidic foods, but with green beans, you need extra care because they are low-acid vegetables.
Some people choose to pickle green beans or add acid to make them safe for water bath canning. This method is a favorite for those who like crunchy, tangy beans. It’s also safer and easier for home kitchens.
Understanding Water Bath Canning And Safety
Water bath canning uses boiling water to seal jars. It works well for foods with high acid, like tomatoes or jams. Green beans, however, are low-acid and can support harmful bacteria like botulism. To make green beans safe for water bath canning, you must add acid—usually vinegar—to raise the acidity.
Never try to can plain green beans in a water bath without acid. This is a serious safety risk. Pickled green beans are a safe and tasty option.
What You Need To Can Green Beans Without Pressure Cooker
You can get started with simple tools found in most kitchens. Here’s what you’ll need:
- Fresh green beans (about 2 pounds per quart jar)
- Canning jars (pint or quart size)
- Lids and bands (for sealing)
- Large pot or water bath canner
- Jar lifter
- Funnel
- Clean towels
- White vinegar (5% acidity)
- Water
- Salt (optional, for flavor)
- Garlic, dill, or spices (optional, for pickling)
For pickled green beans, you’ll also need:
- Vinegar solution (equal parts vinegar and water)
- Sugar (optional, for sweet pickles)
- Pickling spices (mustard seed, peppercorns, etc.)
Preparing Green Beans For Canning
Start with fresh, crisp green beans. Old or soft beans will not taste good after canning. Wash beans well, remove stems, and cut them into 4-inch pieces or as desired.
Blanching isn’t required for pickled beans, but some people do it for better color and texture. To blanch:
- Boil water in a pot.
- Add green beans for 2–3 minutes.
- Remove and place in cold water to stop cooking.
- Drain and set aside.
Blanching helps keep beans bright and crunchy.
Pickling Solution: Making Green Beans Safe
For water bath canning, you must use a vinegar solution. The standard ratio is:
- 1 cup white vinegar
- 1 cup water
- 1 tablespoon salt
- Optional: 1 tablespoon sugar for sweet pickles
Mix the solution and bring it to a boil. You can add spices like garlic, dill, or mustard seeds for extra flavor.
Here’s a comparison of different pickling solutions:
| Type | Vinegar | Water | Salt | Sugar | Flavor |
|---|---|---|---|---|---|
| Classic | 1 cup | 1 cup | 1 tbsp | 0 | Salty, sour |
| Sweet | 1 cup | 1 cup | 1 tbsp | 1 tbsp | Sweet, tangy |
| Spicy | 1 cup | 1 cup | 1 tbsp | 0 | Hot, zesty |
Choose the flavor you like, but always keep the vinegar-to-water ratio equal and use vinegar with 5% acidity.
Step-by-step: Water Bath Canning Pickled Green Beans
Follow these steps carefully for safe and tasty pickled green beans.
- Sterilize jars: Wash jars in hot, soapy water. Rinse well. Place jars in boiling water for 10 minutes or use the dishwasher’s sterilize cycle.
- Prepare lids: Place lids in hot (not boiling) water to soften the seal.
- Pack green beans: Stand beans upright in jars. Leave about ½ inch space at the top.
- Add spices: Place garlic, dill, or other spices in jars for flavor.
- Pour pickling solution: Use a funnel to pour hot vinegar solution into jars, covering beans completely. Leave ½ inch headspace.
- Remove bubbles: Run a non-metallic spatula or chopstick around the inside of the jar to release air bubbles.
- Seal jars: Wipe jar rims with a clean towel. Place lids and screw bands on firmly but not too tight.
- Process jars: Place jars in a water bath canner or large pot. Water should cover jars by 1–2 inches. Bring to a boil and process for 10–15 minutes.
- Remove jars: Use a jar lifter to take jars out. Place on a towel and let cool for 12–24 hours.
- Check seals: When cool, press the lid. It should not move. If the seal is good, store jars in a cool, dark place.
Here’s a quick table showing processing times:
| Jar Size | Processing Time | Water Depth |
|---|---|---|
| Pint | 10 minutes | 1 inch above jar |
| Quart | 15 minutes | 2 inches above jar |
If you live above 1,000 feet elevation, add 5 minutes to the processing time.
Storing And Using Your Canned Green Beans
After canning, store jars in a cool, dark place. Properly sealed jars last up to 12 months. Always check the seal before eating. If a jar is leaking, swollen, or smells bad, throw it away.
You can eat pickled green beans straight from the jar. They are great in salads, sandwiches, or as a snack. Some people use them in Bloody Mary cocktails for a crunchy garnish.
Common Mistakes When Canning Green Beans Without Pressure Cooker
- Skipping acid: Never try to can plain green beans in a water bath. Always use vinegar.
- Improper jar sealing: If lids don’t seal, bacteria can grow.
- Wrong vinegar: Use only 5% acidity vinegar.
- Not covering jars fully: Water must cover jars during processing.
- Overfilling jars: Leave enough space at the top for expansion.
Many beginners don’t realize that using less vinegar or skipping spices can lower acidity, making the beans unsafe. Always follow tested recipes.

Credit: www.youtube.com
Practical Tips For Success
- Use fresh beans for best results. Older beans can taste mushy after canning.
- Don’t pack beans too tightly. This helps the vinegar reach every bean.
- Let jars cool undisturbed. Moving them too early can cause seal failure.
- Label each jar with the date. This makes it easy to track freshness.
- Experiment with spices. Try adding red pepper flakes or coriander seeds for new flavors.
Another tip: If you’re unsure about acid levels, buy a simple pH test strip. Beans should be below pH 4.6 for safety.
Water Bath Canning Vs. Pressure Canning
Many people wonder how water bath canning compares to pressure canning. Here’s a quick comparison:
| Method | Best For | Safety | Flavor | Cost |
|---|---|---|---|---|
| Water Bath | High-acid foods, pickled beans | Safe with acid | Tangy, crunchy | Low |
| Pressure Cooker | Plain beans, low-acid foods | Very safe | Natural taste | Higher |
Water bath canning is perfect for pickled green beans. For plain beans, always use a pressure cooker.
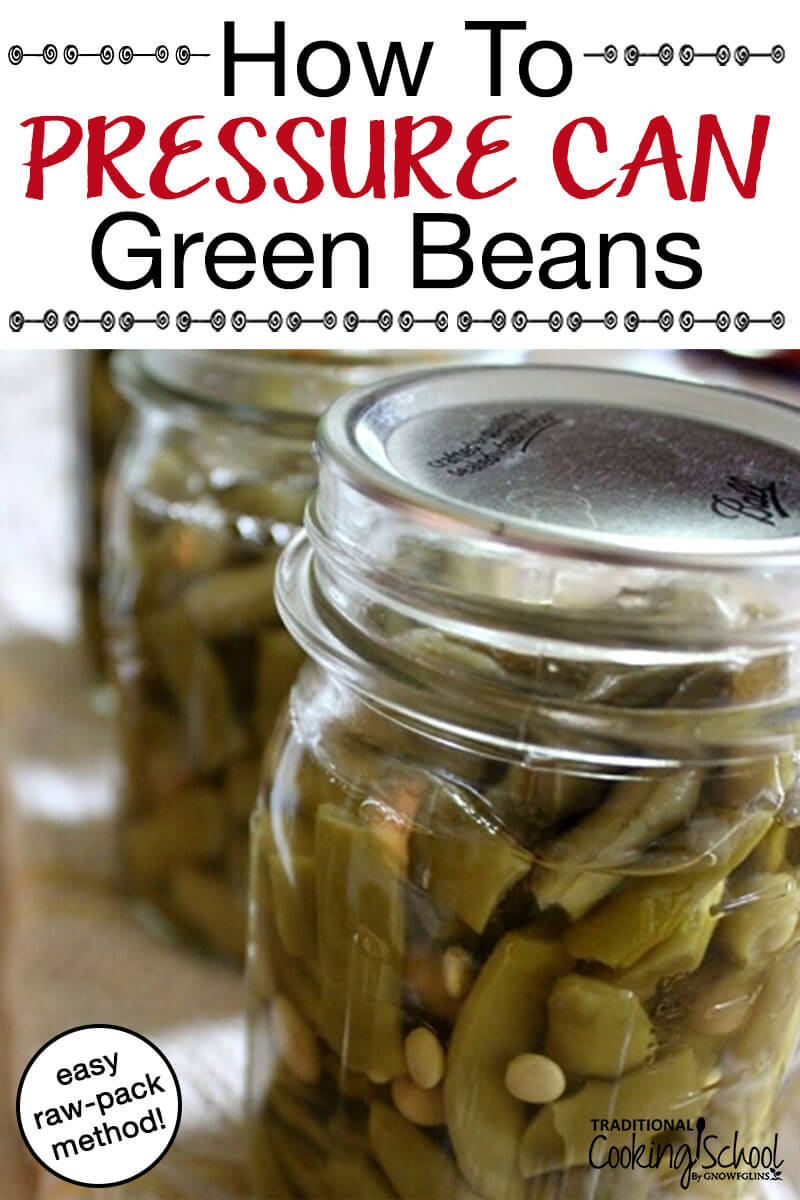
Credit: traditionalcookingschool.com
Real-life Example: Pickled Green Bean Recipe
Here’s a simple recipe for pickled green beans using the water bath method:
Ingredients:
- 2 pounds green beans
- 2 cups white vinegar (5% acidity)
- 2 cups water
- 2 tablespoons salt
- 4 cloves garlic
- 4 sprigs dill
- Optional: 2 tablespoons sugar
Instructions:
- Wash and trim beans.
- Sterilize jars and lids.
- Pack beans upright in jars.
- Add garlic and dill to each jar.
- Boil vinegar, water, salt, and sugar.
- Pour hot solution over beans, leaving ½ inch headspace.
- Remove bubbles, seal jars.
- Process in water bath for 10–15 minutes.
- Cool and check seals.
Makes 4 pint jars. Ready to eat after two weeks.
Health Benefits And Nutrition
Green beans are rich in fiber, vitamin C, and folate. Canning with vinegar preserves most nutrients, but high heat can reduce vitamin C by up to 30%. Pickled green beans are low in calories and provide a crunchy, healthy snack.
According to the USDA, home-canned vegetables can be just as nutritious as fresh, if processed correctly. Always use safe methods to protect your health.
Where To Find Tested Recipes
For more tested recipes and safety tips, visit the USDA National Center for Home Food Preservation. You can also check National Center for Home Food Preservation for expert advice.
Frequently Asked Questions
Can I Can Plain Green Beans Without A Pressure Cooker?
No. Plain green beans are low-acid and need a pressure cooker to kill dangerous bacteria. Water bath canning is only safe for pickled beans.
How Long Do Pickled Green Beans Last After Canning?
If sealed and stored properly, pickled green beans can last up to 12 months. Always check seals before eating.
What Is The Safest Vinegar For Canning Green Beans?
Use white vinegar with 5% acidity. Other vinegars may have lower acid and are not safe for canning.
Can I Use Apple Cider Vinegar For Pickling Green Beans?
Yes, but check that it has at least 5% acidity. Apple cider vinegar gives a sweeter flavor but is safe if the acidity is correct.
Why Do I Need To Leave Headspace In The Jars?
Headspace allows for food expansion during heating. Too little space can cause jars to break or seals to fail.
Canning green beans without a pressure cooker is easy and safe when you follow the right steps. Pickled green beans are tasty, crunchy, and can be made at home with simple tools. Remember, safety comes first—never skip the acid. Try new flavors and enjoy home-preserved beans all year round.