If you’ve ever pulled a muffin pan out of the oven and found a stubborn layer of baked-on batter cemented into every cup, you know exactly why “how to clean a muffin pan” matters. It’s not just a small kitchen chore. It’s the difference between a quick wipe-down and a 40-minute soaking session with a wire brush you’re not sure you should be using.
As of 2026, most nonstick muffin pans are rated for oven temperatures up to 450°F, but manufacturer specifications also show that dishwasher detergents can slowly degrade the coating. That’s why the right cleaning method depends on your pan’s material and how much mess you’re dealing with. Where you start makes all the difference.
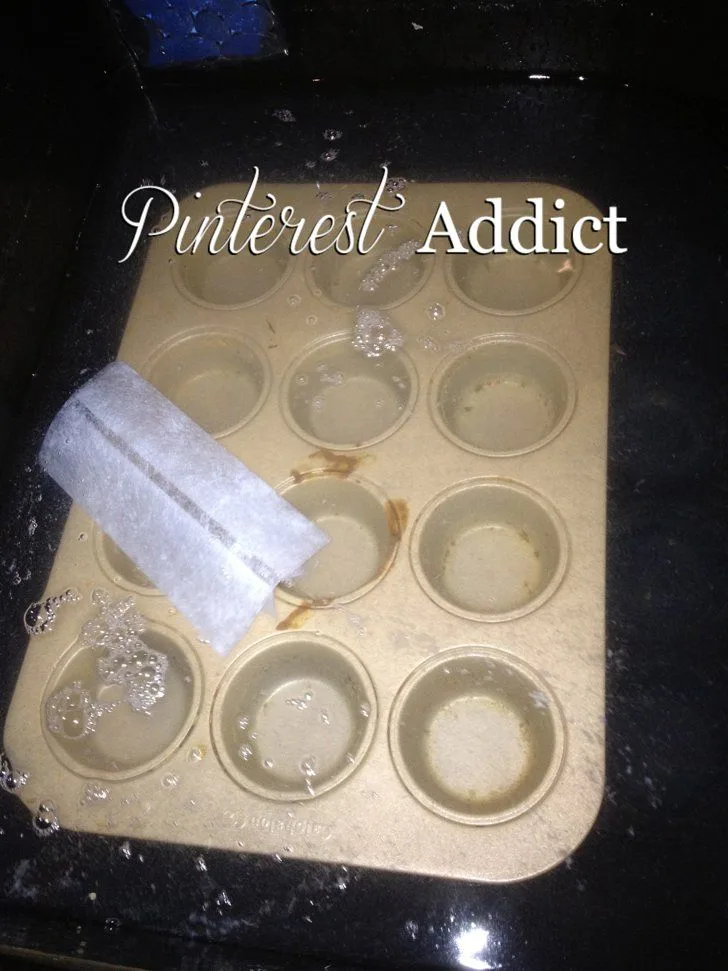
Image source: Web (Bing) / pinterest.com (Web image (fair-use with source credit))
Quick Answer
Here is how to clean a muffin pan. Soak it in hot, soapy water. Scrub gently with a non-abrasive sponge.
Make a baking soda paste for burnt-on gunk. Rinse thoroughly and dry completely. Different materials need different care.
Why Cleaning a Muffin Pan Feels Like a Chore (and How to Change That)
It’s not you. It’s the geometry. Muffin pans are built with deep, narrow cups that trap grease and crumbs.
The metal heats fast, which means oils bake onto the surface at high temperatures. That creates a crust that ordinary dish soap alone won’t lift.
There’s also the timing problem. Most home bakers don’t clean the pan the moment it comes out of the oven. It has to cool, then the muffins have to be freed, then dinner happens.
By the time you get to the sink, the residue has already bonded to the pan.
The fix is to treat cleaning as part of the baking process, not an afterthought. Once you understand what you’re working against, the whole job gets simpler. It just takes the right sequence and the right tool for your pan type.
The next few sections walk you through exactly that.
The 30-Second Rule: Rinse or Soak Right After Baking
The single most effective habit is also the easiest. As soon as you’ve removed the muffins, fill each cup with hot tap water. Let it sit while you eat or pack the muffins away.
That’s it.
Hot water works because it keeps oils and sugars in a liquid state. When they harden, they lock onto the pan’s surface. A brief soak prevents that bonding process from ever starting.
If you’re cleaning nonstick, warm water is safer than boiling water, which can warp the coating over time.
If you don’t have time to soak, at least rinse. Run hot water into each cup for a few seconds. Use your fingers to loosen any soft crumbs.
You’ll still need to scrub later, but you’ll cut the effort in half.
The 30-second rule matters even more for cast iron. A freshly cooled cast iron muffin pan wipes clean with a paper towel. Leave it overnight and you’ll be fighting for every bit of stuck-on batter.
Soak it, and you risk stripping the seasoning.
For silicone pans, the rule is slightly different. They don’t stick as much, but that oily film can still set in. A quick soak in hot, soapy water keeps the surface clear and prevents that cloudy residue from forming.
Does Pan Type Matter? A Quick Guide
Yes, more than you might think. Muffin pans are made from four main materials, and each one reacts differently to soap, water, scrubbing, and heat. Using the wrong cleaning method can ruin a good pan in a single wash.
| Pan Type | Material | Best Cleaning Method | Avoid |
|---|---|---|---|
| Nonstick | Coated steel or aluminum | Soft sponge, mild dish soap, warm water | Steel wool, abrasive pads, dishwasher |
| Cast iron | Bare iron | Hot water, stiff brush, salt scrub | Prolonged soaking, harsh soap, dishwasher |
| Silicone | Food-grade silicone | Warm soapy water, non-abrasive sponge | Sharp tools, high heat on burned residue |
| Uncoated aluminum | Bare aluminum | Soap, hot water, gentle scrub | Dishwasher, acid-heavy abrasives |
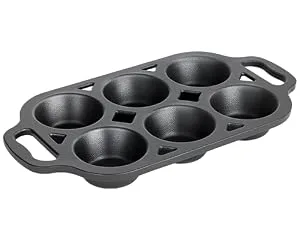
Image source: Web (Bing) / amazon.com (Web image (fair-use with source credit))
Nonstick pans are the most common in home kitchens. They’re easy to clean when they’re new, but the coating is fragile. Abrasive cleaners slowly wear it down, and dishwasher detergent can cause it to blister or peel.
Cast iron muffin pans are the workhorse option. They’re practically indestructible, but they need a maintained seasoning to stay nonstick. Cleaning mistakes, like leaving them in water, can cause rust within hours.
Silicone pans are flexible and bouncy. You can flip them inside out to clean every nook. But they’re also prone to a soapy residue that clings to the surface, which can make your next batch taste faintly like detergent.
Uncoated aluminum pans are the budget-friendly choice. They clean easily, but they react with acidic ingredients. Tomato-based batters can pit the surface.
Aluminum also darkens in the dishwasher, which looks bad but doesn’t hurt performance.
If you’re not sure what your pan is made of, check the bottom or the original packaging. It should say. If it doesn’t, put a magnet on it.
If it sticks, it’s steel or iron. If it doesn’t, it’s likely aluminum or silicone.
How to Clean a Nonstick Muffin Pan Without Ruining the Coating
Start with warm water and a few drops of dish soap. Fill the sink or a large bowl and let the pan sit for 10 to 15 minutes. Don’t use water that’s too hot.
Extreme temperatures can warp the pan or weaken the coating.
Once the residue softens, use a soft sponge or a nylon scrubbing brush. Work in small circles. Focus on the edges inside each cup, where batter tends to bake into a thin ring.
Most of it will come off with little effort.
For spots that won’t move, make a loose paste. Mix three parts baking soda with one part water. Apply it to the stubborn area with your fingers.
Let it sit for five minutes, then scrub gently. Baking soda is mildly abrasive, so it’s safe for nonstick surfaces when used with light pressure.
Avoid these common mistakes:
- Steel wool or scouring pads.
- Harsh powdered cleaners.
- The dishwasher, even on a gentle cycle.
- Sharp utensils to pry off baked-on bits.
After rinsing, dry the pan immediately with a soft towel. Air-drying nonstick can leave water spots or tiny mineral deposits that stick to the coating. A quick towel-off also lets you spot any areas you missed.
If your nonstick muffin pan is already scratched or peeling, it’s time to replace it. Damaged coatings can chip into food. Most manufacturers recommend replacing nonstick cookware every five years.
How to Clean a Cast Iron Muffin Pan (Without Stripping the Seasoning)
Cast iron is a different animal. You don’t need to keep it spotless. You need to keep it seasoned, because that seasoning is what makes it nonstick.
The good news is that basic care is simpler than most people think.
First, remove loose crumbs while the pan is still warm. Use a paper towel or a stiff brush. If the muffins came out clean, that might be the only step you need.
For stuck-on bits, run hot water over the pan and use a stiff nylon brush or a chainmail scrubber. Avoid soap if you can. A little dish soap is acceptable on modern cast iron, according to Lodge’s official care guide.
But it will strip some of the protective oil, so you’ll need to re-season eventually.
For heavy residue, use coarse salt. Pour a generous amount into the pan, then scrub with a paper towel. The salt grains act like tiny abrasives without damaging the seasoning.
When you’re done, rinse thoroughly and dry immediately.
Never leave a cast iron muffin pan to soak. Moisture is the enemy. If you walk away for 30 minutes, you’re risking rust.
Dry it on the stovetop over low heat for one minute to make sure every drop of water evaporates.
Finally, apply a thin layer of cooking oil. Wipe it all over the pan with a paper towel, including the cups. Then wipe away the excess.
The pan should look dry with just a faint sheen. Store it somewhere dry, or you’ll be back to scrubbing rust next time.