If you’ve ever wondered how to clean a Nespresso machine the right way, you’re not alone. Most owners don’t realize that a machine left uncleaned slowly destroys its own flavor and eventually its internal parts. By the time the coffee starts tasting dull or the brew flow slows to a trickle, scale and old coffee oils have already done some damage.
The good news is that cleaning your Nespresso machine takes about 20 minutes every few months, plus a minute of daily upkeep. Manufacturer specifications recommend descaling every 300 capsules or roughly every three months, depending on your water hardness. A machine that follows that schedule can easily last 7 to 10 years.
Let’s walk through exactly what needs to happen, why it matters, and how to do it without guesswork.
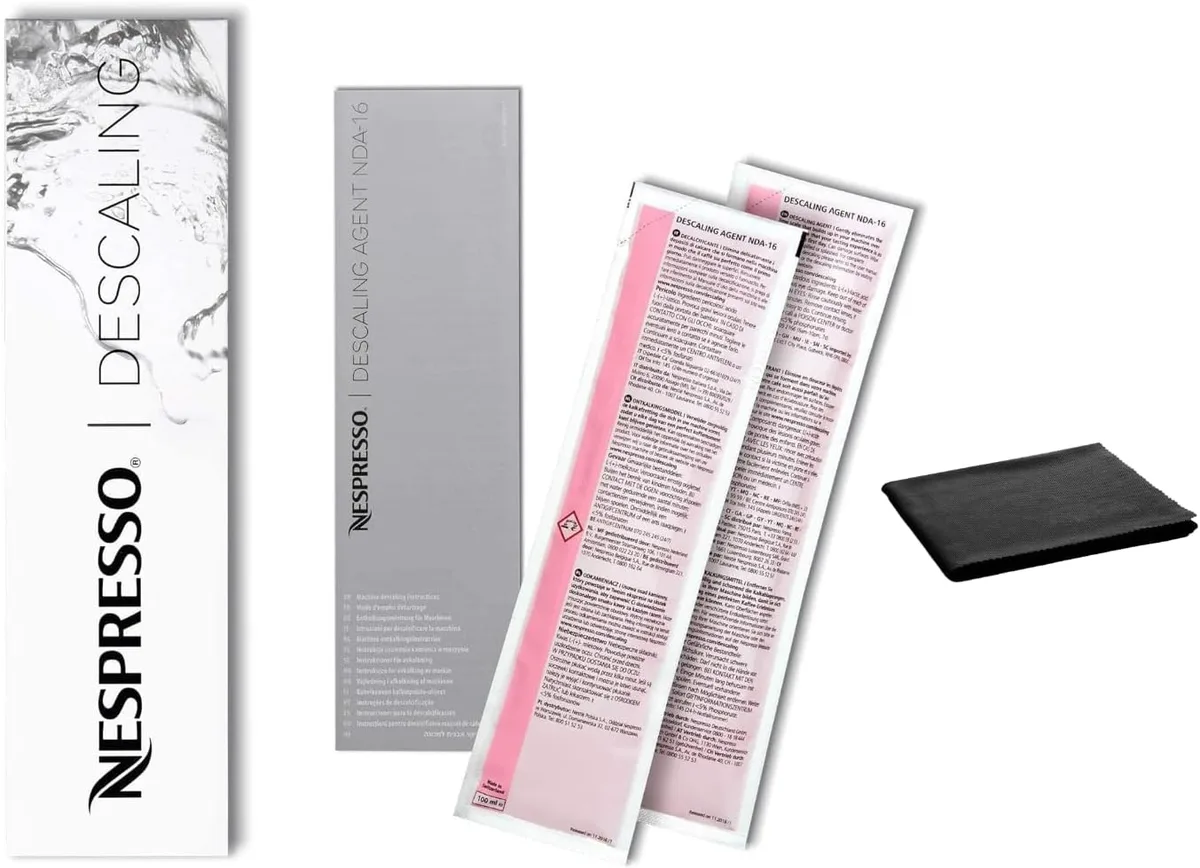
Image source: Bing (Web (fair-use with source credit))
Quick Answer
Clean the removable parts weekly. Descale every 3 months or 300 capsules. Use only proprietary Nespresso descaling solution.
Never use vinegar. Run the rinse cycle after descaling until the tank empties twice. Brush the puncture needle every two weeks.
Wipe the brew head daily.
Why Cleaning Your Nespresso Machine Actually Matters
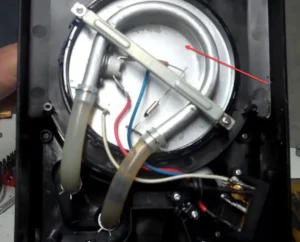
Your Nespresso machine deals with two distinct enemies: mineral scale and coffee oil residue. Scale forms when hard water heats up inside the boiler and pipes, leaving behind calcium deposits that slowly choke the water flow. Those deposits act like insulation inside the heating element, making the machine work harder and hotter.
Aggregate user feedback indicates that an average machine loses 30 to 40 percent of its flow rate before the owner even notices the coffee tasting flat.
Coffee oil is the second problem. Each brew leaves a thin film of aromatic oils on the brew head, the needle, and the internal passages. Those oils eventually oxidize, turning rancid and sticky.
That’s what creates the stale, bitter, or even “burnt plastic” taste that drives people to buy a new machine long before they need one. You can’t solve oil buildup with descaling solution alone, and you can’t solve scale with soap and water.
The real cost of neglect shows up in four ways: bad coffee, slower brews, error codes, and premature failure. When the internal boiler gets coated with a millimeter of scale, the machine overworks itself trying to heat water. Per Nespresso’s own maintenance documentation, descaling is the single most important factor in keeping the machine within its designed operating pressure of 19 bars (Original line) or the centrifugal spinning speed (Vertuo line).
If you’ve ever had a friend complain that their Nespresso “just stopped working” after two years, they almost certainly skipped descaling. You don’t need to be that person.
Before You Start: Know Your Machine (Original vs. Vertuo)
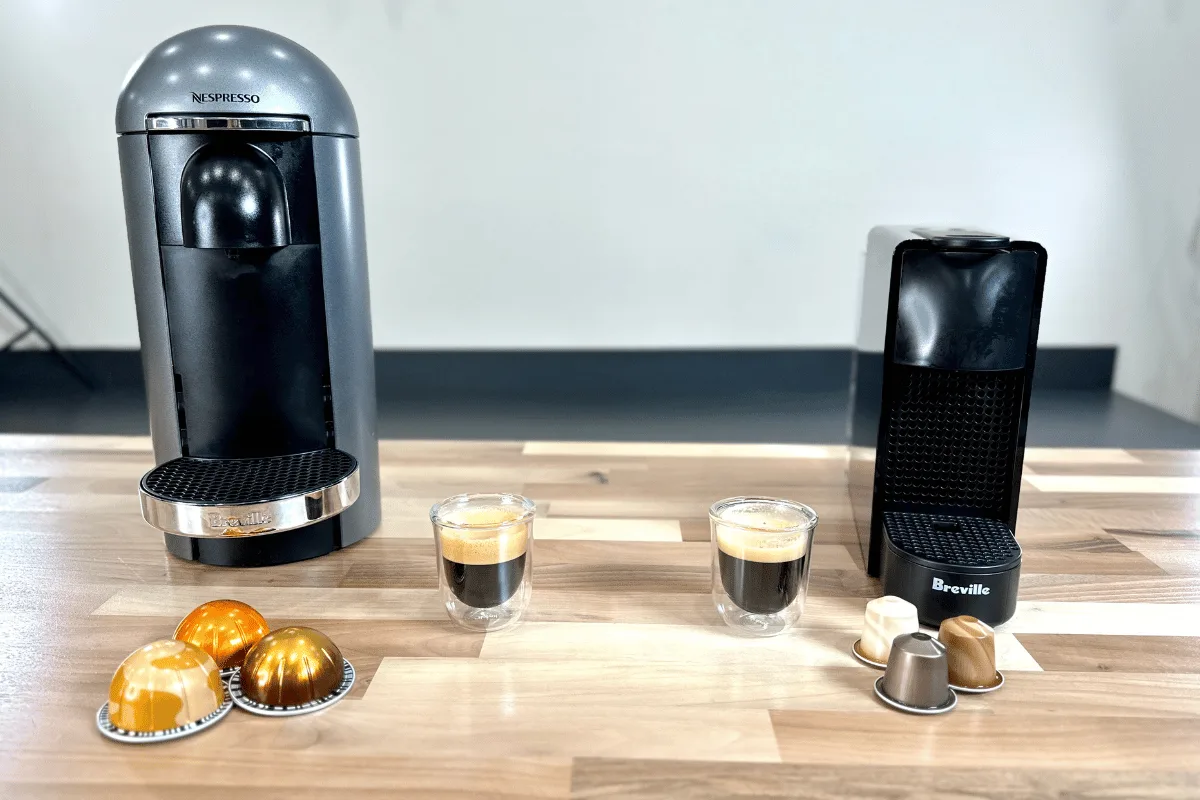
Image source: Web (Bing) / gift.kinderschutzbund-hanau.de
Not all Nespresso machines clean the same way. The Original line and the Vertuo line use different brewing technology, which means different cleaning requirements. If you get the wrong workflow for your machine, you might miss a critical step or damage something.
Original line machines (like the Essenza, Pixie, CitiZ, or Lattissima) push hot water through the capsule at 19 bars of pressure. The brew head has a piercing needle that punctures the foil top and bottom of the capsule. That needle gets clogged with coffee grounds over time, and it sits right where you can see it and clean it.
Original machines also have a simpler descaling cycle: you put the solution in the tank, press a button combination, and the machine runs the solution through the system.
Vertuo line machines (like the Vertuo Next, Vertuo Plus, or Evoluo) spin the capsule at high speed while injecting water, using a barcode reader to adjust brew parameters. The brew head is a larger conical unit, and the puncturing mechanism is built into the capsule itself when you close the lid. Cleaning the needle on a Vertuo requires accessing it through the top of the brewing unit, which is a different process.
Vertuo machines also have a slightly different descaling mode activation sequence.
Here’s the key difference you need to remember: Original machines have a visible drip tray that catches both the coffee and any overflow, while Vertuo machines often have a larger drip tray with a grid that hides the bottom more thoroughly. Both need the same thorough disassembly for cleaning, but the steps to enter descaling mode vary by model. Check your manual for the exact button combination, or look for the three-second hold of the brew button that most models share.
If you just bought a new machine or received a used one, it’s smart to run two rinse cycles with plain water before you make your first cup. That initial flush removes any residual manufacturing oils or dust. We have a separate guide on the initial rinse process if you want to be thorough.
What You’ll Need (And What You Shouldn’t Use)
The cleaning toolkit for your Nespresso machine is surprisingly small. You probably already own most of it. The difference between a good cleaning and a bad one comes down to which products you choose and which ones you avoid.
Here’s what you actually need:
| Tool | Purpose | Where to find it |
|---|---|---|
| Proprietary Nespresso descaling solution | Removes scale from internal boiler and pipes | Nespresso website or local boutique |
| Soft-bristle brush | Cleans the puncture needle | Nespresso sells one, or use a clean toothbrush |
| Microfiber cloth | Dries and polishes the brew head, drip tray, exterior | Any home goods store |
| Mild dish soap | Cuts coffee oil from removable parts | Your kitchen sink |
| Water filter cartridge (optional) | Reduces scale buildup between descaling cycles | Nespresso standard water filters |
The single most important rule about what to use: do not use vinegar. Despite being a popular DIY cleaning trick for standard drip coffee makers, vinegar is bad for Nespresso machines. The acetic acid in vinegar is too aggressive for the aluminum heating element and the rubber seals inside a Nespresso.
It can degrade the internal tubing and leave a lingering vinegary smell that takes weeks to flush out. Even diluted vinegar causes problems over repeated uses. Our research into alternative cleaning methods shows that this is the most common source of post-cleaning problems.
Stick with the manufacturer’s solution.
If you’re tempted to use straight citric acid powder mixed with water, proceed with caution. While citric acid is the active ingredient in most descaling solutions, the concentration matters. A homemade solution that’s too strong can damage the seals, and one that’s too weak won’t dissolve the scale.
The proprietary solution is formulated to be the right strength for exactly how long it sits in your machine. It’s about 15 dollars per kit, which covers two descaling cycles. That’s around 7 dollars per cleaning, which is cheaper than a single visit to a coffee shop.
You do not need distilled water for cleaning. The type of water you fill it with does affect how quickly scale builds up, but the cleaning process itself works fine with tap water for the rinse cycles. For the descaling phase, use the solution plus regular tap water.
Your Step-by-Step Cleaning Routine (Daily, Weekly, and Deep Clean)
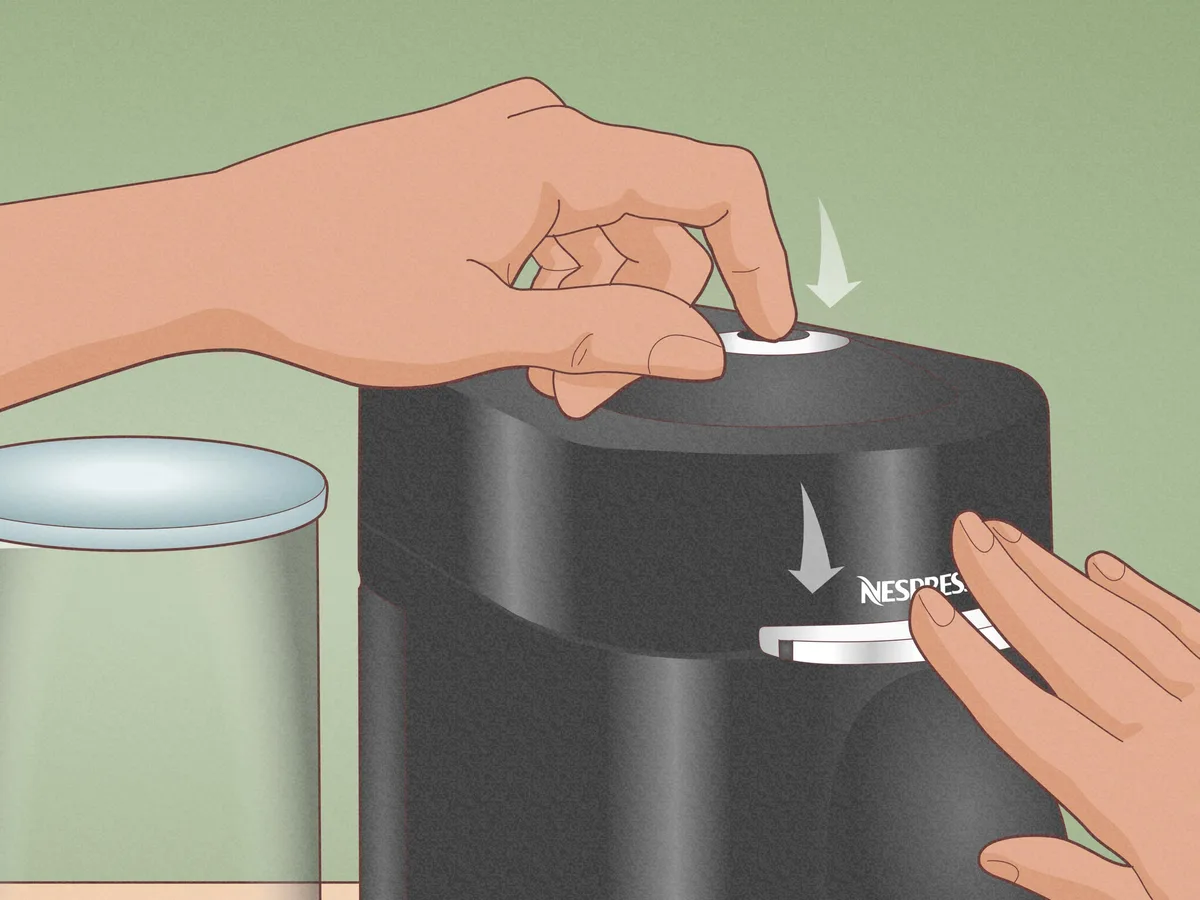
Image source: Web (Bing) / storage.googleapis.com
Most Nespresso owners fall into one of two groups: those who only clean when the machine starts acting up, and those who follow a rhythm that keeps everything running smoothly. The second group spends less time and money overall. Here’s the full routine broken into three frequencies.
Daily Cleaning (1 minute)
After your last cup of the day, open the brew head and let it cool for 30 seconds. Wipe the brew head seal and the capsule compartment with a damp microfiber cloth. This removes fresh coffee oils before they dry into a stubborn film.
It takes less time than waiting for your next cup to brew.
If you used the frother, rinse it with warm water for a few seconds. More on that in the next section.
Weekly Maintenance (10 minutes)
- Remove the drip tray, capsule bin, and water tank. Wash them in warm soapy water using mild dish soap. Do not put them in the dishwasher unless your manual explicitly says it’s safe. Most Nespresso plastic parts warp or discolor in a dishwasher.
- Rinse thoroughly and dry with a microfiber cloth. Let them air dry for a few minutes before reassembling.
- While the parts are drying, clean the puncture needle. On Original machines, you’ll see the needle in the center of the brew head. Use the special cleaning tool that came with your machine or a soft brush to gently dislodge any coffee grounds. On Vertuo machines, open the lid, locate the puncturing mechanism on the top interior, and brush gently. Do not use a toothpick or paperclip, hard metal tools can scratch the needle and affect the piercing angle.
- Wipe down the exterior of the machine with a damp cloth. Dry immediately.
Deep Clean — Descaling (20 minutes, every 3 months or 300 capsules)
This is the most important cleaning step, and it’s also where most people get it wrong. The descaling process runs the descaling solution through your machine’s entire internal system, dissolving calcium deposits that manual cleaning can’t reach.
- Empty the water tank. Pour in the entire bottle of Nespresso descaling solution. Fill the rest of the tank with fresh water up to the MAX line.
- Place a large container (at least 500ml) under the brew head to catch the runoff.
- Enter descaling mode. On Original machines, hold the brew button for 3 to 5 seconds until the button starts flashing orange. On Vertuo machines, close the lid and hold the brew button for 3 seconds until the light flashes orange. Some models require you to toggle the lever three times. Check your manual if you’re unsure.
- The machine will dispense the solution in intervals. When the tank is empty, turn off the machine. Let the solution sit inside the machine for 15 minutes. This soaking time is critical, rinsing it through too quickly won’t dissolve thick scale.
- After 15 minutes, rinse the water tank thoroughly. Fill it with fresh water to the MAX line. Run two full tanks of water through the machine using the descaling cycle again. Do not interrupt this rinse. Your coffee will taste like descaler if you skip it.
- Wipe the drip tray and brew head one more time. The machine is now ready for normal use.
If you see the descaling light blinking but you know you cleaned recently, your water may be very hard. Some machines track cup count rather than actual scale buildup. You can reset the counter by holding the brew button for 8 seconds, but that doesn’t actually fix the scale problem.
Run the descaling cycle anyway if it’s been more than three months.
How to Clean a Milk Frother (Aeroccino or Steam Wand)
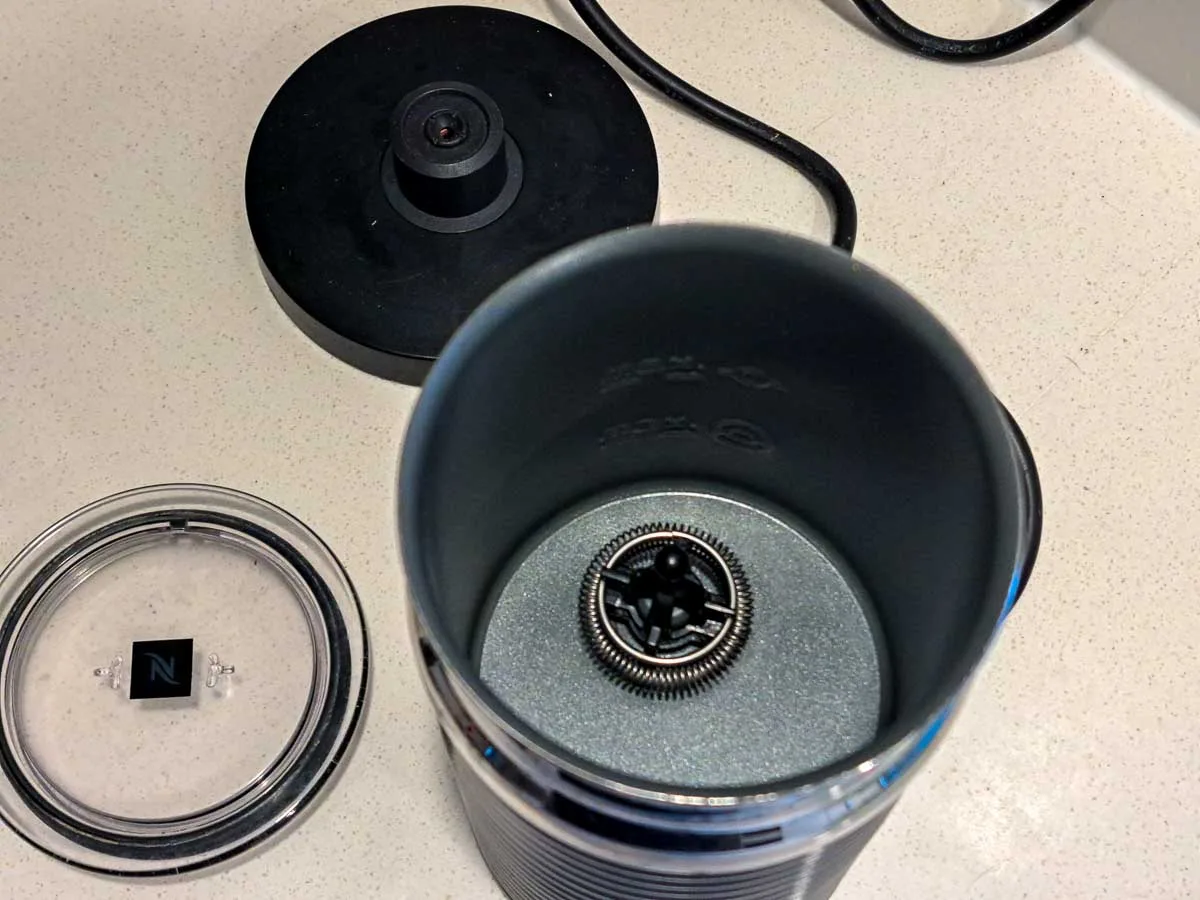
Image source: Bing
Milk residue is a different beast from coffee oil or scale. It contains proteins that denature and stick to surfaces when heated, creating a thin film that traps bacteria and turns sour. That film is why yesterday’s frothed milk smells like old yogurt by morning.
You need to address it differently depending on whether you have an Aeroccino (standalone frother) or a steam wand (built into the Lattissima models).
Aeroccino (standalone frother)
The Aeroccino is simple to clean because it has a non-stick interior and a removable whisk attachment. After each use, rinse the inside with warm water and wipe with a soft cloth. Never use abrasive sponges, they scratch the non-stick coating, which then makes milk stick even harder.
For a weekly deep clean, fill the Aeroccino with warm water and a drop of mild dish soap. Run it for about 10 seconds without the whisk attachment. Pour out the soapy water, rinse thoroughly, and dry.
If you notice a milky smell persisting, you can run a cycle with diluted white vinegar (one part vinegar to three parts water), then run two cycles with plain water. Just be thorough with the rinsing.
The key mistake people make with the Aeroccino is letting milk sit in it for hours. Rinse it within five minutes of use and you’ll rarely need to deep clean.
Steam Wand (built into Lattissima models)
Steam wands are trickier because milk climbs up inside the steam pipe. Every time you froth milk, wipe the wand tip with a damp cloth immediately. Then purge the wand by running steam for three seconds into a cloth or cup.
That pushes milk residue out of the tube before it dries.
Once a week, remove the steam wand tip if it’s detachable (check your manual). Soak it in warm soapy water for 10 minutes. Use a thin brush to clean the inside of the wand opening.
If you ever see milk sputtering or dripping out of the wand tip while steaming, you have a buildup problem that requires a more thorough cleaning.
The Nespresso official website provides specific cleaning recommendations for each Lattissima model, and they’re worth looking up if you own one. A clogged steam wand that goes uncleaned can eventually block the steam path entirely, which means no frothed milk and a repair bill that could have been avoided.
For anyone who regularly prepares milk-based drinks at home, keeping the frother clean is just as important as descaling the main machine. Sour milk taste ruins even the best espresso shot, and no amount of fresh coffee beans can mask it.