Cleaning a waffle maker can seem tricky at first. Many people worry about damaging the nonstick surface or getting water into the electrical parts. But with the right steps, you can keep your waffle maker clean, safe, and working for years.
A clean waffle maker also means better-tasting waffles and less smoke or burning smells during cooking. This guide will show you simple, effective ways to clean any waffle maker, from basic models to advanced ones with removable plates.
Why Cleaning Your Waffle Maker Matters
A waffle maker collects oil, crumbs, and batter after each use. Over time, this buildup can cause several problems:
- Stuck waffles: Old oil and crumbs make waffles stick, even on nonstick surfaces.
- Burnt smells: Leftover bits burn each time you use the machine, creating smoke and bad smells.
- Shorter lifespan: Grease and food can damage heating elements and the nonstick coating.
- Food safety: Old food can grow bacteria or mold, risking your health.
By cleaning your waffle maker regularly, you prevent these issues. This means crispier waffles, easier cooking, and a safer kitchen.
Types Of Waffle Makers And Cleaning Differences
Not all waffle makers are the same. Some have removable plates, while others do not. Some are electric; others may be stovetop models. Knowing your type helps you choose the safest cleaning method.
Here is a simple comparison between the two most common types:
| Feature | Removable Plates | Fixed Plates |
|---|---|---|
| Cleaning Ease | Very easy (can wash plates separately) | Moderate (must avoid water near electrical parts) |
| Time Needed | Faster | May take longer |
| Risk of Damage | Low | Medium (risk if water enters machine) |
| Dishwasher Safe | Often yes | No |
If you do not know your model, check the manual or look for small release buttons on the plates.
What You Need To Clean A Waffle Maker
Before you start, gather these items:
- Soft cloths or paper towels
- Non-abrasive sponge
- Small brush (a pastry brush or old toothbrush works well)
- Mild dish soap
- Wooden or silicone spatula
- Cotton swabs (for tight corners)
- Bowl of warm water
Avoid using steel wool, harsh scouring pads, or strong cleaners. These can scratch the nonstick surface and ruin your waffle maker.
Step-by-step: Cleaning A Waffle Maker After Each Use
Cleaning right after cooking makes the job much easier. Here’s how:
1. Unplug And Let It Cool
Always unplug your waffle maker first. Let it cool until it is warm but not hot. This avoids burns and also makes cleaning safer.
2. Remove Loose Crumbs
Open the lid and gently shake out any loose crumbs into the trash. For stubborn bits, use a soft brush or a wooden spatula to loosen them.
3. Wipe Away Oil And Batter
Dampen a soft cloth or paper towel with warm water. Wipe the grids and edges. If you see sticky batter, place the damp cloth on the area for a few minutes, then wipe again. For corners, use a cotton swab.
4. Clean The Outside
Wipe the outside with a damp cloth. If there are greasy spots, use a drop of mild dish soap, then wipe again with clean water.
5. Dry Completely
Use a dry cloth or paper towel to dry all parts. Leave the waffle maker open for a few minutes to air dry.
Deep Cleaning: When And How To Do It
Even with regular cleaning, your waffle maker may need deep cleaning every few weeks, especially if you see buildup or smell burning. Deep cleaning removes hidden oil and old food from crevices.
Deep Cleaning Steps
1. Unplug And Cool Down
Never clean a hot or plugged-in waffle maker. Wait until it is fully cool.
2. Remove Plates (if Possible)
If your model allows, take out the plates. Wash them in warm, soapy water or the dishwasher if safe. Dry fully before replacing.
3. Clean Fixed Plates
For non-removable plates, use a damp sponge with mild soap. Wipe gently. Use a brush or cotton swab for tight corners.
4. Steam Clean Stubborn Buildup
Place a damp (not wet) cloth on the grids. Close the lid and let the steam loosen stuck-on food for about 5 minutes. Wipe away softened bits.
5. Clean The Drip Tray And Exterior
Many waffle makers have a drip tray. Remove it and wash with soap and water. Wipe the outside of the machine with a damp cloth.
6. Reassemble And Dry
Make sure all parts are dry before putting the waffle maker back together or storing it.
Common Mistakes To Avoid
Many people damage their waffle maker by cleaning it the wrong way. Here are common mistakes and how to avoid them:
- Using too much water: Water can enter the electrical parts and cause short circuits.
- Scraping with metal: Metal tools scratch the nonstick surface, causing waffles to stick and ruining the coating.
- Using harsh chemicals: Bleach, oven cleaner, or strong detergents can damage the surface and leave dangerous residues.
- Not drying fully: Moisture can lead to mold or electrical problems.
- Forgetting the outside: Oil and batter can drip down, so wipe the outside and bottom as well.
How To Clean Burnt-on Batter Or Oil
Sometimes batter overflows or oil gets baked on. Removing these stains takes a little extra work.
Steps For Tough Stains
1. Unplug And Cool
Always start safe.
2. Soften The Burnt Bits
Lay a damp cloth over the area. Close the lid and let it sit for 10 minutes.
3. Gently Scrape
Use a wooden or silicone spatula to gently lift the softened bits.
4. Use Baking Soda Paste
Mix a little baking soda with water to make a paste. Apply to the stain, let it sit for 5 minutes, then scrub gently with a soft brush.
5. Wipe Clean
Remove all residue with a damp cloth, then dry.
Cleaning Removable Plates Vs. Non-removable Plates
How you clean depends on your waffle maker’s design. Here is a quick comparison:
| Cleaning Step | Removable Plates | Fixed Plates |
|---|---|---|
| Initial Crumb Removal | Remove plates, shake over trash | Brush crumbs out |
| Washing Method | Hand wash or dishwasher safe | Damp cloth/sponge only |
| Drying | Air dry before replacing | Wipe dry, leave open |
| Time Needed | Less (if dishwasher safe) | More care and time |
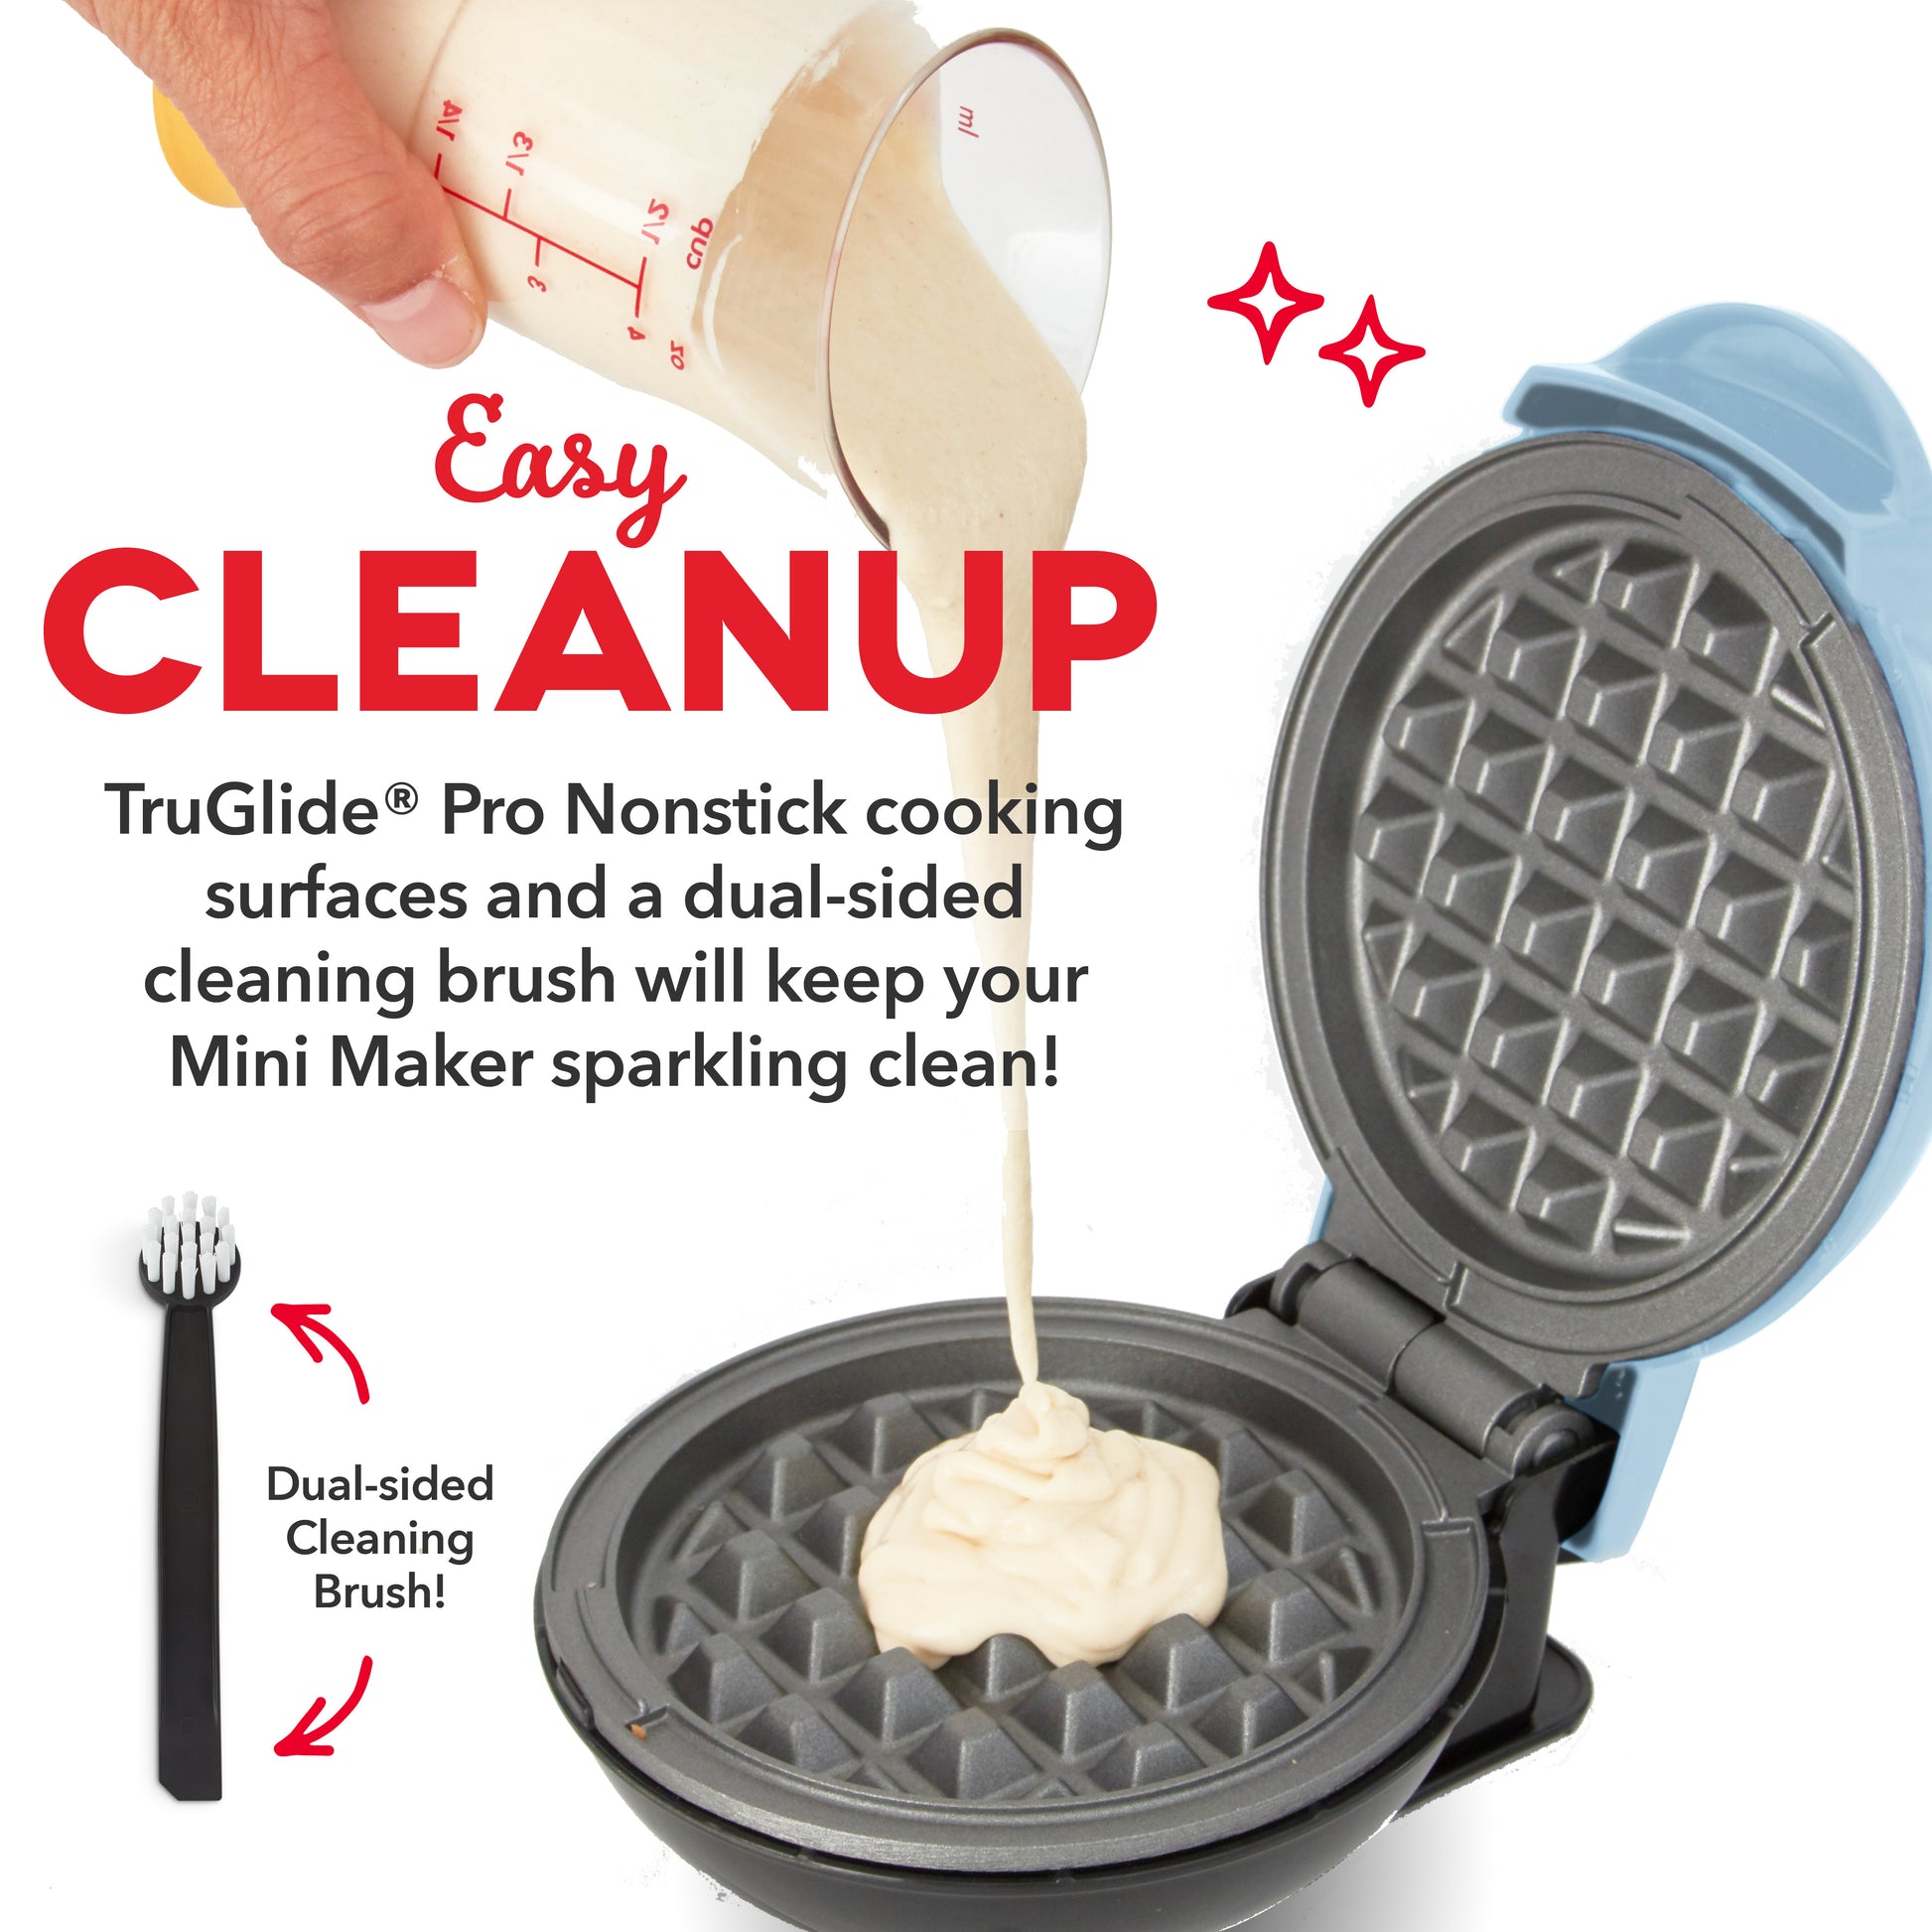
Removable plates make cleaning much easier. However, even with fixed plates, following the right method keeps your waffle maker in top shape.
Credit: bydash.com
How Often Should You Clean A Waffle Maker?
- After every use: Wipe the grids and outside, remove crumbs.
- Once a month: Deep clean, including corners and under the machine.
- Right after spills: Clean as soon as safe to avoid hardening.
If you use your waffle maker often, check for buildup more regularly. For rare use, clean before storing for long periods.
You can also read: Why is My Waffle Maker Smoking
Tips For Keeping Your Waffle Maker Clean Longer
- Use less oil: Too much oil creates sticky residue.
- Don’t overfill: Pour just enough batter to avoid overflow.
- Let it cool before cleaning: Hot surfaces are harder to clean safely.
- Wipe quickly after cooking: Warm residue is easier to remove.
- Store with the lid open: This keeps moisture out and prevents odors.
Credit: www.reddit.com
What About Belgian Vs. Classic Waffle Makers?
Belgian waffle makers have deeper grids. Classic models are shallower. The cleaning method is almost the same, but Belgian models may need more attention to corners and edges.
For example, a Belgian waffle maker might collect more oil in the deep pockets. Use a soft brush to reach these areas. With classic models, crumbs are easier to wipe out.
When To Replace A Waffle Maker
Even with good cleaning, a waffle maker will not last forever. Signs it may be time for a new one:
- Flaking nonstick coating
- Uneven heating
- Loose or broken parts
- Heavy burnt smell that won’t go away
Most waffle makers last 3–7 years with regular use and proper cleaning. If yours shows these signs, it is safer and easier to buy a new one.
Environmental Tips For Cleaning
Try these environmentally friendly ideas:
- Use reusable cloths instead of paper towels.
- Choose mild, natural cleaners, like vinegar and baking soda.
- Avoid harsh chemicals that can harm water supplies.
Cleaning Stovetop Waffle Makers
Stovetop waffle makers (cast iron or aluminum) need different care:
- Let cool, then wash with hot water and a soft brush.
- Dry completely to avoid rust.
- For cast iron, wipe with a little oil after drying to keep it seasoned.
Never put a cast iron waffle maker in the dishwasher.

Credit: www.youtube.com
Safety Reminders
Always unplug electric waffle makers before cleaning. Never submerge the machine in water. Only removable, non-electric parts are dishwasher safe.
If you have lost your manual, many brands offer cleaning instructions online. For more details, see this guide on WikiHow.
Frequently Asked Questions
How Do I Clean A Waffle Maker Without Removable Plates?
Use a damp cloth or sponge to wipe the grids. For stuck-on bits, let a warm, damp cloth sit on the surface for a few minutes. Use a brush or cotton swab for corners. Never use too much water.
Can I Put My Waffle Maker Plates In The Dishwasher?
If the plates are removable and the manual says they are dishwasher safe, yes. If not, always hand wash them. Never put the whole machine in the dishwasher.
What Should I Do If Batter Overflows Into The Machine?
Unplug and let it cool. Wipe away as much as you can from the outside. For inside spills, use a damp cloth and a brush. Check the manual for tips on cleaning inside crevices.
Is It Okay To Use Cooking Spray On Nonstick Waffle Makers?
It is better to use a small amount of oil with a brush. Cooking spray can build up and make cleaning harder. Some sprays also damage nonstick coatings over time.
My Waffle Maker Smells Burnt Even After Cleaning. What Should I Do?
Check for hidden buildup in corners or under the plates. Try a deep clean with baking soda paste. If the smell stays, the nonstick coating may be damaged, or the machine is too old and should be replaced.
A clean waffle maker is a joy to use and keeps your breakfasts delicious and safe. With these steps, you can enjoy perfect waffles every time—no fuss, no mess, just great food and easy cleanup.