A Cosori air fryer makes weeknight dinners effortless, but the real test starts after the last plate is cleared. Grease films, trapped crumbs, and lingering odors build up faster than you'd expect, and they don't stay hidden for long. Left alone, that residue doesn't just affect how your food tastes — it can wear down the non-stick coating and strain the heating element.
The good news: keeping your Cosori in top shape doesn't require harsh chemicals or a 30-minute scrub session. A few simple habits, done consistently, are enough. In this guide, I'll walk through the five cleaning hacks I rely on to protect the basket, coil, and exterior of my own Cosori, so it keeps producing crisp, evenly cooked meals for years. You can also read our guide on how to preheat an air fryer.
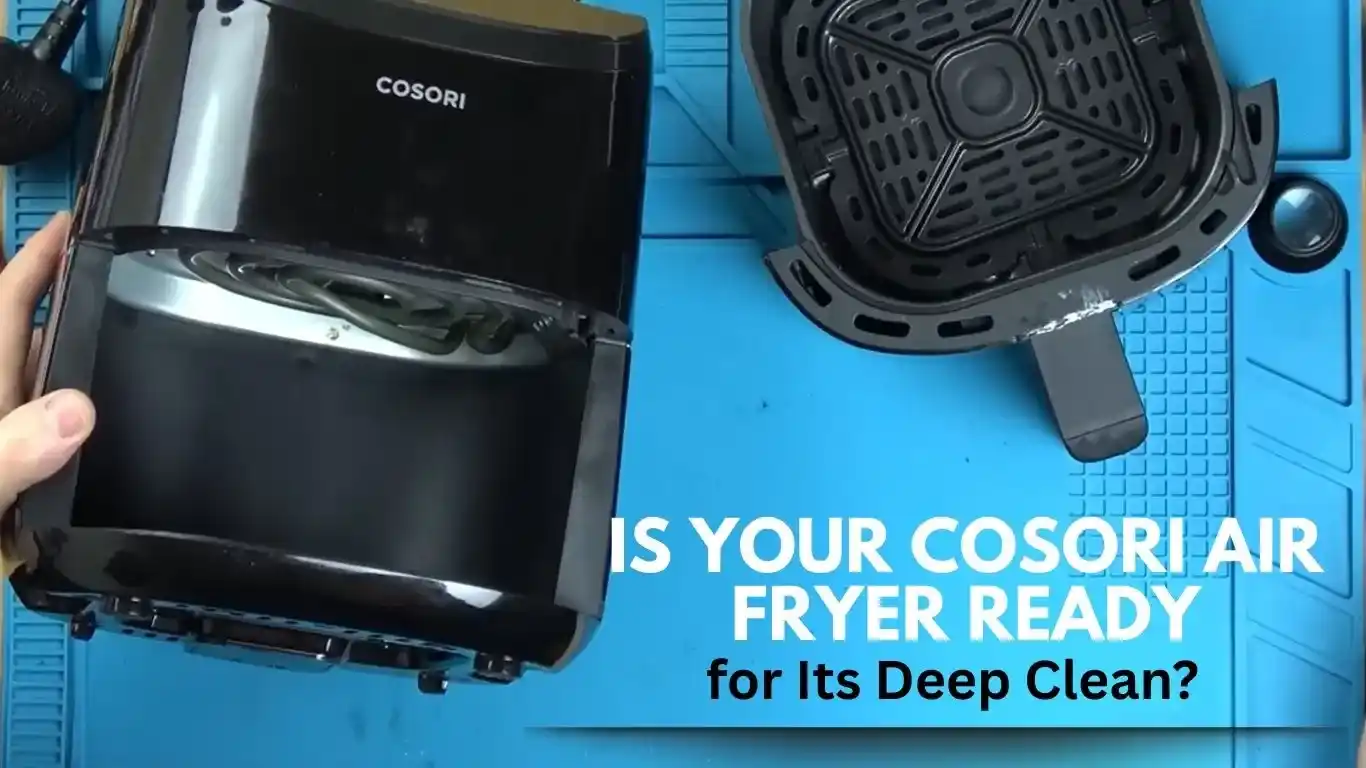 Take the basket out and wipe the interior first — it makes every later step easier.
Why Regular Cleaning Matters More Than You Think
Skipping a clean here and there is tempting, but the consequences show up in three ways.
Taste. Old grease and burnt crumbs release stale flavours into every batch. Even fresh chicken wings can end up tasting vaguely of last Tuesday's fish. A quick wash after use prevents that transfer entirely.
Performance. Grease build-up blocks airflow, which forces the fan to work harder and creates uneven cooking. It also coats the heating element in a layer that reduces heat output. The result: longer cook times, soggier food, and an appliance that works harder than it needs to. You can also read our guide on best oil spray for air fryer.
Safety. Burnt-on residue can smoke during cooking and, in worst-case scenarios, trigger your smoke alarm. Keeping the basket and element clear removes that risk. The USDA food safety guidance recommends washing anything that touches raw meat in hot, soapy water, which is exactly the habit that keeps your air fryer safe to use week after week.
Supplies You'll Need Before You Start
Gathering everything upfront saves time and prevents you from grabbing the wrong tool mid-clean. Here's what I keep on hand:
- Soft microfiber cloth
- Non-scratch sponge
- Mild dish soap
- Soft-bristle brush (a clean pastry brush works well)
- Old toothbrush for corners and crevices
- Dry towel for immediate drying
Leave the steel wool, abrasive pads, bleach, and oven cleaner in the cupboard. They'll do more harm than good, as I'll explain below. You can also read our guide on how to reset a cosori air fryer.
Hack 1: Unplug, Cool Down, and Prep the Area
Before anything else, unplug the air fryer from the wall. Water and electricity are a dangerous combination, and the heating element stays dangerous long after cooking stops.
Give the unit a full 20–30 minutes to cool. The basket might feel warm to the touch even when the exterior is cool, so test it carefully. Once it's safe, remove the basket and the crisper tray, then tip any loose crumbs into the bin. You can also read our guide on how to clean grease from air fryer.
While the parts are cooling, check whether yours is a full-size model or one of the smaller countertop units — the cleaning steps are the same, but the smaller capacity means you'll need less soapy water and a smaller basin for soaking.
Hack 2: Soak and Scrub the Basket and Pan the Right Way
Fill your sink (or a large bowl) with warm water and a few drops of mild dish soap. Place the basket and crisper tray inside and let them soak for 10–15 minutes. This loosens baked-on food so you barely need to scrub — a lesson I learned after ruining a non-stick coating by attacking it with brute force.
After soaking, use a soft sponge to work through the mesh and around the corners. Focus on the small holes in the basket, where food particles love to hide. An old toothbrush reaches those tight spots without scratching.
Rinse every part thoroughly under running water. Soap residue left behind can affect the taste of your next meal, so be thorough.
Dry the basket and tray completely with a clean towel before reassembling, then let them air-dry for a few more minutes. Moisture trapped between parts leads to rust spots and can interfere with the fryer's electronics.
If you're planning to bake something crumbly next, consider using a silicone liner inside the basket. It catches most of the mess and makes the soak-and-scrub step nearly redundant.
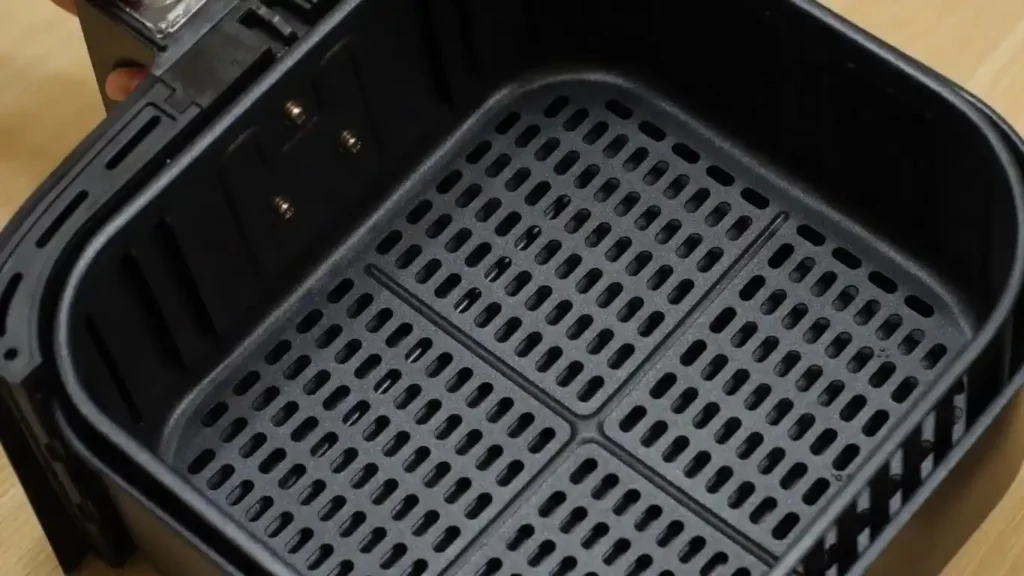 A warm, soapy soak loosens stuck-on food without heavy scrubbing.
Hack 3: Wipe the Interior Without Damaging the Non-Stick Coating
The inside of the air fryer needs attention too, but it needs a gentler hand. Wipe down the interior walls with a damp (not dripping) microfiber cloth. The goal is to remove grease splatters without letting moisture seep into the fan vent, which is usually at the back or top of the cooking chamber.
Avoid soap inside the cavity — it's hard to rinse away and can leave a film that burns off on the next cook. If a damp cloth doesn't cut through the grease, add a touch of mild soap to the cloth and follow up with a clean, damp cloth to remove any residue.
Never use abrasive pads or cleaning sprays inside the chamber. Today's non-stick coatings are PFOA-free and approved as food-contact surfaces, but they're still soft enough to scratch with aggressive scrubbing. The FDA sets the rules for these coatings, and gentle soap is all the protection they need from you.
Hack 4: Clean the Heating Element Without Getting Shocked
The heating element sits at the top of the cooking chamber and takes the brunt of grease splatter. It's also the easiest part to damage if you're careless.
Make sure the fryer is unplugged and completely cold. Use a dry, soft-bristled brush to dislodge crumbs and loose debris from the coil. Work gently — the element is thin and can bend under firm pressure.
Once the loose bits are gone, wipe the element with a barely damp cloth to remove oily film. Do not soak it, and never pour water directly onto the coil. Electrical shock and permanent damage are real risks if moisture gets into the wiring.
Make this a habit after every few cooking sessions, especially if you fry fatty foods regularly. A clean element heats more efficiently and stays free of the smoke that typically comes from burning residue.
Prefer to watch instead? Here's a step-by-step cleaning video that walks through the same process visually.
Hack 5: Polish the Exterior and Control Panel
The exterior collects fingerprints, splatters, and dust, but it's the easiest zone to maintain.
Dip a soft cloth in warm, soapy water and wring it out well. Wipe down the sides, top, and front of the unit, then immediately dry each area with a clean cloth to prevent streaks and water spots.
For the control panel, use a slightly damp cloth and avoid pressing hard on the touchscreen — too much pressure can misalign the buttons. Dry it immediately.
If your Cosori has a stainless-steel finish, a tiny amount of stainless polish can restore the shine. But skip polish on matte plastic or painted surfaces, as it can leave a dull residue. When in doubt, plain soap and water is always the safest option.
How Often Should You Deep Clean a Cosori Air Fryer?
A quick soapy wash of the basket after each use is non-negotiable, but a full deep clean — including the interior, heating element, and exterior — follows a simpler schedule.
| Usage Frequency | Deep Cleaning Interval |
|---|---|
| Daily use | Every 2 weeks |
| Weekly use | Once a month |
| Occasional use | Every 2–3 months |
The longer you cook, the more frequent the deep clean. This is especially important if you're doing more than frying — dehydrating fruits or herbs, for example, leaves fine particles behind that accumulate in the fan and coil.
Whatever your rhythm, a clean air fryer stays a smart choice for fast meals, and it remains a go-to for blood-sugar-friendly meals that would otherwise come out of a deep fryer.
Common Mistakes That Damage a Cosori Air Fryer
Most premature failures trace back to the same handful of mistakes.
- Using metal scrubbers or steel wool. These gouge the non-stick coating, and once the coating is compromised, food sticks and cleaning gets harder with every batch.
- Using caustic oven cleaners or bleach. These breakdown the coating's surface and can leave chemical residues that don't fully rinse away.
- Reassembling while parts are damp. Damp parts can develop rust spots, and moisture trapped near the fan can trigger safety shut-offs.
- Ignoring the heating element. Crumbs and grease here cause smoke, weak heat, and unnecessary strain on the appliance.
All of these are easy to avoid once you know they're traps. A soft sponge, mild soap, and a little patience are genuinely all it takes.
What to Do If Your Cosori Isn't Cooking Right After a Clean
Sometimes, after a thorough clean, your air fryer just doesn't perform like it used to. Before you panic, work through the likely culprits.
First, check that every part is seated correctly. The basket and tray need to click into place for proper airflow. If they're slightly off, food cooks unevenly.
Second, make sure everything is completely dry. Damp parts can reduce heat output or trigger a safety shut-off.
Third, check the heating element for any residue you may have missed. A clean coil heats evenly and quickly.
If you're still getting weak heating output after all that, unplug the fryer for at least 5 minutes, then plug it back in. Many electronic quirks clear with a simple power cycle.
Pro Habits That Prevent Grease, Odors, and Smoke
The best cleaning is the kind you barely need to do. Here are habits that keep build-up minimal from the start:
- Don't overcrowd the basket. Food stacked on food blocks airflow, cooks unevenly, and leaves more grease behind. A single layer is the sweet spot.
- Use a little oil, not a lot. A light spray of high-smoke-point oil gives food a crisp edge without coating the interior in residue.
- Wipe the basket after every batch. A 30-second rinse under warm water after each use beats any deep clean.
- Watch fatty meats. If you love cooking your favourite wing recipe, run a quick interior wipe afterwards to curb the smoke that comes from rendered fat.
Cosori Air Fryer Cleaning FAQs
How often should I clean my Cosori air fryer?
Wash the basket and crisper tray after every use. Wipe the interior after every 3–4 cooking sessions, and do a full deep clean every 2 weeks with daily use, or once a month if you use it weekly.
What's the best way to clean the air fryer basket?
Fill the sink with warm, soapy water and soak the basket for 10–15 minutes. Scrub gently with a non-scratch sponge, rinse thoroughly, and dry completely before reassembling.
Can I put Cosori parts in the dishwasher?
Most Cosori baskets and crisper trays are dishwasher-safe on the top rack, but check your model's manual first. Hand washing is always gentler on the non-stick coating and extends its lifespan.
How do I clean the heating element safely?
Unplug the fryer and let it cool fully. Use a dry, soft-bristle brush to remove crumbs, then wipe gently with a barely damp cloth. Never pour water directly onto the element.
What should I avoid when cleaning my Cosori?
Skip steel wool, metal scrubbers, abrasive sponges, bleach, and oven cleaners. These scratch the coating and can leave harmful residues.
How do I remove stubborn grease from the basket?
Soak the basket in warm, soapy water for 15–20 minutes, then scrub gently with a soft sponge. For baked-on spots, make a paste with baking soda and water, apply it to the spot, and rinse thoroughly.
Final Thoughts: Keep Your Cosori Clean for Crispy, Tastier Meals
Your air fryer works hard, but it only keeps working if you give it the same care it gives your food. A few minutes of attention after each use prevents the grease, odors, and build-up that dull performance — and that's before you factor in the safety benefits of a smoke-free cooking chamber.
Stick with gentle soap, soft cloths, and the frequency table above. Avoid the scratchy shortcuts that shortcut your fryer's lifespan.
Take 10 minutes after tonight's dinner to give your Cosori a proper clean — you'll taste the difference in every batch from here on.