If you enjoy healthy snacks, learning how to dehydrate apples in a food dehydrator is a skill worth mastering. Dried apples are easy to make, have a long shelf life, and can be enjoyed on their own or as part of trail mixes, cereals, and desserts.
If you’re new to dehydrating, don’t worry—this guide will walk you through the process, highlight important details, and share tips to help you get the best results every time.
Why Dehydrate Apples?
Dehydrating apples is more than just a way to save fruit from going bad. When you remove most of the water, apples become lighter, last longer, and are easier to store. Dehydrated apples are rich in fiber, vitamins, and minerals, making them a smart snack choice.
Plus, you avoid the added sugars and preservatives found in many store-bought dried fruit products.
Many people don’t realize that dehydration keeps much of the nutritional value of apples. You still get fiber, antioxidants, and a good amount of vitamin C, although some vitamin loss happens with any drying process. Dried apples are also great for hiking, travel, and lunchboxes because they don’t bruise or spoil easily.
Choosing The Right Apples
Not all apples dry the same way. The type you pick can affect the taste, texture, and color of your dried apples.
| Apple Variety | Flavor Profile | Texture When Dried | Best Use |
|---|---|---|---|
| Fuji | Sweet, crisp | Chewy | Snacking |
| Granny Smith | Tart, firm | Firm, slightly sour | Cooking, baking |
| Honeycrisp | Balanced, juicy | Soft, sweet | General use |
| Gala | Mild, sweet | Soft | Children’s snacks |
Non-obvious tip: Apples with a high sugar content, like Fuji or Gala, tend to have a richer, sweeter flavor after drying. But if you prefer a tart snack, Granny Smith is a classic choice. Some people like to mix apple types for a more interesting taste.
Credit: www.freshoffthegrid.com
Preparing Apples For Dehydration
Getting your apples ready is just as important as the drying process. Here’s how you can prepare them:
- Wash and dry: Rinse your apples to remove any dirt or pesticides.
- Peel (optional): Some prefer to peel apples for a softer texture, but leaving the skin on adds fiber and nutrients.
- Core and slice: Remove the core and seeds. Use an apple corer or a sharp knife. Slice apples into even pieces—about 1/8 to 1/4 inch thick. Even slices ensure consistent drying.
Pro tip: Uniform thickness is crucial. Uneven slices will dry at different rates, leading to some pieces being too crispy and others still moist.
Prevent Browning
Apples turn brown quickly after slicing due to oxidation. This doesn’t affect taste, but it can look unappetizing. To prevent browning:
- Mix 1 part lemon juice with 8 parts water.
- Soak apple slices for 5 minutes, then drain and pat dry.
Alternatively, you can use a mixture of ascorbic acid (vitamin C powder) in water, which is less sour and works just as well.
Setting Up Your Food Dehydrator
Each dehydrator model is a little different, but most have similar features. Before starting, always read your machine’s instructions.
Key Settings
| Dehydrator Setting | Recommended Value | Notes |
|---|---|---|
| Temperature | 125–135°F (52–57°C) | Lower temps preserve nutrients |
| Drying Time | 6–12 hours | Depends on thickness & humidity |
| Trays | Single layer | No overlap for best airflow |
Spread the apple slices in a single layer on the dehydrator trays. Leave space between slices so air can circulate. Overlapping slices will dry unevenly.
How To Dehydrate Apples: Step-by-step
Now, let’s get into the detailed process:
- Prepare apple slices (see above for washing, slicing, and treating with lemon water).
- Arrange on trays: Place slices in a single layer. Don’t let them touch.
- Set temperature: 125–135°F (52–57°C) is ideal. Lower temperatures keep more nutrients but take longer.
- Start dehydrator: Close the lid and turn it on.
- Check progress: After 6 hours, start checking every hour. Drying can take anywhere from 6 to 12 hours depending on slice thickness, type of apple, and room humidity.
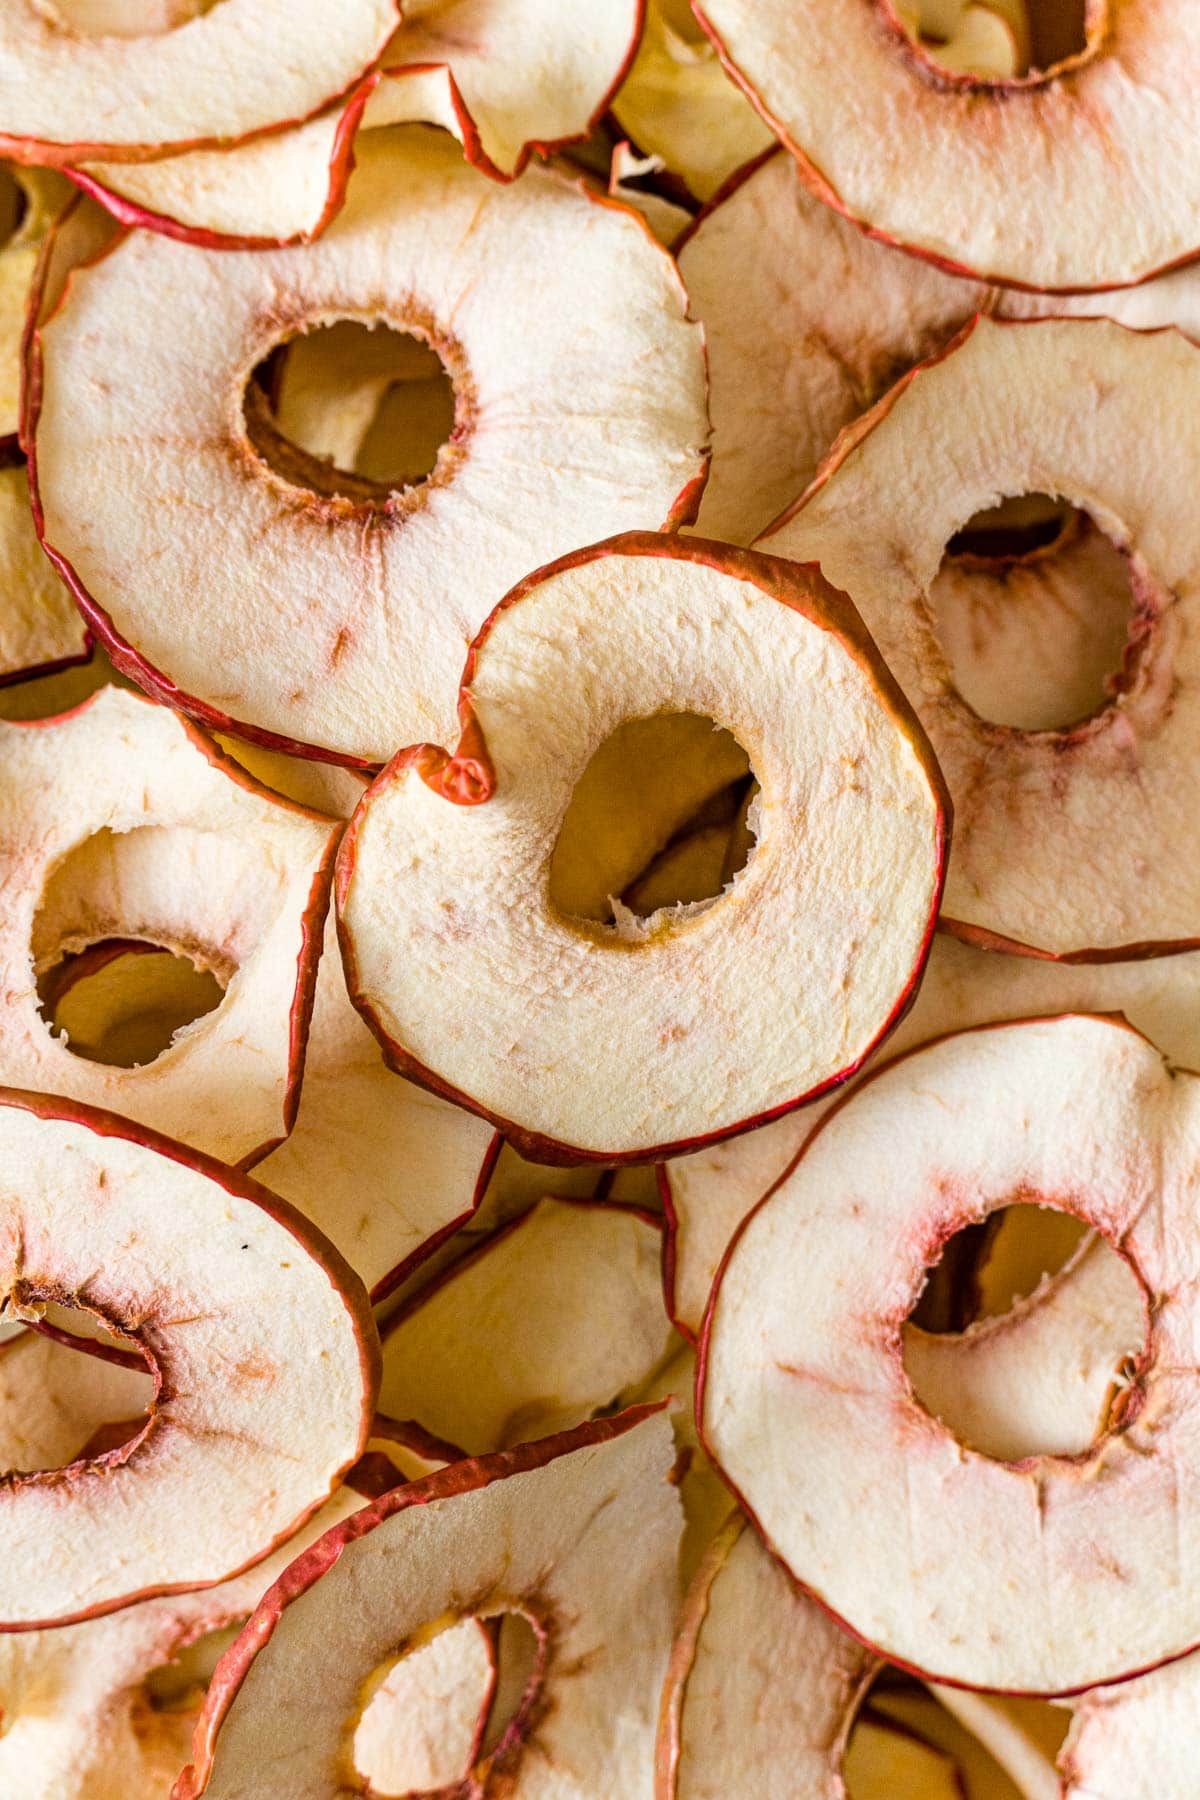
- Test for doneness: Properly dried apples should be flexible but not sticky. They shouldn’t be moist inside. Tear a slice—if you see moisture, they need more time.
Unexpected insight: Flipping slices halfway through drying can help them dry more evenly, especially if your dehydrator has less airflow at the bottom or top.
Storing Dried Apples
Once your apple slices are dry, allow them to cool to room temperature before storing. This prevents condensation, which can cause mold.
Storage Options
- Airtight containers: Glass jars with tight lids are best.
- Vacuum-sealed bags: Great for long-term storage.
- Plastic bags: Use only for short-term storage.
Keep your dried apples in a cool, dark place. Properly dried and stored apples can last up to 6–12 months.
Fact: Moisture is the enemy. Even a little water left in the apples or container can cause mold in a few weeks.
:max_bytes(150000):strip_icc()/how-to-dehydrate-apples_Beauty_preview-66befc687a464d919aec43a13f4990a6.jpg)
Credit: www.realsimple.com
Common Mistakes To Avoid
Even though dehydrating apples is simple, some common errors can ruin your results.
- Overlapping slices: Air can’t circulate, so apples dry unevenly.
- Slicing too thick or thin: Thick slices take forever to dry; thin slices can become brittle.
- Not checking for doneness: Under-dried apples will mold. Over-dried apples are hard to chew.
- Skipping the anti-browning step: Your apples may turn dark brown and look unappealing.
- Storing before cooling: This causes condensation and spoilage.
Non-obvious mistake: Forgetting to rotate trays. Most dehydrators dry unevenly from top to bottom. Rotating trays halfway through drying helps all slices dry at the same rate.
Flavor Variations And Fun Add-ons
Dehydrated apples are delicious as they are, but you can add extra flavor before drying:
- Cinnamon: Sprinkle a little ground cinnamon on your slices for a classic taste.
- Sugar: Lightly dust with sugar for a sweeter snack (optional).
- Spices: Try nutmeg, ginger, or pumpkin pie spice for something different.
For a savory twist, sprinkle with a pinch of sea salt or chili powder before dehydrating.
Nutritional Value Of Dried Apples
Dried apples are not just tasty—they’re good for you too. Here’s how dried apples compare to fresh apples, based on a 40g serving:
| Nutrition | Fresh Apple | Dried Apple |
|---|---|---|
| Calories | 21 | 110 |
| Fiber (g) | 1.7 | 3.5 |
| Sugar (g) | 4.7 | 21 |
| Vitamin C (%) | 8% | 2% |
Note: Dried apples are more calorie-dense because the water is gone, so it’s easy to eat more than you would with fresh apples.
Creative Ways To Use Dehydrated Apples
Dried apples are versatile. Here are some ideas to enjoy them:
- Trail mix: Combine dried apples with nuts, seeds, and chocolate.
- Baking: Add to muffins, breads, or cookies for extra flavor.
- Oatmeal: Stir pieces into hot oatmeal or cereal.
- Salads: Chop dried apples for a sweet, chewy salad topping.
- Homemade granola bars: Mix into granola recipes for a fruity twist.
Less obvious use: Rehydrate dried apples in hot water or juice for a few minutes to use in pies or crisps—they’ll taste almost like fresh baked fruit.
Comparing Food Dehydrators
If you don’t have a dehydrator yet, here’s a quick look at what to consider. Not all dehydrators are the same, so here’s a comparison of key features:
| Feature | Budget Model | Mid-Range | Premium |
|---|---|---|---|
| Tray Capacity | 4-5 trays | 6-9 trays | 10+ trays |
| Temperature Control | Fixed | Adjustable | Precise digital |
| Noise Level | Moderate | Low | Very low |
| Price Range | $40–$80 | $90–$150 | $160–$400 |
A mid-range dehydrator is usually enough for most home users. Look for one with adjustable temperature, even airflow, and dishwasher-safe trays for easy cleaning.
If you want more technical details on food dehydration, the National Center for Home Food Preservation is a trusted source.
Frequently Asked Questions
How Long Do Dried Apples Last?
If stored in an airtight container in a cool, dark place, dried apples can last 6 to 12 months. For even longer storage, keep them in the freezer.
Can I Use An Oven Instead Of A Dehydrator?
Yes, you can dry apples in an oven at the lowest temperature (usually 170°F), but it is less energy efficient and harder to get even results. A food dehydrator is designed for this job and gives better texture.
Do I Have To Peel The Apples Before Drying?
No, peeling is a personal choice. Unpeeled apples have more fiber and a chewier texture, while peeled apples are softer and more uniform in color.
How Do I Know When Apples Are Dry Enough?
Properly dried apples are flexible but not sticky. They should not have any visible moisture when torn. If you’re unsure, let them dry a little longer—over-dried is better than under-dried for storage.
Is It Safe To Dehydrate Apples Without Any Additives?
Absolutely. Lemon juice or ascorbic acid are only for color. Apples dehydrate safely without additives if dried and stored properly.
Dehydrating apples in a food dehydrator is a simple way to create healthy, tasty snacks at home. Once you’ve tried it, you’ll likely find yourself making them again and again. With a little practice and attention to detail, your dried apples will turn out perfect every time—ready for snacking, baking, or sharing with friends and family.
:max_bytes(150000):strip_icc()/GettyImages-148197894-581942933df78cc2e834f5cd.jpg)
Credit: www.thespruceeats.com