Keeping your sandwich maker clean is more than just a chore—it’s the secret to better tasting food, longer appliance life, and less hassle each time you cook. Many people use a sandwich maker every day, but few realize how fast crumbs, oil, and cheese can build up.
If you ignore regular cleaning, you risk burnt smells, sticky plates, and even bacteria growth. You don’t need special skills or expensive tools to keep your sandwich maker spotless. With the right approach and a few minutes after each use, you can make cleaning easy and protect your appliance for years.
Why Cleanliness Matters For Your Sandwich Maker
A sandwich maker is exposed to oil, cheese, sauces, and bread crumbs every time you use it. These bits can quickly harden, stick to the plates, and even reach the heating elements. Dirty plates make sandwiches taste bad and can cause uneven cooking. Worse, burnt-on food can create smoke and odors. According to a food safety survey by NSF International, kitchen appliances with leftover food particles are among the top sources for bacteria like Salmonella and E. coli.
Regular cleaning helps:
- Prevent burnt smells and smoke
- Keep sandwiches from sticking
- Reduce the risk of bacteria
- Make your sandwich maker last longer
Cleaning only takes a few minutes, but skipping it can cause big problems later.
Essential Tools And Materials For Cleaning
You don’t need fancy gadgets to keep your sandwich maker clean. The basics are enough, but some tools make the job easier.
- Soft sponge or cloth: Use for wiping plates without scratching.
- Mild dish soap: Removes grease and food particles.
- Wooden or plastic spatula: Scrapes off stuck food gently.
- Paper towels: Good for absorbing oil and quick cleaning.
- Baking soda: Helps with stubborn stains.
- Cotton swabs: Reach tight corners and edges.
- Small brush: Cleans grooves and hinges.
Avoid steel wool or rough pads, as they can damage the non-stick coating.
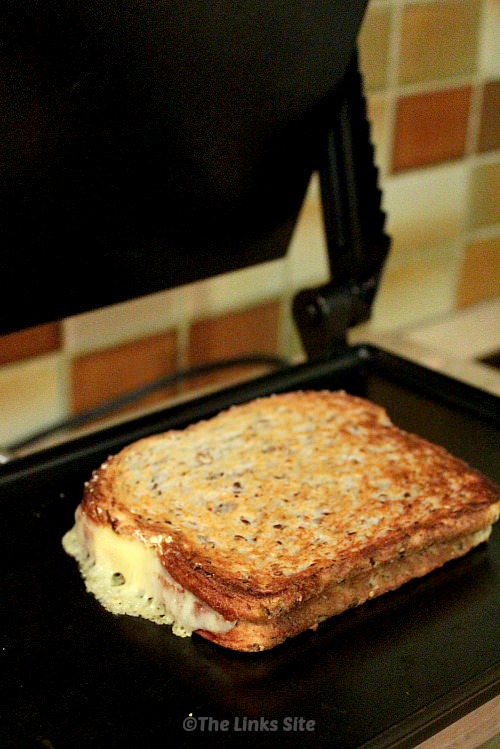
Credit: thelinkssite.com
Step-by-step Guide To Cleaning Your Sandwich Maker
Keeping your sandwich maker clean starts with a routine. Follow these steps after each use for the best results.
1. Unplug And Cool Down
Always unplug the sandwich maker after cooking. Let it cool for at least 15–20 minutes before cleaning. Trying to clean a hot appliance can cause burns and damage.
2. Wipe Off Loose Crumbs
Use a dry paper towel or soft brush to remove crumbs and loose bits. Pay attention to grooves and corners where crumbs collect.
3. Clean Plates And Surfaces
- Mix a few drops of dish soap in warm water.
- Dip a sponge or cloth in the soapy water and squeeze out excess.
- Wipe the plates gently to remove oil and cheese.
- For stuck food, use a wooden or plastic spatula.
- Avoid excess water—too much can seep inside and damage the appliance.
4. Tackle Stubborn Stains
If stains remain after regular wiping, try a baking soda paste:
- Mix one tablespoon baking soda with a few drops of water.
- Apply to the stain and let sit for 5 minutes.
- Rub gently with a soft sponge.
- Wipe away with a damp cloth.
5. Clean Edges And Hinges
Food often slips into the edges and hinges. Use cotton swabs or a small brush to clean these areas. Don’t forget the exterior—wipe it with a damp cloth.
6. Dry Completely
After cleaning, use a dry cloth or paper towel to wipe all surfaces. Leaving moisture can cause rust or damage.
7. Store Properly
Store your sandwich maker in a dry place. If you have a removable cord, detach it before storing.
Deep Cleaning: When And How
Sometimes, your sandwich maker needs a deeper clean—especially if you see burnt stains, sticky residue, or strange smells. Deep cleaning is needed once a month or after messy spills.
Steps For Deep Cleaning
- Unplug and cool down completely.
- Remove detachable plates if possible. Wash them in warm, soapy water and dry thoroughly.
- If plates are not removable, follow the steps above but use a little more time and care.
- Use a damp cloth to clean the outer body, paying attention to vents and hinges.
- If grease has built up, add a bit of vinegar to your cleaning cloth.
Comparison Table: Regular Vs Deep Cleaning
Here is a quick comparison of regular and deep cleaning:
| Type of Cleaning | Frequency | Tools Needed | Time Required |
|---|---|---|---|
| Regular Cleaning | After each use | Sponge, mild soap, paper towel | 5–10 minutes |
| Deep Cleaning | Monthly/after spills | Baking soda, vinegar, brush, cotton swabs | 20–30 minutes |
Common Mistakes To Avoid
Many beginners make mistakes that damage their sandwich maker or make cleaning harder. Here are the most frequent errors:
- Using too much water: Excess water can seep inside and damage electrical parts.
- Scrubbing with rough pads: This removes the non-stick coating and ruins the plates.
- Cleaning while hot: Hot plates can burn you and make stains harder to remove.
- Ignoring the hinges and edges: These areas collect food and cause smells.
- Storing when wet: Moisture can cause rust or mold.
An overlooked tip: Always check your sandwich maker’s manual. Some models have special cleaning instructions or removable plates.
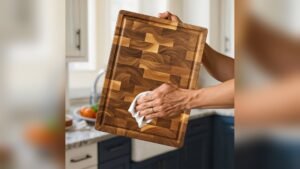
How To Clean Removable Vs Non-removable Plates
Sandwich makers come in two main types—those with removable plates and those without. Cleaning methods are slightly different.
Removable Plates
- Take out plates and wash them in the sink with mild soap.
- Avoid putting them in the dishwasher unless the manual says it’s safe.
- Dry completely before replacing.
Non-removable Plates
- Wipe with a damp, soapy sponge.
- Use minimal water and never submerge in water.
- For tough stains, use baking soda paste.
Comparison Table: Plate Types
Understanding the difference helps you clean more efficiently.
| Plate Type | Cleaning Method | Ease of Cleaning | Risk of Damage |
|---|---|---|---|
| Removable | Wash in sink, air dry | Easy | Low |
| Non-removable | Wipe with damp sponge | Medium | Higher (if water seeps in) |
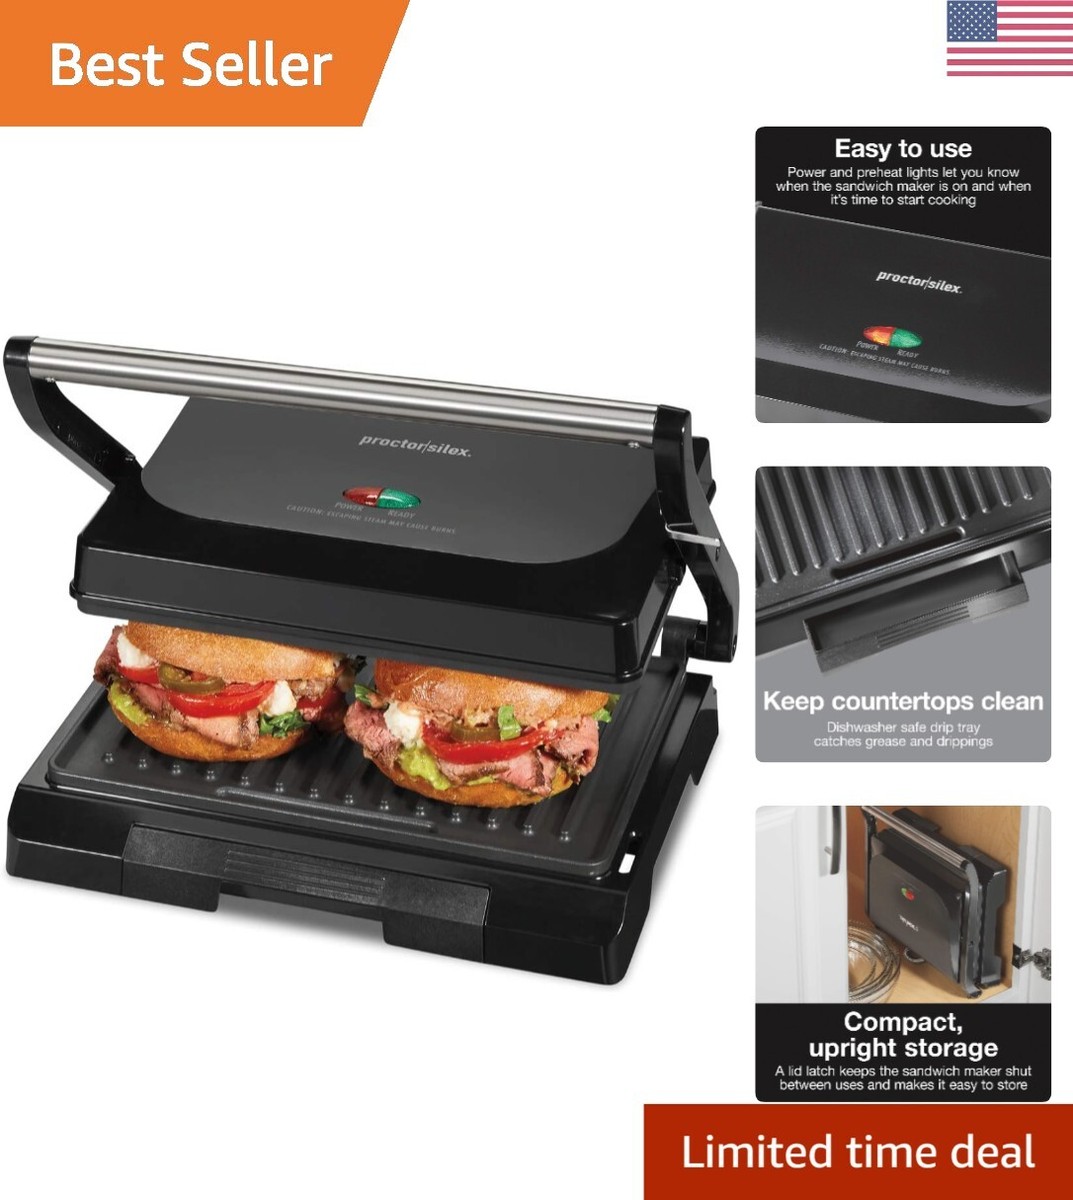
Credit: www.ebay.com
Tips For Preventing Stains And Odors
Keeping your sandwich maker clean is easier if you prevent messes before they happen. Here are some practical tips:
- Use parchment paper: Place a sheet between the plates and sandwich. This stops melted cheese and sauces from sticking.
- Trim sandwich edges: Remove excess cheese or filling to prevent spillage.
- Wipe plates after every batch: Even if you plan to cook several sandwiches, a quick wipe between batches helps.
- Avoid cooking very oily foods: Extra oil increases stains and can leak into hard-to-clean spots.
- Let plates cool before cleaning: This prevents burns and makes stains easier to remove.
A non-obvious insight: Many people do not realize that using cooking spray sparingly (or not at all) can help keep plates clean. Too much spray leaves a sticky residue over time.
When To Replace Your Sandwich Maker
No appliance lasts forever. Even with perfect cleaning, sandwich makers eventually wear out. Here are signs it’s time to replace yours:
- Non-stick coating is peeling
- Plates are cracked or warped
- Heating is uneven
- Electrical smell or visible damage
According to appliance reviews, the average sandwich maker lasts 3–5 years with regular use and cleaning. If you notice any safety issues, stop using it immediately.

Credit: www.imfine.es
Safety Tips While Cleaning
Cleaning a sandwich maker involves water and electrical parts, so safety is important.
- Always unplug before cleaning.
- Never immerse the appliance in water.
- Use only mild soap—harsh chemicals can damage plates.
- Dry thoroughly before plugging in or storing.
- Keep children away during cleaning.
Real-world Example: Cleaning A Busy Family’s Sandwich Maker
Let’s look at a real example. The Smith family uses their sandwich maker daily for breakfast. After a week, they noticed sticky cheese and burnt crumbs. They switched to wiping plates after every use and deep cleaning on weekends. As a result, their sandwiches taste better, and the appliance has lasted over four years.
Many families find that setting a regular cleaning schedule prevents big messes. If you clean after every use, deep cleaning is easier.
How Proper Cleaning Extends Appliance Life
A sandwich maker is an investment. Cleaning keeps it running smoothly and saves money in the long run. According to a survey by Consumer Reports, regular maintenance can double the lifespan of small kitchen appliances. Clean plates transfer heat better, making sandwiches crispier and reducing cooking time.
Frequently Asked Questions
How Often Should I Clean My Sandwich Maker?
Clean your sandwich maker after every use. Deep cleaning is needed once a month or after a messy spill. Regular cleaning prevents stains and odors.
Can I Use Vinegar To Clean My Sandwich Maker?
Yes, you can use vinegar for deep cleaning, but only in small amounts. Mix with water and use a damp cloth. Avoid using vinegar on aluminum parts, as it can cause discoloration.
What Should I Do If The Non-stick Coating Is Peeling?
If the non-stick coating is peeling, stop using the appliance. Peeling can cause food to stick and may release harmful particles. It’s best to replace the sandwich maker.
Is It Safe To Clean The Sandwich Maker With The Plates Still Hot?
No, always let your sandwich maker cool for at least 15–20 minutes before cleaning. Cleaning while hot can cause burns and make stains harder to remove.
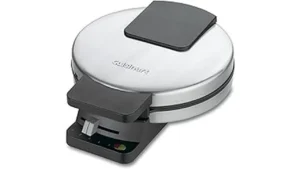
Are There Sandwich Makers That Are Easier To Clean?
Yes, some models have removable plates and dishwasher-safe parts. Check product reviews or the manufacturer’s website for details. For more information, visit Consumer Reports.
Keeping your sandwich maker clean is simple but powerful. A few minutes after each use will save you hours of scrubbing later and help you enjoy better meals every day. Clean regularly, use the right tools, and avoid common mistakes.
With these tips, your sandwich maker will stay in top shape for years—and your sandwiches will taste even better.