You wake up in a beautiful spot. The sun is rising. But you can’t figure out how to make your morning coffee.
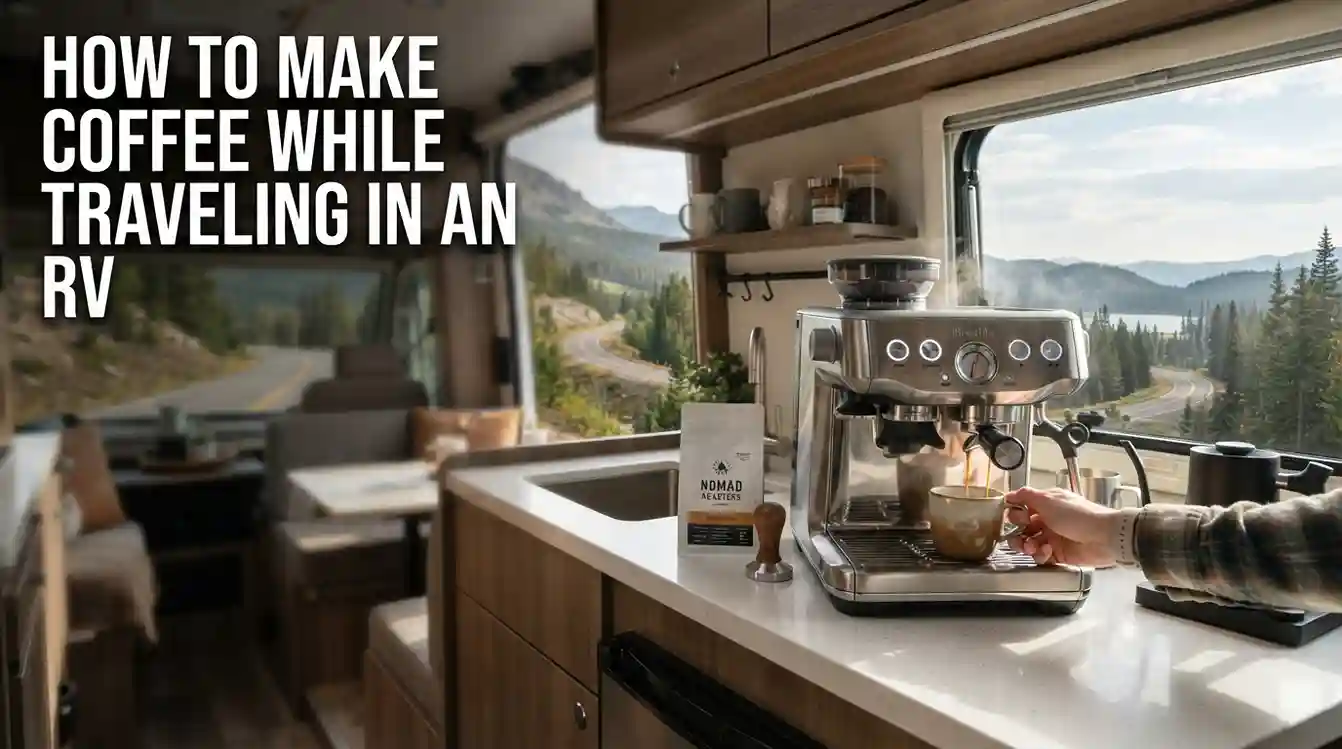
How to Make Coffee While Traveling in an RV is a question every RVer faces, and the answer depends entirely on your power setup.
RV electrical systems vary widely. A standard 120V drip coffee maker can draw 900 to 1500 watts. That can drain a 100Ah deep-cycle battery in under an hour without a generator or inverter.
Understanding your rig’s power is the first step.
Quick Answer
Make coffee in an RV by matching your method to your power. With shore power, use a standard drip machine. Without hookups, use a French press or AeroPress.
For lowest power use, try instant coffee. Your battery capacity decides the right tool.
Why Your RV Coffee Strategy Depends on One Thing: Your Power Setup
The first question to answer is what kind of power your RV has available. Three common scenarios exist: full hookups with shore power, a battery and inverter setup, or no electrical supply at all.
Shore power gives you unlimited 120V AC. You can use any standard drip machine or electric kettle. Your only limit is the pedestal’s breaker, typically 30 or 50 amps.
Manufacturer specifications indicate a 120V drip maker pulls about 12.5 amps at 120V.
A battery and inverter system converts 12V DC to 120V AC, but it has limits. A typical 100Ah lithium battery holds about 1200 watt-hours. A 1000W drip maker running for 10 minutes uses about 167 watt-hours.
You can brew one or two pots before draining the battery significantly. The power draw matters greatly, so knowing the wattage consumption helps you plan.
With no electrical supply, you rely on propane for heat or manual methods. A propane stove can boil water for a French press or pour-over. These methods use zero battery power and work anywhere.
Industry guidance from the RVIA outlines safe electrical loads for RV circuits. Following their recommendations helps avoid tripped breakers or damaged wiring. Check your inverter’s rating before plugging in any appliance.
Aggregate reviews of 12V coffee makers show mixed results. Most struggle to brew water hot enough for proper extraction. A French press paired with a kettle on the stove is often more reliable than a dedicated 12V brewer.
The Five Realistic Options for RV Coffee (No Fluff)
You do not need fancy gear to brew a good cup on the road. Here are the five methods that actually work, ranked by practicality for RV life.
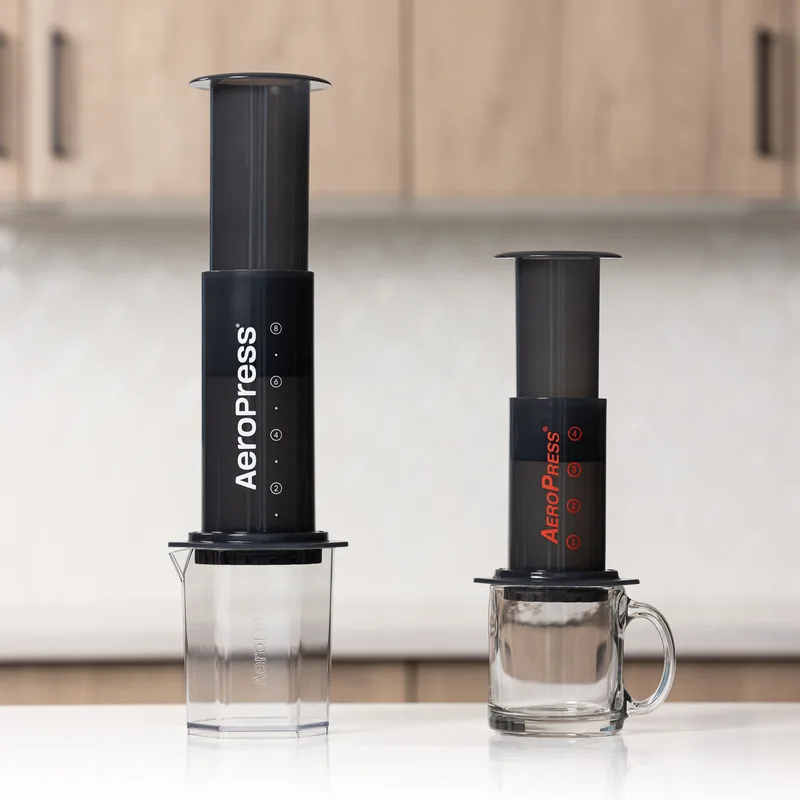
Image source: Bing
French Press
Uses coarse grounds and hot water. Four minutes steep time. No electricity needed.
Easy to clean but leaves some sediment. Great for multiple cups at once. The classic French press method is a favorite among boondockers for its simplicity and flavor.
AeroPress
Uses fine grounds and air pressure. One to two minutes brew time. Very compact and easy to clean.
Uses paper or metal filters. Produces a clean, strong cup. Best for solo coffee drinkers with limited counter space.
Pour-over
Uses a cone and paper filter. Relies on pour technique for even extraction. Clean flavor.
Requires a gooseneck kettle for best results, but any kettle works. Mild cleanup. Good for single cups with precise control.
Standard Drip Machine
Set it and forget it. Needs 120V power. A thermal carafe is better for RVs than glass, which can break on bumpy roads.
Easy for larger groups. A reliable machine with a thermal carafe avoids the shattered-glass headache many campers report.
Propane Percolator
Makes strong coffee on the stove top. Uses no electricity. Can brew multiple cups at once.
Risk of over-extraction if left too long. Classic camping option. Good for rustic setups where simplicity matters.
| Method | Power Source | Brew Time | Cleanup Ease |
|---|---|---|---|
| French Press | None (manual) | 4 min | Moderate |
| AeroPress | None (manual) | 1–2 min | Easy |
| Pour-over | None (manual) | 3–4 min | Easy |
| Drip Machine | 120V AC | 8–10 min | Moderate |
| Propane Percolator | Propane stove | 8–10 min | Moderate |
For more details on alternative brewing away from home, our guide on making coffee while camping covers similar principles that apply to RV life.
You might find this helpful: Best Coffee Makers for Camping
The Decision Tree: Pick the Right Method for Your Setup
Your specific situation narrows the list. Use this logic to choose.
If you have shore power:
Use a drip machine with a thermal carafe. It is easy, familiar, and you have no power worries. Set it before you shower and return to a full pot.
If you have an inverter with a large battery bank (200Ah or more):
A drip machine is possible but keep it brief. Brew one pot and turn it off. Monitor your battery level to avoid draining it too low.
If you have a small battery or no inverter:
Choose a manual method. Boil water on your propane stove. A French press or pour-over cone uses zero battery power.
The AeroPress is even faster.
If you brew for two or more people:
A French press (34 ounce capacity) or a propane percolator handles volume well. Drip machines work too if you have the power.
If you have minimal counter space:
The AeroPress or a pour-over cone store flat and take up almost no room. The moka pot also fits small spaces and works on the stove.
If you hate cleanup:
Instant coffee or cold brew concentrate requires almost no effort. Cold brew concentrate can be prepared ahead of time and diluted with hot water for a quick cup.
| Condition | Recommended Method | Key Consideration |
|---|---|---|
| Shore power | Drip machine, thermal carafe | No power limits |
| Inverter + large battery | Drip machine or electric kettle | Watch battery drain |
| Inverter + small battery | Manual method (French press, pour-over) | Boil water on stove |
| No electrical power | Propane percolator or manual | Use stove for hot water |
| Limited counter space | AeroPress or pour-over cone | Compact footprint |
| Brewing for 2+ people | French press or drip machine | Volume matters |
| Minimal cleanup | Instant coffee or cold brew | Lowest effort |
Step-by-Step: Brewing Coffee with Your Chosen Method
Once you pick your method, the steps are straightforward. Here is how to execute the two most common manual options.
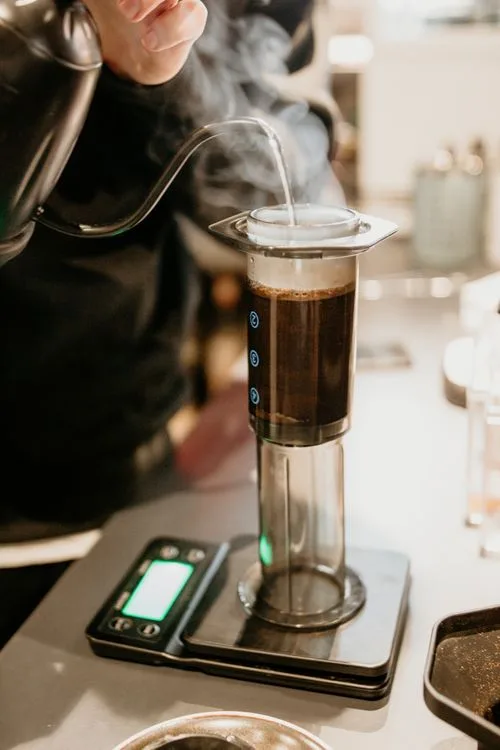
Image source: Bing
French Press
- Boil water on your stove or kettle. Let it cool for about 30 seconds off the boil.
- Add coarse ground coffee to the press. Use a ratio of roughly 1:15 coffee to water by weight.
- Pour hot water over the grounds. Let it bloom for 30 seconds.
- Stir gently with a chopstick or spoon.
- Steep for exactly 4 minutes.
- Press the plunger down slowly and steadily.
- Pour immediately to avoid over-extraction.
AeroPress
- Boil water.
- Insert a paper filter into the cap. Rinse it with hot water to remove paper taste and warm the chamber.
- Add fine ground coffee to the chamber. Use about 15 grams for a strong cup.
- Pour water up to the desired level, usually the middle of the chamber.
- Stir for 10 seconds.
- Insert the plunger and press gently for about 20 seconds.
- Dilute with hot water if making an American-style coffee.
For those with shore power who prefer a drip machine, the process is identical to a standard home brewer. Set it up, add water and grounds, and press start. Just make sure the carafe is secured before driving.
Cleaning a drip machine on the road is similar to cleaning at home, and you can follow our guide on starting a Cuisinart coffee maker if that is the model you have.
You can also use a pour-over setup with a reusable filter to reduce waste, or a moka pot on the stove for an espresso-style brew. Each method follows its own timing, but the same principles apply: fresh water, correct grind size, and careful attention to temperature.
Pour-over (Quick Version)
- Heat water to around 200°F (just off a full boil).
- Place a paper filter in the cone and rinse it with hot water.
- Add medium-fine ground coffee.
- Pour a small amount of water over the grounds to bloom for 30 seconds.
- Continue pouring in slow circles, keeping the water level steady.
- Let the water drain completely through the filter.
- Remove the cone and enjoy.
Propane Percolator
- Fill the basket with coarse ground coffee.
- Fill the percolator chamber with cold water.
- Place it on the stove over medium heat.
- Watch for perking action (bubbling in the glass knob on top).
- Let it perk for 6 to 8 minutes, then remove from heat.
- Let it settle for one minute before pouring.
Common Mistakes That Ruin RV Coffee (and How to Avoid Them)
Even a good setup can produce bad coffee. Here are the most frequent problems and how to fix them.
Using the wrong grind size. A French press needs coarse grounds. A drip machine needs medium. An AeroPress needs fine.
Using the wrong grind leads to bitter or weak coffee. Pack a small hand grinder like the Hario Skerton or 1Zpresso to grind fresh on demand. You can also buy pre-ground coffee labeled for your method.
Boiling water too long. Water that is too hot (above 205°F) scalds the coffee. If you boil water on a propane stove, let it sit for 30 to 45 seconds before pouring. At higher altitudes, water boils at a lower temperature, so adjust your technique.
In our research, many campers report bitter brews from rushing straight from the boil.
Not cleaning your gear daily. Leftover coffee oils turn rancid quickly in a small RV. Rinse your French press, AeroPress, or drip carafe with hot water after each use. Wash with soap every few days.
Skipping this step leads to stale flavors and even mold. For drip machines, keep roaches out by cleaning regularly.
Using stale coffee. Whole beans stay fresh for about two weeks after roasting. Ground coffee loses flavor faster. Vacuum-sealed bags help, but nothing beats grinding on the road.
Store your beans in an airtight container away from heat and moisture.
Ignoring water quality. Bad water makes bad coffee. Use fresh water from your RV’s tank or a filtered jug. If your water tastes metallic or chlorinated, try bottled water.
Distilled water is not recommended because it lacks minerals that aid extraction.
Overfilling the carafe before driving. Hot coffee sloshes. A full carafe spills and stains upholstery. Brew only what you plan to drink immediately.
For travel days, use a vacuum flask for hot coffee on the road.
Running a drip machine on a weak inverter. A 1000W drip maker can overload a small inverter, especially if other electronics are running. Check your inverter’s continuous rating before plugging in. A generator may be safer for high-draw appliances.
Knowing the power consumption of your coffee maker helps avoid brownouts or tripped circuits.
Quick Tips to Level Up Your Morning Cup
Once the basics are solid, small tweaks make a big difference.
Preheat your mug. Pour a splash of hot water into your cup and let it sit while brewing. This keeps your coffee hot longer in a cold RV.
Use fresh beans when possible. Whole beans ground moments before brewing produce noticeably better flavor. A manual hand grinder takes about 30 seconds and stores in a tiny bag. It is worth the effort.
Store beans properly. An airtight container protects from humidity and temperature swings. Avoid the fridge or freezer, which can introduce moisture and odors.
Measure your coffee by weight. A small digital scale is cheap and accurate. Use a ratio of 1:15 to 1:17 coffee to water. Volume measurements (tablespoons) vary wildly depending on grind size.
Try cold brew concentrate. Make a batch at home or at a full-hookup site. Steep coarse grounds in cold water for 12 to 24 hours, then strain. The concentrate lasts up to two weeks in the fridge.
Dilute with hot water for an instant hot cup or serve over ice. If you want to improve the flavor, our tips on making cold brew taste better cover easy upgrades.
Heat water faster. An electric kettle with auto-shutoff is more efficient than a stovetop kettle if you have an inverter. It also avoids burning the pot on a propane flame.
Pack a backup plan. Instant coffee or single-serve packets take zero space. They save the morning if your primary gear fails or if you are low on water. Brands like Starbucks VIA or Mount Hagen produce decent instant options.
Respect quiet hours. Manual grinders and percolators can be loud. If you camp near others, prep your coffee the night before or use a quiet electric grinder limited to specific hours.
Frequently Asked Questions
What is the easiest way to make coffee in an RV?
Instant coffee is the easiest. Boil water, stir in crystals, and you are done. It requires no cleanup beyond the spoon and mug.
Cold brew concentrate is a close second if you prepare it ahead of time.
Can I use a regular drip coffee maker in an RV?
Yes, if you have shore power or a generator. A standard drip maker draws 900 to 1500 watts. On battery and inverter alone, it drains power quickly.
Using a thermal carafe instead of a glass one prevents breakage on the road.
What coffee maker is best for boondocking?
Manual methods work best for boondocking because they require no electricity. The AeroPress is compact and easy to clean. The French press is good for multiple cups.
Both work with water heated on a propane stove.
How do I keep coffee hot while traveling?
Use a double-wall vacuum flask. It keeps coffee hot for hours without a power source. Pre-heat the flask with hot water before filling.
Avoid plastic flasks, which cool faster and can retain odors.
Can I make espresso in an RV?
A moka pot on a propane stove produces a strong, espresso-like brew. It is compact and uses no electricity. For true espresso, a portable manual lever machine like the Flair or Rok works but is larger and requires more technique.
How do I clean my coffee gear in an RV with limited water?
Rinse immediately after use to prevent residue from sticking. Use a small amount of soapy water in a basin. For French presses and AeroPresses, you can wipe them out with paper towels if water is scarce.
Boil metal parts occasionally to sanitize.