Skip to content
Mornings move faster when your coffee is already waiting. If you have a programmable Keurig, you can set it to brew at a specific time, so the first thing you smell is fresh coffee instead of the sound of an alarm. The feature is not available on every model, but when it is, setup takes only a few minutes.
This guide walks you through which models support Auto Brew, how to program it step by step, and what to do when the schedule doesn’t work. You can also read our guide on how to clean keurig coffee maker.
Does Your Keurig Have Auto Brew?
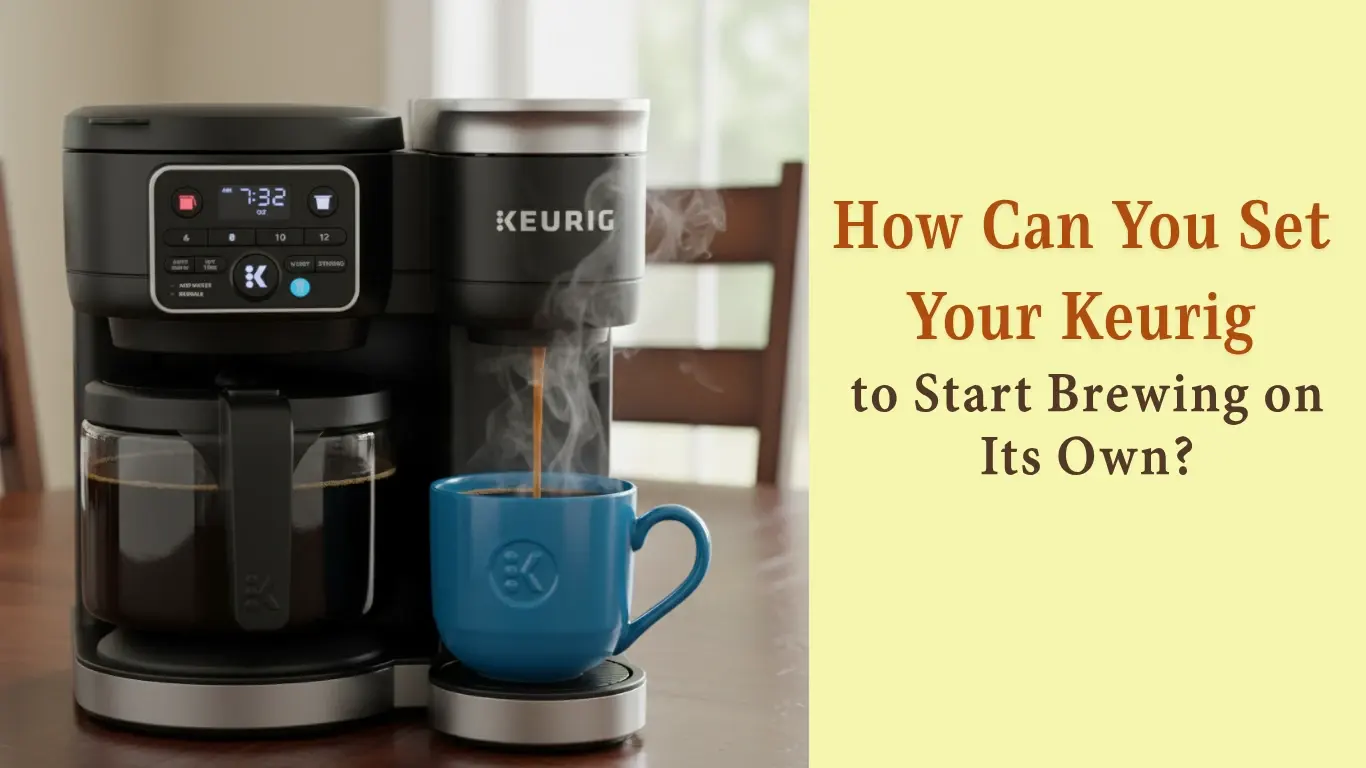
Before you start pressing buttons, confirm that your brewer actually has the feature. Auto Brew requires a digital clock and an AUTO button, or an Auto Brew option somewhere in the menu. If your Keurig has no display screen, it almost certainly cannot brew on a schedule. Compact models like the K-Mini are built for simplicity, not programming.
One popular model with this feature is the K-Elite. Still, model numbers matter more than the Keurig name alone. The most reliable way to check is to search your model number on the official Keurig support site and look for the words “Auto Brew” or “Scheduled Brew” in the manual. You can also read our guide on how to remove keurig pod holder.
There is one important distinction to understand first.
Auto Brew vs. Auto Off: Know the Difference
Many Keurig owners confuse these two settings because they sound similar. They do completely different things.
| Feature | What it does | How to spot it |
|---|---|---|
| Auto Brew | Starts a brew cycle at a time you choose | AUTO button, clock icon on display |
| Auto Off | Powers the machine down after a set period | Menu or gear icon, Auto Off setting |
A machine with Auto Off set to 8:00 a.m. will not brew coffee at 8:00 a.m. It will simply shut itself off. The scheduled brew feature is the only one that actually makes a cup for you.
Before You Program: 4-Step Prep Checklist
Auto Brew is only as reliable as the setup behind it. A missing pod or an empty tank will quietly ruin the plan.
- Fill the water reservoir with fresh, cold water up to the MAX line. Do not overfill.
- Insert an unused K-Cup pod into the brew chamber and close the handle firmly.
- Place a mug under the spout. The machine will not detect a missing mug and will happily brew onto the drip tray.
- Confirm the clock is set to the correct time, including AM and PM.
This checklist takes about one minute. It prevents most Auto Brew failures.
How to Set Keurig to Auto Brew (Step-by-Step)
The exact button order varies slightly between models, but the overall flow is the same on every programmable Keurig.
Step 1: Turn On the Machine and Set the Clock
Press the power button and wait for the display to light up. If the clock says 12:00, it has not been set.
Use the HOUR and MINUTE buttons to enter the current time. Some models use a separate CLOCK or MENU button. Pay close attention to the AM/PM indicator — a 6:00 p.m. clock will not trigger a 6:00 a.m. brew. For more on this, see our guide on how to reset keurig coffee maker.
A common mistake is setting the clock correctly but saving the wrong time of day. If your model has a small moon or sun icon, use it to double-check.
Step 2: Fill and Seat the Water Reservoir
Remove the reservoir, rinse it if needed, and fill it with fresh water to the MAX line. Slide it back into place until it clicks. A loosely seated reservoir can cause the machine to beep but refuse to brew. For more on this, see our guide on best stackable pots and pan set.
If your tap water is very hard, use filtered water. That also reduces how often you need to descale.
Step 3: Load an Unused K-Cup
Lift the handle, place the pod in the chamber, and press down firmly. Close the handle all the way.
You can load the K-Cup the night before. An unused pod stays sealed until the machine pierces it when the scheduled brew starts. This is one of the reasons Auto Brew works well for a real morning routine.
Step 4: Press AUTO and Enter the Brew Time
Find the AUTO button on the control panel and press it once. The display should begin flashing the clock or show an Auto Brew prompt. For more on this, see our guide on best home brew kit for beginners.
Use the HOUR and MINUTE buttons to select the time you actually want coffee ready. If you wake up at 6:30, set it for 6:30, not 5:30. The machine brews at the time you enter.
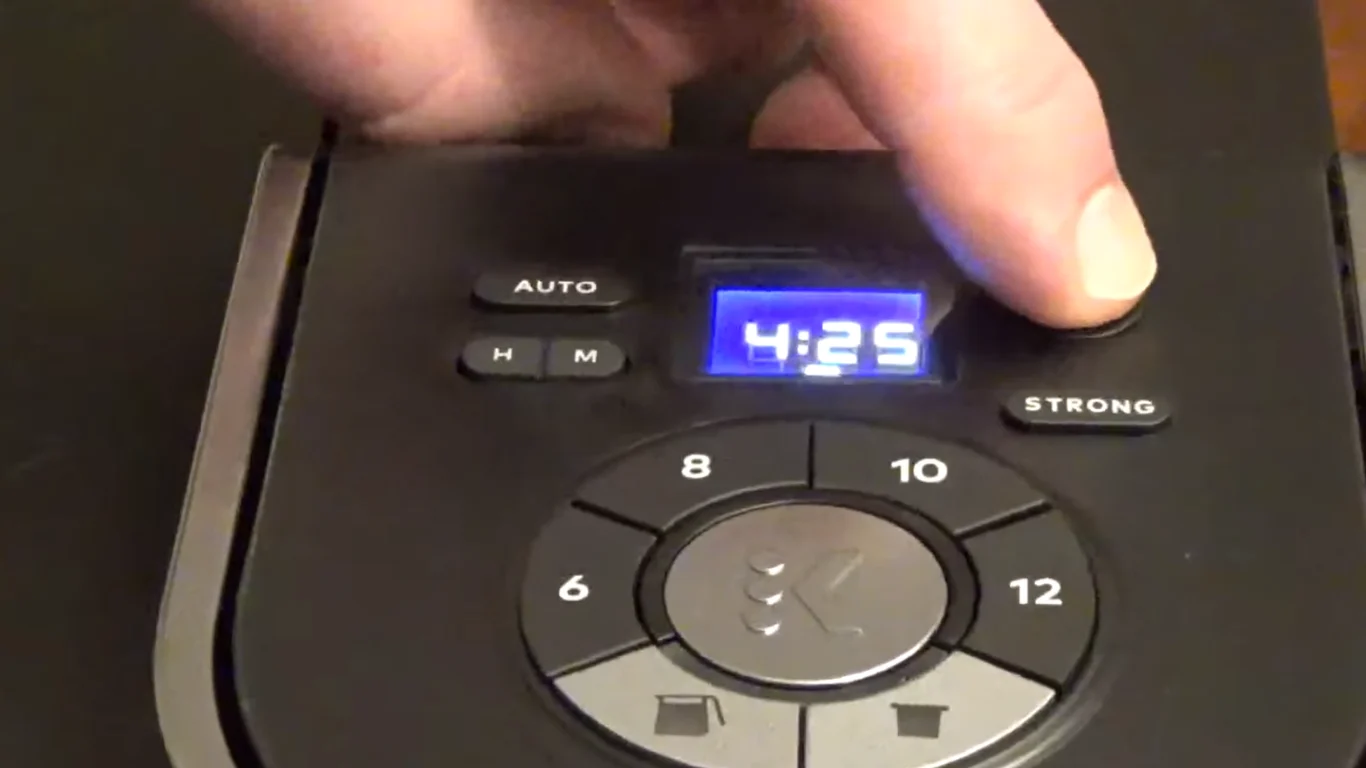
The AUTO button is usually on the same row as the brew size and temperature controls.
Step 5: Confirm the Schedule and Look for the Clock Icon
On many models, pressing BREW or AUTO a second time saves the schedule and stops the display from flashing. A small clock icon appearing on the screen is your confirmation that Auto Brew is now active. If you do not see that icon, the schedule was not saved — go back and repeat the AUTO button step.
Step 6: Choose Your Brew Size
After confirming the time, select your brew size. The options usually range from 6 to 12 ounces depending on the model. Press the brew size button until the mug size you want appears on the display.
This choice locks in for every scheduled brew until you change it. If you usually drink a tall mug, pick the larger size. If you use a small cup, pick a smaller one. The machine will not adjust for you.
Step 7: Leave the Machine Powered On
This is the step people forget most often. A Keurig must stay plugged in and powered on for Auto Brew to trigger. If you unplug the machine at night or press the power button to shut it down completely, the schedule will not run.
The machine does not need to be actively heating. It simply needs standby power. Check that the display is lit or the clock is visible before you go to bed.
How to Cancel or Change an Existing Auto Brew Schedule
Plans change. You slept in, you have a breakfast meeting, or you simply want a lazy Saturday without the machine running at 6:30 a.m. Canceling the schedule takes about ten seconds.
- Press the AUTO button once. The clock icon should disappear from the display.
- The schedule is now cleared. The machine will only brew when you press the BREW button manually.
- To change the time instead of canceling, press AUTO, adjust the hour and minute, and press BREW to save again.
There is no separate “delete schedule” command on most models. Pressing AUTO toggles the schedule on and off.
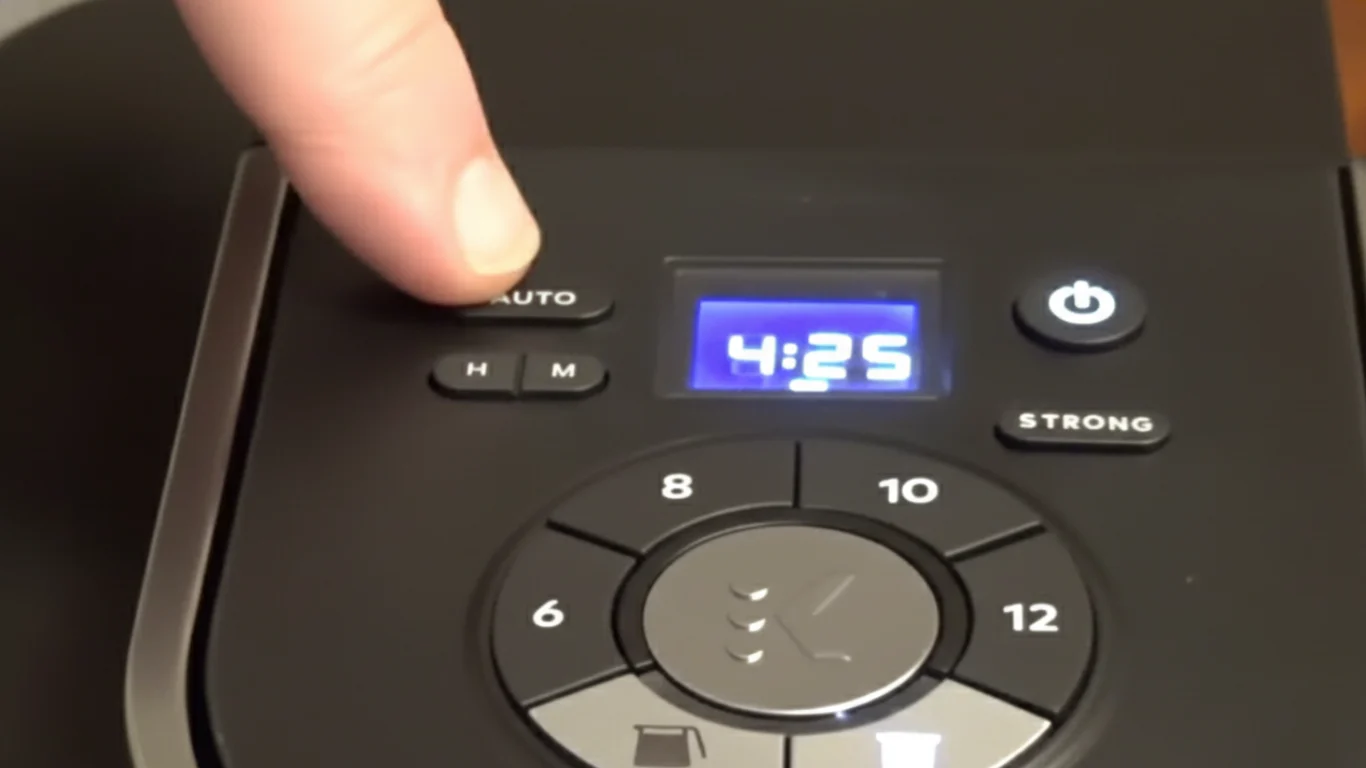
The clock icon is your visual confirmation that a schedule is saved.
Troubleshooting: Why Auto Brew Might Not Work
Auto Brew is simple, but it fails silently when the machine is not prepared. Work through these in order.
The Machine Brews at the Wrong Time
This is almost always a clock error. If the clock shows PM when you meant AM, the entire schedule shifts by twelve hours. Reset the clock first, then reprogram the Auto Brew time.
Nothing Happens at the Scheduled Time
Check the power state. If the machine is off, the schedule cannot run. Also check the water level and confirm a K-Cup is actually loaded. An empty reservoir will cause the machine to beep but not brew.
The Clock Icon Disappears by Morning
Some models clear the schedule if the machine loses power, even briefly. A flicker overnight can reset the clock to 12:00 and wipe the Auto Brew setting. If this happens repeatedly, consider plugging the Keurig into a surge protector. Loose wall connections are another culprit.
The Coffee Is Too Weak or Too Strong
The brew size setting controls the ratio. If the coffee tastes watery, choose a smaller cup size. If it is too intense, go up a size. The scheduled brew uses the same size every time, so set it to match your usual preference.
Everyday Habits That Keep Your Keurig Ready
The machine brews best when it is maintained. A few weekly habits make a big difference.
- Refill the water reservoir after each use. Do not leave it sitting half-empty for days.
- Use fresh, cold water. Stale water in the tank can affect flavor.
- Remove used K-Cups immediately. Leftover pods can cause mold and odors.
- Run a descaling cycle every few months. Mineral buildup slows heating and can alter brew temperature.
If you have ever wrestled with a clogged machine, this is the same kind of routine upkeep that keeps your brewer running smoothly. Regular maintenance is also a good time to review your kitchen appliances more broadly — a clean kitchen makes every morning easier.
Should You Use a Smart Plug Instead?
A common workaround is plugging a non-programmable Keurig into a smart outlet. This powers the machine on at a set time, but it does not start the brew cycle. The machine will power up and sit idle. You still have to press BREW manually.
For machines with Auto Brew built in, the built-in schedule is the better option. It handles heating and brewing automatically. A smart plug only solves the power-on problem, not the brewing problem.
If you are choosing a new brewer anyway, checking the model’s feature list before buying saves you from this limitation. Reading about the differences between fully programmable and basic models before you purchase is worth your time.
Common Questions About Keurig Auto Brew
How do I set the Auto Brew time on my Keurig?
Press AUTO, use the HOUR and MINUTE buttons to enter your desired time, then press BREW to confirm. The clock icon on the display confirms the schedule is active.
Can I schedule a brew on every Keurig model?
No. Auto Brew requires a digital display and a clock. Basic models without a screen do not support scheduled brewing. Always check your model’s manual first.
Does the Keurig stay hot all night waiting to brew?
No. The machine does not continuously heat water overnight. It powers up, heats, and brews when the scheduled time arrives. There is no meaningful energy waste from leaving it in standby.
Can I set Auto Brew if the clock shows the wrong time?
Technically yes, but the brew will happen at the wrong time. The schedule is based on the internal clock. Set the correct time first, then program the brew time.
What is Auto Off, and how is it different?
Auto Off turns the machine off after a set period of inactivity. It does not start brewing. On models with both features, using Auto Off can power the machine down before the scheduled brew time, which prevents Auto Brew from running.
Final Thoughts
Setting your Keurig to Auto Brew is one of the simplest upgrades to a morning routine. Prepare the machine the night before, program the time, and let the brewer do the work. The whole setup takes less than five minutes, and the payoff is a fresh cup waiting when you need it most.
The only true requirement is consistency: the machine needs correct time, water, a pod, and standby power. Skip any one of those four and the schedule silently fails. Get them right, and the habit becomes automatic.
If you are still relying on a manual press every morning, take the five minutes to program it tonight. The first quiet morning with coffee already brewed will make the effort feel trivial.