Skip to content
Making homemade ice cream is a joy. It tastes fresh, you control the ingredients, and there’s a special satisfaction in every scoop. But after churning that creamy batch, many people wonder: how do you store homemade ice cream in the freezer so it stays smooth and delicious? If you simply put it in any container and toss it in, you might find it turns icy, hard, or loses flavor fast. There’s more to freezing ice cream than meets the eye. Let’s look at simple, practical ways to keep your homemade ice cream at its best, longer.
Why Homemade Ice Cream Needs Special Storage
Homemade ice cream is different from store-bought. It usually has fewer stabilizers and preservatives. That means it’s more sensitive to temperature changes and air exposure. When stored poorly, homemade ice cream can get ice crystals, lose its creamy texture, or even pick up odors from other foods in your freezer.
If you want every spoonful to taste like it’s freshly churned, you need to understand a few important facts:
- Air is the enemy. When ice cream touches air, it dries out and forms ice crystals.
- Freezer temperature matters. Fluctuations cause melting and refreezing, making ice cream grainy.
- Containers make a big difference. Some materials keep ice cream smoother than others.
With these points in mind, let’s go step-by-step through the process.
Choosing The Right Container
The container you choose sets the stage for how your ice cream will taste and feel. Not all containers are equal.
Best Container Types
| Container Type | Advantages | Disadvantages |
|---|---|---|
| Plastic (BPA-free) | Lightweight, cheap, tight seal | Can stain, may absorb odors |
| Metal (Stainless steel) | Fast freezing, durable, odor-resistant | Can get very cold to touch, more expensive |
| Glass (Tempered) | No odor, looks nice, reusable | Breakable, slower to freeze, heavier |
| Commercial ice cream tubs | Designed for ice cream, easy scoop | Not always available, single-use |
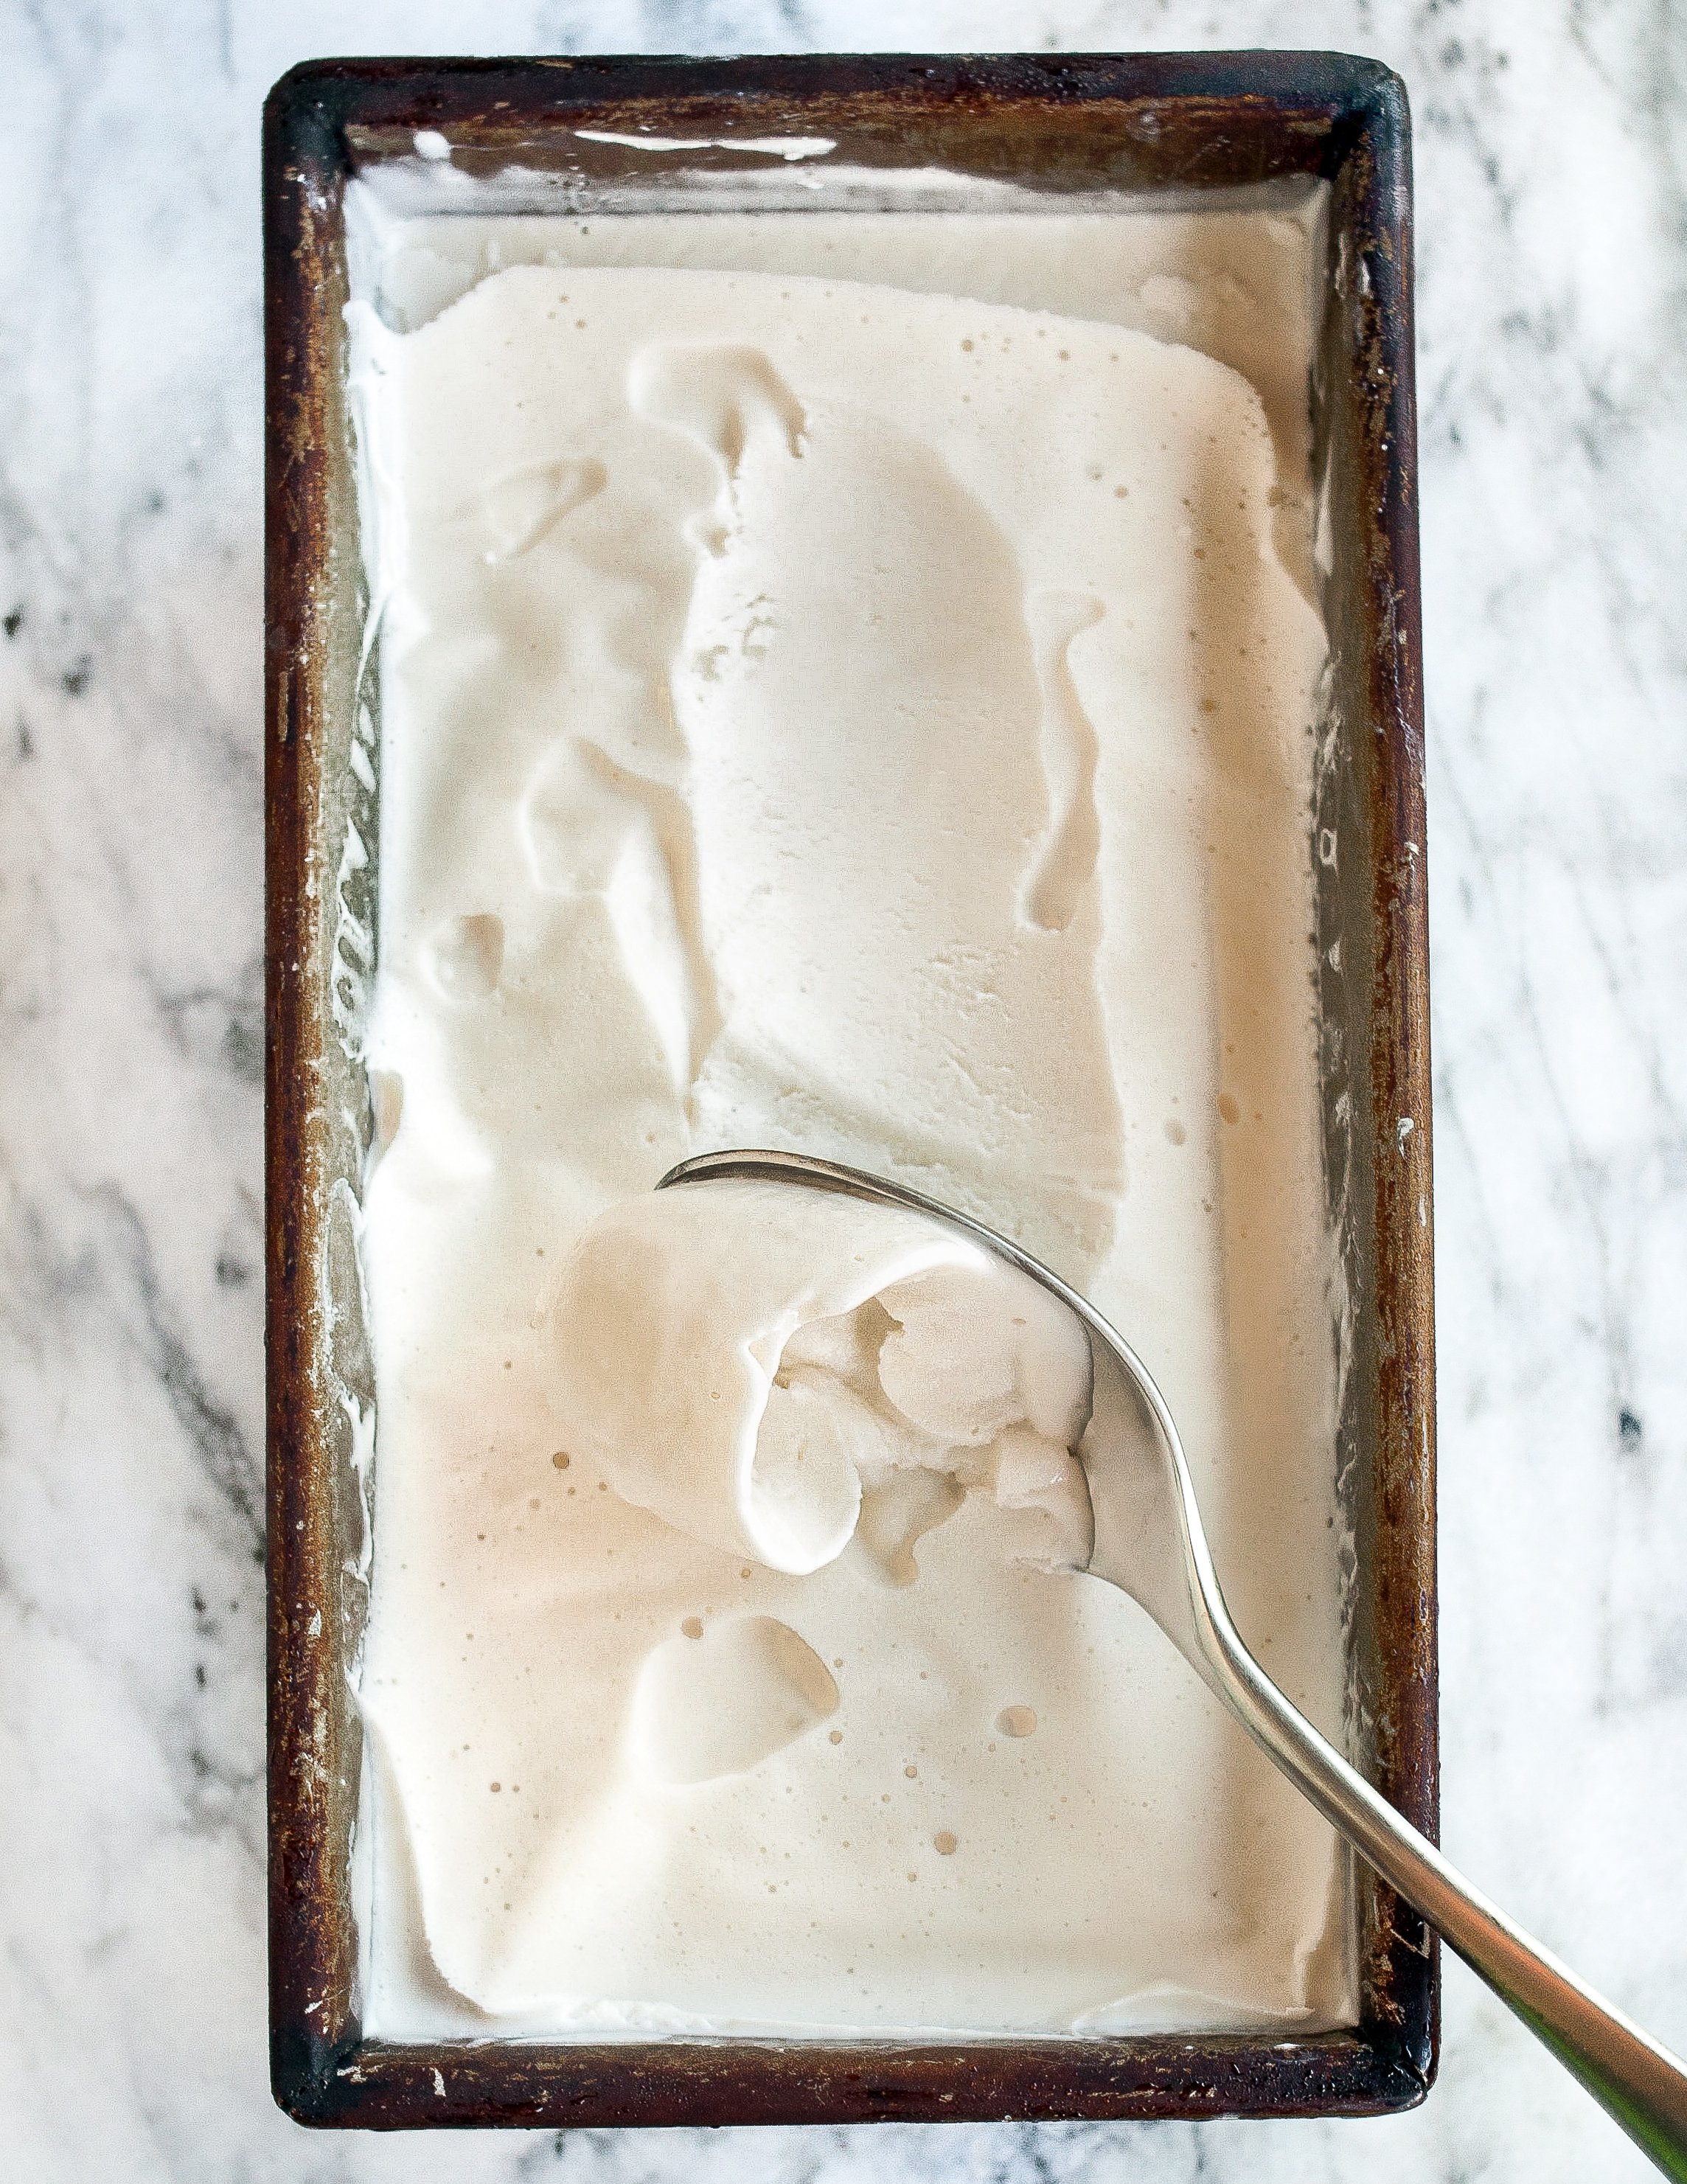
Pro tip: Use shallow, flat containers. Ice cream freezes faster and more evenly in a wide, shallow box than a deep, tall one. This means fewer ice crystals.
Size Matters
Store ice cream in small batches—just enough for a few servings. This way, you only open what you’ll eat, and the rest stays sealed and protected.
Pre-freezing Your Containers
Before pouring in your fresh ice cream, pre-freeze the container for about an hour. This keeps the ice cream from melting at the edges when it touches a warm container.
It’s a small step, but it helps the ice cream freeze quickly and stay creamy.
Filling The Container: Avoiding Air
When you transfer ice cream from the churn to your container, try to:
- Fill to the top. Leave as little space as possible between the ice cream and the lid. Less air means fewer ice crystals.
- Smooth the surface. Use a spatula to press the ice cream down and remove pockets of air.
This is one area where beginners often go wrong—they leave too much air, which leads to icy texture.

Credit: www.thekitchn.com
Using A Protective Layer
Before sealing your ice cream, place a piece of parchment paper, wax paper, or plastic wrap directly on the ice cream surface. This barrier blocks air and helps keep the ice cream smooth.
This trick is used by professional ice cream makers. It’s easy but makes a big difference, especially if you want to store ice cream for more than a few days.
Sealing The Container
Choose a lid that fits tightly. If your container doesn’t seal well, wrap a layer of plastic wrap around the lid. This double protection keeps out freezer smells and extra air.
For extra protection, you can even place the whole container in a zip-top freezer bag, especially for long storage.
Credit: www.thekitchn.com
Setting The Freezer Temperature
The best temperature for storing homemade ice cream is between -10°F and -20°F (-23°C to -29°C). Most home freezers are set around 0°F (-18°C), which is fine for short-term storage (1-2 weeks).
Why colder is better: Colder temperatures keep ice cream solid and prevent melting/refreezing cycles that make it grainy.
If your freezer has a “quick freeze” or “deep freeze” area, use it for the first 4-6 hours. After that, you can move the ice cream to a regular spot.
Where To Place Ice Cream In The Freezer
Not all spots in your freezer are equal. The front of the freezer is warmer (because you open it often). The door is the warmest place. The coldest, most stable spot is the back of the freezer, away from the door.
Store homemade ice cream as far back as possible to avoid temperature swings.
Let Ice Cream Firm Up
After churning, homemade ice cream is soft—like soft serve. For best results:
- Move it to the freezer immediately.
- Let it firm up for 3-4 hours before eating. This is called “curing.” It helps improve texture and flavor.
If you want to serve right away, you can enjoy it soft, but it will melt fast.
How Long Can You Store Homemade Ice Cream?
Homemade ice cream is best eaten within one to two weeks. After that, texture and flavor start to decline, and ice crystals grow.
For comparison:
| Type | Ideal Storage Time | Maximum Storage Time |
|---|---|---|
| Homemade (no stabilizers) | 1-2 weeks | 1 month |
| Commercial (with stabilizers) | 1-2 months | 2-3 months |
After about a month, even well-stored homemade ice cream will usually get icy and lose flavor.
Avoiding Freezer Burn And Ice Crystals
Freezer burn happens when air gets to the surface and dries out the ice cream. Ice crystals grow when the ice cream melts slightly and refreezes.
Here’s how to avoid both:
- Keep containers sealed and wrapped.
- Store in the back of the freezer.
- Don’t open and close the container often.
- Use a clean, dry scoop (water causes ice crystals).
If you see a thin layer of ice on top, scrape it off before serving.
Thawing And Serving Homemade Ice Cream
Homemade ice cream gets very hard in the freezer. Don’t try to scoop it right away, or you’ll bend your spoon.
- Move the container to the fridge for 10-15 minutes before serving. Or leave it on the counter for 5-10 minutes.
- Use a wet, warm scoop. Dip your scoop in hot water, shake off the excess, and scoop. This glides through even hard ice cream.
Don’t refreeze melted ice cream. Once melted, its texture and safety are lost.

Credit: bakingbites.com
Label And Date Your Containers
Always label your containers with the type of ice cream and the date you made it. This makes it easier to eat the oldest ice cream first and avoid waste.
Common Mistakes To Avoid
- Using the wrong container. Thin, flexible plastic or non-freezer-safe glass can crack.
- Leaving too much air. Causes freezer burn and icy texture.
- Not sealing properly. Other freezer odors can ruin delicate flavors.
- Storing in the freezer door. Temperature is too unstable.
- Serving straight from the freezer. Makes it too hard and ruins the experience.
Non-obvious Tips For Even Better Storage
- Add alcohol (optional): A tablespoon of vodka or liqueur in the mix lowers freezing point slightly, making ice cream scoopable and less icy (but not for kids).
- Use glucose or corn syrup: Replacing a small part of sugar with glucose syrup helps keep texture smooth. Professional ice cream shops do this to prevent crystals.
- Store mix-ins separately: If adding brownies, cookies, or fruit, keep them separate and mix in only when serving. This keeps the base creamy.
What About Dairy-free Or Sorbet?
Dairy-free ice creams and sorbets freeze harder and are more sensitive to ice crystals. The same storage steps apply, but it’s even more important to use airtight, shallow containers and eat them quickly.
When To Throw Out Homemade Ice Cream
If your ice cream smells off, tastes strange, or has a lot of icy crystals, it’s best to throw it away. Homemade ice cream does not last as long as commercial brands. Safety and taste always come first.
Practical Example
Let’s say you just made a batch of vanilla ice cream with chocolate chips. Here’s how to store it:
- Freeze a shallow, BPA-free plastic container for 1 hour.
- Spoon in the ice cream, pressing it flat.
- Place parchment paper on the surface.
- Snap on the lid tightly and wrap with plastic.
- Place the container in the back of your freezer.
- Let it harden for 4 hours before eating.
- Label with the date and flavor.
Comparing Storage Methods
Let’s compare three methods side by side:
| Method | Texture After 1 Week | Flavor After 1 Week |
|---|---|---|
| Shallow, airtight, with paper | Smooth, minimal ice | Fresh, rich |
| Deep, loose lid, no paper | Icy edges, hard | Weaker flavor, some odors |
| Commercial tub, resealed | Mostly smooth | Good, but not as fresh |
You can see why following a few extra steps makes a big difference.
Frequently Asked Questions
How Long Can I Keep Homemade Ice Cream In The Freezer?
Homemade ice cream is best within one to two weeks. After that, it can develop ice crystals and lose flavor. Try to finish it within a month for best taste.
Why Does My Homemade Ice Cream Get Hard And Icy?
This happens when ice cream is exposed to air or temperature changes. Make sure you use airtight containers, press parchment paper on top, and store in the back of the freezer.
Can I Use Any Container For Freezing Ice Cream?
No. Use shallow, airtight, freezer-safe containers. Avoid thin plastic or glass not made for freezing, as they can crack or let in air.
Is It Safe To Refreeze Homemade Ice Cream After It Melts?
No, it’s not safe. Bacteria can grow when ice cream melts. If it melts completely, throw it away. Only store ice cream that has stayed frozen.
What’s The Best Way To Make Homemade Ice Cream Soft Again?
Let it sit in the fridge for 10-15 minutes before scooping, or on the counter for 5-10 minutes. Use a wet, warm scoop for easy serving.
Storing homemade ice cream well is about more than just keeping it cold. With the right container, a few protective steps, and good freezer habits, you can enjoy creamy, flavorful ice cream for days. For more tips on ice cream science, you can visit the Serious Eats Ice Cream Guide.
With these methods, your homemade ice cream will stay delicious from the first scoop to the last. Enjoy your frozen creations!