You bought an immersion blender to make creamy soup, but the first attempt left lumps, splatters, and a mess on the counter. Knowing how to use immersion blender for soup properly is about technique, not just power. You’re not alone.
Our kitchen guides cover this exact problem.
Manufacturer specifications indicate most home models run between 300 and 600 watts, which is plenty for a standard pot of soup. As of 2026, that range still holds for the vast majority of corded models on the market. The trick is understanding how the blade, the depth, and your movement work together.
Once you get that, a silky texture is minutes away.
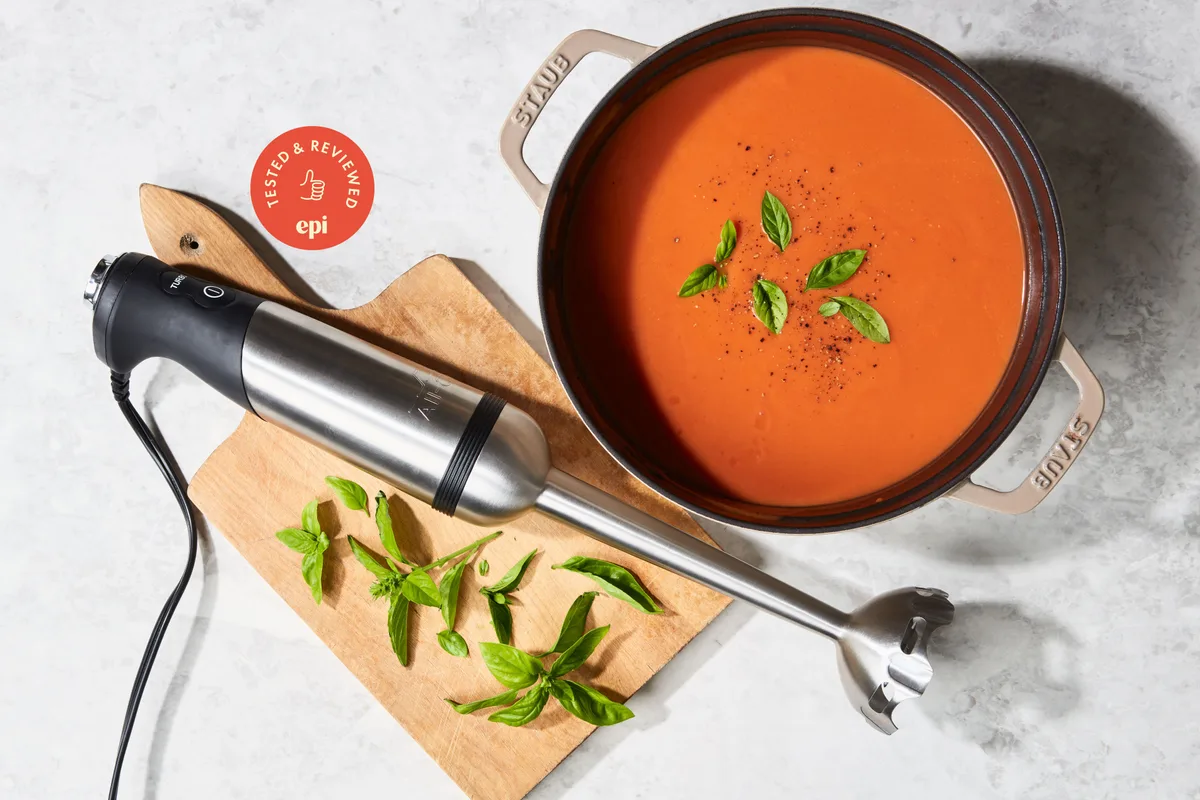
Image source: Web (Bing) / jodysbakery.com (Web image (fair-use with source credit))
Quick Answer: The Short Version
Submerge the blade fully before turning it on. Tilt the wand at a slight angle. Move it in gentle up-and-down strokes.
Blend in short pulses for chunky soup. Run it continuously for a smooth result.
Why Technique Matters (and What Goes Wrong)
The difference between a good immersion blender session and a disaster usually comes down to a few avoidable mistakes. The most common one is starting the motor before the blade is fully submerged. That pulls air into the soup, creates a vortex, and sends hot liquid flying.
Another frequent error is over-blending. A starchy soup, like potato or butternut squash, turns gluey when the blade runs too long. The starches break down into a paste that feels thick and unappealing.
A few seconds of blending makes a difference.
Scratching the pot is also a real concern. If you press the blade guard hard against the bottom of a nonstick pot, you’ll leave marks. The same goes for blending too close to the sides.
The guard is there to protect the pot, but it only works if you let it float slightly.
Before You Blend: The Setup Checklist
Before you even plug the blender in, run through a quick setup. It takes thirty seconds and prevents most common problems.
First, check your wattage. For home use, 300 to 600 watts handles nearly any soup. Lower power works for soft vegetables, but it struggles with fibrous ingredients like celery or tough greens.
If your soup is mostly cooked and tender, you’re fine.
Next, look at the shaft length. The blade tip needs to reach the bottom of your pot without the motor body touching the rim. If the shaft is too short, you’ll have to tilt the whole unit, which defeats the purpose.
If the pot is deep, consider a longer wand or a cordless model.
Prepare the soup itself. Let it cool for five to ten minutes after coming off the heat. Boiling liquid splashes violently when blended, and the USDA Food Safety and Inspection Service recommends letting hot liquids rest before handling.
A quick cool-down reduces that risk.
Also, remove any large bones, bay leaves, or tough herb stems before blending. They’ll get caught in the blade guard. If you’re prepping vegetables for the soup, a good julienne peeler makes quick work of carrots, zucchini, or potatoes.
Likewise, sharp chef’s knives help you cut uniform pieces that cook evenly before blending.
Finally, make sure the pot is stable. A heavy pot on a flat surface is ideal. If you have lightweight cookware, hold the pot handle with your free hand.
That keeps everything steady while you blend.
Step-by-Step: The Decision Tree for Blending Soup
This is where the if/then logic kicks in. Your technique depends on what you’re making and how you want it to look.
Step 1: Decide Your Target Texture
Ask yourself what the soup should look like when it’s done.
- Chunky: You want some visible pieces. Use short pulses, two or three seconds each. Blend only part of the pot, then stop. Check the texture and pulse again if needed.
- Creamy: You want a smooth, uniform texture with no visible chunks. Blend continuously in a slow, steady motion. Move the wand around the pot to cover everything.
- Silky: You want a velvety, almost thin texture. This takes longer blending plus, sometimes, passing the soup through a fine sieve. If you’re aiming for restaurant-style, blend on medium-high for a full minute.
Step 2: Working With Hot or Warm Soup
If your soup is piping hot, blend in short bursts. Ten to fifteen seconds at a time, then pause. This lets the heat dissipate and reduces splatter.
If the soup is warm but not steaming, you can blend more freely.
Step 3: What You’re Blending
The ingredients change the approach.
- Root vegetables (potatoes, carrots, parsnips): These are starchy and turn gluey fast. Blend on low speed and stop as soon as the texture looks right.
- Tomatoes and other watery vegetables: These blend easily and don’t clump. You can be more aggressive.
- Leafy greens (spinach, kale): These can get stringy if over-blended. Use short pulses and check frequently.
- Frozen vegetables: If you added frozen peas or corn, they blend fine as long as they’re fully cooked. Just make sure they’re soft before you start.
- Blending in cheese: If you want a richer soup, blend in soft cheese like camembert after the soup comes off the heat. It melts quickly and gives the soup a velvety finish.
The Core Technique: The Right Way to Blend Any Soup
Once you’ve decided on texture and prepared the pot, the actual blending is straightforward.
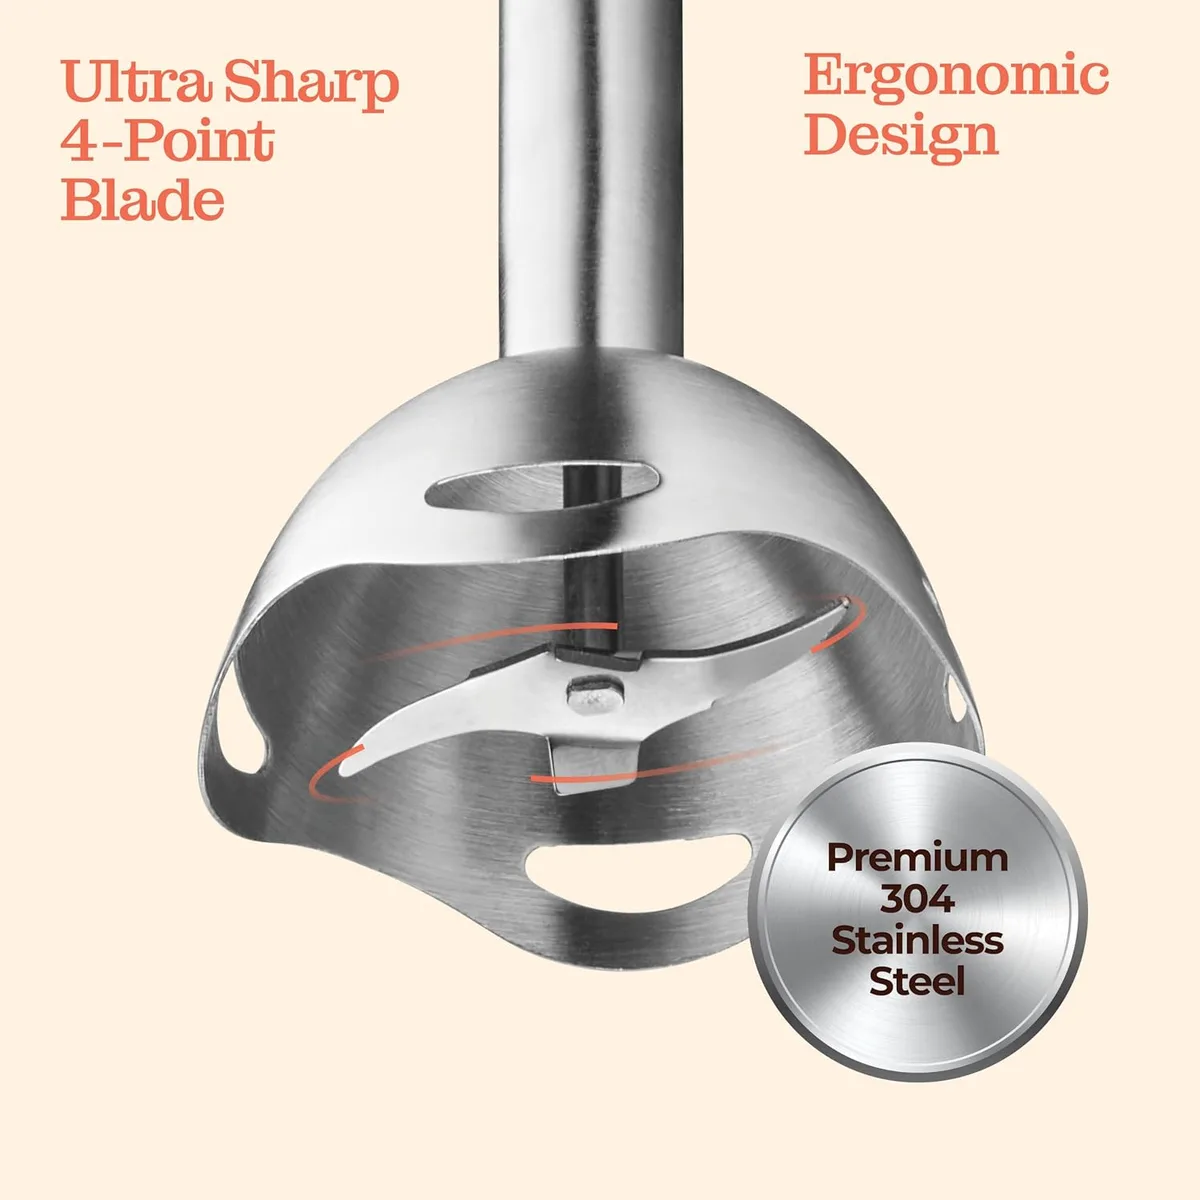
Image source: Web (Bing) / manuals.plus (Web image (fair-use with source credit))
Hold the blender at a slight angle, about 15 to 20 degrees off vertical. This creates a vortex that pulls soup toward the blade instead of pushing it away. Keep the blade fully submerged.
The guard should sit just below the surface, but the bell-shaped guard should stay under the liquid.
Move the wand in a slow up-and-down motion. Start at the bottom, lift to the top, then back down. This circulates the soup and ensures nothing settles at the bottom.
For larger pots, move the wand in a slow circle around the pot while you lift and lower it.
Pulse for chunky textures. Press the trigger for two or three seconds, release, then press again. Continuous blending, on the other hand, gives you smooth results.
Run the motor for twenty to thirty seconds, then stop and check. Use a sturdy stainless steel spatula to scrape down the blade guard between pulses.
When is it done? Look at the soup. If you see no chunks and the texture looks uniform, stop.
If you want a completely smooth result, blend a little longer.
Just don’t leave the motor running while you walk away. That’s when over-blending happens.