Skip to content
Winter is coming, and you know what that means—frozen pipes, chilly nights, and ice makers that need attention. If you own an ice maker, you must prepare it for winter, especially if it’s installed outdoors, in a garage, or in any place exposed to cold.
Neglecting this step can lead to cracked water lines, damaged units, and costly repairs. Luckily, winterizing an ice maker is a task you can handle without professional help. In this guide, you’ll learn exactly how to protect your ice maker from freezing temperatures, avoid common mistakes, and make sure it’s ready to deliver ice next season.
Why Winterizing An Ice Maker Is Essential
An ice maker is more than just a convenience—it’s a machine with delicate parts. When water freezes, it expands, and this expansion can crack pipes, valves, or the ice maker’s internal components. Water lines, reservoirs, and filters are especially vulnerable. According to the Insurance Information Institute, frozen pipes cause over $4 billion in property damage annually in the US. Most of these incidents could have been prevented with proper winterization.
If your ice maker is located in a spot where the temperature drops below 32°F (0°C), you risk serious damage. Even indoor units can be at risk if they’re installed in unheated basements or garages. Winterizing is a preventive action—it saves money, time, and stress.
When Should You Winterize Your Ice Maker?
Timing is key. You should start the process before the first freeze. In most regions, this means late fall—October or November. If you wait until temperatures are already below freezing, you risk ice forming inside the machine. It’s also smart to check the local weather forecast and plan ahead.
Some areas have unpredictable cold snaps, so it’s better to be early than late. If you have an ice maker for your RV, boat, or outdoor kitchen, winterize as soon as you stop using it for the season.
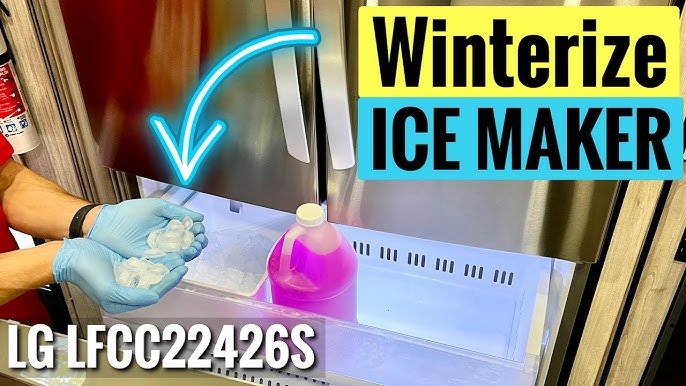
Credit: www.youtube.com
Step-by-step Guide To Winterizing An Ice Maker
Winterizing isn’t complicated, but you must follow each step carefully. Here’s a clear process you can trust.
1. Turn Off The Ice Maker
Start by switching off the unit. Find the power button or unplug the machine from the outlet. This prevents accidental operation during cleaning and draining.
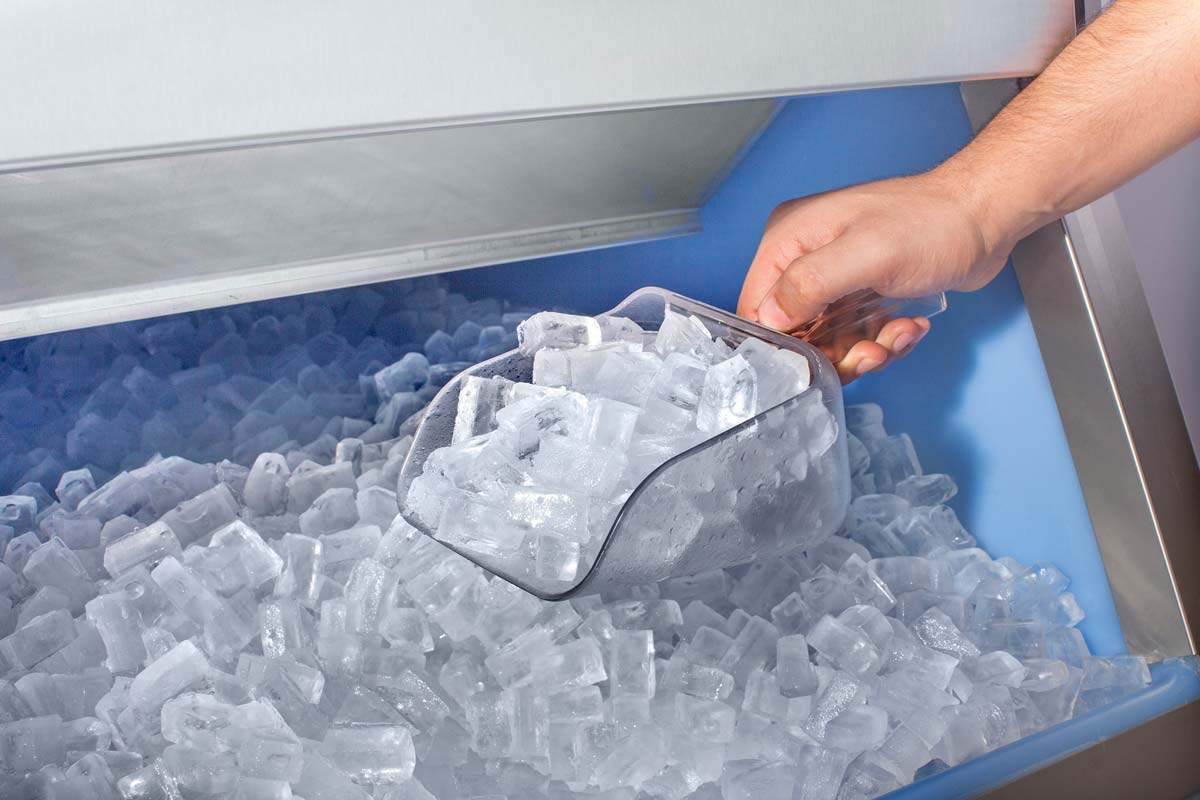
2. Remove All Ice
Open the ice bin and take out all the ice. Ice left in the bin will melt and refreeze, causing clumps or possible mold growth. Use a clean scoop and discard the ice.
3. Shut Off The Water Supply
Locate the water supply valve feeding the ice maker. Turn it off. This is usually under the sink for kitchen units, or near the unit for standalone machines. Stopping water flow is crucial—otherwise, pipes may freeze and burst.
4. Disconnect Water Lines
Carefully disconnect the water lines from the ice maker. Have a towel handy to catch any leftover water. Inspect the lines for cracks or wear—now is a good time to replace aging hoses.
5. Drain Water From The System
Even after disconnecting, water remains in the pipes and inside the ice maker. Most units have a drain plug or valve. Open this and let all water flow out. For stubborn water, gently tilt the unit.
6. Clean The Ice Maker Thoroughly
Winterizing is a perfect time for deep cleaning. Use a mild cleaning solution or a mix of vinegar and water. Wipe down the interior, ice bin, water reservoir, and any removable parts. Rinse with clean water and dry completely. This prevents bacteria and mold during storage.
7. Remove And Dry Water Filter
If your ice maker has a water filter, take it out. Water filters can trap moisture, which may freeze and damage the filter. Dry it completely, or replace it when you restart the unit next season.
8. Inspect Seals And Gaskets
Check all seals and gaskets for cracks, wear, or damage. These are important for preventing leaks and keeping the machine airtight. Replace any damaged parts before storage.
9. Leave Doors Or Lids Open
Prop the door or lid slightly open. This allows air circulation and prevents musty smells or mold. Use a small towel or wedge to keep it ajar.
10. Store In A Safe Location
If possible, move the ice maker to a warmer area, such as indoors. If it must stay outside, cover it with a waterproof, insulated cover. Make sure the cover doesn’t block ventilation.
11. Label Water Lines And Connections
Before storing, label the water lines and connections. This makes reinstallation easier in spring. Use simple tape and marker—future you will thank you.
12. Check Regularly During Winter
Don’t forget about your ice maker after winterizing. Check the unit every month to ensure no moisture, pests, or issues arise. Quick checks prevent surprises when you restart.
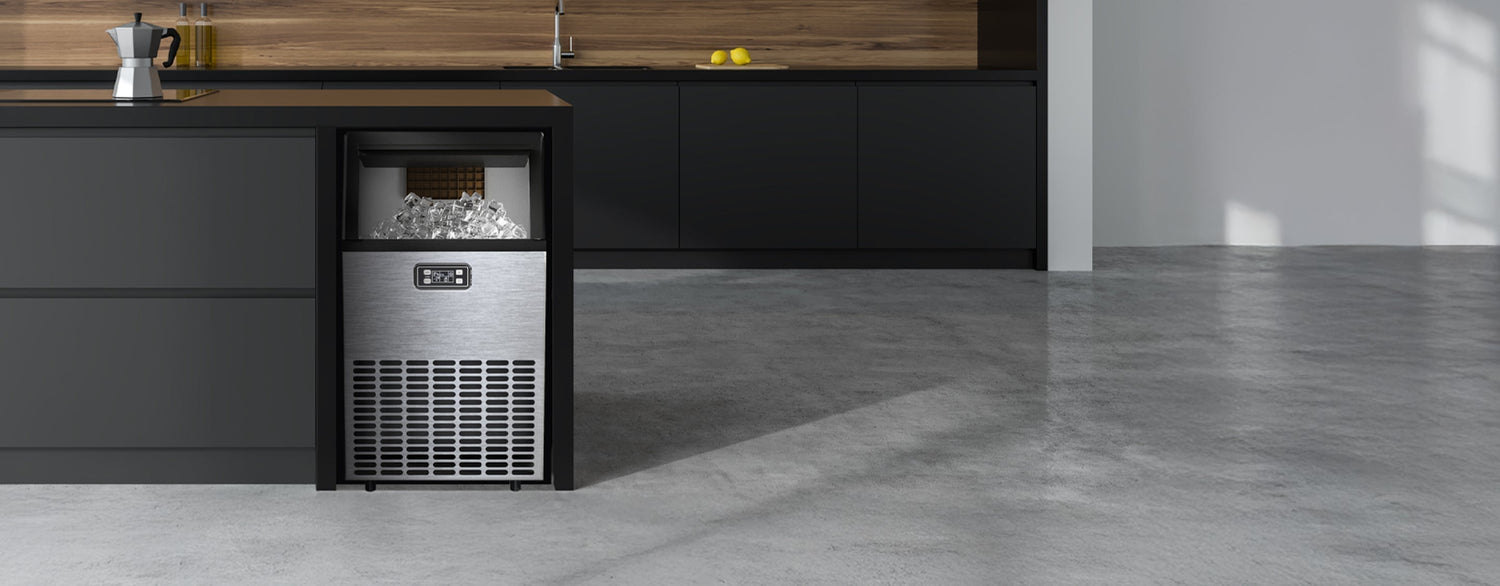
Special Tips For Outdoor And Commercial Ice Makers
Outdoor and commercial units face harsher conditions. Here’s how to handle them:
- Use a heavy-duty insulated cover to shield against snow, ice, and wind.
- Apply pipe insulation to water lines leading to the ice maker.
- For commercial units, consult the manufacturer for specific winterizing procedures—some machines need professional servicing.
- If possible, move portable units indoors. Permanent machines should be drained and sealed tightly.
Common Mistakes To Avoid
Many people make errors that lead to costly repairs. Here are mistakes you should dodge:
- Leaving Water in the Machine: Even a small amount can freeze and crack pipes.
- Forgetting to Clean: Dirty ice makers can breed bacteria and mold during winter.
- Ignoring Filters: Water filters left inside can freeze and break.
- Not Checking Insulation: Uninsulated pipes are at high risk for freezing.
- Failing to Label Connections: Reconnecting in spring becomes confusing without labels.
Data: Ice Maker Freezing Risks
To help you understand risk levels, here’s a comparison of ice maker locations and their freezing risk.
| Location | Freezing Risk | Recommended Action |
|---|---|---|
| Outdoor Kitchen | High | Winterize fully, move indoors if possible |
| Garage | Medium | Insulate, drain, cover |
| Indoor Kitchen | Low | Check for cold drafts, minimal action |
| RV/Boat | Very High | Drain, remove, store inside |
Materials You’ll Need For Winterizing
Preparation makes the process smooth. Gather these supplies before you start:
- Clean towels
- Mild cleaning solution or vinegar
- Insulated cover
- Pipe insulation foam
- Tape and marker for labeling
- Screwdriver or wrench for disconnecting lines
Having these ready saves time and prevents mistakes.
Ice Maker Types And Their Winterizing Needs
Different ice makers require slightly different steps. Here’s a quick comparison.
| Ice Maker Type | Winterizing Difficulty | Key Steps |
|---|---|---|
| Portable Countertop | Easy | Drain, clean, move indoors |
| Built-in Under-counter | Moderate | Disconnect lines, drain, clean thoroughly |
| Outdoor/Commercial | Challenging | Drain, insulate, cover, check manufacturer guide |
Practical Insights: What Beginners Often Miss
Many people overlook two key points:
- Residual Water in Valves: Even after draining, water can remain in valves and connectors. Use compressed air or gently tilt the unit to ensure all water is out.
- Filter Replacement: Instead of storing old filters, start fresh in spring with a new one. Filters degrade and can harbor bacteria.
These steps aren’t obvious but prevent many problems.
Restarting Your Ice Maker After Winter
When spring arrives, restarting your ice maker is easy if you’ve winterized properly.
- Reconnect water lines and double-check for leaks.
- Install a new filter (or reinstall the dried filter).
- Plug in the unit and turn on the water supply.
- Run a cleaning cycle before making ice for use.
- Inspect seals and gaskets—replace if needed.
Be patient; let the machine run one or two cycles before using the ice.
Statistics: Cost Of Not Winterizing
According to a report by the National Association of Home Builders, the average cost to repair frozen ice maker pipes is $250–$600. Replacing a broken ice maker can cost over $1,200. Proper winterization takes less than an hour and saves hundreds of dollars.
Eco-friendly Winterizing Tips
Protecting your ice maker can also be environmentally friendly:
- Use vinegar instead of harsh chemicals for cleaning.
- Recycle old filters and hoses.
- Store the unit in a place where it won’t use unnecessary energy.
Credit: www.euhomy.com
Manufacturer Recommendations
Always check your ice maker’s user manual. Brands like Whirlpool, GE, and Scotsman have specific instructions for winterizing. Some recommend professional servicing for commercial models. For more detailed advice, visit Consumer Reports.
Frequently Asked Questions
How Often Should I Winterize My Ice Maker?
You should winterize your ice maker once a year, just before the first freeze. If you live in a region with unpredictable cold weather, consider doing it sooner.
Can I Use Antifreeze In My Ice Maker?
No, you should not use automotive antifreeze in your ice maker. It’s toxic and not safe for food equipment. Only use food-safe products recommended by the manufacturer.
What If My Ice Maker Is Built Into A Refrigerator?
If your refrigerator is indoors, minimal action is needed. Just ensure the area stays above freezing. For garage or outdoor refrigerators, follow the same steps as standalone ice makers.
Do I Need To Remove The Ice Maker From My Rv Or Boat?
Yes, it’s best to remove and store the ice maker indoors. RVs and boats can get extremely cold, increasing the risk of damage.
How Do I Know If My Ice Maker Is Damaged By Freezing?
Signs include leaks, no ice production, strange noises, or visible cracks. If you see these after winter, inspect the machine or call a technician.
Preparing your ice maker for winter is simple but vital. By following these steps, you’ll protect your investment, save money, and enjoy fresh ice next season without hassle. Winterizing is a task worth doing right—your ice maker will thank you when the warm weather returns.
Credit: totalfood.com