Keeping your kitchen fresh and clean starts with something many people overlook: the kitchen trash can. Even the best-kept kitchens can smell unpleasant or attract pests if the trash can is ignored. Regular maintenance isn’t just about emptying the bin—it’s about keeping it hygienic, odor-free, and safe for your family. A well-maintained trash can also lasts longer, saving you money and reducing hassle.
This checklist will guide you through everything you need to know, from cleaning tips to choosing the right liners and handling common problems. By the end, you’ll have all the tools to keep your kitchen’s most used container in top shape.
Why Kitchen Trash Can Maintenance Matters
Some might wonder why it’s important to clean and care for a trash can. After all, it’s meant for garbage. But there are good reasons to pay attention:
- Odor control: Leftover food, spills, and liquids quickly create strong smells.
- Germ prevention: Bacteria and mold thrive in dirty bins, potentially contaminating your kitchen.
- Pest deterrence: Flies, ants, and even rodents are attracted to food residue.
- Durability: Regular care helps prevent cracks, stains, and rust.
Surprisingly, a study by the National Sanitation Foundation found that kitchen trash cans are among the dirtiest items in the home, often more contaminated than toilet seats. Consistent maintenance reduces health risks and makes your kitchen a more pleasant place to be.
Daily Kitchen Trash Can Maintenance
A little attention each day prevents bigger problems later. Here’s what you should do:
1. Empty The Trash Regularly
Don’t wait until the bin is overflowing. Take out the trash at least once a day, or more often if you cook a lot.
2. Check For Leaks
Look for any liquid or food that may have spilled inside the can or underneath the liner. Clean up right away to stop smells and stains.
3. Wipe The Lid And Rim
The lid and top edge collect food splashes and grime. Use a disinfectant wipe or a damp cloth with mild soap to clean these areas quickly.
4. Replace Liners
Always use a kitchen trash bag or liner. Change it as soon as it’s full or if you notice tears or leaks.
5. Seal Strong-smelling Waste
Wrap items like fish, meat trimmings, or diapers in a separate bag before tossing them in the main trash. This prevents odors from escaping.
Weekly Deep Cleaning
Even with daily care, your trash can needs a deeper clean once a week. This prevents bacteria and odors from building up.
Steps For Effective Weekly Cleaning
1. Empty And Rinse The Can
Remove the liner and take the trash outside. Rinse the can with warm water to remove loose debris.
2. Scrub With Soap
Fill the can with a mixture of hot water and a few drops of dish soap. Use a brush or sponge to scrub all surfaces, including the lid, corners, and bottom.
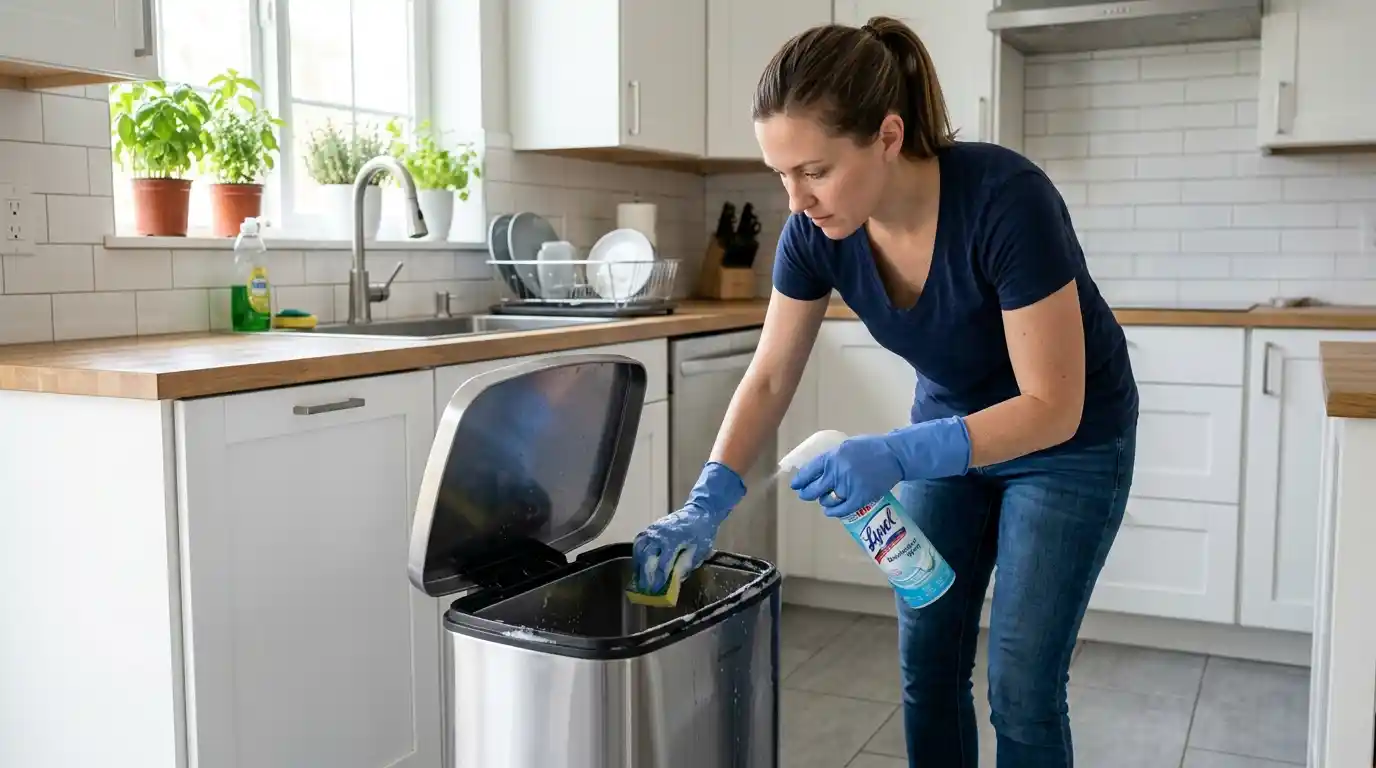
3. Disinfect
Spray or wipe the inside and outside with a disinfectant. You can use a mix of one part vinegar to one part water, or a store-bought cleaner labeled for kitchen use.
4. Dry Completely
Let the can air dry or wipe it with a clean towel. Moisture encourages mold and odors.
5. Add Odor Protection
Sprinkle a small amount of baking soda or place a deodorizer at the bottom before putting in a new liner.
Weekly Cleaning Products
| Product | Purpose | Safe for Kitchens |
|---|---|---|
| Baking Soda | Odor Absorption | Yes |
| Vinegar Solution | Disinfecting | Yes |
| Bleach (diluted) | Deep Cleaning | Use with caution |
| Antibacterial Wipes | Surface Cleaning | Yes |
Monthly And Seasonal Maintenance
Some tasks don’t need to happen every week but are critical for long-term cleanliness and function.
Monthly Tasks
- Inspect for damage: Check for cracks, holes, or rust. Damaged cans can leak and attract pests.
- Clean the bin area: Sweep and mop the floor around the trash can. Look for crumbs or spills that might have missed the bin.
- Wash reusable liners: If you use cloth or washable liners, launder them with hot water and detergent.
Seasonal Tasks
- Deodorize thoroughly: Leave the can outside in the sun for a few hours after cleaning. Sunlight is a natural disinfectant.
- Lubricate moving parts: If your trash can has a pedal or lid mechanism, add a little food-safe lubricant to keep it working smoothly.
- Replace old bins: Most plastic trash cans last 3–5 years. If the can is stained, cracked, or smells even after cleaning, consider replacing it.
Choosing The Right Trash Can Liners
A good liner makes maintenance much easier. Here’s how to pick the best one for your needs:
Liner Comparison
| Liner Type | Strength | Odor Control | Cost |
|---|---|---|---|
| Standard Plastic | Basic | Low | Low |
| Heavy Duty | High | Medium | Medium |
| Scented Bags | Medium | High | High |
| Compostable | Low | Low | High |
Practical Tips
- Choose the right size: The liner should fit snugly without slipping. Too small, and it tears; too big, and it wastes plastic.
- Select stronger bags for heavy waste: If you dispose of a lot of food scraps or bones, use a heavy-duty liner.
- Consider scented liners: These help control odor but may not be suitable for people with allergies.
- Go green where possible: Compostable bags are better for the environment, but they can be weaker and cost more.
You might find this helpful: Best Trash Can for Kitchen
Handling Common Kitchen Trash Can Problems
Even with good habits, you may run into issues. Here’s how to solve them:
Persistent Odors
If your can smells bad even after cleaning, try these steps:
- Sprinkle baking soda at the bottom to absorb odors.
- Place a few charcoal briquettes (wrapped in paper) in the bin.
- Air out the can in sunlight for several hours.
Sticky Residue
Sticky messes often come from spilled liquids or food. Use hot water, a bit of dish soap, and a scrub brush. For stubborn spots, a paste of baking soda and water works well.
Pest Infestation
If you see ants, flies, or other bugs:
- Clean the can thoroughly, inside and out.
- Place the can on a tray or mat to catch drips.
- Store the can with a tight-fitting lid.
- For severe infestations, move the trash can outside until the problem is solved.
Leaks
Leaking is often caused by thin liners or a cracked can. Always double-bag wet or sharp waste, and replace damaged bins promptly.
Mold Or Mildew
These grow in damp, dark places. To prevent:
- Dry the can completely after washing.
- Leave the lid open for a few hours after cleaning.
- Use a vinegar spray to kill mold spores.
Odor Control Strategies
Keeping your kitchen smelling fresh requires a few smart habits and products.
Odor Control Product Comparison
| Product | How It Works | Effectiveness |
|---|---|---|
| Baking Soda | Absorbs smells | High |
| Charcoal Filters | Neutralizes odors | Very High |
| Scented Liners | Masks odors | Medium |
| Commercial Deodorizers | Eliminates and masks odors | High |
Non-obvious Odor Tips
- Don’t just mask smells—remove the source by cleaning spills right away.
- Avoid pouring liquids directly into the trash can. Drain leftovers in the sink first.
Safety Tips For Kitchen Trash Cans
Maintaining your trash can also means keeping your kitchen safe.
- Keep sharp objects wrapped: Broken glass or metal can cut through liners. Wrap sharp items in newspaper or cardboard before disposal.
- Watch for small children and pets: Use a bin with a secure lid to stop kids or pets from accessing the trash.
- Store away from heat: Don’t place the trash can near stoves or ovens. Some plastics can melt or catch fire.
- Avoid overfilling: Heavy bins are harder to carry and more likely to break, spill, or hurt your back.

Credit: www.ebay.com
Eco-friendly Kitchen Trash Habits
Reducing waste and being eco-conscious starts with your trash can.
- Compost food scraps: Set up a compost bin for vegetable peels, coffee grounds, and eggshells.
- Recycle when possible: Rinse cans, bottles, and plastics and put them in a separate recycling bin.
- Use less plastic: Consider reusable liners or bags made from recycled materials.
- Buy durable bins: Metal or high-quality plastic bins last longer and end up in the landfill less often.
Pro Tips Most People Miss
Here are two insights many homeowners skip:
- Clean the can’s handle and foot pedal: These are touched often and can harbor germs. Wipe them with a disinfectant during your weekly clean.
- Use a bin deodorizer clip: These small, clip-on products fit inside the lid and release fresh scent for weeks. They’re often overlooked but make a big difference.
Frequently Asked Questions
How Often Should I Clean My Kitchen Trash Can?
You should wipe down the lid and rim daily, and do a deep clean at least once a week. If you have a large family or cook frequently, clean more often to prevent smells and bacteria.
What Is The Best Way To Remove Bad Odors From My Trash Can?
The most effective method is to clean the can thoroughly, dry it, and then sprinkle baking soda at the bottom. For tough smells, use a charcoal filter or let the can air out in sunlight.
Can I Use Bleach To Clean My Kitchen Trash Can?
Yes, but use diluted bleach (one tablespoon per gallon of water) and rinse well after. Bleach kills germs but can damage some plastics and is not eco-friendly for regular use.
Is It Safe To Keep My Kitchen Trash Can Under The Sink?
It’s generally safe if there’s enough ventilation and you check for leaks regularly. However, under-sink bins can attract pests if not cleaned often, and moisture increases mold risk.
What Should I Do If I Find Maggots In My Kitchen Trash Can?
Take the trash outside immediately, clean out the can with hot, soapy water, and rinse with a vinegar solution. Let it dry in the sun. Keep the lid tight and empty trash more often to prevent recurrence.
Keeping your kitchen trash can clean and well-maintained isn’t just about looks—it’s about health, safety, and comfort. With a little daily care and regular deep cleaning, you can avoid smells, pests, and costly replacements. Remember, the best kitchens start with the basics. For more information on household hygiene, visit the CDC’s official cleaning tips.