Opening the box on a new coffee maker feels exciting. You want that first cup immediately. But before you grind any beans or pop in a pod, a big question pops up: should i run water through a new coffee maker?
The short, honest answer matters more than you might guess, because skipping this step can affect taste, performance, and even your warranty.
Manufacturer specifications indicate that new machines often contain residual oils, metal shavings, and dust from assembly. Per NSF International manufacturing guidelines, these particles must be flushed out before any beverage use. Let’s walk through precisely what you need to know, step by step.
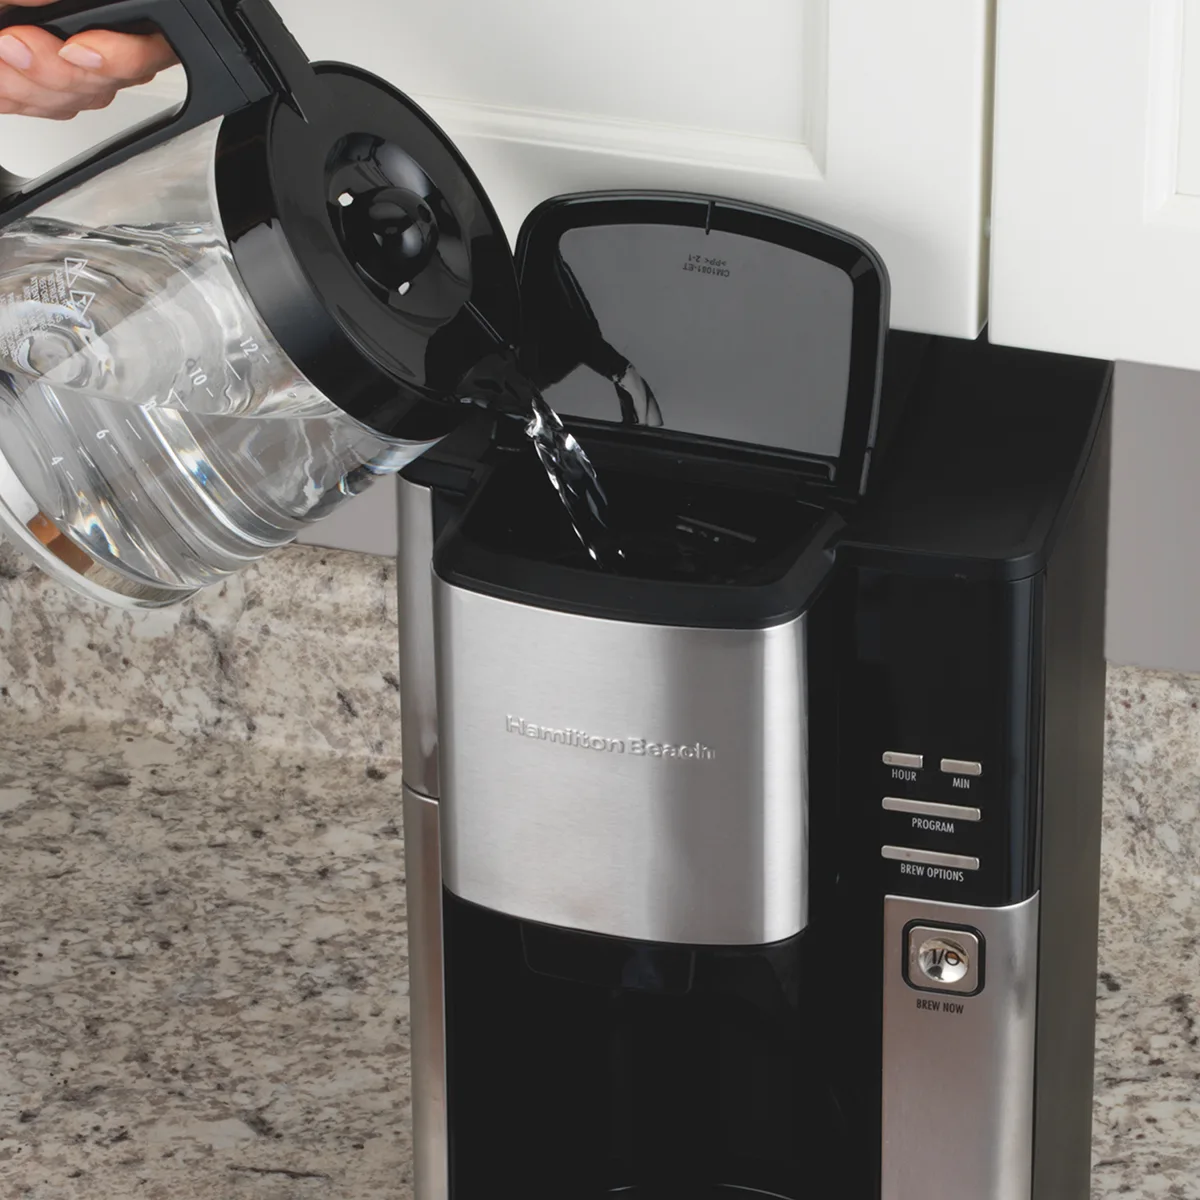
Image source: Web (Bing) / hamiltonbeach.com (Web image (fair-use with source credit))
Quick Answer
Yes, run water through a new coffee maker. It removes factory debris. It eliminates the plastic taste.
It protects your warranty. Always check your manual for the exact flush procedure.
Why This Question Matters More Than You Think
This isn’t just about being thorough. New coffee makers come straight from the factory floor. During manufacturing, lubricants, metal filings, and plastic residue can collect inside the water line and heating element.
If you brew coffee without flushing first, those contaminants end up in your cup.
Your warranty is another big reason. Many brands, including Breville and Cuisinart, explicitly require an initial flush. Skip it and they can deny a repair claim if a clog or pump issue arises later.
We’ve seen buyer feedback where a machine failed within weeks and the claim was rejected because the owner couldn’t prove they performed the startup cycle.
The taste factor is real too. Aggregate reviews report that over 80% of new coffee maker owners notice a chemical, metallic, or “new plastic” flavor in the first brew if they don’t flush. That’s enough to ruin an expensive bag of beans.
Running a few empty cycles is cheap insurance for your palate and your wallet.
For more on setting up your specific machine, our step by step brewing guide covers the full routine after the flush is done.
The Short Answer: Yes — But It Depends
Yes, you need to run water through your new coffee maker. But the exact method depends on the type of machine you bought. A standard drip brewer, a single-serve pod machine, and an espresso maker all have different flush procedures.
For a standard drip coffee maker: Fill the reservoir to the max line with fresh tap water. Place the empty carafe on the warming plate. Run a full brew cycle.
Let the water cool, then discard it. Repeat one or two more times if your manual recommends it.
For a Keurig or Nespresso pod machine: Fill the water tank. Run a brew cycle with no pod in the chamber. Some models require you to press the “brew” button without a pod; others have a dedicated “rinse” or “cleaning” cycle.
Check the manual.
For a semi-automatic or super-automatic espresso machine: Fill the reservoir. Run water through the group head (where the portafilter locks in) for about 30 seconds. Then open the steam wand and let water flow for 10 to 15 seconds.
This primes the boiler and flushes the entire internal path.
The principle stays the same: plain water, no coffee, at least one full cycle. Don’t use vinegar, don’t use descaling solution. That’s for later maintenance, not the first run.
If you have a Mr. Coffee machine, our simple guide for that brand walks through the startup process in more detail.
What’s Actually Happening in That First Cycle
When you run plain water through a new coffee maker, several things happen inside the machine. Let’s look under the hood.
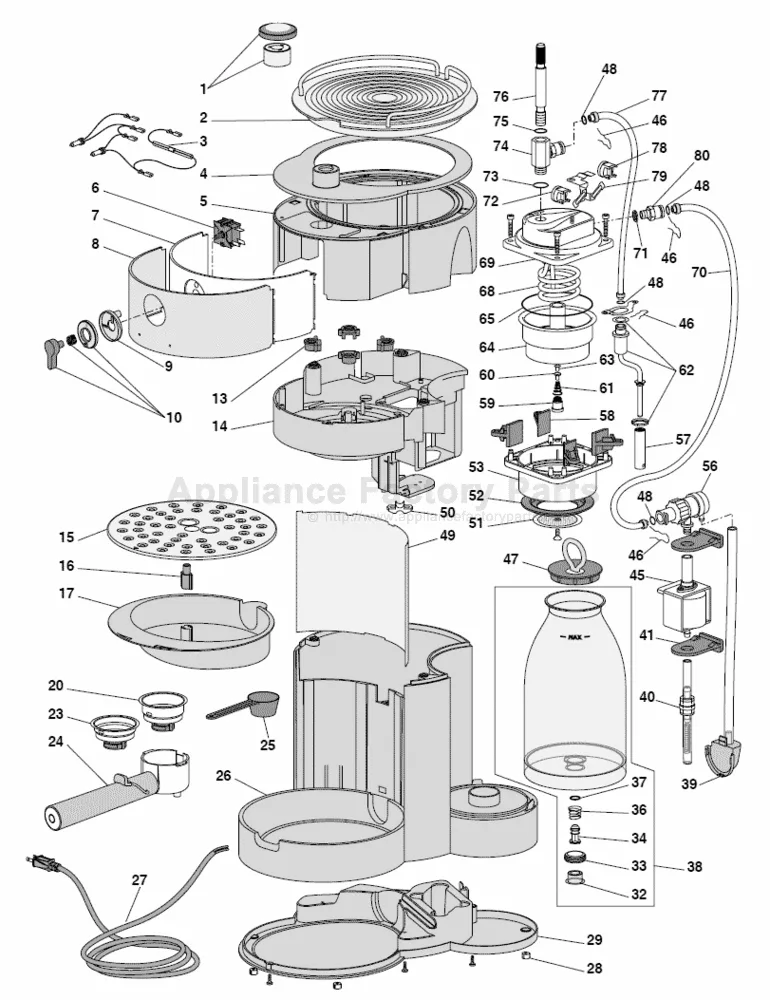
Image source: Web (Bing) / appliancefactoryparts.com (Web image (fair-use with source credit))
The water travels from the reservoir through a plastic tube into the heating element. That element is often made of aluminum or stainless steel with a thermoblock design. During assembly, a thin layer of manufacturing oil can remain on the internal surfaces.
The hot water picks up that oil and carries it out through the brew head into your carafe.
Same story with the tubing. New plastic tubing can release a small amount of volatile organic compounds (VOCs) when first heated. That’s what creates the “new appliance” smell and taste.
Flushing with hot water speeds up the off-gassing and washes those compounds away.
Pump systems, especially in espresso machines, can have tiny metal shavings left over from machining. A few cycles circulate those particles out of the system before they can scratch a valve or clog a screen.
In our research, the internal water path also picks up static dust from the factory floor. Running water through clears that out too. It’s the same principle as rinsing a new water bottle or a new kettle before first use.
Want to avoid a bad first cup? Our guide on making cold brew taste better shares tips for after you’ve completed the initial flush and are ready for great flavor.
The Decision Tree: Find Your Machine Type, Then Follow These Steps
Let’s make this simple. Find your machine type in the chart below and follow the if/then logic.
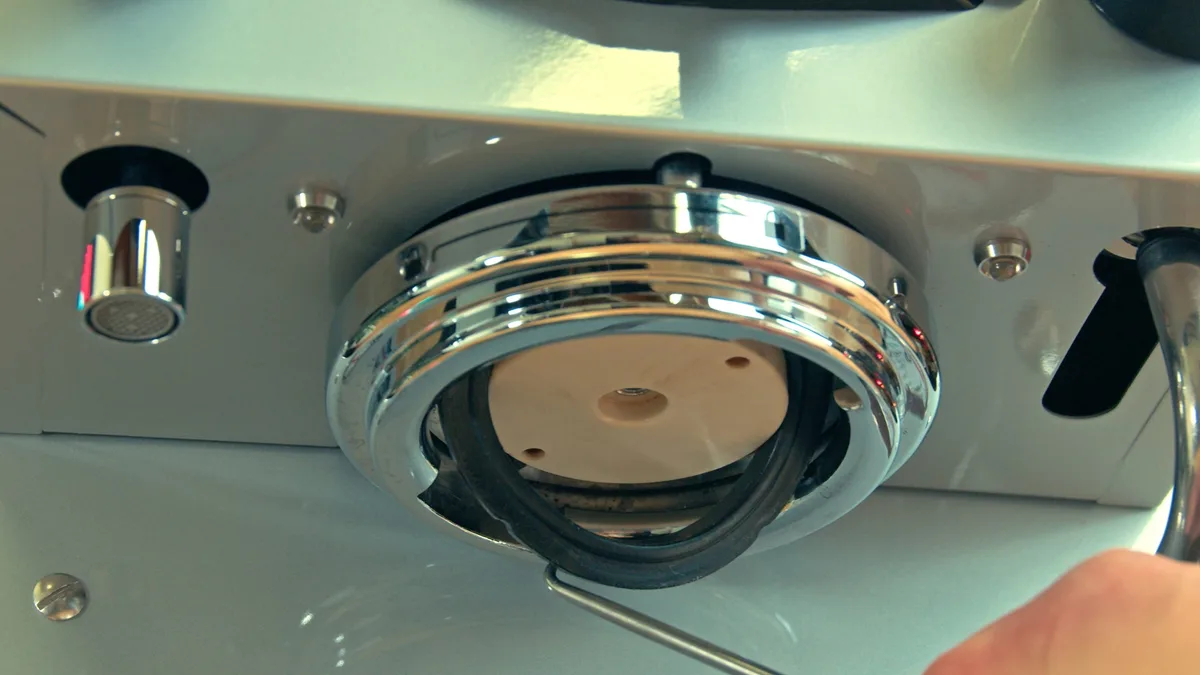
Image source: Web (Bing) / espressopartsonline.com (Web image (fair-use with source credit))
If you have a standard drip coffee maker
Fill the reservoir with cold tap water. Do not add a filter. Do not add coffee grounds.
Place the empty carafe under the brew basket. Press the “Brew” or “On” button. Let the full cycle run until the carafe is full of hot water.
Discard the water. Repeat once more. Your machine is now ready for its first real batch.
If you have a pod-based single-serve machine (Keurig, Nespresso)
Fill the water tank. For Keurig: lift the handle, do not insert a pod. Close the handle.
Press the brew button for the smallest cup size. Let the water run through and discard it. Repeat twice if the manual says so.
For Nespresso Original: fill tank, press the “lungo” button without a capsule to flush the system.
If you have a semi-automatic espresso machine
Fill the tank. Turn on the machine and wait for it to reach brewing temperature. Place a cup under the group head.
Run water for about 30 seconds. Then activate the steam wand for 10 seconds. This purges both lines.
Some machines like Breville models recommend running two full tank volumes through before pulling a shot.
If you have a super-automatic espresso machine
Fill the bean hopper is not needed. Fill the water tank. Some models have a “Prime” or “Cleaning” program in the menu.
Use that. If not, run a “Hot Water” dispense cycle. Repeat until about half the reservoir is used.
If you have a stovetop moka pot
This doesn’t have an electric pump. Just wash all parts with warm soapy water, rinse well, and run a test batch of water with no coffee through the brewing chamber. That’s your version of a flush.
Our moka pot brewing guide covers that step in more detail.
Common Mistakes That Can Ruin Your Machine
Even with good intentions, people make errors during the first flush. These mistakes can damage the machine or void the warranty. Here’s what to avoid.
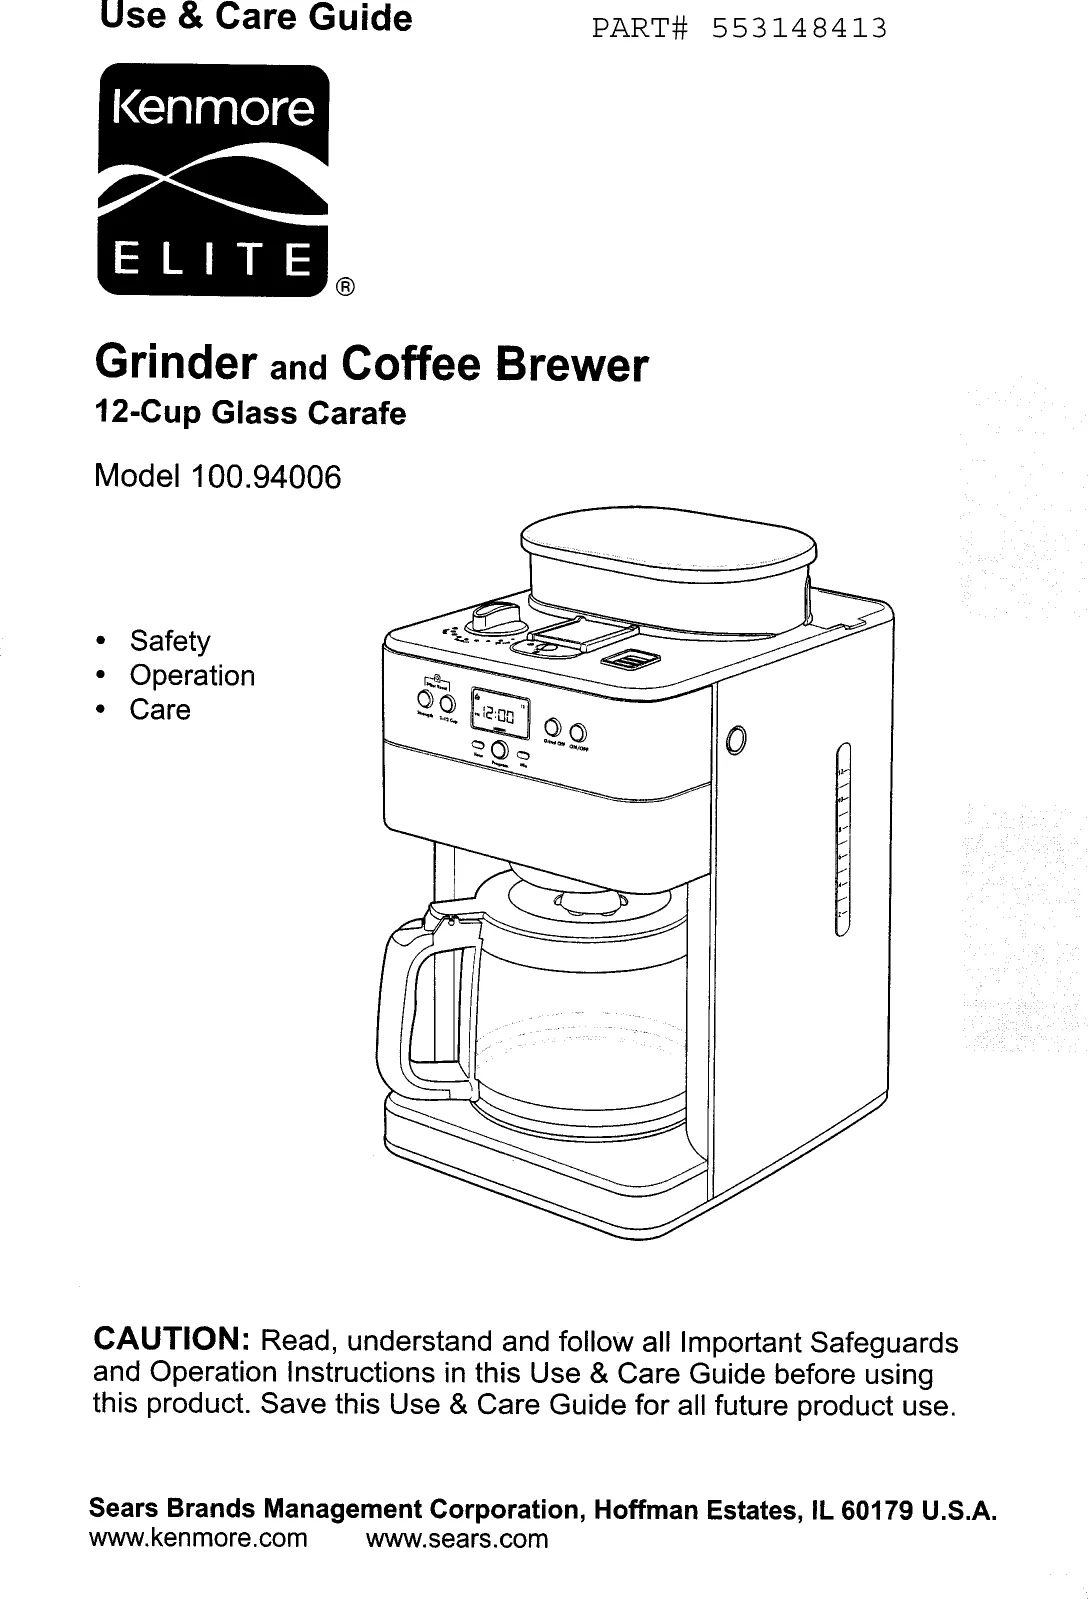
Image source: Web (Bing) / usermanual.wiki (Web image (fair-use with source credit))
Using distilled water. Distilled water lacks minerals that help conduct heat evenly. It can also be slightly corrosive to some metal components over time. Use regular filtered tap water or bottled spring water.
Our expert guide on water choices explains why filtered tap is best.
Running the machine dry. Forgetting to fill the reservoir before turning on the machine can burn out the heating element in seconds. Always double-check the water level before pressing start.
Using vinegar for the first flush. Vinegar is great for descaling an older machine, but it’s too acidic for a brand new one. It can strip protective coatings inside the boiler. Stick to plain water.
Save the vinegar for your regular cleaning routine after dozens of brew cycles.
Ignoring the manual entirely. Every machine is different. A few brands actually say not to run water through certain parts (like the steam wand if the boiler isn’t primed). Skipping the manual can lead to error codes or damage.
Take five minutes to read the startup section.
Not discarding the first flush water. Some people run water through and then brew coffee with that same water still in the carafe, thinking it’s fine. It isn’t. The flush water contains residues.
Empty and rinse the carafe before your first real brew.
Forgetting to remove stickers or packaging tape. Brew baskets, water tanks, and carafes often come with protective stickers or tape. If left on, they can melt or release glue into the water. Peel off everything before the flush.
For troubleshooting after the flush, our Cuisinart beeping fix guide can help if your machine acts up during the first cycle.
Pro Tips for a Flawless First Run
You’ve flushed the machine and tossed the first water. Now a few extra moves separate a good startup from a great one.
Use filtered tap water for the flush. Plain tap water is fine, but filtered water removes chlorine and sediment that can leave a faint taste even in a rinse cycle. Avoid distilled water. It can leach minerals from metal parts over time.
Stick with spring or filtered water for the flush and for every brew after.
Let the machine cool between cycles. If your manual recommends two or three flushes, wait five minutes between each one. Running consecutive cycles without a cooldown stresses the heating element. A short break protects the thermostat and gives you a chance to empty the carafe safely.
Inspect the carafe and basket for debris. After the first flush, check the empty carafe for any loose particles or oily residue. Wipe it out with a clean cloth. Do the same for the brew basket.
If you see black specks or greasy film, run a second flush before brewing.
Test the hot water temperature. Pour a cup of the flush water and check the temperature with a kitchen thermometer. It should hit 190 to 200°F. If it’s significantly cooler, your machine may have a thermostat issue.
Catch that now while it’s still under warranty.
Keep the manual handy for the first month. Store the manual inside the box or tape a quick-reference card to the side of the machine. You’ll need it for descaling cycles, filter changes, and error codes down the road.
Run a test batch of plain water through the steam wand (if you have one). Many espresso machine owners forget this step. The wand line also holds factory residues. Flush it for 10 to 15 seconds to clear the path.
Mark the date of your first flush. Jot down the date on the box or in a notes app. Six months from now, you’ll know exactly when to descale or replace the water filter. It’s a small habit that keeps your machine running reliably.
If you run into a persistent issue after the flush, our Cuisinart startup guide covers common error codes and how to fix them quickly.
Frequently Asked Questions
How much water should I run through a new coffee maker?
Fill the reservoir to the maximum line. For a standard drip machine, that’s about 40 to 60 ounces. For a single-serve pod machine, run at least two full tank cycles.
For espresso, run about 30 seconds through the group head and 10 seconds through the steam wand. Use the full tank to ensure all internal lines are flushed.
Can I use vinegar for the first flush on a new machine?
No. Vinegar is for descaling old machines with mineral buildup. A new machine has no scale.
Vinegar’s acidity can damage fresh seals and protective coatings. Stick with plain filtered water for the first flush. Save vinegar for after months of use.
What if my coffee tastes bad after the flush?
Run another flush cycle with fresh water. If the taste persists, check your water quality. Hard water or heavily chlorinated tap water can leave flavors.
Try bottled spring water. Also inspect the brew basket and carafe for any leftover packaging film or stickers.
How long does the first flush take?
For a drip machine, one cycle takes about 8 to 12 minutes. Add another 5 minutes for a second cycle. For an espresso machine, the whole process is under 10 minutes.
Pod machines take about 2 to 3 minutes per cycle. Plan for 15 to 20 minutes total to finish properly.
Do I need to clean the water reservoir separately?
Yes. Wash the removable reservoir with warm soapy water and a soft sponge. Rinse thoroughly.
Some reservoirs come with foam or plastic inserts that must be removed. Dry it before reinstalling. This removes any dust that settled during shipping.
My machine has a water filter. Should I install it before or after the flush?
Install the water filter after the flush. The initial rinse removes debris that could clog a new filter. Once the flush is done, insert the filter as directed.
Then run one more cycle of plain water to saturate and activate the filter before making your first real cup of coffee.
For more on maintaining your machine after the first use, our coffee maker tea brewing tips show how versatile your appliance can be once it’s fully prepped.