Skip to content
When your vacuum sealer stops vacuuming, it can be very frustrating. You might have just bought a batch of meat, fresh vegetables, or snacks, and now you’re worried about food going bad. A vacuum sealer is supposed to make life easier—keeping food fresh, saving money, and preventing waste.
But when the machine won’t remove air from the bag, it can feel like everything is going wrong. Luckily, most vacuum sealer problems are easy to fix at home. This guide will help you understand why your vacuum sealer is not vacuuming, how to identify the real cause, and what you can do to get it working again.
How A Vacuum Sealer Works
Before jumping into solutions, it helps to know what happens inside your machine. A vacuum sealer removes air from a specially designed bag, then seals the bag closed with heat. This process keeps food fresh longer because most bacteria and mold need air to grow. There are two main types of vacuum sealers:
- External vacuum sealers: The bag’s open end is placed in a slot outside the machine.
- Chamber vacuum sealers: The whole bag goes inside a chamber.
Both types rely on a vacuum pump, a sealing bar, and a gasket (a soft rubber ring). If any of these parts have a problem, vacuuming won’t work well.
Common Reasons Your Vacuum Sealer Is Not Vacuuming
Many things can stop your vacuum sealer from removing air. Let’s look at the most common causes and how to identify them.
1. Incorrect Bag Placement
One of the easiest mistakes is not placing the bag correctly in the machine. If the bag is not deep enough in the vacuum channel, air will not be removed.
Signs:
- The sealer starts but the bag stays puffy.
- The machine makes noise, but nothing happens.
What to do: Open the sealer and make sure the open edge of the bag is lying flat in the vacuum channel. Avoid wrinkles and folds.
2. The Bag Is Not The Right Type
Not all plastic bags work with vacuum sealers. You need special vacuum sealer bags with textured channels. Thin, smooth, or ziplock bags will not allow air to escape.
Signs:
- The sealer won’t start the vacuum process.
- Air stays trapped inside.
What to do: Check the bag packaging for “for vacuum sealers” or “embossed.” Only use these bags.
3. Bag Is Damaged Or Dirty
Even a tiny hole or bit of moisture on the bag’s edge can let air back in or stop the vacuum.
Signs:
- The sealer runs but air returns quickly.
- Liquid or crumbs are stuck near the sealing edge.
What to do: Inspect the bag for holes or tears. Clean and dry the sealing edge before trying again.
4. Gasket Problems
The gasket is a soft rubber or foam ring that helps the machine form a tight seal. If it’s dirty, worn, or not sitting correctly, air will leak in.
Signs:
- The machine struggles to create a vacuum.
- The vacuum process takes longer than usual.
What to do: Remove the gasket (if possible) and wash it with mild soap and water. Let it dry completely, then replace it. If it looks flat, cracked, or brittle, you may need a new gasket.
5. Faulty Vacuum Pump
The vacuum pump is the heart of the sealer. If it’s not working, the machine will not remove any air.
Signs:
- The sealer is very quiet or makes strange noises.
- The vacuum process does not start at all.
What to do: If you hear clicking or no sound at all, the pump may need professional repair or replacement.
6. Full Drip Tray Or Overflow
Some vacuum sealers have a drip tray to catch liquids that get sucked out of bags. If this tray is full, the machine might stop working to prevent damage.
Signs:
- The vacuum stops midway.
- A warning light is on.
What to do: Pull out the tray, empty it, and clean it before sealing again.
7. Sealing Bar Problems
The sealing bar uses heat to close the bag. If it’s dirty or broken, it won’t make a good seal and air can get back in.
Signs:
- The bag does not seal fully.
- The bag comes apart after vacuuming.
What to do: Wipe the sealing bar with a soft, dry cloth. Never use water on a hot bar. If it’s damaged, you may need a replacement.
8. Machine Settings Are Wrong
Some vacuum sealers have different settings for dry or moist foods, and for vacuum strength. Using the wrong setting can stop the process.
Signs:
- The machine starts but quickly stops.
- Foods with moisture do not seal well.
What to do: Check your user manual and select the correct food type and vacuum strength.
9. Overfilled Bags
If you put too much food in the bag, the machine cannot form a good vacuum.
Signs:
- The bag bulges out of the machine.
- Air pockets remain in the bag.
What to do: Leave at least 3 inches of space at the top of the bag.
10. Power Supply Issues
A weak or unstable power supply can stop a vacuum sealer from working.
Signs:
- The machine turns off or restarts suddenly.
- Other appliances are also affected.
What to do: Plug your sealer into another outlet or use a different cord.

Credit: www.foodsaver.com
Troubleshooting Step-by-step
If your vacuum sealer is not vacuuming, follow these steps to quickly find and fix the problem.
Step 1: Check The Bag
- Is it a real vacuum sealer bag?
- Is it cut clean and straight?
- Is the open end clean and dry?
Step 2: Inspect The Sealer
- Is the gasket clean and flexible?
- Is the sealing bar free of dirt?
- Is the drip tray empty?
Step 3: Try A Test Bag
Cut a new bag from a roll, and seal one end. Fill it with something dry (like bread), and try vacuuming again. This test removes liquid and food debris as a cause.
Step 4: Listen And Watch
When the machine runs, listen for the sound of the pump. Is it running smoothly? Are there strange noises or silence? Watch for error lights on the control panel.
Step 5: Adjust The Load And Settings
Try with a smaller amount of food or select “dry” mode if your sealer has one. Make sure you have enough bag edge inside the vacuum channel.
Step 6: Power Cycle
Turn off the machine, unplug it, wait 60 seconds, and try again. This can reset the electronics.
Step 7: Check For Obstructions
Look for crumbs, food, or bits of bag inside the vacuum channel or around the gasket.
Step 8: Review The Manual
If you still have trouble, look up your model’s manual online. Some machines have special error codes or reset procedures.
Comparing Vacuum Sealer Problems
Here’s a quick look at common problems and how they compare:
| Problem | Symptoms | Easy Fix? |
|---|---|---|
| Incorrect Bag Placement | Bag stays puffy, noise but no vacuum | Yes |
| Wrong Bag Type | No air removal, machine won’t start vacuum | Yes |
| Damaged/Dirty Bag | Air returns, poor seal | Yes |
| Worn Gasket | Slow vacuum, leaks | Usually |
| Faulty Pump | No sound, no vacuum at all | No |
Extra Tips For Better Vacuum Sealing
Many users overlook a few small details that can make a big difference in vacuum sealing results.
Pre-freeze Moist Foods
If you are sealing meats, soups, or other moist foods, try freezing them for 1-2 hours first. This keeps liquid from being sucked into the vacuum pump and helps the bag seal better.
Double Seal For Safety
For foods with lots of liquid, seal the bag twice. After the first seal, move the bag edge about 1/4 inch and seal again. This helps prevent leaks and freezer burn.
Don’t Overfill The Bag
Always leave enough space at the top. A crowded bag will not vacuum or seal properly, and food may get stuck in the sealing area.
Watch For Bag Folds
Smooth out any folds or wrinkles in the bag’s open end before sealing. Even a small fold can let air leak in.
Clean The Sealing Area
After every use, wipe the gasket and sealing bar with a dry cloth. Moisture or crumbs are a common cause of sealing problems.
When To Call For Professional Help
Not all problems can be fixed at home. If you’ve tried every step and your vacuum sealer is still not vacuuming, it may be time to contact the manufacturer or a repair service.
Signs you need help:
- The vacuum pump does not run at all.
- There is a burning smell or visible smoke.
- The machine trips your home’s circuit breaker.
- Replacement parts are not available or are hard to install.
Many brands have customer support numbers or websites with troubleshooting guides. If your sealer is still under warranty, don’t try to open it up—this can void your coverage.
Comparing Different Vacuum Sealer Types
The type of vacuum sealer you own can affect how you troubleshoot problems. Here’s a quick comparison:
| Type | Common Problems | Best For |
|---|---|---|
| External (Edge) Sealer | Bag placement, bag type, gasket wear | Home use, small batches |
| Chamber Sealer | Gasket leaks, pump failure, chamber seal | Liquid-rich foods, bulk sealing |
Maintenance To Prevent Future Problems
A little care can go a long way toward keeping your vacuum sealer working well. Here are some simple steps:
- Clean after each use: Wipe the gasket and sealing bar with a soft, dry cloth.
- Check the bag edge: Always inspect for bits of food or moisture before sealing.
- Store with lid unlocked: Some gaskets can get squished if the lid is locked down. Leave the lid up or unlocked when not in use.
- Replace the gasket when needed: Most gaskets last 1-2 years with regular use.
- Do not overload: Sealing too many bags in a row can overheat the machine. Give it a few minutes to cool after every 5-10 bags.
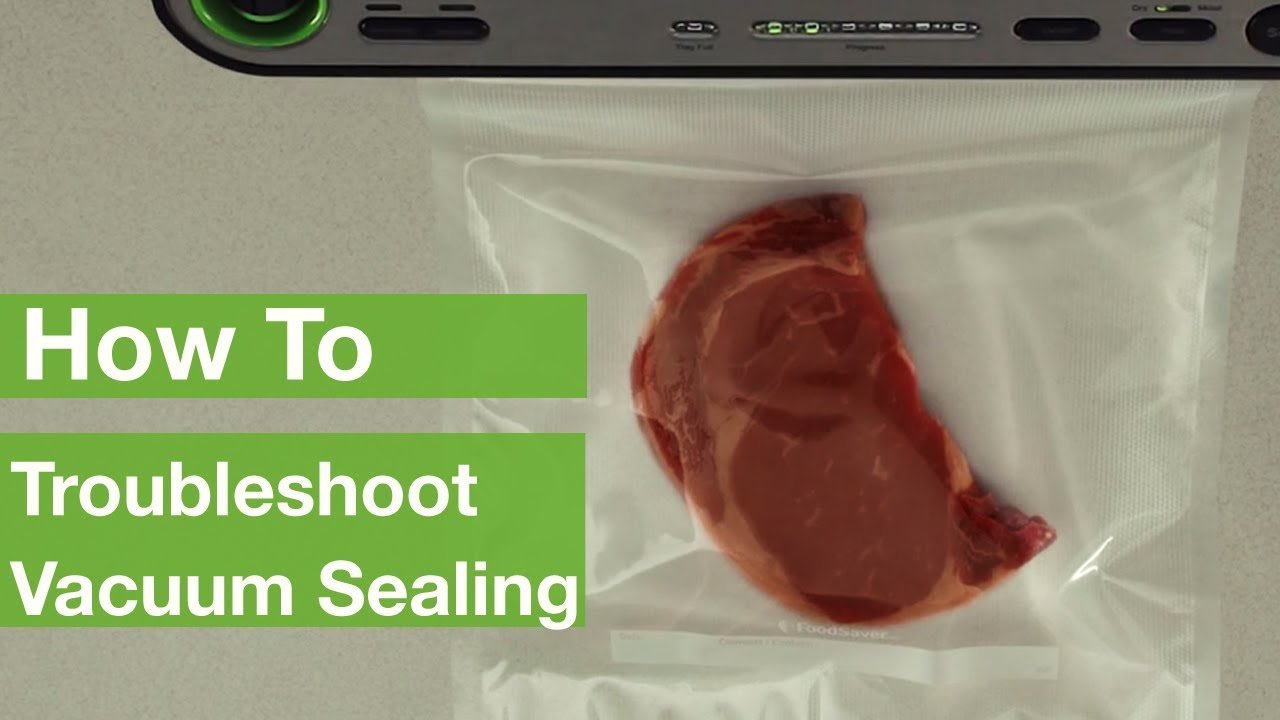
Credit: www.youtube.com
Real Examples: What Users Often Miss
Let’s look at two common scenarios many people overlook:
Example 1: Moisture In The Sealing Area
A user tries to vacuum seal marinated chicken but finds that the bag never seals. They don’t realize that the marinade is getting sucked into the sealing area, making it too slippery for the heat bar to close the bag.
The solution is to pre-freeze the chicken or fold a paper towel above the food (but below where the bag seals) to catch extra liquid.
Example 2: Worn Gasket Causes Slow Leak
Another user finds that their vacuum sealer is taking longer and longer to remove air. They keep adjusting the bag, but nothing helps. They miss that the gasket has become flat and cracked over time, letting small amounts of air leak in.
Replacing the gasket solves the problem instantly.
Comparing Bag Types For Best Results
Bag quality affects vacuum sealing more than many people realize.
| Bag Type | Success Rate | Notes |
|---|---|---|
| Embossed (Textured) Bags | High | Best for home sealers; air channels help vacuum |
| Smooth Bags | Low | Often don’t work in home machines |
| Ziplock Bags | Very Low | Not for vacuum sealers; air leaks in |

Credit: www.reddit.com
How To Avoid Costly Mistakes
Many users throw away their vacuum sealer or buy new parts before checking for easy fixes. Here’s how to avoid wasting money:
- Always try a brand new bag before assuming the machine is broken.
- Clean the gasket and sealing bar before buying replacements.
- Double-check the power supply and outlet.
- Look up your model’s error codes online for quick answers.
Where To Find More Help
If you’re still stuck, you can often find detailed repair guides, videos, and model-specific troubleshooting on the manufacturer’s website or on trusted sites like Consumer Reports. There, you’ll find product tests, reviews, and step-by-step advice.
Frequently Asked Questions
Why Does My Vacuum Sealer Start But Not Vacuum The Bag?
This often happens if the bag is not inserted far enough into the vacuum channel, or if the bag’s open end is wrinkled or dirty. Make sure you use the right bag and that the edge is flat and clean.
Can I Use Any Plastic Bag With My Vacuum Sealer?
No. Only vacuum sealer bags with textured or embossed surfaces will work. Regular bags, including ziplock and smooth plastic, do not let air escape properly and will not seal.
Why Does My Vacuum Sealer Suck Out Liquid From The Bag?
This is common with moist foods. To avoid this, pre-freeze the food or use the “moist” setting if your machine has one. Some users put a folded paper towel inside the bag above the food to catch extra liquid.
My Vacuum Sealer Seals, But Air Gets Back In. Why?
This usually means the bag did not seal fully. Check for food or moisture in the sealing area, or try double sealing the bag. Also, inspect the gasket for wear.
What Is The Most Common Reason A Vacuum Sealer Stops Working?
The most frequent cause is a dirty or worn gasket. When the gasket cannot make a tight seal, air leaks in and the vacuum process fails. Cleaning or replacing the gasket usually solves the problem.
Vacuum sealers are reliable machines, but even the best models need a little care and attention to keep working well. With the guidance above, you can solve most vacuuming problems yourself and keep your food fresh for longer.