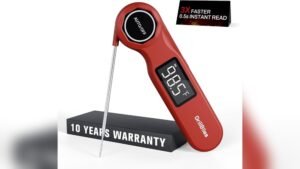
A meat thermometer is one of the most important tools in any kitchen, especially if you care about food safety and perfect cooking. But what happens when your meat thermometer starts at 120°F instead of 0°F? This is more common than many people realize, and it can make calibration confusing. If your thermometer doesn’t show the full temperature range, you might wonder: “Can I still trust my readings?” The answer is yes—but only if you calibrate correctly. In this guide, you’ll learn step-by-step how to calibrate a meat thermometer that starts at 120°F, why calibration matters, and how to avoid common mistakes. You’ll also see practical examples and data, so you can be confident every time you cook meat.
Why Calibration Matters For Meat Thermometers
Calibration is the process of checking and adjusting your thermometer to ensure it reads accurately. It’s especially important for thermometers with a limited range (starting at 120°F), because they can easily give wrong readings if not set up properly.
Food safety is the biggest reason to calibrate. According to the USDA, meat must reach certain internal temperatures to kill bacteria. For example, chicken should reach 165°F, while beef steaks are safe at 145°F. If your thermometer is off by even a few degrees, you could eat undercooked meat without realizing it.
Here are some key risks of inaccurate thermometers:
- Food poisoning from undercooked meat
- Dry, tough meat from overcooking
- Wasted ingredients and money
Non-obvious insight: Many cooks don’t realize that even new thermometers can be inaccurate, especially after shipping or changes in temperature. Regular calibration isn’t just for old devices.
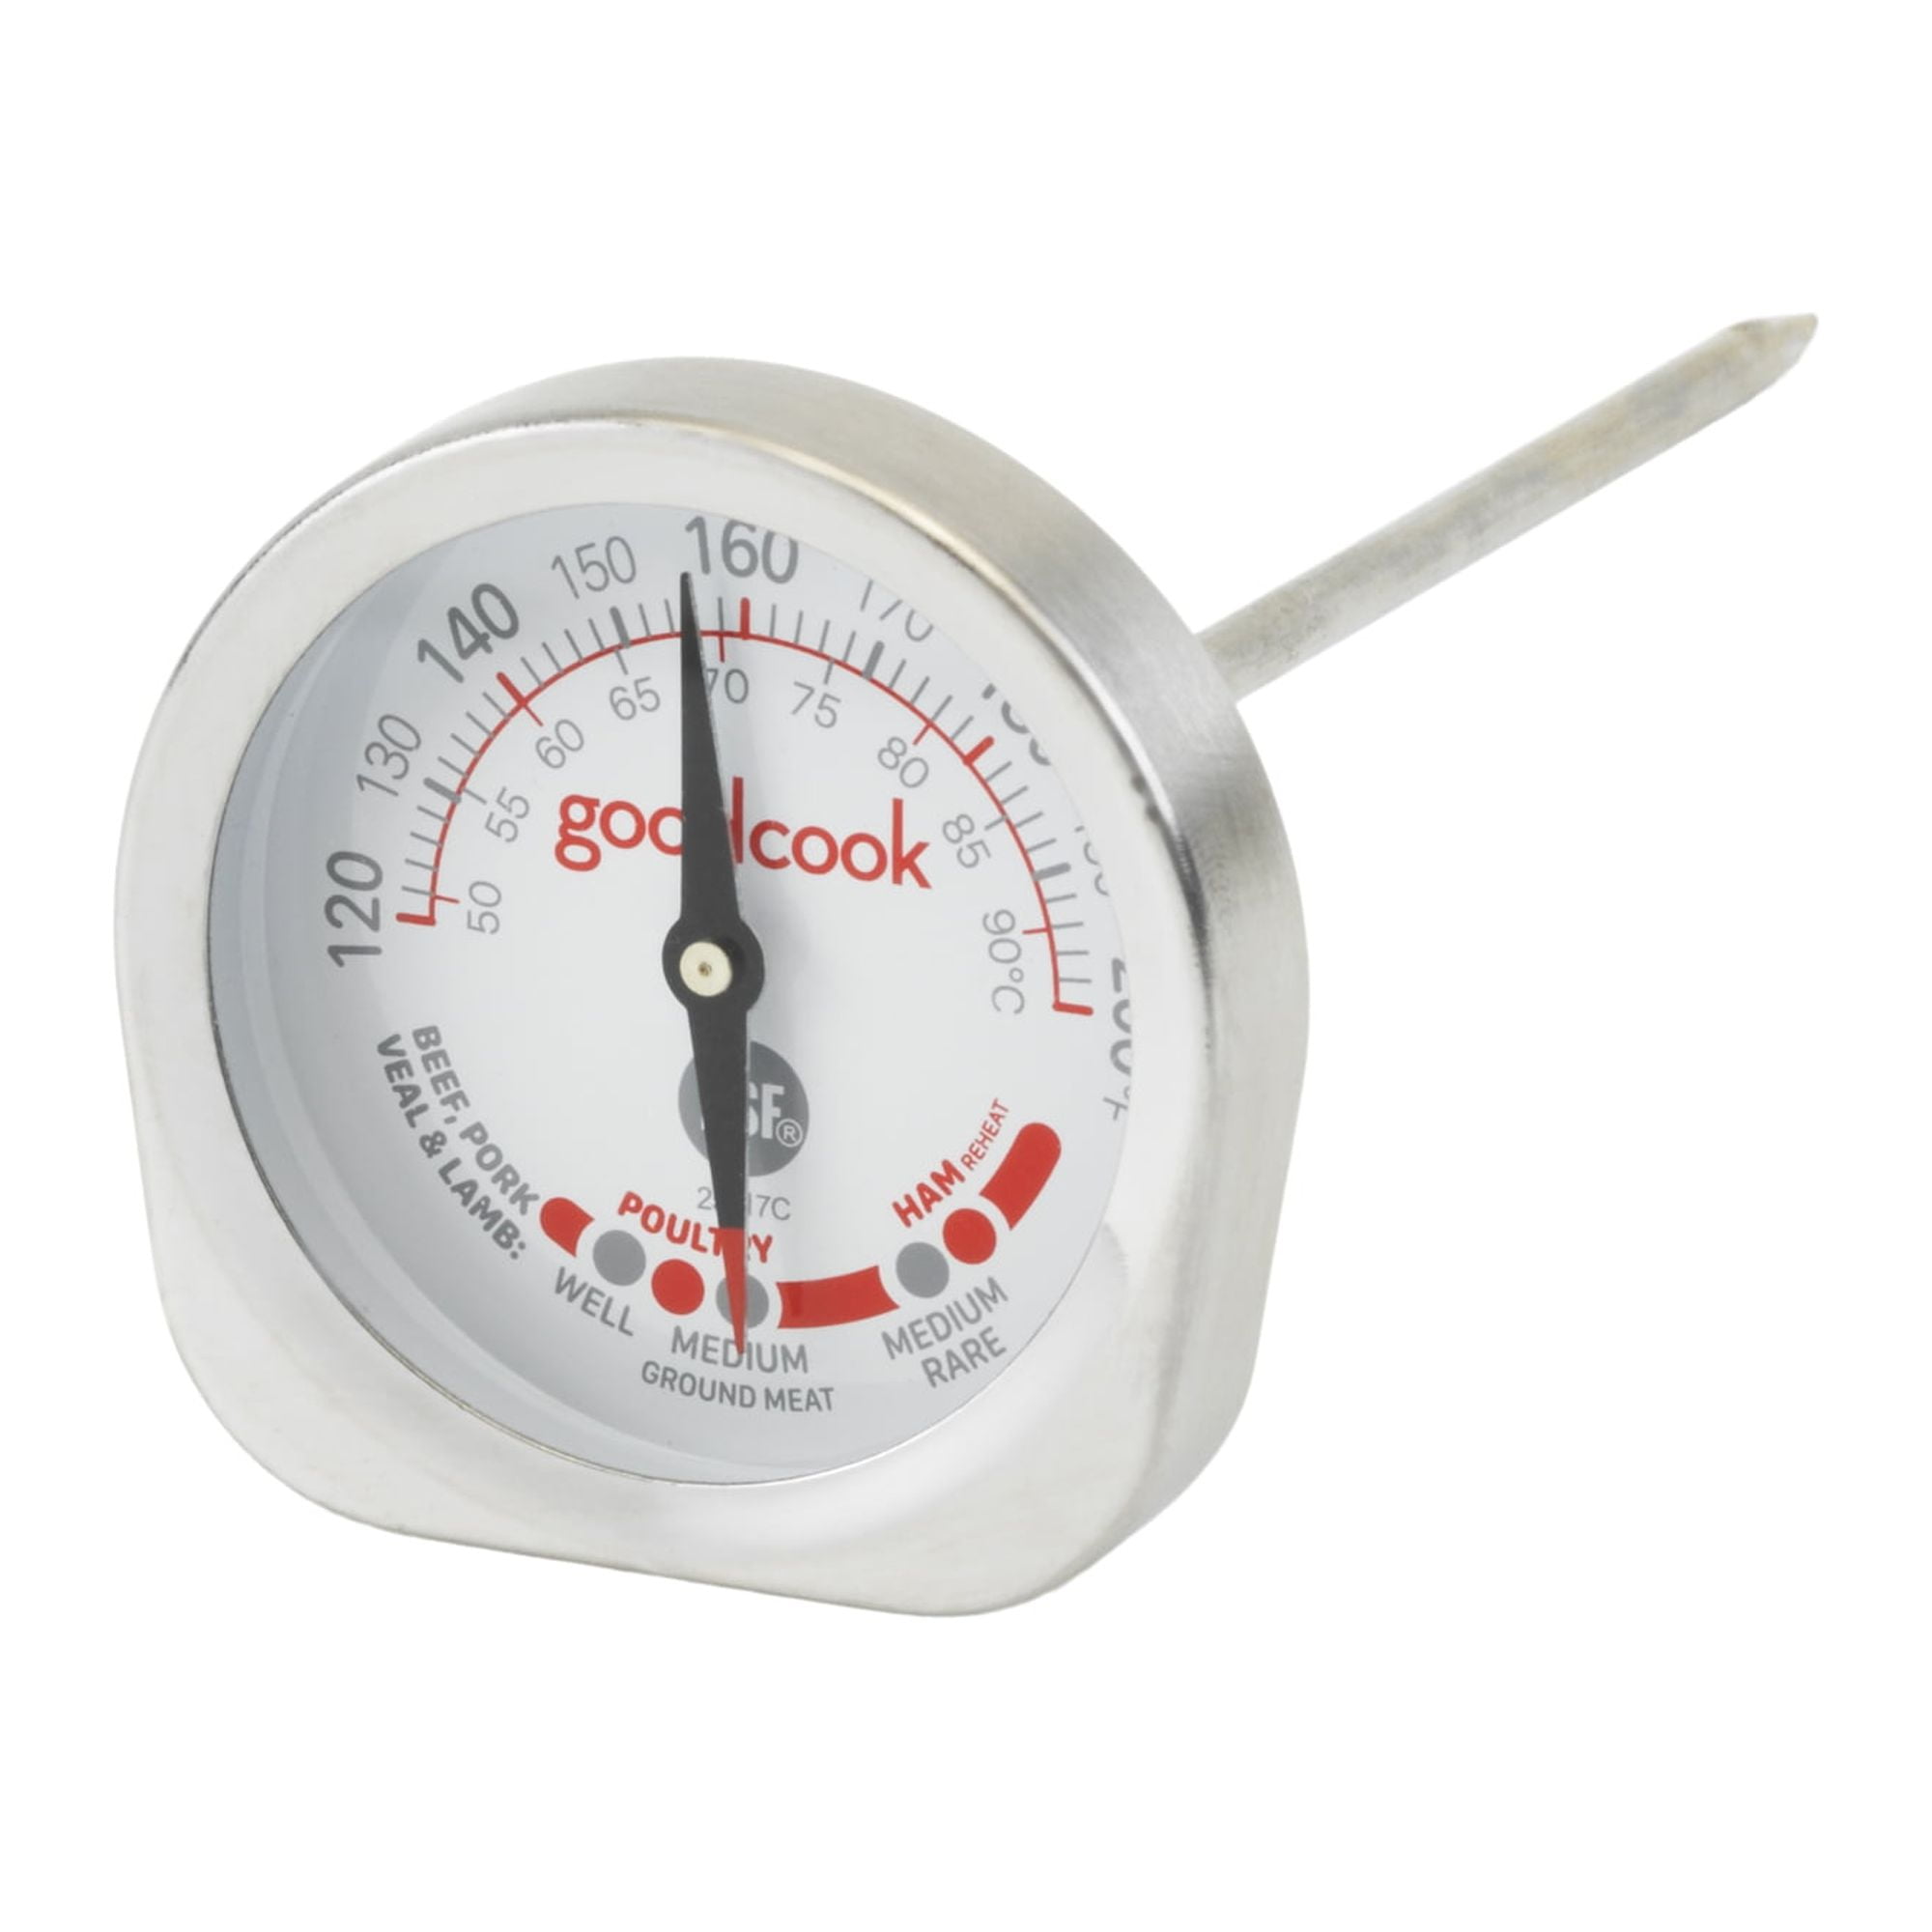
Understanding Meat Thermometers With 120°f Minimum
Some meat thermometers are designed to start at 120°F because they’re meant for cooked meats only. This means you can’t use the classic ice water method (32°F) to calibrate, since it’s outside the thermometer’s range. Instead, you must use hot water methods.
Here’s a comparison of thermometer types:
| Type | Temperature Range | Common Uses | Calibration Method |
|---|---|---|---|
| Standard Meat Thermometer | 0°F to 220°F | All meats, cold foods | Ice water & boiling water |
| 120°F Minimum Thermometer | 120°F to 220°F | Cooked meats only | Boiling water only |
| Digital Probe Thermometer | -40°F to 392°F | Wide range: meats, baking | Ice & boiling water |
Experience-based tip: If you own multiple thermometers, compare their ranges before calibration. Using the wrong method can damage your device or lead to false readings.

Credit: www.webstaurantstore.com
Preparing For Calibration
Before you start, gather everything you need:
- Your meat thermometer (starting at 120°F)
- A pot of water (enough to cover the probe)
- A stove or kettle to boil water
- Tongs or heat-resistant gloves (for safety)
- A timer or watch
- Pen and paper (to note readings)
Check your thermometer for visible damage. If the lens is cracked or the probe is bent, calibration won’t help—replace it instead.
Non-obvious insight: The altitude where you live affects the boiling point of water. At sea level, water boils at 212°F. But in high-altitude cities like Denver (5280 ft), water boils around 202°F. Always check your local boiling point for accurate calibration.
Here’s a quick reference for boiling points:
| Altitude (feet) | Boiling Point (°F) |
|---|---|
| Sea Level (0) | 212 |
| 1,000 | 210 |
| 5,000 | 202 |
| 10,000 | 192 |
Step-by-step Calibration Process
Step 1: Boil Water
Fill a pot with water and bring it to a rolling boil. Wait until you see large bubbles and steam, which means the water is at its maximum temperature.
Practical advisor tip: Don’t use a microwave for boiling water—it can heat unevenly and cause dangerous splashes.
Step 2: Insert The Thermometer
Hold the thermometer with tongs or heat-proof gloves. Insert the probe about two inches into the boiling water, making sure it doesn’t touch the sides or bottom of the pot. Hold it steady for at least 30 seconds.
Step 3: Read The Temperature
After 30 seconds, check the reading. At sea level, it should read 212°F. If you’re at high altitude, use the boiling point table above.
- If the thermometer reads the correct boiling point, your device is accurate.
- If it’s off by more than 2°F, you need to adjust.
Step 4: Adjust The Thermometer
Most analog meat thermometers have a calibration nut or screw behind the dial. Use a wrench or pliers to gently turn the nut until the needle points to the correct boiling point. Be careful not to force it.
Digital thermometers sometimes have a calibration button or menu. Follow the manufacturer’s instructions for digital adjustment.
Straight-to-the-point helper tip: If your thermometer doesn’t have a calibration nut or digital adjustment, it may not be adjustable. In this case, note the error and mentally add or subtract the difference when cooking.
Step 5: Confirm Accuracy
Repeat the boiling water test once more. If the thermometer now shows the correct boiling point, it’s calibrated. If not, adjust again until it’s accurate within 1–2°F.
Common mistake: Some people calibrate only once and forget to double-check. Always repeat the test to ensure reliability.
How Often To Calibrate
Calibrate your meat thermometer:
- After every drop or impact
- After long storage
- Every 1–2 months (regular use)
- Before important meals (like Thanksgiving or parties)
Frequent calibration reduces the risk of errors and keeps your cooking safe.
Troubleshooting Calibration Problems
Sometimes calibration doesn’t go smoothly. Here’s how to handle common issues:
- Stuck needle: If the dial doesn’t move, don’t force it. This means internal parts are damaged.
- Digital error: If the screen flashes or gives random numbers, try replacing the battery. If it continues, the probe may be faulty.
- Not adjustable: Some thermometers are fixed and can’t be calibrated. In this case, use a reliable digital thermometer as backup.
Friendly mentor tip: Keep a backup thermometer in your kitchen. Comparing two devices can quickly spot errors and prevent unsafe cooking.
Credit: www.walmart.com
Practical Examples And Real-life Scenarios
Let’s look at a few real situations:
- Cooking Chicken Breast: You want 165°F. Your thermometer reads 160°F in boiling water (should be 212°F), so it’s 52°F low. When cooking, add 52°F to your reading. If your thermometer shows 165°F, the real meat temperature is 217°F—far too high. You should calibrate or replace the device.
- Roasting Beef: Target is 145°F. If your thermometer is accurate after calibration, you can trust your readings and avoid overcooked meat.
- Outdoor Grilling: Temperature swings are common. If you drop your thermometer or it gets wet, recalibrate before your next use.
Non-obvious insight: Environmental factors (humidity, temperature, sudden changes) can affect thermometer accuracy. Store your device away from extreme heat or cold.
Comparing Thermometer Models
Here’s a quick look at how 120°F minimum thermometers stack up against others:
| Feature | 120°F Minimum | Standard | Digital |
|---|---|---|---|
| Low-Temp Calibration | No | Yes | Yes |
| High-Temp Calibration | Yes | Yes | Yes |
| Adjustability | Often limited | Usually adjustable | Digital menu |
| Accuracy | Good for cooked meats | Good for all foods | Best overall |
If you only cook meats, a 120°F minimum thermometer can work well. For baking, candy, or cold foods, a wider range is better.
Safety Tips And Best Practices
- Clean the probe after every use to prevent cross-contamination.
- Never use a cracked or damaged thermometer—it can give false readings and is unsafe.
- Store in a dry place to prevent rust and electronics damage.
- Check battery life in digital models regularly.
Practical advisor tip: Label your thermometer with calibration dates. It helps track accuracy and reminds you to recalibrate.
When To Replace Your Meat Thermometer
Even with calibration, thermometers wear out. Replace your device if:
- It’s more than 5 years old
- The probe is bent or rusted
- The lens is cracked
- Calibration fails repeatedly
Investing in a quality thermometer ensures safe, delicious meals and less stress.
For more on food safety guidelines, visit USDA Food Safety.

Credit: www.amazon.com
Frequently Asked Questions
How Do I Know If My Meat Thermometer Is Accurate?
Test your thermometer in boiling water. If it reads the local boiling point (usually 212°F at sea level), it’s accurate. If not, calibrate or adjust.
Can I Calibrate A Thermometer That Starts At 120°f With Ice Water?
No. Ice water is 32°F, which is outside the range of a 120°F minimum thermometer. Use boiling water instead.
What If My Thermometer Can’t Be Adjusted?
If your thermometer doesn’t have a calibration nut or digital adjustment, write down the error and mentally correct your readings. Or, buy a new thermometer.
How Often Should I Calibrate My Meat Thermometer?
Calibrate every 1–2 months, after any impact, and before cooking important meals. Frequent checks keep your readings safe.
Does Altitude Affect Calibration?
Yes. Higher altitudes mean lower boiling points. Always check your local boiling point before calibrating for best results.
A well-calibrated meat thermometer is your best friend in the kitchen. You’ll cook safer, tastier meals and save money on wasted ingredients. With the right steps, you can confidently calibrate even those tricky thermometers that start at 120°F. Use this guide every time you need to check or adjust your device—and enjoy stress-free cooking every day.