Skip to content
Warming food in a thermos might seem simple, but doing it right makes all the difference. If you’ve ever opened your lunch only to find your soup lukewarm or your pasta barely warm, you know how disappointing it can be. A thermos for food is designed to keep meals hot for hours, but it works best when you start with the right method. Whether you’re packing a meal for school, work, or travel, learning how to heat a thermos properly means your food stays safer, tastier, and ready to eat when you are.
Many people think they just need to fill their thermos with food and go. But the real secret is in the preheating process and how you add your food. Small changes can keep your meal hot for 5-7 hours instead of just 2-3. Let’s explore exactly how to heat a thermos for food, step by step, so your next meal on-the-go is as delicious as you expect.
Why Preheating A Thermos Matters
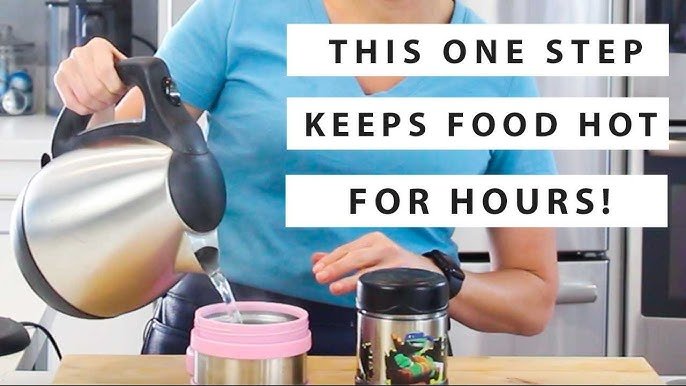
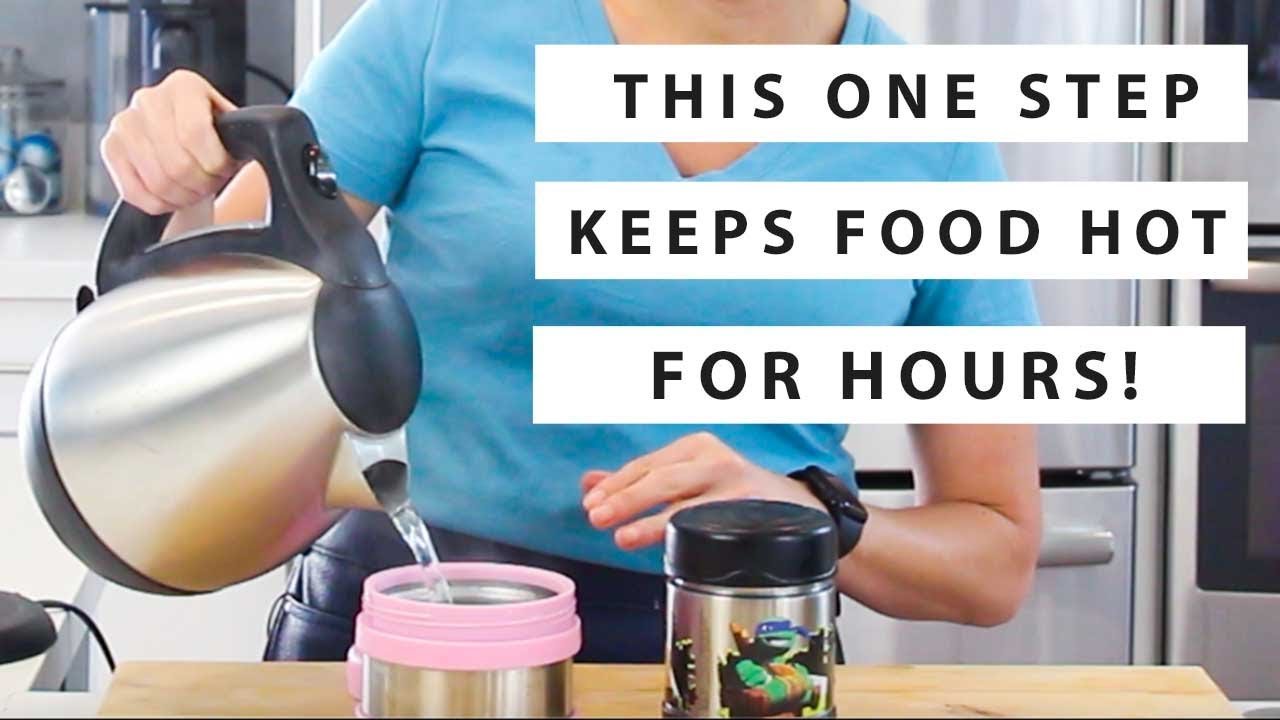
The first and most important step is preheating your thermos. Think of your thermos as a heat container. If you put hot food into a cold thermos, the cold inside quickly steals some of the food’s heat. As a result, your meal cools down faster.
Preheating works by filling the thermos with boiling water for a few minutes. This warms the inner wall and helps keep your food hot much longer. Skipping this step is one of the most common mistakes, especially for beginners.
Here’s a simple example: If you pour 200°F (93°C) soup into a room temperature thermos, the soup might drop to 170°F (77°C) within minutes. But if you preheat first, your soup can stay above 160°F (71°C) for several hours, which is also safer for preventing bacteria growth.
Step-by-step: How To Heat A Thermos For Food
Heating a thermos for food is about more than just pouring in your meal. Follow these steps for the best results:
1. Boil Water
Bring enough water to a rolling boil. You’ll use this to warm up the thermos.
2. Fill The Thermos
Pour the boiling water into your clean thermos. Fill it up to the very top.
3. Cap And Wait
Put the lid on tightly. Let it sit for at least 5 minutes. For bigger thermoses or on cold days, waiting 10 minutes is even better.
4. Empty The Water
Carefully pour out the water. The inside will now be hot to the touch.
5. Add Hot Food
Immediately place your hot food into the thermos. The food should be piping hot—ideally above 165°F (74°C). Do not let the food cool down before transferring.
6. Seal Quickly
Screw the lid on tightly to trap the heat. Open only when you’re ready to eat.
Non-obvious insight: Letting the thermos sit uncovered for even one minute before adding food can cause a quick temperature drop. Prepare your food and thermos at the same time for the best result.
:max_bytes(150000):strip_icc()/web-food-thermoses-review-horizontal-lead-ashlee-redger-01-9edaf7a7a8c24771bcd7ee549b8080f6.jpg)
Credit: www.seriouseats.com
How Long Does A Thermos Keep Food Hot?
A high-quality thermos can keep food hot between 5 and 12 hours. The exact time depends on:
- The starting temperature of your food
- How well you preheated the thermos
- The type and size of your thermos
- How often you open it
Here’s a quick comparison of different thermos sizes and their heat retention:
| Thermos Size | Heat Retention (Hours) | Ideal For |
|---|---|---|
| 10 oz (300 ml) | 4-5 | Snacks, small soups |
| 16 oz (475 ml) | 6-8 | Lunch portions |
| 24 oz (710 ml) | 8-12 | Hearty meals, family use |
Remember, opening your thermos lets heat escape. Try to keep it sealed until you’re ready to eat.
Best Types Of Food For A Thermos
Some foods retain heat better in a thermos than others. Liquids and moist foods do especially well. Here are examples:
- Soups (vegetable, chicken, lentil)
- Stews and chili
- Curry dishes
- Pasta with sauce
- Oatmeal or porridge
- Rice and beans
- Boiled eggs
Dry foods like bread or sandwiches do not hold heat well and may become soggy.
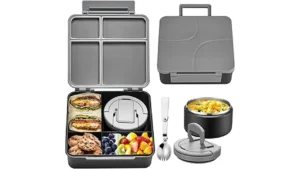
Pro tip: If you want to keep different foods hot and fresh, consider using a thermos with compartments or pack sauces separately.
Credit: www.youtube.com
Mistakes To Avoid When Using A Thermos
Heating a thermos is simple, but some common mistakes reduce its effectiveness:
1. Skipping Preheating
This is the top reason food cools down quickly.
2. Adding Lukewarm Food
Food must be hot when it goes in. Reheat if needed.
3. Filling The Thermos Only Halfway
Air space cools food faster. Fill the thermos as much as possible.
4. Leaving The Lid Off
Even a few minutes with the lid off means lost heat.
5. Opening And Closing Repeatedly
Every time you open the thermos, you let out hot air. Open only when you’re ready to eat.
6. Ignoring Food Safety
Food should stay above 140°F (60°C) to prevent bacteria growth. Don’t keep perishable foods for more than 6 hours in a thermos.
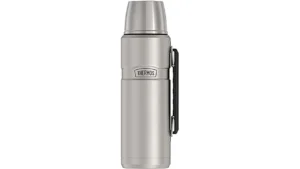
Comparing Food Thermos Brands: Heat Retention Data
Different thermos brands have different heat retention abilities. Here’s a comparison of three popular brands:
| Brand | Heat Retention After 6 Hours | Material |
|---|---|---|
| Thermos Funtainer | 160°F (71°C) | Stainless Steel |
| Zojirushi | 170°F (77°C) | Stainless Steel |
| Stanley Classic | 155°F (68°C) | Stainless Steel |
These temperatures are based on starting with boiling hot soup and proper preheating.
Credit: www.youtube.com
Cleaning And Maintaining Your Food Thermos
A clean thermos keeps food tasting fresh and ensures good heat retention.
- Wash after every use: Use warm, soapy water and a bottle brush.
- Deep clean weekly: Fill with hot water and a teaspoon of baking soda. Let sit for 30 minutes, then rinse.
- Dry completely: Store with the lid off to prevent odors and mold.
- Check the seal: A damaged seal or gasket will let heat escape. Replace if needed.
Advanced tip: For stubborn smells, fill the thermos with a mixture of vinegar and water (1:1 ratio), let it sit overnight, then rinse thoroughly.
How To Use A Thermos For Cold Food
Thermoses are not only for hot meals—they also keep cold foods chilled. The process is almost the same but reversed:
- Pre-chill: Fill the thermos with ice water for 5-10 minutes.
- Empty and dry: Pour out the water and quickly add cold food.
- Seal tightly: Your food stays cool for hours.
This is great for fruit salads, yogurt, or cold pasta salads.
Should You Microwave A Thermos?
Never put a stainless steel thermos in the microwave. Metal containers can cause sparks and damage your microwave. Always reheat food in a microwave-safe bowl, then transfer it to your thermos.
If you want your food extra hot, use a stovetop or microwave before adding it to the thermos. Aim for piping hot—the hotter the food, the longer it stays warm.
Tips For Packing Thermos Meals For Kids
Packing a thermos meal for kids is a great way to give them a warm lunch. Here are some practical ideas:
- Cut food into small pieces for easier eating.
- Use finger-friendly meals like mini meatballs, mac and cheese, or chicken nuggets.
- Test the temperature before packing. If it’s too hot, open the lid briefly to let out steam.
- Add a small treat or note to make lunchtime fun.
Kids’ thermoses are usually smaller, so preheating makes an even bigger difference.
Food Safety: How Long Is Too Long?
Keeping food hot in a thermos is not just about taste—it’s about safety. The USDA recommends keeping hot foods above 140°F (60°C) and cold foods below 40°F (4°C).
- Do not store perishable food in a thermos for more than 6 hours.
- For all-day trips, use two thermoses: One for lunch, one for a later meal.
Always check for spoilage—if your food smells off or has changed texture, do not eat it.
When To Replace Your Thermos
No thermos lasts forever. If you notice any of these signs, it may be time for a new one:
- Food cools down too fast (even after preheating)
- Damaged or cracked lining
- Broken seal or gasket
- Persistent odors or stains
Good thermoses can last 5-10 years with proper care, but don’t risk your health with a faulty one.
Comparing Thermos Vs. Insulated Lunch Boxes
You might wonder if an insulated lunch box works as well as a thermos. Here’s a quick comparison:
| Feature | Thermos | Insulated Lunch Box |
|---|---|---|
| Heat Retention | 5-12 hours | 2-4 hours |
| Best For | Soups, stews, hot meals | Sandwiches, salads, snacks |
| Liquid Seal | Leak-proof | Not always leak-proof |
A thermos is the clear winner for hot, liquid, or saucy meals.
Creative Ways To Use A Thermos For Food
A thermos is not just for lunch. Here are some creative uses:
- Make overnight oats: Add hot milk, oats, and fruit before bed. In the morning, you have hot oatmeal.
- Keep pancakes or waffles warm: Stack inside a thermos to stay fluffy and hot for breakfast on the go.
- DIY instant noodles: Add dry noodles and boiling water, seal for 5-10 minutes, and enjoy.
- Hot drinks: Use for tea, coffee, or hot chocolate as a bonus.
Non-obvious insight: Preheating a thermos before adding cold or frozen foods (then letting it cool) can help keep ice cream or frozen treats cold longer.
Frequently Asked Questions
How Do I Keep Food Hot In A Thermos For 8 Hours?
Start by preheating your thermos with boiling water for at least 10 minutes. Use food that is piping hot (above 165°F/74°C). Fill the thermos as much as possible and seal it tightly. Avoid opening until you’re ready to eat.
Can I Put Frozen Food In A Thermos And Keep It Hot?
No. A thermos is not meant to cook food—it only keeps food at its starting temperature. Always heat your food completely before adding it to the thermos.
Is It Safe To Keep Meat Or Dairy In A Thermos?
Yes, if you keep the food above 140°F (60°C). Do not store meat, eggs, or dairy in a thermos for more than 6 hours. Always check for freshness before eating.
Can I Use A Thermos For Both Hot And Cold Foods?
Absolutely. Preheat for hot foods with boiling water, and pre-chill for cold foods with ice water. The same thermos works for both, just clean it well between uses.
What’s The Best Way To Deep Clean A Food Thermos?
Fill your thermos with hot water and a teaspoon of baking soda or white vinegar. Let it sit for 30-60 minutes, scrub with a bottle brush, and rinse well. Store open to dry completely.
For more tips on safe food storage, check the USDA’s guide.
Heating your thermos correctly is a simple step that makes every meal on the go more enjoyable. With these methods and insights, your food will stay hot, safe, and delicious—no matter where your day takes you.