Skip to content
Cleaning your yogurt maker might seem simple, but doing it the right way is key to both great-tasting yogurt and your family’s health. When yogurt is made at home, bacteria and milk residues can build up quickly. If not cleaned well, your yogurt could spoil, taste odd, or even become unsafe to eat.
This guide will show you how to clean every part of your yogurt maker—whether it’s electric or a simple jar system—so you always get the freshest, healthiest results.
Why Proper Cleaning Matters
Yogurt is made by fermenting milk with live cultures. This means your yogurt maker is a warm, moist place—perfect for good bacteria, but also for harmful ones if you don’t clean well. Even a small amount of old milk or yogurt left behind can cause:
- Unpleasant smells
- Strange flavors
- Mold growth
- Shorter machine life
In fact, the US Department of Agriculture recommends cleaning all yogurt-making equipment after every use to prevent foodborne illness. With proper cleaning, you also avoid cross-contamination if you make different flavors or types of yogurt.
Types Of Yogurt Makers And Cleaning Needs
Not all yogurt makers are the same. Some have simple glass jars, others use plastic containers, and some are fully automatic. Here’s a quick comparison:
| Type of Yogurt Maker | Main Parts | Cleaning Complexity |
|---|---|---|
| Electric (Incubator) | Base, containers, lids, inner tray | Medium |
| Manual (Jar-style) | Glass jar, lid | Easy |
| Multi-function (Pressure cooker or Instant Pot) | Inner pot, lid, sealing ring | Medium to Hard |
Electric yogurt makers often have more parts and may need extra attention, especially around crevices and heating elements.

Credit: rootsandharvest.com
What You Need Before Cleaning
Gather the right supplies before you start. This saves time and helps you do a more thorough job. Here’s what most people need:
- Mild dish soap
- Soft sponge or cloth
- Bottle brush (for jars or containers)
- White vinegar or baking soda (for stubborn odors)
- Clean towel for drying
- Toothpick or cotton swab (for small parts)
- Hot water (not boiling, unless the manufacturer says it’s safe)
Never use harsh cleaners or metal scrubbers—they can scratch plastic and ruin the finish.
Step-by-step Guide: How To Clean A Yogurt Maker Properly
1. Unplug And Disassemble
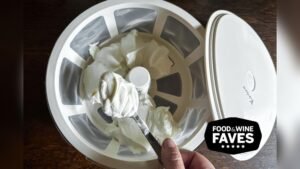
Always unplug your yogurt maker before cleaning. Let all parts cool completely. Remove every detachable part: containers, lids, trays, and inner pots. If your model has a removable power cord, unplug that too.
2. Discard Leftover Yogurt
Scrape out any remaining yogurt with a spatula. Do not let leftover yogurt dry out—dried milk is much harder to clean.
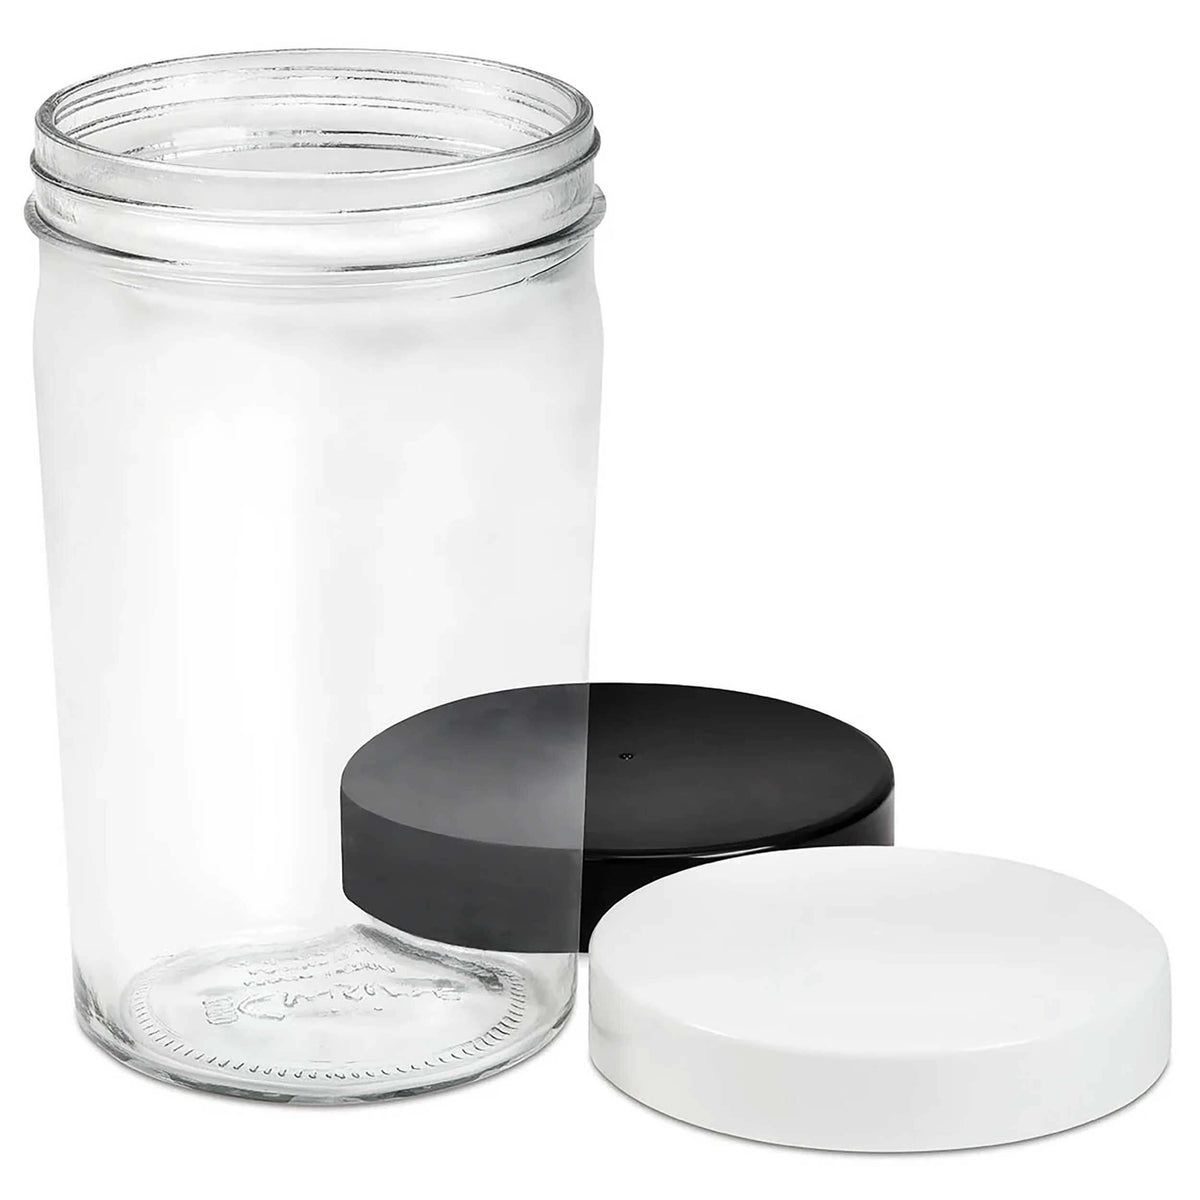
3. Wash Removable Parts
Use warm, soapy water for all containers, lids, and trays. A bottle brush works best for narrow jars. Wash each part separately to avoid scratching.
If your parts are dishwasher safe, place them on the top rack only. Always check your manual first; some plastics may warp in high heat.
4. Clean The Main Unit
The main base (with the heating element or control panel) should never be soaked in water. Instead:
- Wipe down with a damp cloth.
- For sticky spills, use a little dish soap on the cloth, then wipe with clean water.
- Dry with a soft towel.
Use a toothpick or cotton swab for hard-to-reach spots, such as around buttons or seams.
5. Remove Odors And Stains
Some yogurt makers may start to smell after a few uses, especially if you make flavored or fruit yogurts. For stubborn odors:
- Mix equal parts white vinegar and water.
- Soak containers and lids for 15–30 minutes.
- Rinse well and air dry.
For stains, sprinkle a little baking soda on a damp sponge and gently scrub.
6. Dry Completely Before Storing
All parts must be fully dry before reassembling or storing. Moisture can cause mold. Let everything air dry upside down on a clean towel.
7. Reassemble And Store
Once dry, put your yogurt maker back together. Store with lids off or slightly open to prevent trapped moisture.
Deep Cleaning: When And How
Regular cleaning is enough most of the time. But every 1–2 months, or if you see mold or smell sourness, do a deep clean.
Deep Cleaning Steps
- Disassemble all parts.
- Soak removable parts in a solution of 1 tablespoon bleach per gallon of water for 5 minutes. (Check that your parts are bleach-safe.)
- Rinse thoroughly with hot water.
- Wash again with mild soap.
- Air dry completely.
Never soak electrical bases or parts with wiring. For strong odors in the main unit, leave it unplugged with the lid off for 24 hours.
How Often Should You Clean Your Yogurt Maker?
If you use your yogurt maker every week, clean it after each batch. Deep clean monthly. If you only use it sometimes, clean right after each use and deep clean before storing for long periods.
Here’s a quick cleaning frequency guide:
| Usage Frequency | Recommended Cleaning | Deep Cleaning |
|---|---|---|
| Weekly | After each use | Monthly |
| Occasionally | After each use | Every 2–3 months |
| Rarely | Before and after use | Before storage |
Common Mistakes To Avoid
Many yogurt makers stop working well because of simple cleaning errors. Here are some mistakes to watch for:
- Skipping the base: People often clean only the jars, but spills in the main unit can burn or attract pests.
- Using harsh chemicals: Strong cleaners can leave residues that affect your yogurt’s taste.
- Not drying parts: Damp lids or jars breed mold quickly.
- Forgetting rubber seals: Sealing rings on jars or lids can hold smells and bacteria. Always remove and wash them.
- Ignoring small parts: Buttons, seams, and vents can hide old milk. Use a cotton swab or toothpick.
Extra Tips For Long-lasting Yogurt Makers
- Inspect for wear: Check for cracks or discoloration in containers. Replace if necessary.
- Label jars: If you use multiple jars, label the date for each batch. It helps you spot spoilage early.
- Run an empty cycle: Once in a while, run your yogurt maker empty (with clean water in the jars) to help loosen any hidden residue.

Credit: rootsandharvest.com
Cleaning Yogurt Makers With Special Features
Some models have timers, digital displays, or built-in strainers. For these:
- Do not immerse digital panels.
- Clean strainers right after use—dried milk is much harder to remove.
- If your model has a steam-clean function, use it monthly.
Always check your user manual for specific cleaning instructions for your brand and model.
The Difference Between Quick Clean And Deep Clean
Many people ask if a simple rinse is enough. Here’s the difference:
- Quick clean: After every use. Soap, warm water, rinse, and dry.
- Deep clean: Less often, but includes soaking, checking seals, and removing stains or odors.
Skipping deep cleans can lead to build-up you can’t see, which may affect yogurt quality and safety.
What If Your Yogurt Maker Smells?
Even after cleaning, some yogurt makers develop a sour smell over time. Here’s what to do:
- Wash everything again with warm, soapy water.
- Soak jars in vinegar and water for 30 minutes.
- Leave all parts out in the sun to air out—sunlight helps kill odors.
- For persistent smells in plastic, rub a lemon wedge over the surfaces, then rinse and dry.
Troubleshooting: If Your Yogurt Isn’t Setting Right
Improper cleaning is a hidden cause of yogurt that won’t set or tastes off. Residues can change the acidity or allow unwanted bacteria to grow. If your yogurt is runny or sour, clean everything thoroughly and start again with fresh milk and cultures.
Credit: cheesemaking.com
When To Replace Parts
If you see cracks, cloudiness that won’t wash away, or rubber seals that smell bad even after cleaning, it’s time to replace those parts. Most brands sell replacement jars and seals. Using damaged parts increases the risk of contamination.
Cleaning Yogurt Makers: Electric Vs. Manual
Electric models need more careful cleaning around heating elements and controls. Manual jar systems are simpler—just wash the jars and lids. Both types can last for years with proper care.
Real-life Example
Sara, a home yogurt maker from Texas, noticed her yogurt started tasting bitter after a few months. She found dried milk under the base of her electric yogurt maker. After a deep clean with vinegar and a toothpick, her yogurt’s flavor returned to normal.
This shows why even hidden parts need attention.
Yogurt Maker Cleaning Vs Other Kitchen Appliances
Cleaning a yogurt maker is different from cleaning blenders or rice cookers. Yogurt makers need all traces of old milk and bacteria removed. Unlike rice cookers, you must avoid letting water get into the base unit at all costs.
Useful Resources
For more on food safety and cleaning best practices, see the USDA Food Safety Basics.
Frequently Asked Questions
How Often Should I Deep Clean My Yogurt Maker?
You should deep clean every 1–2 months if you use it weekly. If you notice odors or mold, deep clean right away.
Can I Put Yogurt Maker Jars In The Dishwasher?
Most glass jars are dishwasher safe, but plastic ones may warp. Always check your manual before using a dishwasher.
What Should I Do If My Yogurt Maker Smells Bad?
Wash all parts thoroughly, soak in vinegar and water, and let them air dry. Sunlight can also help remove lingering odors.
Do I Need To Clean The Yogurt Maker If I Use It Every Day?
Yes. Clean after every use to prevent bacteria buildup and ensure the best taste.
Is It Safe To Use Bleach On Yogurt Maker Parts?
Small amounts of diluted bleach are safe for most jars, but never use bleach on electrical parts. Rinse well after soaking.
Cleaning your yogurt maker well is simple but makes a big difference. With these steps, you’ll enjoy safe, delicious yogurt every time—and your machine will last much longer.