So, can an immersion blender crush ice? It’s the question every home bar enthusiast asks after the countertop blender dies mid-margarita. The honest answer isn’t a clean yes or no.
It depends on your specific model’s wattage, blade design, and how you use it.
As of 2026, consumer immersion blenders span roughly 200 to 1000 watts, and manufacturer specifications show that models below 400W rarely have the torque to break whole ice cubes. That wattage threshold is the perfect place to start, so let’s walk through it step by step.
The Short Answer: Yes, If Your Blender Passes Three Checks
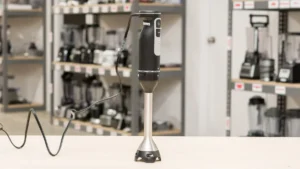
The phrase “immersion blender” covers an enormous range of machines, from cheap single-speed units to powerful 750W models. That’s why the answer changes so much from one kitchen to the next.
Your blender can crush ice if all three conditions are true:
- It has at least 400W of rated motor power, ideally 500W or more.
- It uses a sharp, cross-shaped stainless steel blade.
- It has a pulse mode, and you add a splash of liquid to give the blade something to bite.
If any one of those is missing, you’ll likely polish the ice into glossy marbles instead of crushing it. Let’s test each condition in order.
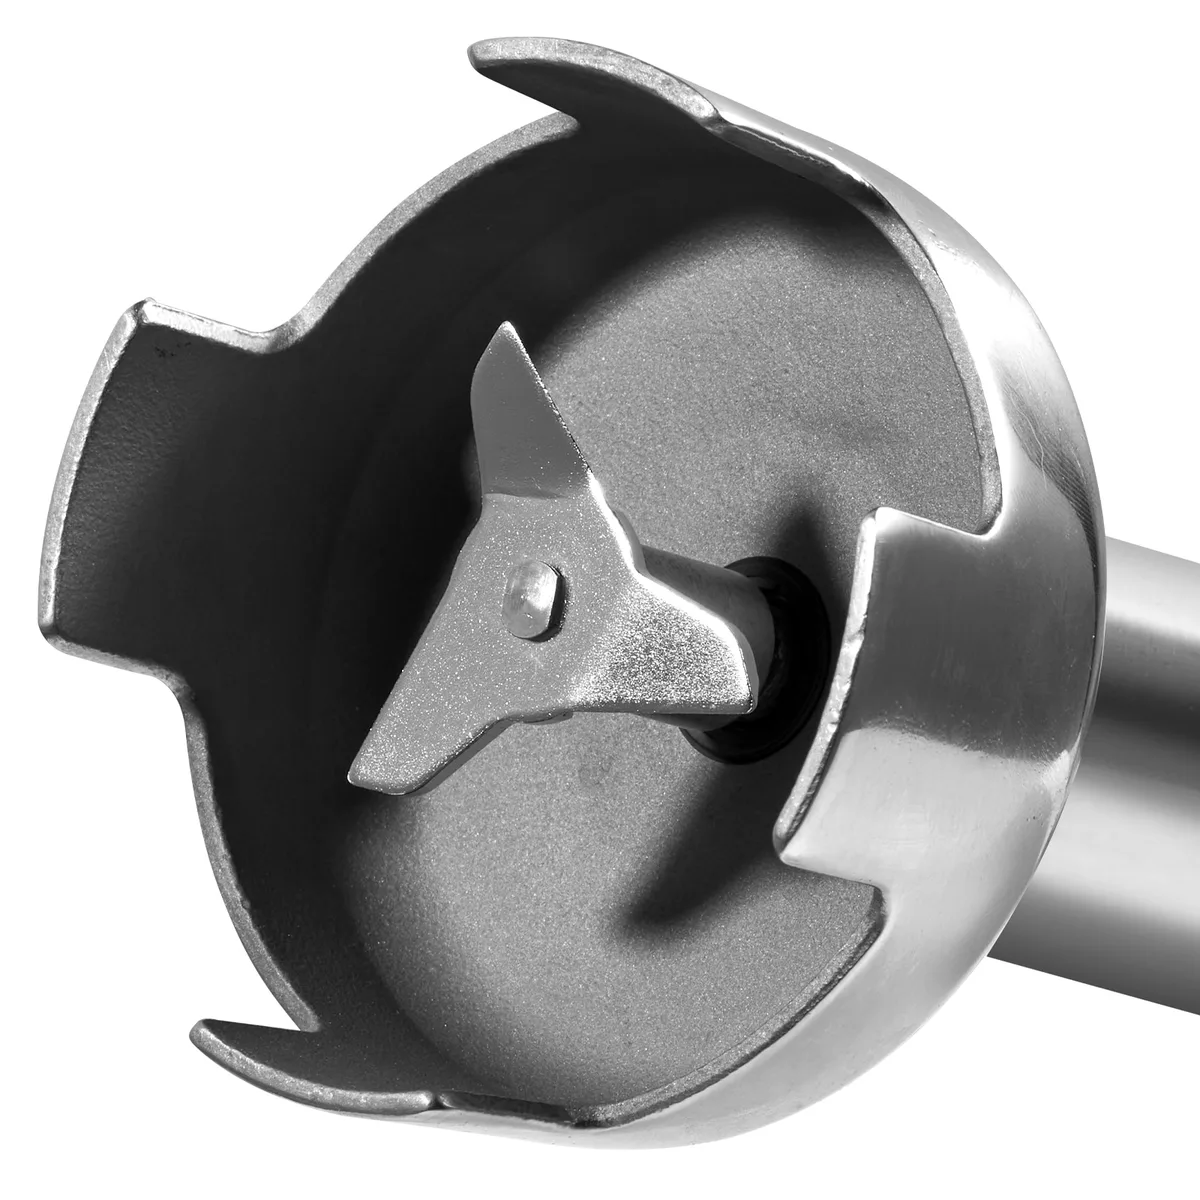
Image source: Bing (Web (fair-use with source credit))
Check #1: Motor Wattage and the 400W Threshold
Wattage is the easiest spec to check because it’s printed right on the box and on the motor housing. It tells you how much electrical power the motor can draw, and that’s your best proxy for cutting force at the blade.
The threshold breaks down like this:
| Motor power | Ice crushing outcome |
|---|---|
| Under 300W | Fails. Motor stalls, blades spin slowly, and ice cubes bounce around. |
| 300W to 500W | Borderline. Works only with small cubes, constant pulsing, and a liquid buffer. |
| 500W and above | Comfortable. Will crush standard tray ice in under two minutes with the right technique. |
If you have a 550W model, you’re in good shape. If you have a 250W unit, stop hunting for a trick and jump ahead to the workaround section. That’s a decision branch we’ll follow later.
A quick note on motor safety: most brands build in thermal overload protection. When the motor gets too hot, it shuts off automatically to prevent burning out the winding. That’s a safety feature, not a flaw.
It also means you should plan cooldown breaks between batches. Organizations like CSA Group test these protection mechanisms against household appliance safety standards, and the ones that pass are far less likely to fail mid-use.
Check #2: Blade Design and the Ice-Crushing Attachment
Wattage only gets you part of the way. A powerful motor with the wrong blade will still fail.
Most immersion blenders use one of two blade geometries:
- Cross-blade: Four cutting edges arranged in an X shape. This design grabs ice cubes and slices them from multiple angles.
- Single-prong blade: One long flat blade. It spins fast but tends to push ice away rather than cut it.
For ice crushing, you want the cross-blade. Stainless steel is the material standard here, and it holds an edge far longer than coated or basic steel.
Some premium models also sell a dedicated ice-crushing attachment. It’s a shorter, heavier blade assembly that fits onto the motor shaft. If your model includes one, use it.
The geometry is designed to snag cubes and break them apart, whereas the standard blending wand excels at silky soups and sauces.
Check #3: Pulse Mode and the Liquid Buffer Step
This is where most people get stuck. Even with a 700W motor and a sharp cross-blade, running the blender continuously on dry ice will end in failure.
Here’s why: dry ice cubes create an air pocket around the blade. The blade spins but has nothing solid to grab. You need a thin layer of liquid at the bottom of the container to pull the ice down into the cutting path.
The rule is simple: add about 1/4 cup of water, juice, or simple syrup before blending. That’s your liquid buffer.
Pulse mode is the other half of the equation. Instead of holding the trigger down, you tap it in short bursts. One second on, two seconds off.
This lets the blade gain speed and strike ice repeatedly without overheating the motor. If your model lacks a pulse button, a quick tap-tap-tap on the regular speed trigger works just as well.
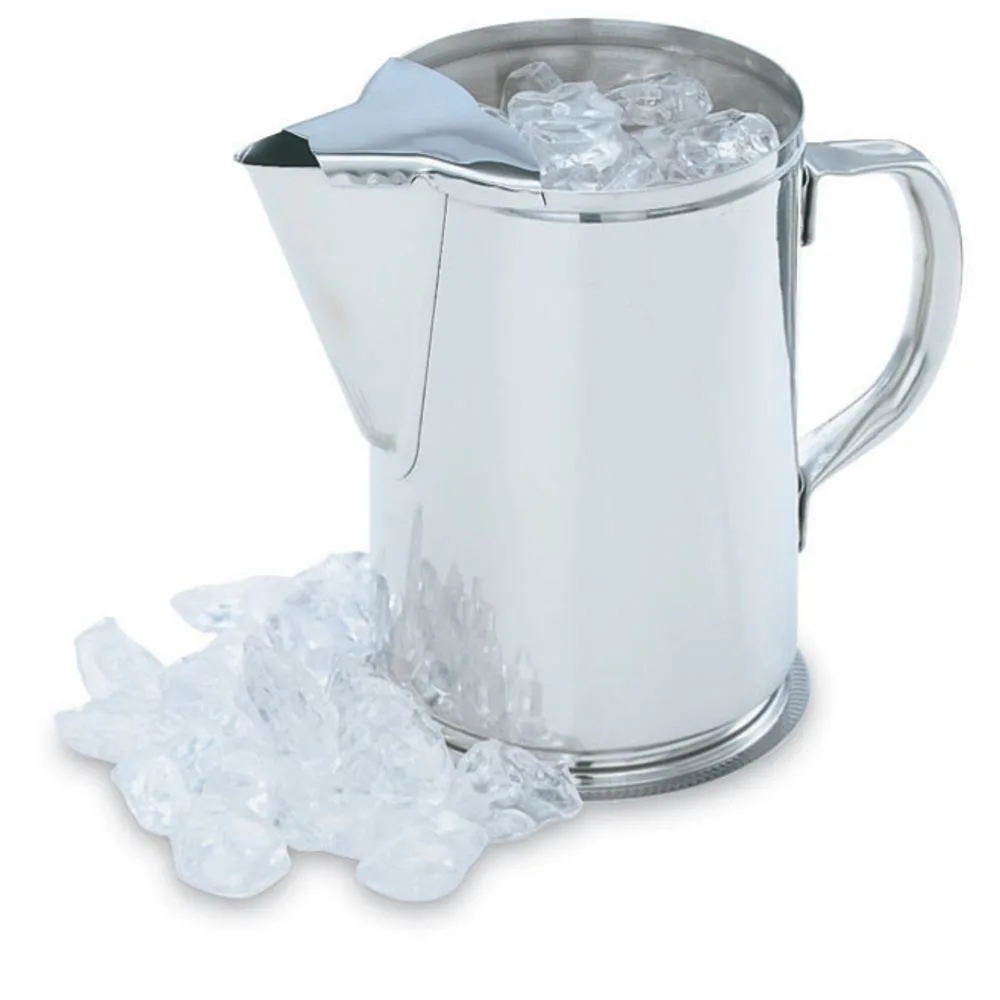
Image source: Bing (Web (fair-use with source credit))
Container choice matters more than most people think. A wide-mouth steel pitcher holds cold far better than the included plastic beaker. The narrow plastic cups that ship with many immersion blenders also crack under repeated ice impact, so reach for a cocktail shaker or a mixing pitcher instead.
If you’re wondering whether that plastic beaker is worth keeping, you’ll want to read up on whether plastic blender jars release microplastics.
The 30-Second Ice Test: Does Your Blender Crush or Just Spin?
Instead of guessing, run a quick diagnostic test. It takes 30 seconds and tells you exactly which branch of the decision tree you’re on.
- Grab four small ice cubes from a standard tray.
- Put them in your widest container.
- Add about two tablespoons of water.
- Press pulse in 1-second bursts for 30 seconds total.
What success looks like: you hear a clear crunching sound, and the cubes break into jagged pieces within the first 15 seconds.
What failure looks like: the motor whines, the cubes rattle around, and after 30 seconds you still have mostly whole cubes. That means your blade geometry or wattage isn’t cutting it, and you’re dealing with a blender motor problem that needs troubleshooting.
If it fails, don’t force it. Pushing a weak motor on ice is the fastest way to burn out the coupling. You’ll find better options in the honest alternatives section coming up.
Your Decision Branch: Four Paths Based on What You Own
You’ve run the test. Now let’s map your result to a clear action plan.
Under 300W: Stop here. Your motor lacks the torque to break whole ice. Forcing it will overheat the coupling joint, and that repair isn’t worth the cost. Use the frozen fruit trick or a manual crusher instead.
300W to 500W: You can crush, but only with discipline. Use small cubes, a wide steel pitcher, and no more than six cubes per batch. Keep pulsing to 1-second bursts and take a 30-second rest after every ten pulses.
500W and above: Green light. You have the power to handle a full tray of ice, provided you’ve checked the blade geometry and added your liquid buffer first.
Dedicated ice-crushing attachment: Best-case setup. If your model shipped with one, swap out the standard wand. It’s shorter and grabs cubes more aggressively, so batches take half the time.
Step-by-Step: The Right Way to Crush Ice (for Blenders That Qualify)
Let’s say your machine passed all three checks. Here’s the exact workflow to get clean, consistent crushed ice every time.
Prep Your Ice and Container
Freeze ice in a standard tray that makes 1-inch cubes. Larger sphere molds produce thick ice that’s much harder to break. Pull the tray out five minutes before blending, then transfer cubes to your widest metal pitcher.
The cold from the steel keeps the ice firm longer while you work.
Add the Liquid Buffer
Pour in about 1/4 cup of water, juice, or cocktail syrup. This thin layer is the single most important step. Without it, the blade spins in an air pocket and the cubes just hop around the container.
Use the Pulse Sequence
Press the trigger for one second, release for two seconds, repeat. This rhythm is the whole secret. The blade gains speed with each burst and slams into the ice instead of riding over it.
Continue for 60 to 90 seconds, then check your progress.
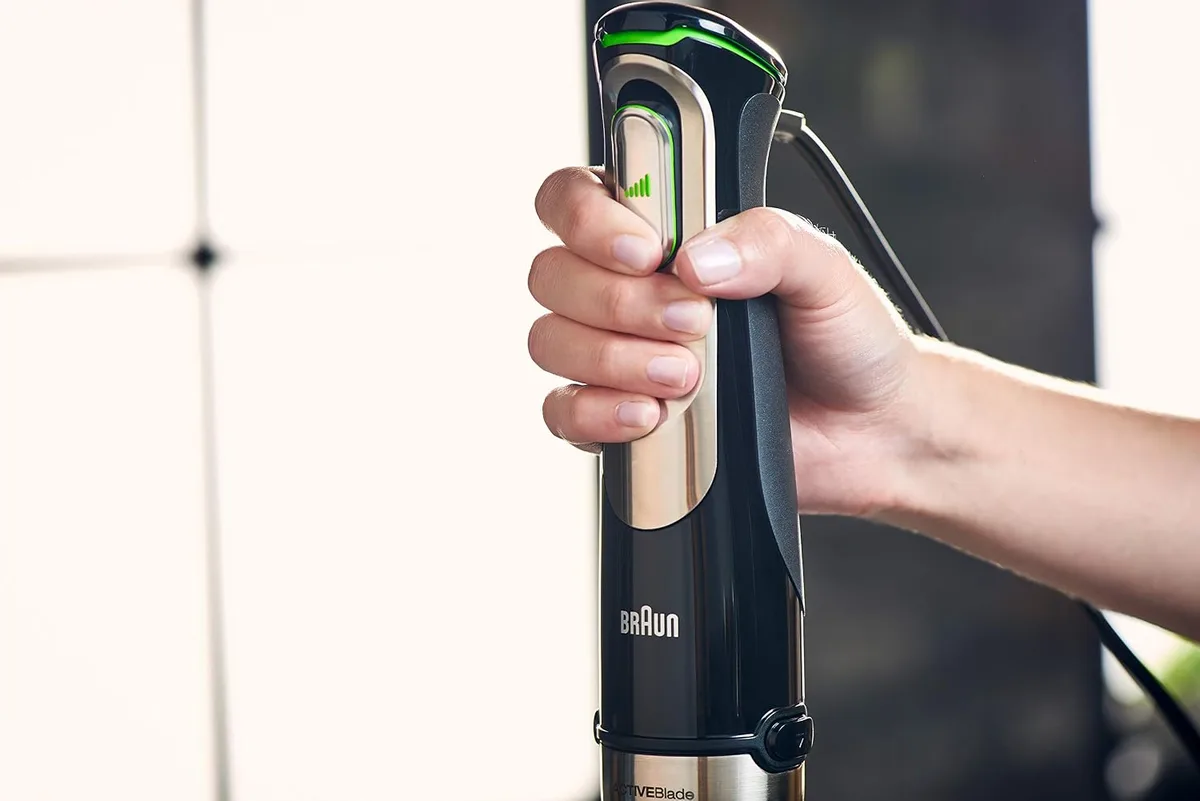
Image source: Bing (Web (fair-use with source credit))
Keep the Blade Submerged and Angled
Hold the blender so the blade sits fully below the liquid line. Tilt the wand slightly toward the side of the pitcher, which pushes the ice back down into the cutting path. Never run it tilted hard against the wall, because that’s how shafts snap.
Let the Motor Cool Down
After 90 seconds of use, give the motor a 30 to 60-second rest. Continuous running is the quickest way to trigger thermal overload protection. A short break keeps your blender in working order and preserves the motor’s long-term reliability.
Low-Wattage Workarounds: Pre-Breaking, Smaller Batches, and the Towel Trick
If your blender failed the wattage test, you’re not completely out of luck. These workarounds get you closer to crushed ice without buying new gear.
The first trick is pre-breaking. Stack a few cubes in the middle of a clean kitchen towel, fold it over, and tap firmly with a rolling pin or the heel of your hand. You’re not looking for fine snow, just chunks under 3/4 inch.
Those smaller pieces give a weak motor a fighting chance.
Smaller batches also matter. A 250W motor can occasionally manage four cubes, but it will never manage twelve. Load fewer cubes per batch and accept the slower pace.
For frozen cocktails, the pragmatic answer is to skip ice entirely and blend frozen fruit instead.
Common Mistakes: Why Ice Escapes, Beakers Crack, and Motors Stall
Most crushed ice failures come down to a handful of repeatable errors. Here’s what to watch for.
The splash-back problem happens when you blend at full speed with no pulse. The blade creates a vortex that launches cubes upward. Use pulse mode and keep the wand submerged to kill the vortex.
Over-blending turns crushed ice into powder. Once you hear a smooth, carving sound instead of a crunch, stop. Thirty more seconds of blending ruins the texture for cocktails.
Ignoring the motor’s overload shutoff is another classic. When it cuts out, wait the full cooldown period rather than resetting it immediately. Repeated resets stress the thermal fuse.
Blending dry ice with no liquid is the number one killer of cheap motors, and it’s also the most preventable mistake on this list.
Honest Alternatives: When the Countertop Blender Is the Smarter Tool
No shame in admitting that an immersion blender has limits.
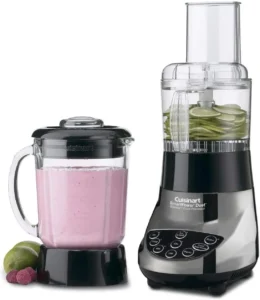
For big-batch frozen margaritas, a countertop blender with a dedicated ice-crush setting is faster and more consistent. It handles a full pitcher in under a minute. An immersion blender, by comparison, requires three or four small batches with cooldown breaks in between.
Manual options are another honest route. A handheld ice crusher costs about the same as a mid-tier immersion blender and crushes a cup of ice in 30 seconds without any motor strain.
The right tool depends entirely on your volume and frequency. One cocktail now and then? Your immersion blender works fine.
A pitcher of frozen drinks every weekend? Buy a countertop machine.
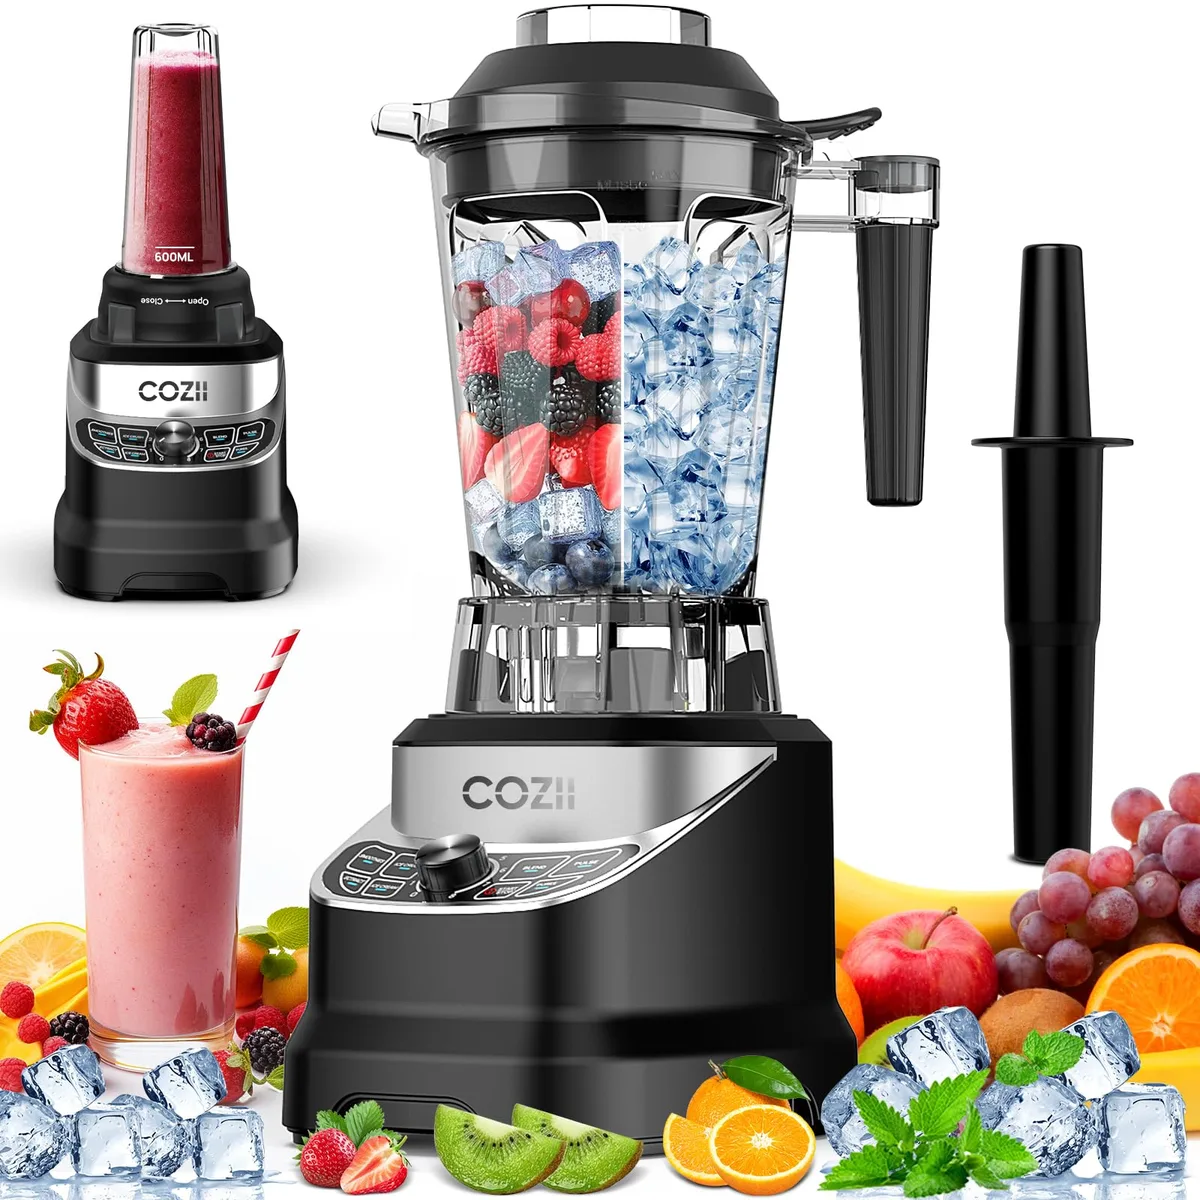
Image source: Bing (Web (fair-use with source credit))
Use Case Notes: Frozen Cocktails, Smoothies, and Kids’ Slushies
Not every frozen treat needs the same ice texture, so let’s match the machine to the job.
For frozen cocktails, crushed ice is the goal. A 500W blender with a pulse mode will handle a standard tray of cubes in about two minutes if you follow the liquid buffer step. Stir in a spoonful of syrup or juice before blending, and you’ll get bar-quality texture without dragging out a countertop machine.
For smoothies, you don’t need to crush ice at all. Frozen fruit, like bananas or mango chunks, gives you the same frosty body while putting zero strain on your motor. That’s the hack every smoothie maker ends up learning.
Kids’ slushies are a different story. Smaller cubes crush faster, so use an ice tray with narrower compartments. Add a few tablespoons of juice as your buffer, and pulse for about 45 seconds.
The result is a drinkable slush rather than chunky ice.
One warning: never attempt a thick, frozen-fruit smoothie in an underpowered blender. The blades will stall and the motor will hit thermal shutdown before anything blends. If that’s your main recipe, you’re better off working with a countertop machine that’s built for the load.
Quick Answer
Yes, an immersion blender can crush ice, but only if it has enough power and the right technique.
You need at least 400 watts, a sharp cross-blade, and pulse mode. Add a splash of liquid before blending, then pulse in one-second bursts. Under 400 watts, the motor will struggle or stall entirely.
Over 500 watts, you’ll get consistent crushed ice in under two minutes.
Final Verdict: A Simple Decision Guide You Can Save
Here’s the whole article condensed into one table you can screenshot.
| Your setup | Verdict | Best move |
|---|---|---|
| Under 300W | Won’t work | Pre-break ice or use frozen fruit |
| 300W to 500W | Works with limits | Small batches, liquid buffer, pulse only |
| 500W+ with cross-blade | Full green light | Follow the step-by-step workflow |
| Any wattage with ice attachment | Best case | Use the attachment and pulse |
If your machine falls into the green light column, you’re set. Grab a wide steel pitcher, add your liquid buffer, and pulse your way to crushed ice tonight.
If it doesn’t, don’t force it. Pre-break the ice with a towel, use smaller batches, or lean on frozen fruit for your drinks. And if you’re regularly making pitchers of frozen cocktails, the honest move is upgrading to a countertop blender.
Frequently Asked Questions
Is it safe to use an immersion blender on ice?
Yes, but only if your model’s wattage and blade are built for it. Check the manual for explicit ice-crushing approval. Pushing an underpowered motor on ice can trigger thermal overload or damage the shaft coupling.
Can a 300W immersion blender crush ice?
Barely, and only with careful technique. Use small cubes, a wide steel pitcher, and a splash of liquid. Pulse in one-second bursts with 30-second rests.
Expect roughly a cup of crushed ice per batch, not a full pitcher.
Do I need to add water when crushing ice?
Yes, always add a thin liquid layer. About two tablespoons of water, juice, or syrup keeps the blade engaged. Without it, the blade spins in an air pocket and the ice cubes just bounce around the container.
What’s the difference between an immersion blender and a hand blender?
There isn’t one. The two names describe the same tool, and the terminology comes down to region and manufacturer preference. If you just picked one up and want to know its limits, the full breakdown of what this tool handles is worth a read.
Why did my immersion blender stop mid-crushing?
Your motor’s thermal overload protection kicked in. This is a safety feature that prevents the windings from burning out. Unplug it, wait 10 to 20 minutes for full cooldown, and restart with smaller batches and shorter pulse bursts.
Can I use crushed ice from an immersion blender for blended drinks?
Yes, it’s perfect for frozen cocktails, slushies, and crushed-ice mocktails. The texture comes out as uneven jagged shards, which drinks actually prefer over the fine powder you get from a high-speed countertop blender.