Yes, but only for wet tasks. The real answer to whether you can use blender as food processor is that it works for liquids and soft foods, not dry ones. A blender needs liquid to pull ingredients down into the blades. If your recipe has no liquid, the motor will just spin empty air. Switch to a knife or buy a small chopper before you burn out your machine.
When a blender handles food prep
Your situation decides if the machine will work or just make noise. Here’s how common kitchen tasks sort out when you’re trying to swap one appliance for another.
| Your situation | Answer | Why |
|---|---|---|
| Making smoothies or soups | Yes | Liquid pulls food into blades easily |
| Pureeing cooked vegetables | Yes | Soft food breaks down with little liquid |
| Chopping raw onions or nuts | No | Blades spin without catching dry pieces |
| Kneading bread dough | No | Motor lacks torque; dough stalls blades |
| Shredding hard cheese | No | Needs a flat grating disc, not angled blades |
| Mixing thick hummus | Only with extra water | Thick paste traps air around the blade base |
| Crushing ice for drinks | Yes, on pulse | Short bursts prevent motor overheating |
A blender replaces a processor only when liquid is already part of the plan. Dry chopping, slicing, or kneading requires a wide bowl and flat discs. That shape keeps food moving across the cutting edge instead of packing it tight at the bottom.
Why liquid changes everything
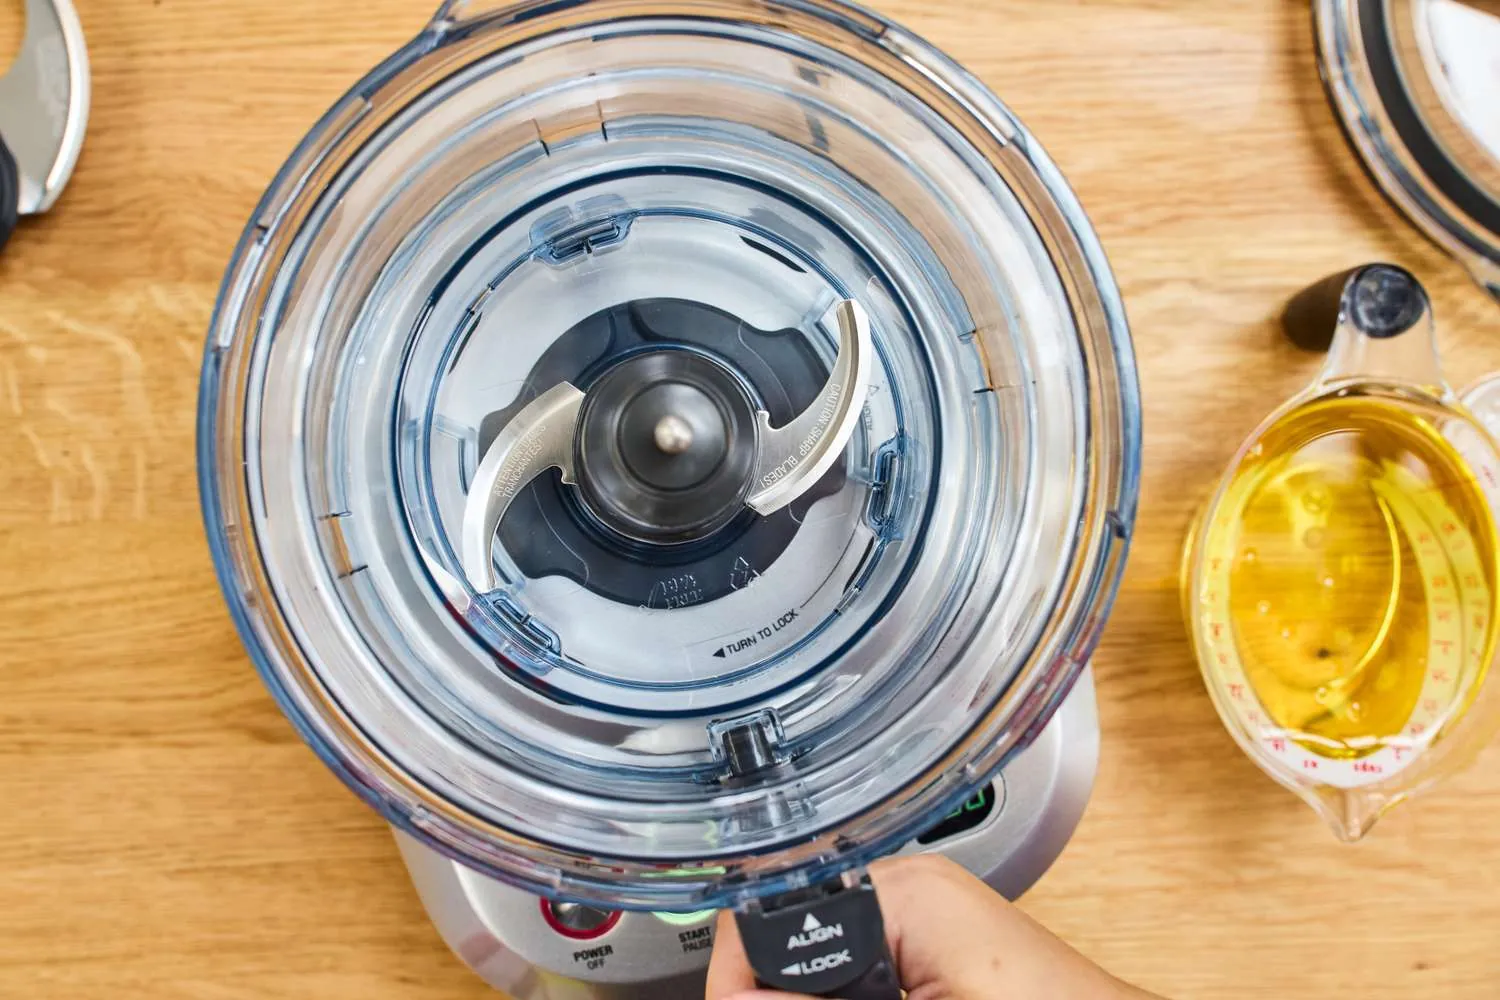
The shape of the jar decides what happens to your food. A blender jar is tall and narrow, built to create a vortex. That spinning current pulls ingredients down into sharp, angled blades at the very bottom. Without enough liquid, that vortex never forms. Food just sits above the blades while the motor screams.
A food processor uses a wide, shallow bowl. Its blades sit higher up or lie flat against the bottom, sweeping through the whole space. You don’t need water to move carrots around in a wide bowl. Gravity and the sweeping motion do the work. That’s why dry chopping fails in a blender but works fine in a processor.
Motor power matters too, but it won’t fix the shape problem. Blenders often have stronger motors than basic processors because they push through heavy liquids. But a 1,200-watt blender still won’t chop dry parsley well. The power just spins the blades faster in empty space.
If you try to force dry food down with a tamper, you risk cracking the jar or burning the motor windings. The friction builds heat fast when there’s no liquid to absorb it. Check your owner’s manual for the minimum liquid line printed inside the jar. That mark tells you exactly where the vortex starts working safely.
Blades are the other limit. Blender blades are fixed and angled upward to catch falling liquid. Processor blades are flat or S-shaped to sweep horizontally. You can’t change a blender’s blade geometry to mimic a sweeping cut.
If your recipe includes broth, milk, or juice, blend away; if it’s completely dry solids, grab a knife instead.
How to prep food in a blender
When your recipe has enough liquid, you can get close to processor results by changing how you load the jar. Follow these steps to keep the motor safe and the texture even.
Cut food into half-inch pieces. Smaller chunks fall into the blade path much easier. This prevents large items from jamming the base and stalling the motor. You’ll know it worked when the mixture moves smoothly without loud thumping.
Pour in your liquid first. Always add water, oil, or broth before dropping in any solid food. The liquid creates the initial vortex needed to pull heavier pieces down. You’ll see a steady whirlpool forming as soon as you turn it on.
Fill the jar only halfway. Don’t pack it to the top like you might with a processor bowl. Overfilling stops the vortex and forces the motor to work twice as hard. Stop adding food when you reach the middle line on the jar.
Use the pulse button, not continuous run. Press the pulse switch in short one-second bursts. This drops the food back onto the blades between each spin instead of pushing it up the walls. You’ll hear the pitch drop as the chunks break apart.
Stop and shake the jar if food gets stuck. Turn the machine off completely and unplug it before touching anything. Lift the jar and give it a firm shake to dislodge packed food near the blades. Never stick a spoon inside while it’s plugged in.
Scrape down the sides with a spatula. After pulsing three or four times, open the lid and scrape the upper walls. Push everything back toward the center so the next pulse catches it all. The mix should look uniform without large dry pockets.
Strain if you need a drier result. Pour the blended mix through a fine mesh strainer to remove excess liquid. Press gently with a spoon to get the texture closer to chopped food. This trade-off means losing some flavor to the drained liquid, but it saves you from buying a second appliance.
These steps assume a standard 64-ounce jar. For smaller personal cups under 32 ounces, cut the batch size in half.
You might find this helpful: Best Blenders for Home Use
Overloading the jar burns the motor
Running a blender full of thick, dry food burns out the motor. People treat the tall jar like a wide processor bowl and stuff it to the brim with raw vegetables or thick dough. They hold the power button down, waiting for the blades to catch. Instead, the thick mass locks the blades in place while electricity keeps flowing into the coils.
That locked rotor draws maximum current without spinning. The heat builds up inside the motor housing in seconds, melting the wire insulation. Replacing a burned-out motor base costs nearly as much as buying a brand new mid-range blender. You lose both time and money waiting for parts or shopping again.
The check that prevents this is simple: watch the blades during the first two seconds. If the blades aren’t spinning freely and pulling food down immediately, turn the power off right away. Don’t wait for a burning smell. Add more liquid, remove half the food, or switch to a knife.
Read the fill lines on your specific jar before starting.
When to call a repair shop
Some problems go past what you can fix by changing your technique. If you pushed the machine too far, here’s when to stop trying yourself.
- Smoke comes from the base vents, because internal wiring has melted and needs professional replacement.
- The motor hums loudly but blades won’t spin, meaning the drive socket or capacitor failed.
- The power trips your kitchen breaker repeatedly, pointing to a short circuit inside the housing.
- The jar cracked near the blade assembly, creating a leak hazard you can’t seal safely.
- You smell burning plastic after an empty run, indicating the motor windings are damaged.
Never open the motor base yourself. Testing or replacing the motor, fuse, or switches is strictly technician-only work. Take the unit to an authorized small-appliance repair shop or contact the manufacturer directly.
Frequently asked questions
Can I chop onions in my blender?
No, not cleanly. The angled blades will puree the bottom layer into mush while leaving the top pieces completely untouched. You’d need to add water to move them, which gives you onion juice instead of diced pieces. Use a sharp knife or buy a mini electric chopper for dry vegetables.
Why does my blender smell like burning?
That smell means the motor is overheating. It usually happens when you blend thick food without enough liquid, forcing the motor to work past its safe limit. Turn it off immediately and unplug it. Let the base cool for 30 minutes before trying again with more liquid added.
How long can I run a blender continuously?
Most standard blenders shouldn’t run for more than 60 seconds at a time when handling thick mixtures. High-end models with cooling fans might handle 2 to 3 minutes, but check your specific manual. Running it longer risks overheating the motor coils and permanently damaging the appliance.
Is it safe to blend hot soup?
Yes, but only if you leave the center cap off and cover the hole with a folded towel. Steam expands rapidly inside a sealed jar and can blow the lid off, causing severe burns. Fill the jar no more than halfway and start on the lowest speed setting.
What happens if I put dough in a blender?
The dough will wrap tightly around the blade shaft and stall the motor completely. Blenders lack the low-speed torque needed to knead gluten. You’ll likely strip the plastic drive socket connecting the motor to the blades, requiring a replacement part to fix.
Does a high-watt blender work better for this?
Higher watts help crush ice or blend tough greens, but they don’t fix the shape problem. A 1,500-watt blender still can’t chop dry carrots evenly because the jar is too narrow. Power helps with liquids, but bowl geometry decides if dry chopping works.
Can I shred cheese using the pulse button?
No. Shredding requires a flat grating disc that slices across the surface of the food. A blender’s angled blades will just smash cold cheese into sticky clumps or melt it from friction heat. Freeze the cheese block and use a box grater instead.
How much liquid do I actually need?
You need enough to cover the blades completely and rise about one inch above them. For most standard 64-ounce jars, that’s roughly one cup of liquid minimum. Check the lowest fill line etched into your specific pitcher, as smaller cups require less.
First steps for your blender
Check your recipe’s liquid content before turning the dial. If it has broth, milk, or water, cut your ingredients into half-inch pieces and pulse them in small batches. You’ll get a smooth puree or a rough chop if you strain it quickly.
The sign it’s working is a steady, quiet whirlpool pulling food downward. If the motor whines loudly without moving the blades, stop immediately. That sound means you’ve crossed the line from a simple kitchen task into a job for a repair technician.
Running the motor continuously here causes the nuts to release their oils and turn into paste within thirty seconds.
Always add your liquids to the jar first. Solid chunks dropped onto dry blades jam the base and scorch the motor seal over time.