Can I make toast in an air fryer? Yes, you absolutely can. It won’t behave exactly like a standard toaster, but with the right temperature and a couple of simple tricks, you’ll get a slice that’s crisp, golden, and genuinely good.
The air fryer really shines with thicker bread that standard toasters struggle with.
In our research, the most reliable setting across basket-style and oven-style models is 350°F (175°C). That’s about 50 degrees lower than what most people reach for first, and it’s the difference between perfect toast and a burnt mess. Let’s break down exactly how to nail it.
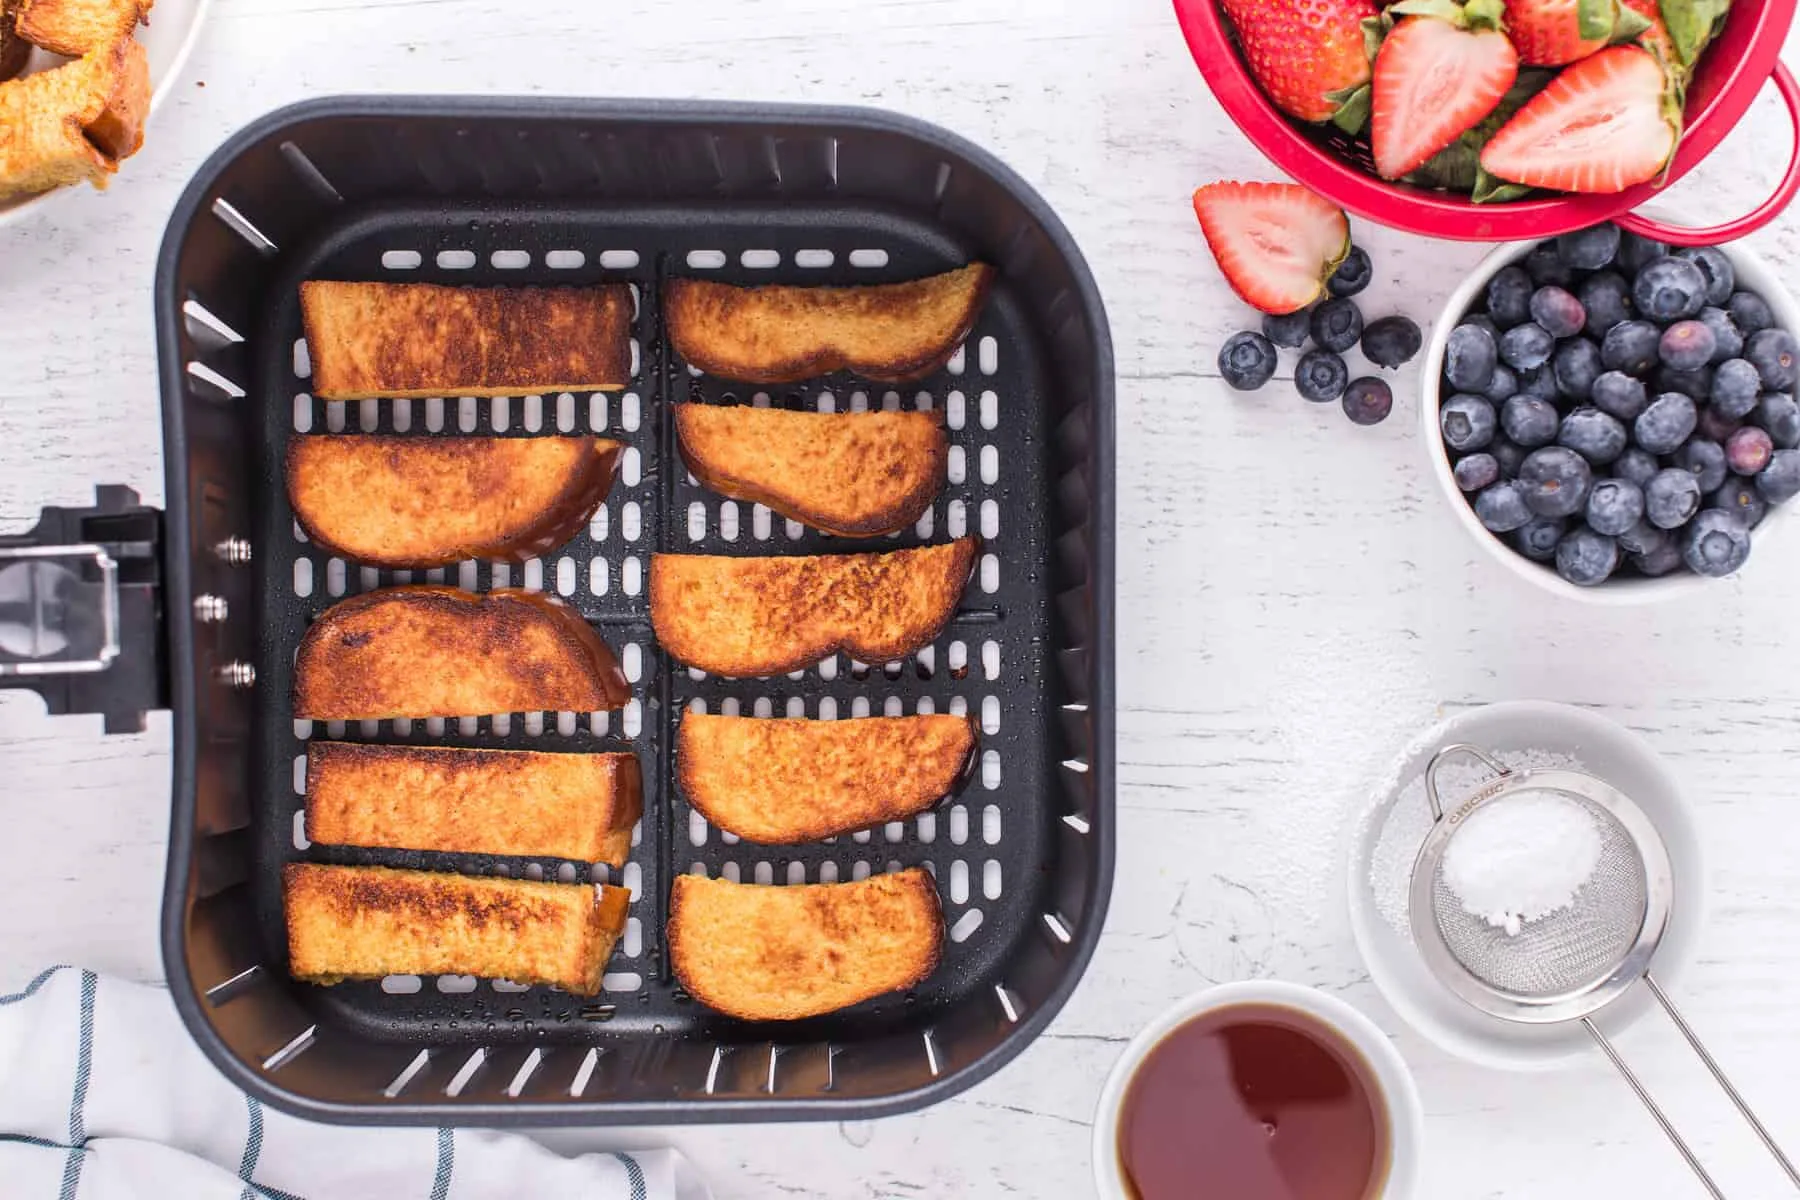
Image source: Web (Bing) / storables.com (Web image (fair-use with source credit))
Quick Answer: Can I Make Toast in Air Fryer?
Yes, you can make toast in an air fryer. Set it to 350°F. Thin bread takes 2 to 3 minutes.
Thick bread takes 3 to 4 minutes. Flip halfway through. Don’t walk away.
The low temperature prevents burning. It’s that simple.
The Short Answer: Yes, You Absolutely Can
The direct answer is yes. Air fryers are essentially small convection ovens, and convection ovens toast bread beautifully. The rapid fan-driven air circulation crisps the surface fast while the interior stays soft, which is exactly what good toast should be.
The catch is that you’re working with a much smaller, hotter environment than a regular oven. That means timing matters more. As of 2026, most air fryer models include a “toast” preset, but those presets run hot and often produce uneven results.
Manual control gives you better consistency.
Why the Air Fryer Isn’t a Toaster (And Why That’s Okay)
A standard toaster uses radiant heat from exposed coils. It browns bread from the outside in, quickly, with almost no air movement. An air fryer uses a heating element behind a fan, so hot air wraps around the bread from every angle at once.
That difference matters. You get a drier, crunchier exterior than a toaster produces, and the crumb stays softer in the middle. For some breads, especially thick sourdough or brioche, the air fryer actually makes better toast than a toaster ever could.
If you want more detail, our complete air-fried bread guide walks through the technique step by step.
What Actually Happens to Bread in an Air Fryer
The Convection Effect: Hot Air, Not Heat Coils
When you place bread in an air fryer, the fan circulates hot air at high speed. That air strips moisture from the bread’s surface and drives it outward. The result is a crisp crust forming faster than it would in a static oven.
This is the same physics that makes air fryers great at cutting down cook times for everything from fries to chicken wings. The moving air is the secret. It transfers heat far more efficiently than still air.
Why 350°F Beats 400°F for Toast
Here’s the thing most people get wrong. They set the air fryer to 400°F because that’s what works for crispy potatoes and chicken. For bread, that’s too aggressive.
At 400°F, the outside of the bread over-browns before the inside has a chance to dry out. You end up with a dark, bitter crust and a doughy center. At 350°F, the heat penetrates more evenly.
The toast develops a deep golden color with a satisfying crunch.
The Dryness Factor: How Air Frying Changes Bread Texture
Air is dry. Hot air is even drier. When you air-fry bread, you’re essentially performing rapid dehydration on the surface.
That’s why the crust gets so crisp, but it’s also why you can’t look away.
The window between “perfectly golden” and “dry as a crouton” is surprisingly narrow. Thinner breads, like standard sandwich slices, can cross that line in under 20 seconds. That’s not an exaggeration.
It’s the single biggest reason so many first attempts at air fryer toast end in disappointment.
The Big Variable: Basket-Style vs. Oven-Style Air Fryers
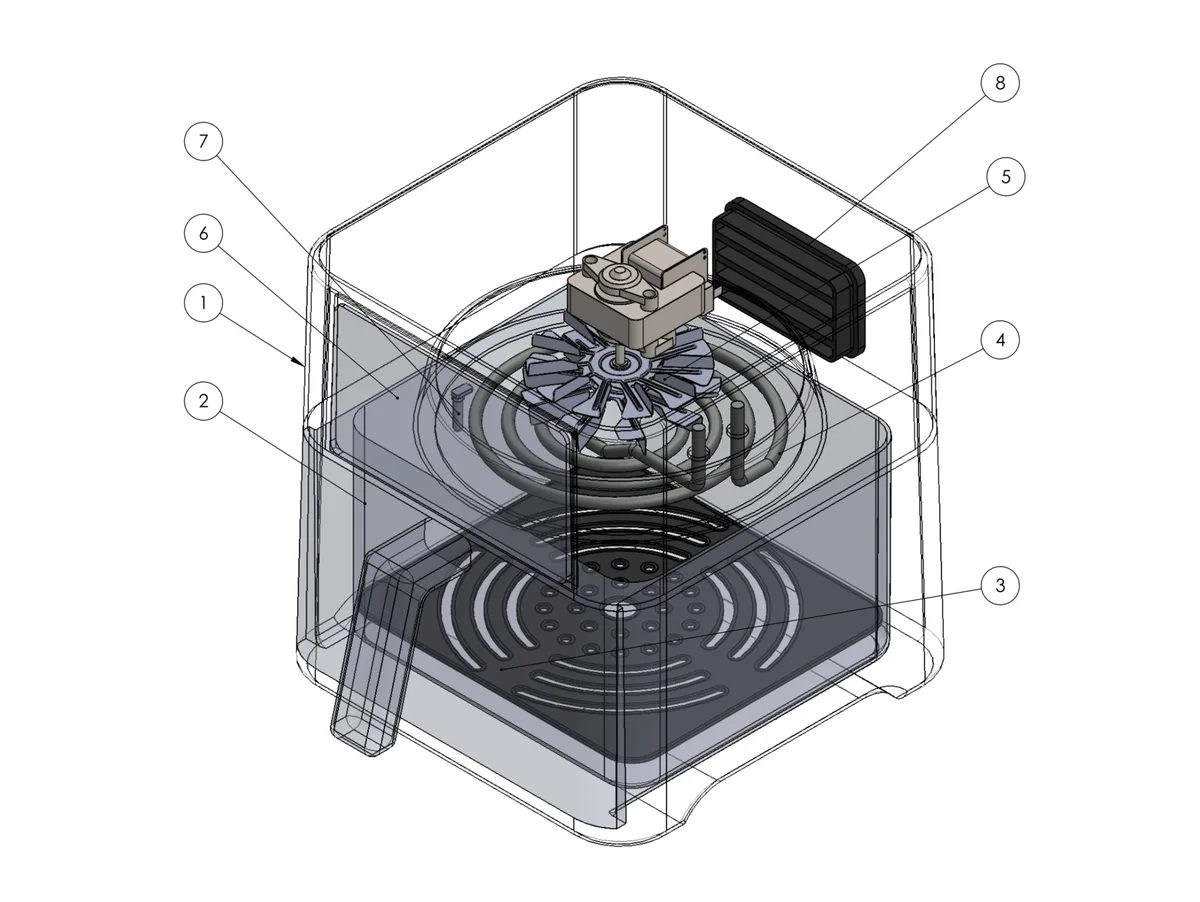
Image source: Web (Bing) / rtings.com (Web image (fair-use with source credit))
Not all air fryers behave the same way. The biggest difference comes down to the physical design of the machine. Understanding which type you own changes your approach and your cook times.
Basket Models: Where the Heat Comes From
Basket-style air fryers have a pull-out drawer with a perforated basket. The heatingelement sits at the top, pointing down at the food. The fan is right behind it, so hot air blasts directly onto the surface of whatever’s in the basket.
That proximity matters for toast. The heat source is close, intense, and concentrated. Bread in a basket model browns quickly, which means you need to keep cook times on the shorter end.
A slice of thin white bread can be done in as little as two minutes.
The good news is that basket models are easy to monitor. You just pull the drawer, check the color, and slide it back in if needed. That quick access makes them forgiving for first-timers.
Oven Models: Why They Take Longer
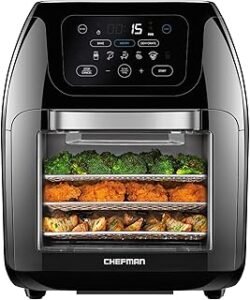
Oven-style air fryers look like countertop convection ovens. They have a door, wire racks, and a heating element at the top and sometimes the bottom. The air still circulates, but the food sits farther from the heat source.
Because the distance is greater, the heating is gentler. That’s not a bad thing. It means the toast browns more evenly, but it also means you need to add time.
Thin bread that takes two minutes in a basket model might need three or four in an oven-style unit.
The other trade-off is access. You have to open a door to check the bread, which lets heat escape. That drops the internal temperature briefly, so you may need to add 30 seconds to compensate.
It’s a minor nuisance, but worth knowing.
How to Tell Which Type You Own
If you’re not sure which category your machine falls into, look at the basket. A basket-style air fryer has a handle and a drawer that pulls out completely. An oven-style model has a front door that swings open, with racks inside.
You can also check the shape. Basket models are usually tall and rounded. Oven models are wider and flatter, closer to a microwave footprint.
If you’re still unsure, the manufacturer’s manual will state the type clearly.
This distinction matters because it changes your cooking time. If you use basket-model timing on an oven-style machine, you’ll pull out under-toasted bread. We’ve covered the visual differences more thoroughly in our air fryer interior guide, which includes diagrams of both designs.
Breath Type and Thickness: The Second Variable
Thin Sandwich Bread vs. Sturdy Artisan Loaves
The type of bread you use is just as important as the machine itself. Thin, soft sandwich bread has very little structure. It dries out fast and can go from pale to burnt in seconds.
Sturdy breads, like sourdough, ciabatta, or whole-grain loaves, have more moisture and more structure. They take longer to toast, which gives you a wider margin for error. They also benefit more from the air fryer’s dry heat, coming out with a crackling crust that a pop-up toaster simply can’t produce.
If you’re toasting thin bread, start with the lowest time in the range. If you’re using thick-cut bakery bread, you can push toward the upper end without worrying.
Frozen Bread: The Timing Exception
Frozen bread is a different beast. It starts with a layer of ice crystals on the surface, and those need to evaporate before browning can begin. That adds roughly a minute to your cook time.
For frozen slices, plan on 4 to 5 minutes at 350°F, flipping halfway. The good news is that the air fryer handles frozen bread better than a toaster does. A toaster often leaves the center cold while burning the edges.
The air fryer’s circulation thaws and toasts more evenly.
Gluten-Free and Delicate Breads: A Special Warning
Gluten-free breads are notoriously fragile. They lack the gluten structure that gives regular bread its strength, so they crumble easily and dry out quickly. Treat them like thin white bread and start with the lowest time.
If you’re using a delicate brioche or a sweet bread with a lot of sugar, watch it carefully. Sugar caramelizes fast at high temperatures, so the surface can darken and burn before the interior is properly toast. A lower temperature of 320°F is a safer starting point for these.
Step-by-Step: How to Make Toast in an Air Fryer
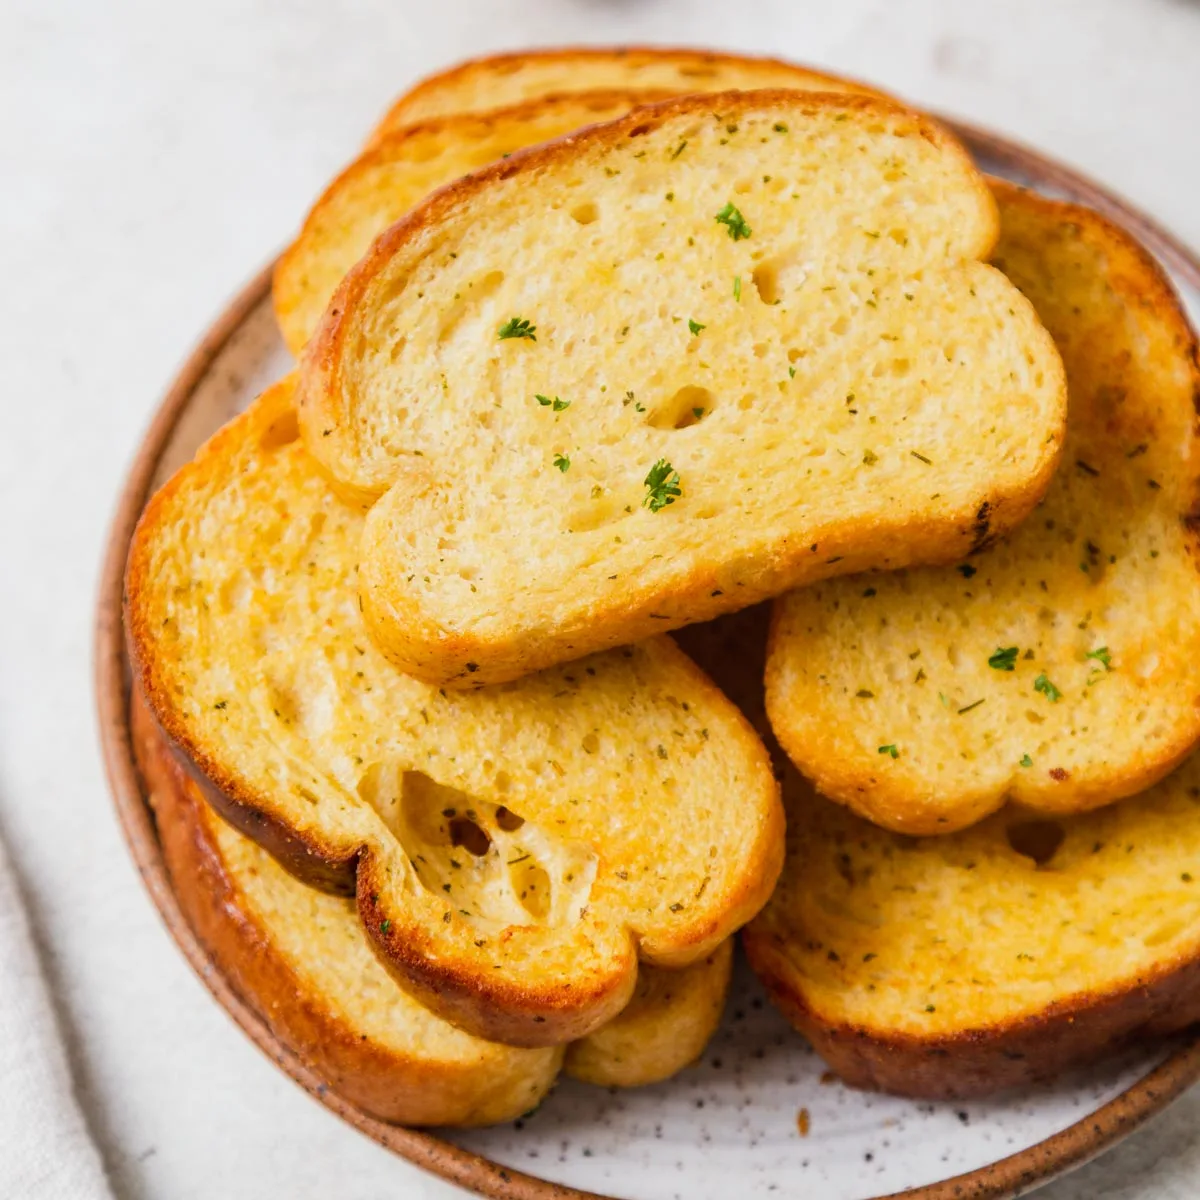
Image source: Web (Bing) / loveandotherspices.com (Web image (fair-use with source credit))
Here’s the straightforward process. It’s simple, but the order matters. Follow these steps in order and you’ll get consistent results.
Step 1: Preheat to 350°F (If Your Model Allows)
Preheating is the step most people skip, and it’s the one that causes the most inconsistent results. If your air fryer has a preheat function, use it. Let it run until the machine indicates it’s reached temperature.
If your model doesn’t have a preheat button, just run it empty for 3 minutes at 350°F before adding the bread. That short warm-up ensures the heating element is already hot when the bread hits the basket. Cold-start cooking is the reason so many people get pale, uneven toast.
Step 2: Single Layer Only, No Stacking
Place the bread in the basket in a single layer. Every slice needs airflow on all sides. If you stack or overlap slices, the bread underneath will steam instead of toast, leaving soggy patches.
Most basket-style air fryers fit one or two slices comfortably, depending on the basket size. Oven-style models can fit more on a wire rack, but keep space between each slice. Crowding the basket drops the air temperature and extends your cook time.
Step 3: Cook Times by Air Fryer Type
The exact times depend on your machine and your bread. Here’s a quick reference table for 350°F, flipping halfway through.
| Bread Type | Basket-Style Time | Oven-Style Time |
|---|---|---|
| Thin white bread | 2 to 3 minutes | 3 to 4 minutes |
| Thick whole grain | 3 to 4 minutes | 4 to 5 minutes |
| Frozen bread | 4 to 5 minutes | 5 to 6 minutes |
| Delicate gluten-free | 2 to 2.5 minutes | 3 to 3.5 minutes |
These are starting points, not guarantees. Your machine’s wattage and basket depth will shift times slightly. The first time you make toast, check the bread at the lower end of the range and add time in 30-second increments.
Step 4: Flip at the Halfway Mark
Flipping is not optional. The bread sits on a perforated rack, and the side touching the grate stays slightly protected from the airflow. If you don’t flip, one side will be deeply browned while the other stays pale and soft.
Use tongs or a spatula to turn the slices quickly. The halfway point is roughly 1 to 2 minutes in, depending on your cook time. Flipping also helps the bottom of the bread dry out, giving you an even crunch on both sides.
The Flip Rule: Why It’s Non-Negotiable
The Science of the Soggy Bottom
When bread sits directly on the basket grate, the bottom surface is shielded from the main airflow. Moisture escaping from the bread collects there, and without direct hot air, that moisture lingers. The result is a soft, steamy underside that ruins the toast.
This is the same reason you need to flip chicken wings and other foods in the air fryer. It’s not about achieving a perfect tan. It’s about ensuring both surfaces get equal exposure to the circulating heat.
If you’re curious about the broader principle, our guide on when flipping is required covers the general rule.
How Flipping Changes the Outcome
Flipping gives you a structurally sound slice of toast. The bottom dries out, the crust forms evenly, and the bread holds its shape instead of drooping. It also prevents the toast from sticking to the grate as moisture evaporates.
The simple action takes five seconds and makes the difference between toast that looks homemade and toast that looks like it came from a hotel breakfast buffet. Don’t skip it.