So, can you put a silicone muffin pan in the oven? Yes, you can, but the real answer depends on the exact pan sitting in your kitchen drawer. Not all silicone bakeware is created equal.
The good news is that the differences are easy to spot once you know what to check.
Manufacturer specifications indicate that most food-grade silicone muffin pans are rated to 450°F (232°C). That’s well above the 375°F (190°C) most muffin recipes call for. As of 2026, the U.S. Food and Drug Administration recognize properly cured food-grade silicone as safe for repeated baking. But safety depends on the material, the temperature rating, and the pan’s current condition.
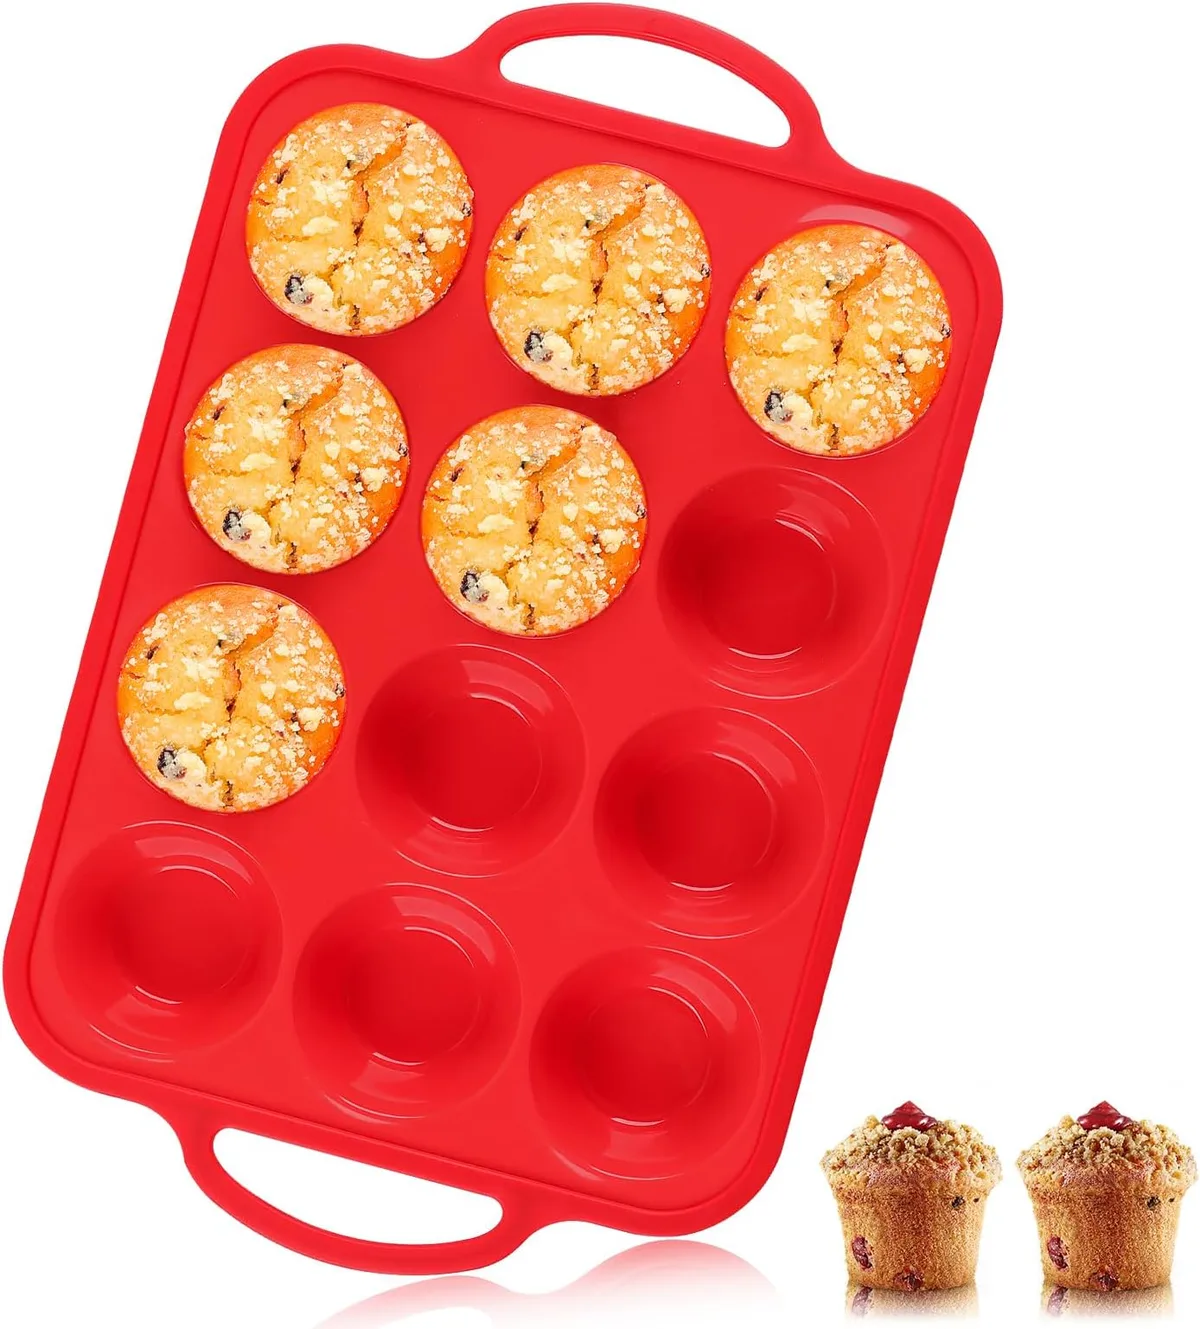
Image source: Web (Bing) / amazon.com (Web image (fair-use with source credit))
Quick Answer
Yes, you can put a silicone muffin pan in the oven. Check the temperature rating stamped on the underside first. Most silicone muffin pans are safe up to 450°F (232°C).
Set the pan on a baking sheet for support. Skip the broiler and keep it away from direct heat.
What Actually Determines Oven Safety (It’s Not Just “Silicone”)
Not all silicone muffin pans are built from the same material. The word “silicone” on the label is only the beginning. Some pans are pure, platinum-cured, food-grade silicone.
Others are cut with cheaper fillers that break down at normal baking temperatures.
| Pan Type | Composition | Typical Max Temp |
|---|---|---|
| Pure food-grade silicone | 100% platinum-cured silicone | 450°F (232°C) |
| Reinforced silicone | Silicone with fiberglass core | 450°F (232°C) |
| Blended silicone | Silicone mixed with rubber or fillers | Much lower, varies |
100% Food-Grade Silicone vs. Blends
Pure food-grade silicone handles repeated heat cycles up to about 450°F (232°C) without degrading. Blended silicone, which often includes rubber fillers, starts losing its shape well below that. If the box doesn’t say “100% food-grade silicone” or make a clear FDA-compliant claim, treat the pan like a cheap experiment.
It may smell like burning rubber during the first bake, and that’s never a good sign.
You might find this helpful: Are Silicone Muffin Pans Safe
The Temperature Rating: The Number That Actually Matters
Flip any decent silicone muffin pan over and you’ll find an embossed temperature limit on the underside. Most max out at 450°F (232°C), while European models often read 230°C. That number is the absolute ceiling, not a comfortable operating range.
Keep at least 50 degrees of headroom below it for regular baking.
Image source: Web (Bing) / papergramshop.com (Web image (fair-use with source credit))
Reinforced vs. Unreinforced Silicone
Some pans are all-silicone, which means they fold flat for storage but flop over when full of batter. Others are built with a fiberglass core or have a metal rim around each cup. Fiberglass-core pans hold their shape beautifully and resist stretching over time.
Metal-rimmed pans are the sturdiest, but those edges get genuinely hot, so an oven mitt is still mandatory.
Signs of low-grade silicone include:
- Strong chemical or plastic smell
- Cloudy, milky, or slightly tacky surface
- Stiff, rubbery texture that holds a crease
- No temperature stamp or brand information
Quick Check: Is Your Silicone Pan Oven-Safe? (3-Step Test)
Run through these three checks before you commit batter to an unfamiliar pan. Each one takes less than a minute.
Step 1: Look for the Temperature Stamp
Turn the pan over and inspect the underside. A clear, embossed number like “450°F” or “230°C” means the manufacturer tested the material to that limit. No stamp is a yellow flag.
Some unmarked pans are perfectly fine and simply missed the printing step, but that’s a bet you don’t need to take with a hot oven.
Step 2: Do the Bend-and-Snap Feel Test
Fold the pan in half. A good silicone muffin pan flexes smoothly and snaps back to shape without any white stress marks. Low-quality pans feel stiff, spring back slowly, or hold a crease.
That stiffness usually comes from filler materials that don’t handle heat as well as pure silicone.
Step 3: Check the Manufacturer’s Instructions
Search the brand and model number online. Reputable manufacturers list the safe temperature range and any oven precautions on their official product page. If the brand has no documentation and no real online footprint, aggregate user reviews will tell you quickly whether it survives or melts.
When to Throw the Pan Out
Even a good silicone pan doesn’t last forever. Replace it if you spot tears, cracks, or melted spots. A strong chemical smell during preheating is another red flag.
And if the surface feels sticky or tacky after years of use, the silicone is breaking down. Baking with a compromised pan risks off-tastes and uneven results.
How to Bake with a Silicone Muffin Pan (Step-by-Step)
Here’s the complete workflow, from counter to cooling rack.
Step 1: Set It on a Baking Sheet
A silicone muffin pan is floppy, especially when it’s full of wet batter. Always place it on a sturdy rimmed baking sheet before adding anything. The sheet supports the pan, keeps the bottom flat, and makes the whole thing easy to slide in and out of the oven.
This step is non-negotiable for 12-cup pans.
Step 2: Grease Lightly (Even Though It’s Non-Stick)
Most food-grade silicone is naturally non-stick. But “non-stick” doesn’t always mean “perfect release,” especially with fat-free batters. A light brush of oil, melted butter, or a quick spray keeps muffin bottoms clean and intact.
If you’re using paper liners, skip the grease entirely.
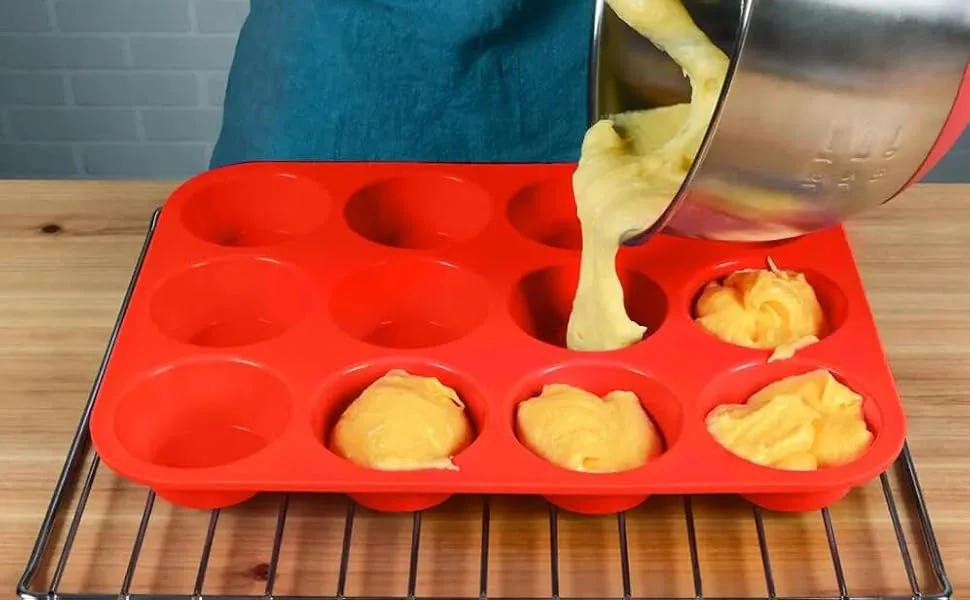
Image source: Web (Bing) / amazon.com (Web image (fair-use with source credit))
Step 3: Fill and Position Correctly
Fill each cup about three-quarters full. Silicone cups flex with the weight of batter, so keep the pan on the baking sheet while filling. Place the whole thing on the center rack of a preheated oven.
Don’t put a cold, just-filled pan into a hot oven. Let it rest at room temperature for 15 minutes first.
Step 4: Adjust Time and Temperature
Recipes written for metal muffin pans translate well to silicone at the same oven temperature. But silicone conducts heat more gently than metal, so you’ll often need a few extra minutes. Start checking at the low end of the recipe’s time range.
A toothpick should come out clean, and the tops should spring back when pressed.
| Muffin Size | Oven Temp | Bake Time in Silicone |
|---|---|---|
| Mini | 375°F (190°C) | 8-12 minutes |
| Standard | 375°F (190°C) | 15-22 minutes |
| Jumbo | 375°F (190°C) | 20-28 minutes |
Step 5: Cool and Release
Let the pan cool on a wire rack for five to ten minutes. Then press the bottom of each cup from underneath. The muffin should slide right out.
If it resists, run a thin spatula around the edge. The flexibility that makes silicone so frustrating to carry is the same feature that makes it a genius release tool.
Silicone vs. Metal Muffin Pans: Which One Wins Here?
Choosing between silicone and metal isn’t about right and wrong. It’s about which trade-offs you’re willing to accept.
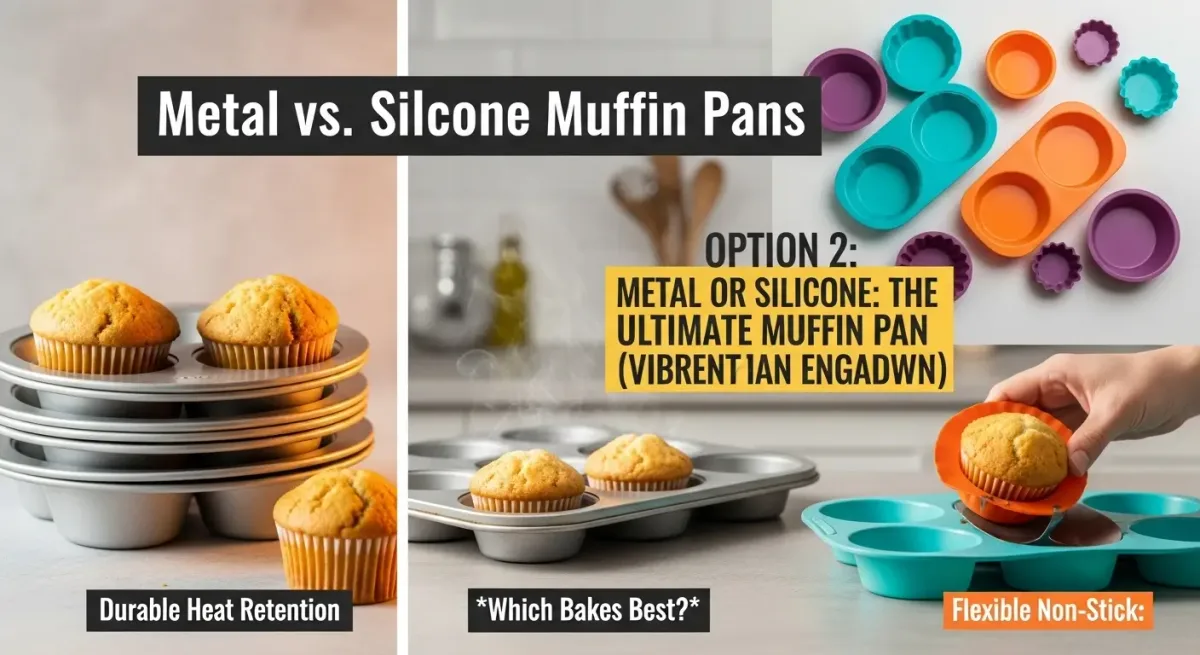
Image source: Bing (Web (fair-use with source credit))
| Factor | Silicone | Metal |
|---|---|---|
| Bottom browning | Pale and soft | Golden and crisp |
| Release | Excellent when pressed | Needs greasing or liners |
| Cleanup | Dishwasher-safe, fast | Can need soaking |
| Storage | Folds flat or rolls | Stackable, bulky |
| Oven limit | 450°F (232°C) | Often 500°F (260°C)+ |
| Durability | Can tear over time | Dents but lasts decades |
| Weight | Featherweight | Heavy and stable |
When Metal Is the Better Choice
Go with metal if you want bakery-style browning, crisp edges, and a pan that stays put on the counter. Metal also handles higher temperatures, so it’s better for roasted items and anything cooked over 400°F. It’ll also survive daily use for years without wearing out.
When Silicone Is the Clear Winner
Silicone wins for convenience. Muffins pop out with a simple press, cleanup takes seconds, and the pan folds into a kitchen drawer when you’re done. It’s also ideal for egg bites, mini quiches, and freezer-to-oven recipes because the flexible cups release frozen portions easily.
The Honest Verdict
Both pans are oven-safe, but that doesn’t mean they bake the same way. Silicone gives you easier cleanup and gentle, even cooking. Metal gives you a better crust and a sturdier pan.
For everyday muffins, most home bakers get more satisfying results with metal. But if you’re short on storage space or tired of scrubbing stuck-on crumbs, a quality silicone pan is a perfectly reliable tool.